Love this? Save it for later!
Share the inspiration with your friends
“You know that moment when you’re hosting last minute, and the oven decides to give up?” That was me last Saturday evening. I had planned a chill hangout with friends, nothing fancy, just some good food and laughs. But right when I was about to start cooking, my oven blinked off—dead as a doornail. Honestly, I was panicking for a split second, then it hit me: why not throw together an easy burger bar setup? No-cook, no stress, just fun. I grabbed some fresh buns, deli meats, cheeses, and a bunch of toppings from the fridge. The result? A laid-back, super interactive meal that everyone loved, and I didn’t even have to turn on the stove.
That night, as my friends piled their plates high with every topping imaginable, I realized how perfect this no-cook entertaining idea was. It’s casual, customizable, and honestly, who doesn’t love burgers? Plus, it keeps the host stress-free, which makes the whole evening better. Maybe you’ve been there—scrambling in the kitchen while guests arrive, trying to whip something up. This easy burger bar setup is my go-to fix for those moments. It’s become a staple for summer evenings, impromptu gatherings, and even weekdays when I just don’t want to cook at all. Let me tell you, it’s a game changer.”
Why You’ll Love This Recipe
This easy burger bar setup for no-cook entertaining isn’t just a backup plan; it’s a crowd-pleaser that I’ve tested repeatedly, and each time it wins big. Whether it’s a spontaneous get-together or a planned casual meal, it’s the perfect answer to last-minute hosting.
- Quick & Easy: Ready in under 15 minutes, which means more time for laughs and less time in the kitchen.
- Simple Ingredients: No fancy or hard-to-find items. Most are pantry staples or easy supermarket finds.
- Perfect for Any Occasion: Ideal for backyard barbecues, game nights, or even weekday dinners when you want minimal effort.
- Crowd-Pleaser: Kids and adults alike love building their own burgers with all the fixings laid out buffet-style.
- Unbelievably Delicious: The combination of fresh buns, quality deli meats, crisp veggies, and flavorful sauces hits all the right notes.
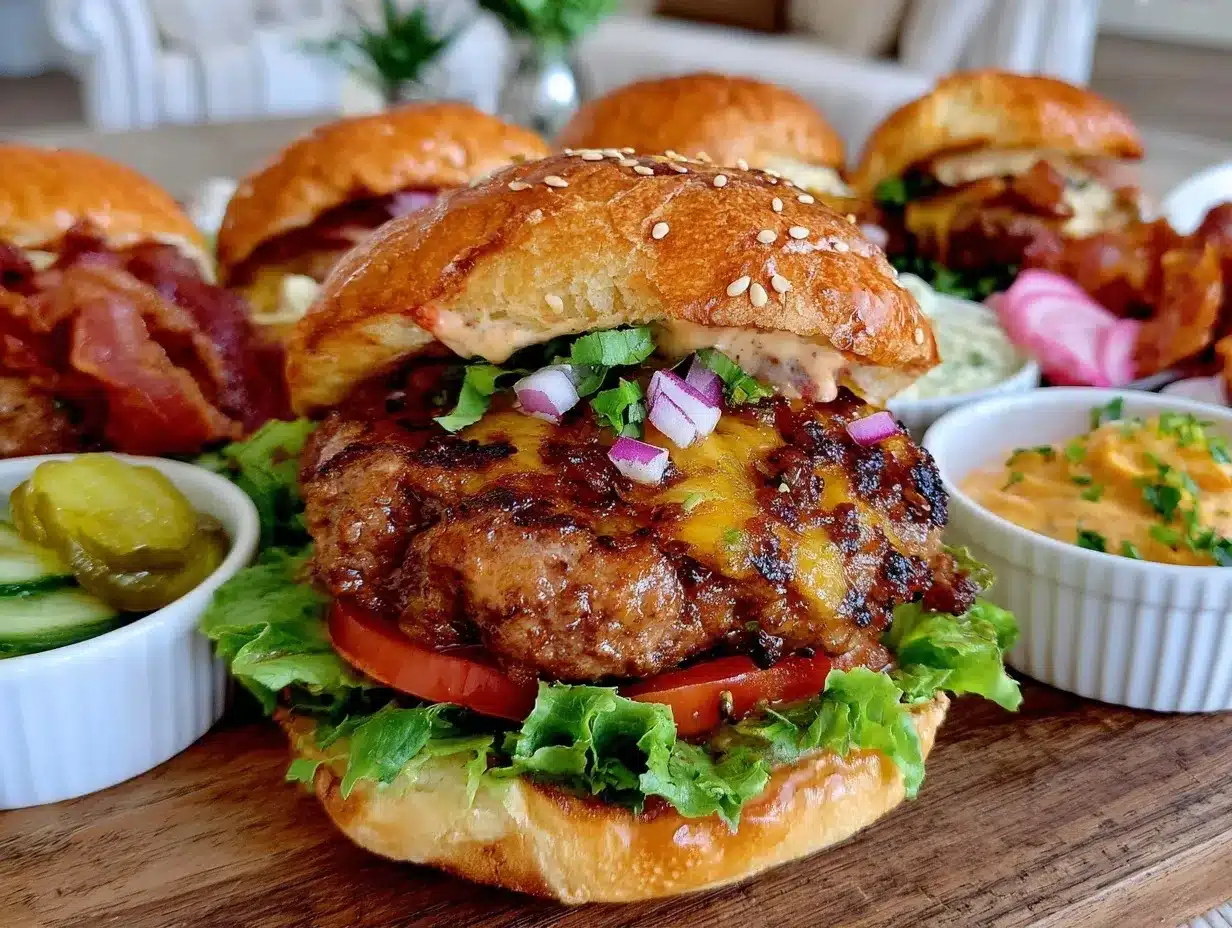
What sets this burger bar apart is the focus on quality, no-cook items that don’t compromise on flavor. For example, I always pick a good quality deli roast beef or smoked turkey, and I recommend Boar’s Head for deli meats—you really taste the difference. The toppings mix balances textures and flavors: crunchy pickles, creamy avocado slices, and a sprinkle of fresh herbs. Honestly, it’s the kind of setup that makes you close your eyes after the first bite and smile. Plus, it’s adaptable for all sorts of diets—gluten-free buns, dairy-free cheeses, or even plant-based deli slices.
What Ingredients You Will Need
This recipe uses simple, wholesome ingredients that come together quickly to deliver a flavorful, satisfying meal without the heat of the stove. Most items are pantry staples or easy to grab from the grocery store, making it perfect for spontaneous entertaining.
- Buns & Bread: Soft hamburger buns, brioche buns, or sturdy lettuce leaves for a low-carb option.
- Deli Meats:
- Roast beef, thinly sliced (I recommend Boar’s Head for rich flavor)
- Smoked turkey breast, thinly sliced
- Black forest ham or honey-glazed ham
- Cheeses:
- Sharp cheddar slices
- Swiss cheese, thinly sliced
- Provolone or mozzarella for a mild option
- Optional: dairy-free cheese slices for allergies
- Toppings:
- Fresh lettuce leaves, washed and crisp
- Tomato slices, ripe and juicy
- Red onion rings, thinly sliced
- Pickles (dill or bread-and-butter style, sliced)
- Avocado slices or guacamole (adds creaminess)
- Jalapeño slices for a kick (optional)
- Fresh herbs like basil or cilantro for a flavor pop
- Condiments & Sauces:
- Ketchup
- Yellow mustard
- Mayonnaise or aioli (I like Hellmann’s for smooth texture)
- BBQ sauce for smoky sweetness
- Hot sauce for those who love the heat
- Extras:
- Crispy bacon strips (pre-cooked for no-cook setup)
- Sliced olives or pepperoncini (adds zing)
- Coleslaw or shredded cabbage for crunch
If you want to switch things up, frozen pre-cooked veggie patties or store-bought rotisserie chicken shredded can add variety without cooking. For gluten-free guests, grab certified gluten-free buns or serve with large leaf lettuce as a wrap.
Equipment Needed
Setting up an easy burger bar requires minimal equipment, which is part of the beauty of no-cook entertaining. Here’s what you’ll want to have on hand:
- Serving platters or large trays to display buns, meats, cheeses, and toppings separately.
- Small bowls or ramekins for condiments and sauces—makes everything accessible and tidy.
- Tongs and spreader knives for guests to serve themselves hygienically.
- Cutting board and sharp knife for slicing tomatoes, onions, and avocados just before serving.
- Paper napkins and sturdy plates—trust me, these burgers can get messy!
If you don’t have fancy serving trays, no worries. I often use colorful ceramic plates or even clean wooden cutting boards. For condiments, repurposed jam jars or small bowls work well and add a cozy feel. When I first hosted this setup, I forgot to bring spreader knives and used small spoons instead—totally fine, though a bit messier!
Preparation Method
- Prepare the Buns: Slice your hamburger buns in half horizontally. Lay them out on a large platter, cut side up. If you want to warm them slightly, a quick 1-2 minute toast under a broiler works, but this is optional since this is a no-cook setup.
- Arrange Deli Meats: Lay out thin slices of roast beef, smoked turkey, and ham on separate platters. Fan them out so guests can easily pick pieces without tearing. About 150g (5 oz) per person is a good estimate. Keep the meats chilled until serving to maintain freshness.
- Slice Cheeses: Cut your cheeses into thin slices or small squares and arrange on a separate platter. Aim for variety—sharp cheddar for punchy flavor, Swiss for nuttiness, and mozzarella for creaminess. About 100g (3.5 oz) per person should suffice.
- Prep Toppings: Wash and dry lettuce leaves thoroughly to keep them crisp. Slice tomatoes into 0.5 cm (¼ inch) thick rounds. Cut red onions into thin rings and pickles into slices or spears. For avocado, slice just before serving to avoid browning. Place all toppings in bowls or on trays, grouping similar items together.
- Set Up Condiments: Spoon ketchup, mustard, mayonnaise, BBQ sauce, and hot sauce into small bowls with spreader knives or spoons. Arrange these near the buns for easy access.
- Extras and Garnishes: Place pre-cooked bacon strips on a platter, cover with foil if preparing ahead. Add olives, jalapeños, and fresh herbs in small bowls. If serving coleslaw, portion it into a bowl with a serving spoon.
- Final Touch: Lay out all platters and bowls buffet-style on a table or kitchen island. Provide plates, napkins, and utensils nearby. Encourage guests to build their own burgers exactly how they like.
This method keeps things simple and inviting. I usually budget about 10-15 minutes for prep if all ingredients are ready to go. Make sure to keep cold items chilled until just before serving—nobody wants warm deli meat on a summer day! One time, I left the meat out too long, and my friend joked, “Did the deli take a vacation?” Lesson learned.
Cooking Tips & Techniques
Even though this recipe doesn’t involve actual cooking, there are a few tricks to make your burger bar shine:
- Quality Matters: Since deli meats and cheeses are the stars here, pick the best you can find. I always check the deli counter for freshly sliced items rather than pre-packaged.
- Keep It Cold: Use ice packs or chilled trays under your serving platters, especially in warm weather, to keep meats and cheeses fresh and safe.
- Prep Right Before Serving: Slice soft ingredients like avocado and tomatoes last minute to avoid drying or browning.
- Label Ingredients: If you have guests with dietary restrictions, label items clearly to avoid confusion—especially important for gluten-free or dairy-free options.
- Balance Textures: Include crunchy, creamy, tangy, and savory toppings. This mix adds excitement and keeps burgers from being one-note.
- Multitask With Drinks: Set up a separate drink station while assembling your burger bar to keep things flowing smoothly.
- Leftover Management: Have containers ready for guests to pack leftovers or for you to store unused ingredients.
One mistake I made early on was overcrowding the platters, making it tricky for guests to pick toppings without mixing them up. Since then, I keep portions moderate and refill often. Trust me, less is more when it comes to presentation here.
Variations & Adaptations
This easy burger bar setup is versatile and can be tailored in many ways to fit different preferences and dietary needs.
- Vegetarian Option: Swap deli meats for hearty marinated grilled vegetables (like eggplant and zucchini), or add a variety of gourmet pre-cooked veggie patties for guests who don’t eat meat.
- Seasonal Twist: In spring or summer, swap traditional toppings for fresh seasonal produce like radishes, cucumber ribbons, or sweet corn kernels for added crunch.
- International Flair: Introduce flavors like tzatziki sauce, feta cheese, and sliced olives for a Mediterranean theme, or hoisin sauce and pickled ginger for an Asian-inspired twist.
- Gluten-Free & Dairy-Free: Offer gluten-free buns or lettuce wraps and dairy-free cheese alternatives to accommodate guests with allergies or intolerances.
- Personal Favorite Variation: I like to add a station of flavored butters—garlic herb or smoked paprika butter—to spread on buns. It adds richness without any cooking and is always a hit.
Serving & Storage Suggestions
Serve your burger bar at room temperature or slightly chilled, depending on the weather and ingredient preferences. I find that setting everything out about 10 minutes before guests arrive allows flavors to meld just a bit without losing freshness.
Pair the burger bar with crisp side salads, kettle-cooked chips, or a simple pasta salad for a complete meal. For drinks, cold lemonade, iced tea, or a selection of craft beers complement the setup well.
Leftovers can be wrapped tightly in plastic wrap or stored in airtight containers and refrigerated for up to 3 days. To reassemble, just refresh any wilted greens and slice fresh tomatoes. Reheating isn’t necessary since everything is no-cook and best enjoyed fresh.
Flavors tend to develop subtly overnight, especially in toppings like pickles and coleslaw, so you might even find the next day’s lunch more flavorful. Just remember to keep all perishable ingredients chilled between servings.
Nutritional Information & Benefits
This easy burger bar setup offers a balanced meal with proteins from deli meats and cheeses, fiber and vitamins from fresh veggies, and energy from the buns or bread. Estimated nutrition per serving varies depending on choices but generally includes:
- Calories: Approximately 400-600 kcal per burger (depending on toppings and bun choice)
- Protein: Around 25-30 grams from deli meats and cheese
- Fat: Moderate, with healthy fats coming from avocado and cheese
- Carbohydrates: 30-40 grams from buns or bread
Choosing whole grain buns or lettuce wraps can reduce carbs and increase fiber. Fresh vegetables add antioxidants and help keep the meal light and refreshing. For those watching sodium, opt for low-sodium deli meats and rinse pickles briefly to reduce salt.
Personally, I appreciate how this setup feels indulgent without being heavy or complicated. It fits well into a balanced lifestyle, and the fresh ingredients keep things wholesome.
Conclusion
This easy burger bar setup for no-cook entertaining is a lifesaver for anyone who wants to host without sweating over the stove. It’s flexible, fun, and invites your guests to get creative with their meals. Whether you’re pressed for time, avoiding heat during summer, or simply craving a laid-back feast, this burger bar delivers every time. I love how it brings people together around a simple, delicious meal—and honestly, it’s one of those setups that makes hosting feel effortless.
Give it a try and make it your own with your favorite meats, cheeses, and toppings. Don’t forget to share your burger bar stories or any unique twists you try—I’d love to hear what works for you! Here’s to stress-free entertaining that’s tasty and memorable.
FAQs
- Can I prepare the burger bar ingredients ahead of time? Yes, most deli meats, cheeses, and toppings can be prepped a few hours in advance and refrigerated until serving.
- What are some good no-cook protein options besides deli meats? Pre-cooked veggie patties, smoked salmon, or shredded rotisserie chicken work well and require no cooking.
- How do I keep the ingredients fresh during the party? Keep cold items on ice or chilled trays and replenish as needed to maintain freshness and food safety.
- What can I serve alongside the burger bar? Simple sides like chips, salad, or coleslaw complement the setup nicely, along with refreshing drinks.
- Is this setup suitable for gluten-free guests? Absolutely! Provide gluten-free buns or lettuce wraps as alternatives to traditional buns.
Pin This Recipe!
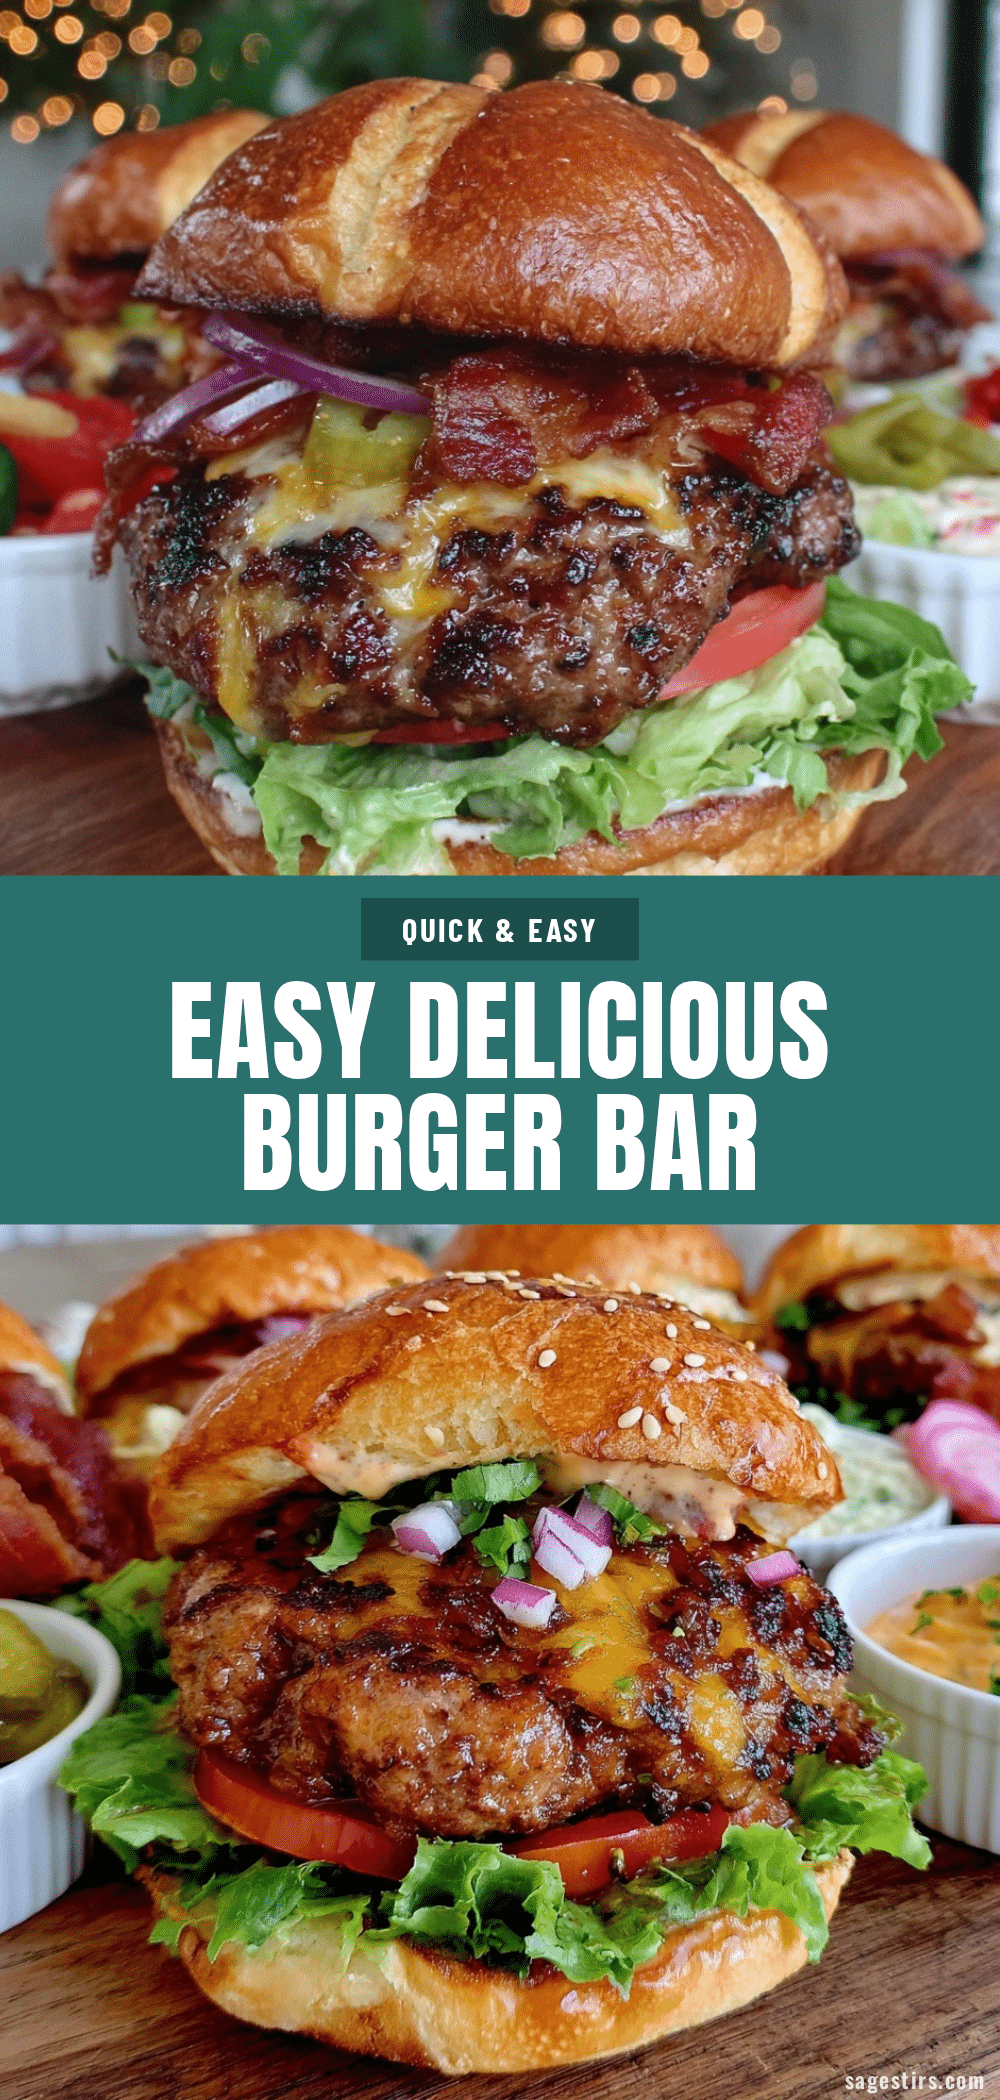
Easy Burger Bar Setup Ideas for No-Cook Entertaining at Home

A no-cook, customizable burger bar setup perfect for last-minute hosting, casual gatherings, and stress-free entertaining. Guests build their own burgers with fresh buns, deli meats, cheeses, and a variety of toppings.
- Prep Time: 10-15 minutes
- Cook Time: 0 minutes
- Total Time: 10-15 minutes
- Yield: 4 servings
- Category: Main Course
- Cuisine: American
Ingredients
- Soft hamburger buns, brioche buns, or sturdy lettuce leaves for low-carb option
- Roast beef, thinly sliced (recommend Boar’s Head for rich flavor)
- Smoked turkey breast, thinly sliced
- Black forest ham or honey-glazed ham
- Sharp cheddar slices
- Swiss cheese, thinly sliced
- Provolone or mozzarella slices
- Optional: dairy-free cheese slices
- Fresh lettuce leaves, washed and crisp
- Tomato slices, ripe and juicy
- Red onion rings, thinly sliced
- Pickles (dill or bread-and-butter style, sliced)
- Avocado slices or guacamole
- Jalapeño slices (optional)
- Fresh herbs like basil or cilantro
- Ketchup
- Yellow mustard
- Mayonnaise or aioli (Hellmann’s recommended)
- BBQ sauce
- Hot sauce
- Pre-cooked crispy bacon strips
- Sliced olives or pepperoncini
- Coleslaw or shredded cabbage
- Optional: frozen pre-cooked veggie patties or shredded rotisserie chicken
Instructions
- Slice hamburger buns in half horizontally and lay out on a large platter, cut side up. Optionally toast for 1-2 minutes under a broiler.
- Arrange thin slices of roast beef, smoked turkey, and ham on separate platters, about 5 oz (150g) per person. Keep chilled until serving.
- Cut cheeses into thin slices or small squares and arrange on a separate platter, about 3.5 oz (100g) per person.
- Wash and dry lettuce leaves. Slice tomatoes into 1/4 inch (0.5 cm) rounds. Cut red onions into thin rings and pickles into slices or spears. Slice avocado just before serving. Place toppings in bowls or trays grouped by type.
- Spoon ketchup, mustard, mayonnaise, BBQ sauce, and hot sauce into small bowls with spreader knives or spoons. Arrange near buns for easy access.
- Place pre-cooked bacon strips on a platter and cover with foil if preparing ahead. Add olives, jalapeños, and fresh herbs in small bowls. Portion coleslaw into a bowl with a serving spoon.
- Lay out all platters and bowls buffet-style on a table or kitchen island. Provide plates, napkins, and utensils nearby. Encourage guests to build their own burgers.
Notes
Keep cold items chilled until serving to maintain freshness and food safety. Slice soft ingredients like avocado and tomatoes just before serving to avoid browning. Label ingredients clearly for guests with dietary restrictions. Use ice packs or chilled trays under serving platters in warm weather. Moderate portions on platters to avoid overcrowding and mixing toppings.
Nutrition
- Serving Size: One assembled burger
- Calories: 400600
- Carbohydrates: 3040
- Protein: 2530
Keywords: burger bar, no-cook, easy entertaining, deli meats, customizable burgers, party food, quick meal, summer meal, gluten-free option, dairy-free option