Love this? Save it for later!
Share the inspiration with your friends
Introduction
“Last Sunday afternoon, I found myself staring at a pile of apples that had been sitting on the kitchen counter a little too long. I wasn’t planning to bake anything fancy, honestly. The power had flickered off earlier, and I was left with just the daylight and a stubborn craving for something warm and comforting. I remembered a recipe I overheard from my neighbor, Mrs. Jenkins, while borrowing sugar last fall—an apple crisp that was supposedly foolproof and perfect for beginners like me. I scribbled down the ingredients on a napkin, and with no measuring cups in sight, I just went for it.
The kitchen was a mess by the time I finished—flour on the counter, a cracked mixing bowl from an accidental bump, and my cat weaving between my feet like she knew something delicious was coming. But when that first golden crisp came out of the oven, the smell filled every corner of the house. That first bite? Warm, tender apples with a perfectly crunchy topping that made me close my eyes and smile. Maybe you’ve been there—just wanting a simple dessert that feels like a hug. That’s exactly why this cozy easy apple crisp recipe stayed with me. It’s approachable, forgiving, and honestly, a little bit magical.”
Why You’ll Love This Recipe
After making this apple crisp recipe easy five-step cozy dessert for beginners countless times, I can say it’s truly a keeper. Whether you’re new to baking or just want a no-fuss dessert, this recipe hits the sweet spot. Here’s why it’s worth your time:
- Quick & Easy: Comes together in under 30 minutes, making it perfect for busy weeknights or those last-minute dessert urges.
- Simple Ingredients: No need to hunt down fancy stuff. Chances are, you already have everything in your pantry and fridge.
- Perfect for Cozy Nights: Ideal for chilly evenings when all you want is something warm and comforting.
- Crowd-Pleaser: I’ve served this at casual get-togethers, and it always disappears fast—kids and adults alike can’t get enough.
- Unbelievably Delicious: The balance of sweet, tart apples and buttery, crunchy topping is just right—nothing over the top, just pure comfort food.
This isn’t your typical apple crisp. The secret? I like to toss the apples with a pinch of cinnamon and a splash of fresh lemon juice before layering, which keeps the flavor bright and the fruit from turning mushy. Plus, the topping blends oats and brown sugar for that perfect texture you want without any complicated steps. Honestly, this recipe feels like a warm blanket on a plate. It’s the kind of dessert that turns a simple night at home into something special.
What Ingredients You Will Need
This recipe uses straightforward, wholesome ingredients to deliver bold flavor and satisfying texture without any fuss. Most of these are pantry staples, and if you’re short on something, there are easy swaps you can make.
- For the Apple Filling:
- 6 cups of apples, peeled and sliced (about 6 medium apples) – I prefer Granny Smith for tartness or Honeycrisp for sweetness
- 2 tablespoons granulated sugar (adjust to taste depending on apple sweetness)
- 1 teaspoon ground cinnamon (adds warm spice)
- 1 teaspoon fresh lemon juice (keeps apples bright and prevents browning)
- 1 tablespoon all-purpose flour (helps thicken the juices)
- For the Crisp Topping:
- 1 cup rolled oats (not instant, for that chewy texture)
- 1/2 cup all-purpose flour
- 1/2 cup packed brown sugar (I use dark brown sugar for richer flavor)
- 1/2 teaspoon ground cinnamon
- 1/4 teaspoon salt
- 1/2 cup unsalted butter, cold and cut into small cubes (you can swap with coconut oil for dairy-free)
Tip: I like to use Bob’s Red Mill rolled oats for the topping because they hold their texture beautifully. If you want a gluten-free option, simply swap the all-purpose flour with almond flour or a gluten-free blend. For a dairy-free crisp, cold coconut oil works just as well as butter and adds a subtle tropical note.
Equipment Needed
- 9×9-inch baking dish (glass or ceramic works best to monitor browning)
- Mixing bowls (one large for apples, one medium for topping)
- Measuring cups and spoons
- Sharp knife and cutting board for slicing apples
- Pastry cutter or two forks (for cutting butter into topping; if you don’t have one, your fingers work fine too!)
- Spatula or wooden spoon for mixing
- Oven mitts (a must, always!)
If you don’t have a pastry cutter, don’t sweat it—just use your fingertips to rub the butter into the dry ingredients until the mixture looks like coarse crumbs. I’ve made this recipe dozens of times with basic tools, no fancy gadgets needed. Plus, a good set of sharp knives really makes apple prep easier and safer.
Preparation Method
- Preheat your oven to 350°F (175°C). This gives the oven enough time to reach the perfect temperature as you prep.
- Prepare the apples: Peel, core, and slice your apples into roughly 1/4-inch thick pieces. Toss them in a large bowl with granulated sugar, cinnamon, lemon juice, and flour. Mix until the apples are evenly coated. You want them well covered but not swimming in liquid.
- Transfer to baking dish: Pour the apple mixture into your 9×9-inch baking dish and spread it out evenly. You’ll notice the lemon juice helps keep the apples bright and fresh-looking, which is a nice touch.
- Make the topping: In a separate bowl, combine rolled oats, flour, brown sugar, cinnamon, and salt. Add the cold butter cubes, then use a pastry cutter or your fingertips to mix until it looks like coarse crumbs. The key is to work quickly so the butter stays cold—that’s what creates the crumbly texture once baked.
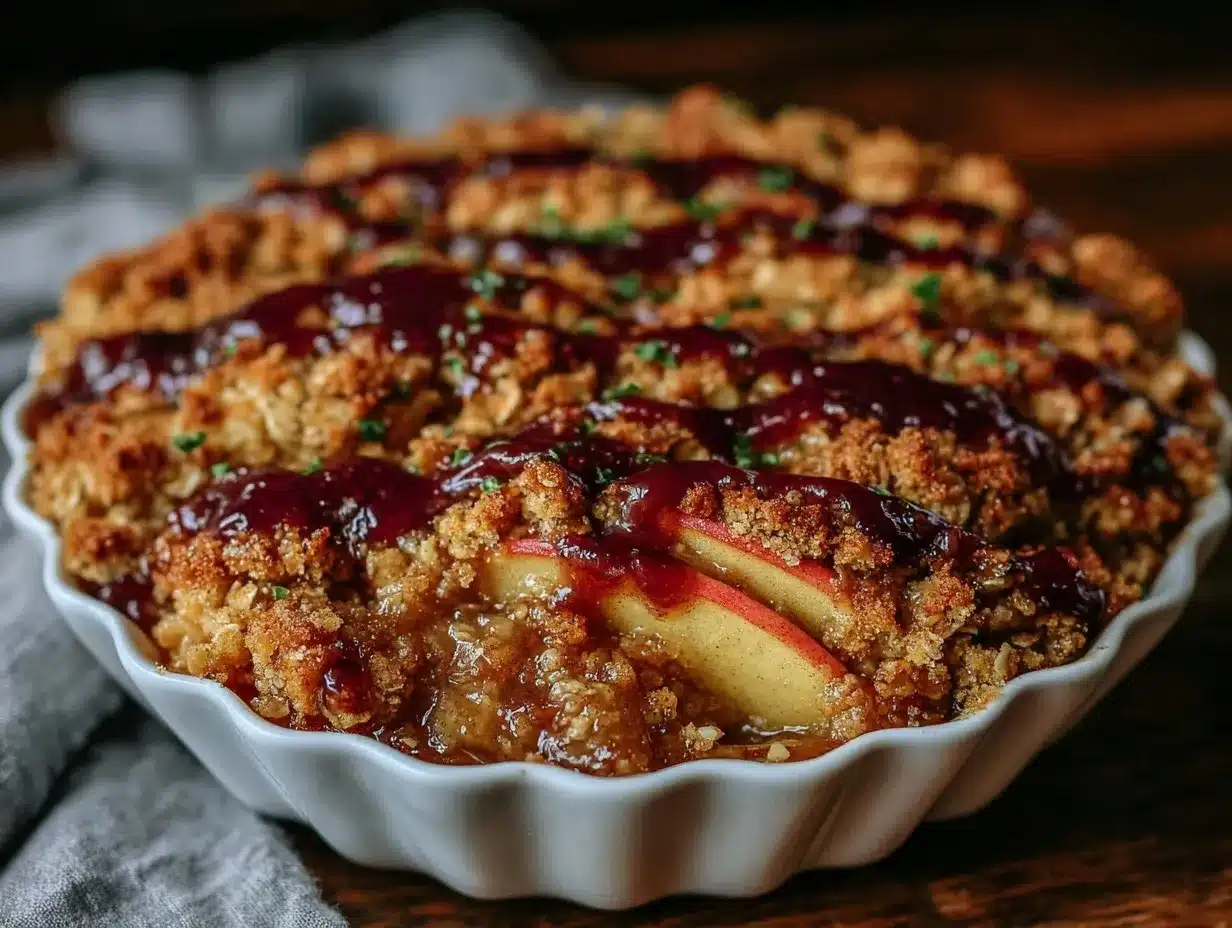
- Assemble and bake: Sprinkle the topping evenly over the apples. Pop the dish into the oven and bake for 40-45 minutes. You’ll know it’s done when the topping is golden brown and the apple filling is bubbly around the edges.
Pro tip: If the topping browns too fast, loosely cover with foil halfway through baking. Also, keep an eye on those juicy bubbles—that’s the sweet sign your apple crisp is coming together perfectly.
Cooking Tips & Techniques
Let me tell you, apple crisp is forgiving, but a few tricks can really make your version shine. First, always use a mix of tart and sweet apples if you can—it adds depth. I’ve learned the hard way that too many sweet apples make it syrupy, and too tart can be a little puckery.
Using cold butter in the topping is a game-changer. If it melts into the dry ingredients too soon, your topping won’t be as crumbly and crisp. When cutting in butter, don’t overwork it; quick, light motions are best. I sometimes throw the bowl in the fridge for 5 minutes if the kitchen is warm—trust me, it helps.
Another tip: don’t skip the lemon juice on the apples. It keeps the flavors balanced and prevents the apples from turning an unappetizing brown before baking. Also, when mixing the filling, be gentle—you want the apples coated, not mashed.
Oven temperatures can vary, so start checking your apple crisp around 35 minutes. If the topping looks done but the apples seem undercooked, tent with foil and bake a little longer. This recipe is perfect for multitasking—you can prep the topping while the apples are soaking in their cinnamon-sugar bath.
Variations & Adaptations
This cozy easy apple crisp recipe is flexible, which is why I keep coming back to it. Here are some ways to tweak it:
- Dietary: For a gluten-free version, swap all-purpose flour with almond flour or a gluten-free blend. Use coconut oil or vegan butter for dairy-free.
- Seasonal: In warmer months, swap apples for fresh peaches or a mix of berries and apples for a juicy twist.
- Flavor: Add chopped nuts like walnuts or pecans to the topping for extra crunch and nutty flavor. A dash of nutmeg or ginger can add cozy spice notes.
- Cooking Methods: If you don’t have an oven, try this in a slow cooker on low for 3-4 hours—just add the topping in the last hour.
- Personal Touch: I once added a splash of bourbon to the apple mixture for an adult twist. It was a hit at a fall dinner party and added warmth without overpowering the fruit.
Serving & Storage Suggestions
This apple crisp is best served warm, straight from the oven. I love spooning it into bowls and topping it with a scoop of vanilla ice cream or a dollop of whipped cream. The ice cream melting into the warm apples? Honestly, it’s a little slice of heaven.
It pairs wonderfully with a hot cup of tea or a cozy mug of spiced cider for those chilly evenings. For a more indulgent touch, drizzle with caramel sauce.
Store any leftovers covered in the fridge for up to 4 days. To reheat, microwave individual portions for about 30-45 seconds or warm in the oven at 300°F (150°C) until heated through. The flavors actually deepen over a day or two, so it’s great for making ahead.
Nutritional Information & Benefits
This apple crisp recipe offers a comforting treat without going overboard on calories. One serving (about 1/6 of the dish) clocks in roughly at 300-350 calories, depending on ingredient brands and portion size.
Apples provide fiber and vitamin C, while oats add heart-healthy whole grains. Using unsalted butter keeps sodium in check, and you can always reduce sugar or swap in natural sweeteners like maple syrup if desired. It’s a dessert that feels cozy but doesn’t leave you feeling weighed down.
For those watching gluten or dairy, the easy substitutions keep this recipe inclusive without sacrificing that signature crisp topping texture.
Conclusion
So, why try this cozy easy apple crisp recipe? Because it’s straightforward enough for beginners but satisfying enough to become a weekend staple. Whether you’re craving a quick dessert or a warm, nostalgic treat, this recipe delivers every time.
I love that it invites creativity—you can tweak the spices, swap fruit, or add nuts to fit your mood. Honestly, it’s the kind of recipe that comforts you in the best possible way, no fuss required.
Give it a go, and let me know how you make it your own. Share your twists or questions—I love hearing from fellow home bakers. Here’s to many cozy apple crisp moments ahead!
Frequently Asked Questions
Can I use frozen apples for this apple crisp recipe easy 5-step cozy dessert?
You can, but frozen apples tend to release more water, which may make the filling a bit runnier. If using frozen, thaw and drain excess liquid before mixing with sugar and spices.
What’s the best apple variety for apple crisp?
I recommend tart apples like Granny Smith mixed with sweeter varieties like Honeycrisp or Fuji. This combo gives a perfect balance of tartness and sweetness.
Can I prepare the apple crisp ahead of time?
Absolutely! Assemble the crisp and refrigerate it unbaked for up to 24 hours. When ready, bake as usual, adding a few extra minutes if baking straight from the fridge.
How do I make this apple crisp gluten-free?
Swap all-purpose flour with a gluten-free flour blend or almond flour. Make sure your oats are certified gluten-free as well.
Can I double this recipe for a larger crowd?
Yes! Just double all ingredients and use a larger baking dish, like a 9×13-inch pan. Increase baking time to about 50-60 minutes, checking for bubbly filling and golden topping.
By the way, if you enjoy this apple crisp, you might find the crispy garlic chicken recipe just as comforting on a chilly evening. Or try incorporating this crisp into a brunch spread alongside some fluffy pancakes for a sweet and satisfying start to your weekend.
Pin This Recipe!
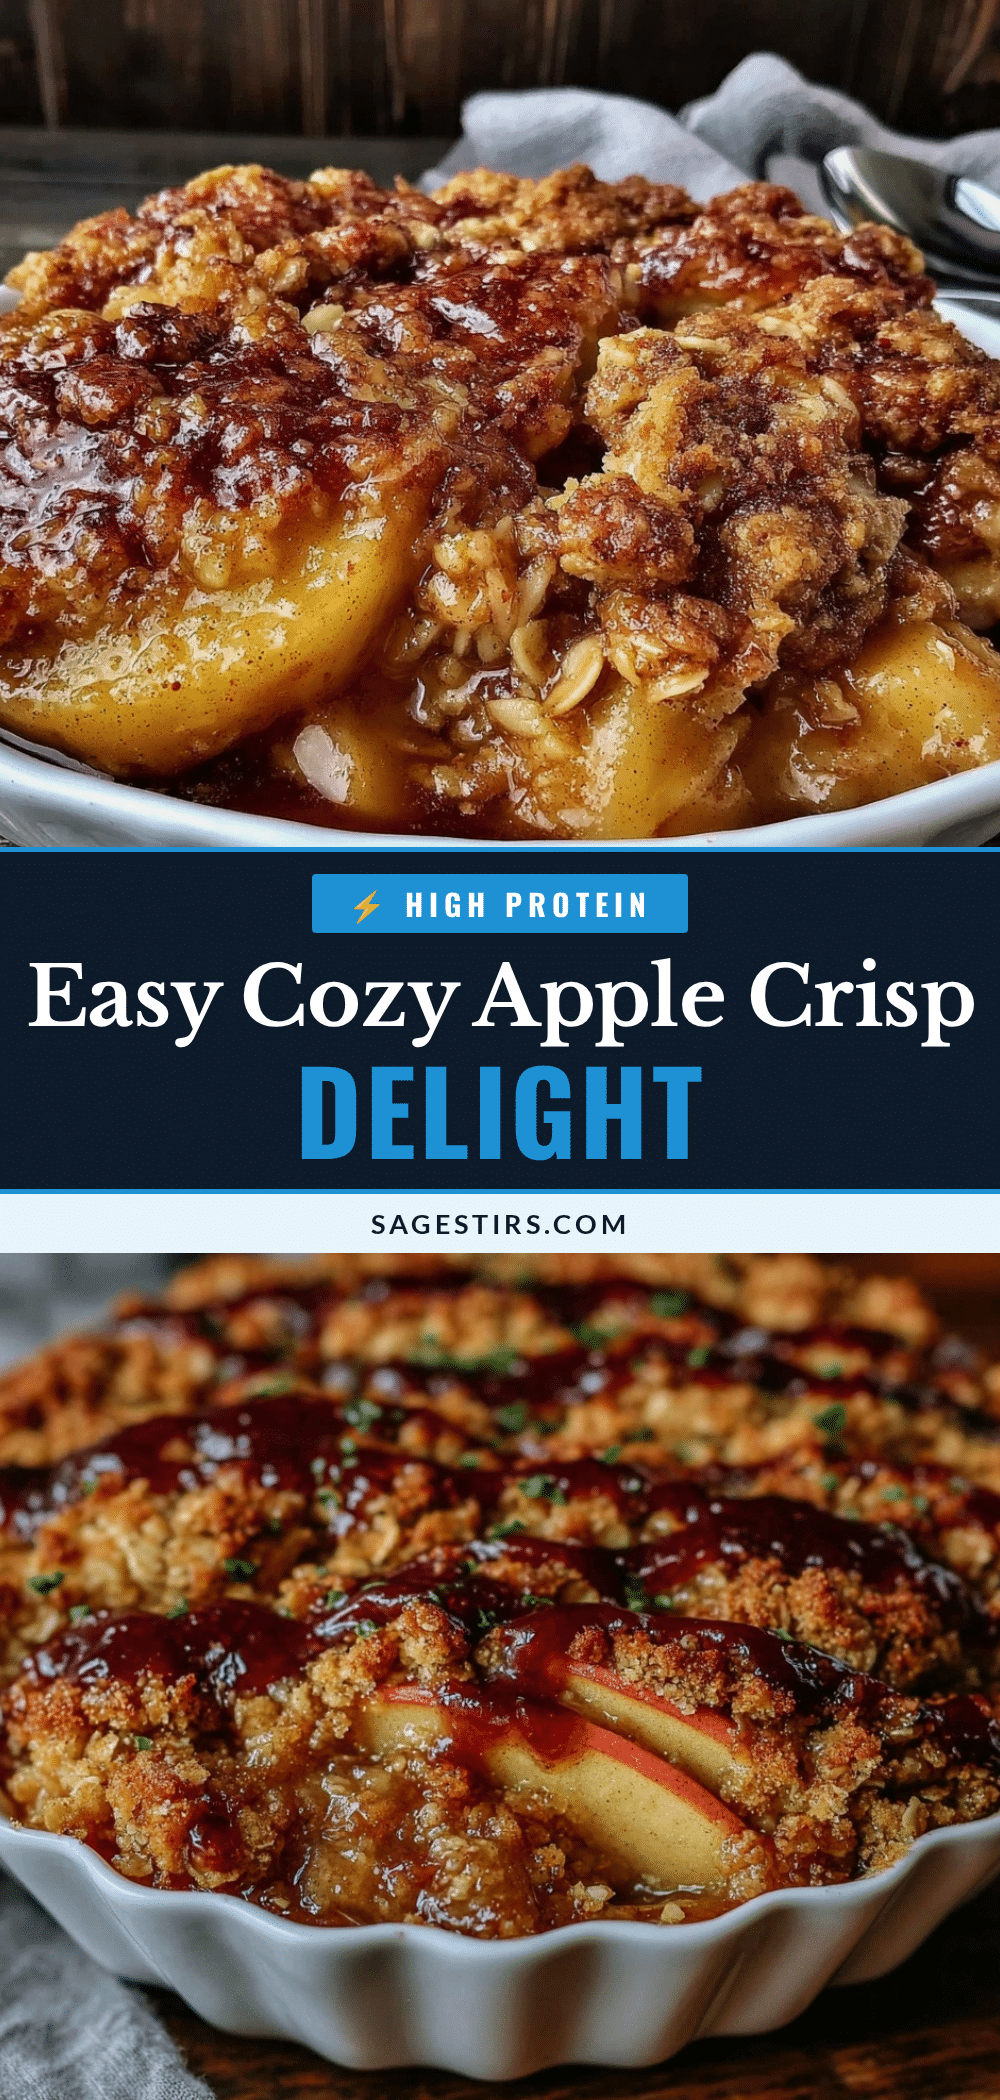
Apple Crisp Recipe Easy 5-Step Cozy Dessert for Beginners

A simple and cozy apple crisp recipe perfect for beginners, featuring tender apples with a crunchy oat topping. This easy dessert comes together quickly and is ideal for warm, comforting nights.
- Prep Time: 15 minutes
- Cook Time: 40-45 minutes
- Total Time: 55-60 minutes
- Yield: 6 servings 1x
- Category: Dessert
- Cuisine: American
Ingredients
- 6 cups apples, peeled and sliced (about 6 medium apples; Granny Smith or Honeycrisp preferred)
- 2 tablespoons granulated sugar (adjust to taste)
- 1 teaspoon ground cinnamon
- 1 teaspoon fresh lemon juice
- 1 tablespoon all-purpose flour
- 1 cup rolled oats (not instant)
- 1/2 cup all-purpose flour
- 1/2 cup packed brown sugar (dark brown sugar preferred)
- 1/2 teaspoon ground cinnamon
- 1/4 teaspoon salt
- 1/2 cup unsalted butter, cold and cut into small cubes (or coconut oil for dairy-free)
Instructions
- Preheat your oven to 350°F (175°C).
- Peel, core, and slice apples into roughly 1/4-inch thick pieces. Toss in a large bowl with granulated sugar, cinnamon, lemon juice, and flour until evenly coated.
- Pour the apple mixture into a 9×9-inch baking dish and spread evenly.
- In a separate bowl, combine rolled oats, flour, brown sugar, cinnamon, and salt. Add cold butter cubes and use a pastry cutter or fingertips to mix until coarse crumbs form.
- Sprinkle the topping evenly over the apples. Bake for 40-45 minutes until topping is golden brown and filling is bubbly. If topping browns too fast, cover loosely with foil halfway through baking.
Notes
Use a mix of tart and sweet apples for balanced flavor. Keep butter cold when mixing topping for best crumbly texture. Lemon juice prevents apples from browning. If topping browns too quickly, cover with foil halfway through baking. For gluten-free, substitute all-purpose flour with almond or gluten-free flour and use certified gluten-free oats. For dairy-free, substitute butter with coconut oil.
Nutrition
- Serving Size: About 1/6 of the dis
- Calories: 300350
- Sugar: 25
- Sodium: 150
- Fat: 12
- Saturated Fat: 7
- Carbohydrates: 50
- Fiber: 5
- Protein: 3
Keywords: apple crisp, easy dessert, cozy dessert, beginner baking, apple dessert, oat topping, fall dessert