Love this? Save it for later!
Share the inspiration with your friends
“Why can’t we just use ice cream cones for the witch hats?” my friend asked one chilly October evening as we were brainstorming treats for the upcoming Halloween party. I started to explain why that wouldn’t work — then stopped. Honestly, their idea made total sense. I mean, ice cream cones are already shaped like hats, so why not? I gave it a shot, and that was the moment these Perfect Witch Hat Brownie Pops were born.
I was trying to teach my friend how to make brownie pops the usual way, rolling balls of fudgy brownie and dipping them in chocolate. But those cones? They added this fun crunch and shape that no ordinary brownie pop could match. Sure, I made a mess melting chocolate on the stove and spilled powdered sugar all over the counter in the process, but it was worth every crumb. The kids at the party didn’t just like them — they couldn’t stop talking about them. Maybe you’ve been there, trying to find a festive, easy treat that looks impressive but doesn’t take forever in the kitchen. This recipe stuck with me because it’s a bit of a happy accident, and it makes Halloween parties feel extra special.
Why You’ll Love This Recipe
After making these Perfect Witch Hat Brownie Pops for several Halloweens, I can confidently say they’re one of the easiest ways to wow a crowd with minimal effort. Here’s why this recipe has become a staple in my seasonal dessert lineup:
- Quick & Easy: Comes together in under an hour, perfect for last-minute party prep or when you’re juggling a million things.
- Simple Ingredients: Uses pantry staples like cocoa powder, sugar, and chocolate chips — no specialty stores needed.
- Perfect for Halloween Parties: The witch hat shape is festive and fun without being too complicated to make.
- Crowd-Pleaser: Kids love the playful design, and adults appreciate the rich, fudgy brownie flavor.
- Unbelievably Delicious: The crunchy cone combined with a moist brownie center and glossy chocolate coating is a flavor and texture dream.
This recipe isn’t just another brownie pop variation. The trick is in assembling the hat with that chocolate-dipped cone and adding a bright candy band around the brim — which gives it a perfect pop of color and charm. Plus, it’s flexible enough to customize with your favorite sprinkles or flavors. Honestly, it’s the kind of treat that makes you pause after the first bite and say, “Yep, this is Halloween done right.”
What Ingredients You Will Need
This recipe uses simple, wholesome ingredients to deliver bold flavor and satisfying texture without fuss. You’ll likely have most of these in your pantry already, and the rest are easy to find at any grocery store.
- For the Brownie Batter:
- 1 cup (200g) granulated sugar
- ½ cup (115g) unsalted butter, melted
- 2 large eggs, room temperature
- 1 teaspoon vanilla extract
- ⅓ cup (35g) unsweetened cocoa powder (I like Ghirardelli for rich flavor)
- ½ cup (65g) all-purpose flour
- ¼ teaspoon salt
- ¼ teaspoon baking powder
- For the Witch Hat Assembly:
- 12 sugar cones (regular size) – these form the hat’s pointy part
- 2 cups (340g) semi-sweet chocolate chips (or chopped chocolate) for melting
- 1 teaspoon vegetable oil (to thin melted chocolate)
- Assorted candy melts or colored icing for the hat bands (orange, green, purple work great!)
- Sprinkles or edible glitter (optional, for decoration)
- Extras:
- Wooden lollipop sticks (about 12, 6-inch size)
- Wax paper or parchment paper for drying
Ingredient Tips: For fudgier brownies, feel free to add an extra egg yolk. If you want gluten-free, swap the all-purpose flour with a 1-to-1 gluten-free baking flour blend.
Equipment Needed
- Mixing bowls (a couple of medium and small sizes)
- Electric mixer or whisk for batter mixing (a hand mixer works fine)
- Baking pan — an 8×8 inch (20×20 cm) square pan is perfect for even brownie thickness
- Cooling rack to let the brownies cool completely
- Microwave-safe bowl or double boiler for melting chocolate — I prefer a double boiler to avoid scorching chocolate
- Spoons and rubber spatulas for mixing and spreading
- Toothpicks or small paintbrush for detailing candy bands
- Wax or parchment paper to place pops while drying
- Optional: Candy thermometer if you want to check chocolate temperature (not essential but handy)
If you don’t have a double boiler, just place a heatproof bowl over a pot of simmering water — it’s an easy DIY setup. For the mixing, whisking by hand works if you don’t have an electric mixer, but it might take a bit longer.
Preparation Method
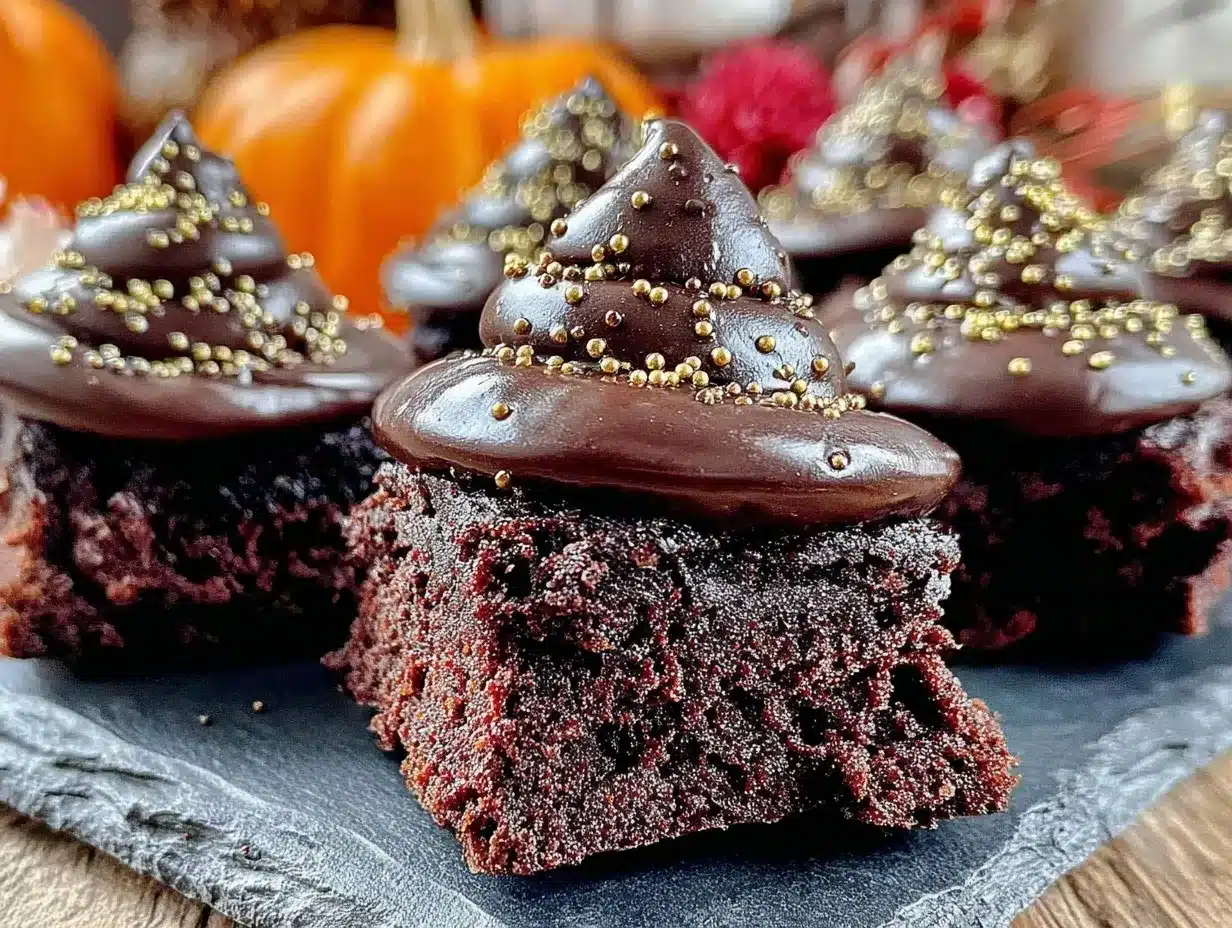
- Make the Brownie Batter: Preheat your oven to 350°F (175°C). In a medium bowl, whisk together sugar, melted butter, eggs, and vanilla extract until smooth (about 2 minutes). In a separate bowl, sift together cocoa powder, flour, salt, and baking powder. Gradually fold the dry ingredients into the wet mixture until just combined. Don’t overmix — a few lumps are okay.
- Bake the Brownies: Pour the batter into a greased or parchment-lined 8×8 inch (20×20 cm) pan, spreading it evenly. Bake for 20-25 minutes, or until a toothpick inserted in the center comes out with a few moist crumbs. Let the brownies cool completely on a rack — this usually takes about 1 hour. Patience here is key; if the brownies aren’t fully cool, they’ll crumble when rolled.
- Prepare the Brownie Balls: Once cooled, crumble the brownies into a large bowl using your hands or a fork. Roll the crumbs into 1-inch (2.5 cm) balls — you should get about 12. Place the balls on a baking sheet lined with wax paper and chill in the fridge for 15-20 minutes. This firms them up, making dipping easier.
- Melt the Chocolate: In a microwave-safe bowl or double boiler, melt the semi-sweet chocolate chips with 1 teaspoon vegetable oil to thin it slightly. Heat in 30-second bursts, stirring between each, until smooth. Keep warm over low heat while you assemble.
- Assemble the Witch Hats: Dip the tip of each wooden lollipop stick into the melted chocolate, then insert it halfway into a brownie ball (this acts like glue). Next, dip the rim of a sugar cone into the melted chocolate and immediately place it over the brownie ball, forming the witch hat shape. Hold for a few seconds until set, then carefully place the pop on wax paper to dry.
- Add the Hat Bands: Use candy melts or colored icing to pipe a thin band around the base of each cone. You can add sprinkles or edible glitter before the icing sets for extra flair. Let the pops sit at room temperature or chill briefly until the chocolate hardens completely.
Pro Tip: If the cones feel fragile, gently warm them in the oven at 200°F (95°C) for 3-4 minutes before assembly to reduce breakage. Also, don’t rush the cooling steps — that’s when everything holds together best.
Cooking Tips & Techniques
Making these witch hat brownie pops is easier when you keep a few things in mind. First, always cool the brownies fully before rolling. I learned this the hard way when my first batch turned into a crumbly mess because they were still warm. Chilling the brownie balls helps them hold their shape and makes dipping cleaner.
When melting chocolate, patience is essential. Overheating can cause the chocolate to seize and become grainy. Stir often and remove from heat as soon as it’s smooth. Adding a little vegetable oil helps create a glossy finish and smooth dipping experience.
Be gentle when placing the cones over the brownie balls. If you push too hard, the cone may crack or the brownie might crumble. Holding the cone steady while the chocolate sets is key — keep a napkin nearby for inevitable drips and spills!
Multi-task by preparing the brownie batter while preheating the oven and melting the chocolate while the brownie balls chill. This way, you’re not waiting around and the whole process feels streamlined. Trust me, having everything ready before assembly saves a lot of stress.
Variations & Adaptations
Want to switch things up? Here are some fun ways to customize your witch hat brownie pops:
- Flavor Swap: Mix in a teaspoon of cinnamon or pumpkin spice into the brownie batter for a seasonal twist.
- Dietary Adaptations: Use gluten-free flour and dairy-free chocolate to make these treats friendly for common allergies.
- Alternative Cones: Try mini waffle cones for a different texture and look — they add a subtle sweetness that pairs well with fudge brownies.
- Decor Variation: Instead of candy melts, use colored royal icing or edible markers to draw patterns on the cones.
- Personal Touch: I once added crushed peppermint candies to the chocolate dip for a minty surprise — it was a hit and perfect for a spooky winter Halloween party.
Serving & Storage Suggestions
These witch hat brownie pops are best served at room temperature so the chocolate is glossy and the brownie center is delightfully soft. Arrange them on a festive platter or stick them upright in a decorated foam block for a cool display that doubles as decor.
For drinks, coffee, hot chocolate, or a spiced apple cider complement the rich chocolate perfectly. You could even serve them alongside a bowl of fresh fruit to balance the sweetness.
Store leftover brownie pops in an airtight container in the refrigerator for up to 5 days. When ready to enjoy, let them come to room temperature for 15-20 minutes before eating. You can also freeze them for up to a month — just thaw overnight in the fridge.
Flavors actually deepen when stored overnight, so these treats taste even better the next day (if you can wait that long!).
Nutritional Information & Benefits
Each witch hat brownie pop provides a rich, indulgent treat with approximately 180-220 calories, depending on exact ingredients and size. The recipe delivers a balance of carbohydrates and fats, with some protein from eggs and butter.
The cocoa powder is a source of antioxidants, which are great for overall health. Using real butter and eggs adds richness and essential nutrients compared to processed alternatives.
If you opt for gluten-free flour or dairy-free chocolate, these pops can fit into special dietary needs. Just be mindful of sugar content, especially if serving to kids or guests with dietary restrictions.
Honestly, while these aren’t a diet food, they’re a festive treat worth savoring in moderation — perfect for making Halloween celebrations special without overdoing it.
Conclusion
These Perfect Witch Hat Brownie Pops are more than just a Halloween treat — they’re a fun, surprisingly simple way to bring a little magic to your party table. Whether you’re a seasoned baker or just looking for a festive recipe that won’t stress you out, this one delivers every time.
Feel free to make it your own with different decorations, flavors, or dietary tweaks. I love how this recipe grew from a friend’s off-the-wall idea into a crowd favorite that gets compliments every year. Let me know how your witch hat brownie pops turn out, and don’t hesitate to share your creative spins — I’m always curious!
Happy baking, and here’s to a Halloween full of fun (and delicious) surprises!
FAQs
Can I make these witch hat brownie pops ahead of time?
Yes! You can prepare and assemble these pops a day or two before your event. Store them in an airtight container in the fridge and bring to room temperature before serving.
What if I don’t have sugar cones?
Mini waffle cones or even ice cream cones can work, but sugar cones hold their shape best for the witch hat look. You might need to adjust assembly if using alternatives.
How do I prevent the chocolate from melting too fast when dipping?
Work in small batches and keep melted chocolate warm but not hot. If it thickens, gently reheat in short bursts. Using vegetable oil thins the chocolate, making dipping smoother.
Can I use homemade brownies for this recipe?
Absolutely! Just make sure your brownies are dense and fudgy, not cakey, so they roll well and hold together.
What’s the best way to store leftover brownie pops?
Keep them in an airtight container in the fridge for up to 5 days or freeze for longer storage. Thaw frozen pops overnight in the fridge before serving.
Pin This Recipe!
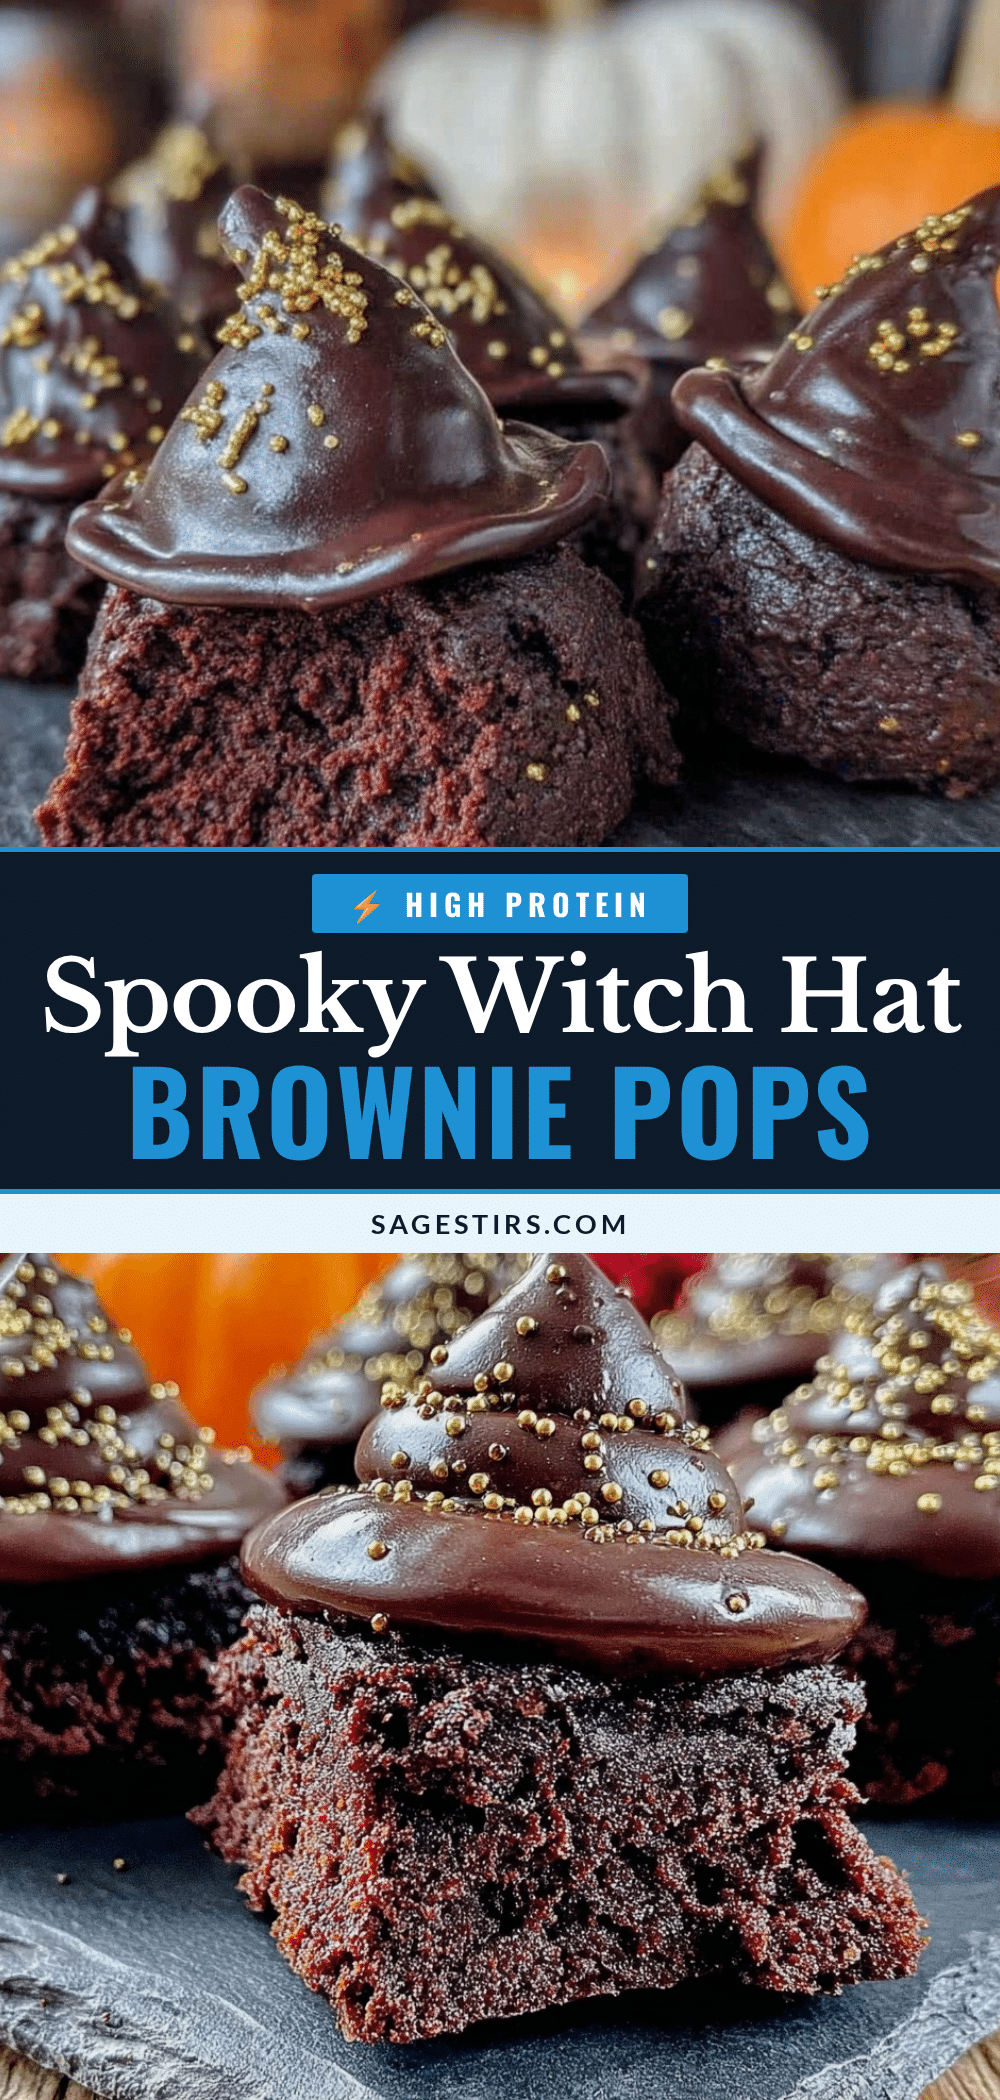
Perfect Witch Hat Brownie Pops
These witch hat brownie pops are a fun and easy Halloween treat featuring fudgy brownie balls topped with chocolate-dipped sugar cones, decorated with colorful candy bands.
- Prep Time: 20 minutes
- Cook Time: 25 minutes
- Total Time: 1 hour 45 minutes
- Yield: 12 servings 1x
- Category: Dessert
- Cuisine: American
Ingredients
- 1 cup (200g) granulated sugar
- ½ cup (115g) unsalted butter, melted
- 2 large eggs, room temperature
- 1 teaspoon vanilla extract
- ⅓ cup (35g) unsweetened cocoa powder
- ½ cup (65g) all-purpose flour
- ¼ teaspoon salt
- ¼ teaspoon baking powder
- 12 sugar cones (regular size)
- 2 cups (340g) semi-sweet chocolate chips or chopped chocolate
- 1 teaspoon vegetable oil
- Assorted candy melts or colored icing (orange, green, purple)
- Sprinkles or edible glitter (optional)
- Wooden lollipop sticks (about 12, 6-inch size)
- Wax paper or parchment paper for drying
Instructions
- Preheat oven to 350°F (175°C). In a medium bowl, whisk together sugar, melted butter, eggs, and vanilla extract until smooth (about 2 minutes).
- In a separate bowl, sift together cocoa powder, flour, salt, and baking powder. Gradually fold the dry ingredients into the wet mixture until just combined. Do not overmix.
- Pour batter into a greased or parchment-lined 8×8 inch pan, spreading evenly. Bake for 20-25 minutes or until a toothpick inserted in the center comes out with a few moist crumbs.
- Let brownies cool completely on a rack (about 1 hour).
- Crumble cooled brownies into a large bowl and roll into 1-inch balls (about 12). Place on a wax paper-lined baking sheet and chill in the fridge for 15-20 minutes.
- Melt chocolate chips with vegetable oil in a microwave-safe bowl or double boiler, heating in 30-second bursts and stirring until smooth. Keep warm.
- Dip the tip of each wooden stick into melted chocolate, then insert halfway into a brownie ball.
- Dip the rim of each sugar cone into melted chocolate and immediately place it over the brownie ball to form the witch hat. Hold until set, then place on wax paper to dry.
- Pipe a thin band around the base of each cone using candy melts or colored icing. Add sprinkles or edible glitter if desired. Let the pops sit at room temperature or chill briefly until chocolate hardens.
Notes
Cool brownies completely before rolling to prevent crumbling. Chill brownie balls before dipping for easier handling. Use vegetable oil to thin melted chocolate for a smooth coating. Warm cones gently before assembly if fragile. Store pops in an airtight container in the fridge up to 5 days or freeze up to 1 month.
Nutrition
- Serving Size: 1 witch hat brownie
- Calories: 200
- Sugar: 18
- Sodium: 90
- Fat: 11
- Saturated Fat: 6
- Carbohydrates: 26
- Fiber: 2
- Protein: 3
Keywords: Halloween, brownie pops, witch hat, party treats, easy dessert, chocolate, sugar cones