Love this? Save it for later!
Share the inspiration with your friends
The woman at the farmers market stall watched me hover over her Hatch green chiles for a solid five minutes. I was trying to look like I knew what I was doing—you know, the classic “I totally roast my own chiles every season” face. She didn’t say anything at first. Then she reached under her table, pulled out a paper bag already charred and smoky, and handed it to me. “You take these home,” she said. “Put them in everything for the next week. You’ll figure it out.”
I didn’t figure it out that night. Honestly, I burned the first batch of tortillas and ended up ordering pizza. But the next day, I tried again with those smoky, fire-roasted chiles, and something clicked. The best smoky Hatch green chile chicken enchiladas I’d ever made came out of that second attempt—and I’ve been tweaking them ever since. The secret, I learned, is letting the chiles do the heavy lifting. You don’t need a complicated sauce or a dozen spices. You just need good chiles, good chicken, and a little patience.
Maybe you’ve been there—standing in a grocery aisle or market, staring at a pile of chiles and wondering what to actually do with them. Or maybe you’re just looking for a weeknight dinner that feels like a celebration without the stress. Either way, this recipe is for you. It’s the kind of dish that makes you close your eyes after the first bite, then immediately reach for another forkful. I keep making it because it’s forgiving, it’s fast, and it tastes like someone spent hours in the kitchen when really, it comes together in about 30 minutes. Let me show you how.
Why You’ll Love This Recipe
These best smoky Hatch green chile chicken enchiladas have become my go-to for busy weeknights and casual dinner parties alike. Here is why they stand out from every other enchilada recipe I have tried:
- Quick & Easy: From start to table in about 30 minutes. No complicated steps, no all-day simmering. The oven does most of the work.
- Simple Ingredients: You likely have most of these in your kitchen right now. Rotisserie chicken, tortillas, cheese, and those gorgeous Hatch chiles. No fancy grocery trips required.
- Perfect for Weeknights or Company: This dish feels special enough for guests but is easy enough for a Tuesday. I have served it at potlucks, family dinners, and even a casual birthday gathering. It always disappears.
- Crowd-Pleaser: Kids love the creamy, cheesy filling. Adults appreciate the smoky depth from the chiles. Even picky eaters tend to go back for seconds.
- Unbelievably Delicious: The combination of smoky roasted chiles, tender chicken, and melted cheese creates a flavor that is pure comfort food. It is the kind of meal that makes you forget about takeout entirely.
What makes this recipe different from the rest is the technique of roasting the chiles yourself—or using high-quality jarred ones—and letting that smoky flavor infuse every layer. I tested this recipe six times before I got the balance right. The first batch was too watery. The second was too spicy. But this version? It is just right. Creamy, smoky, cheesy, and perfectly seasoned. It is comfort food reimagined—faster than the traditional version, but with the same soul-soothing satisfaction.
What Ingredients You Will Need
This recipe uses simple, wholesome ingredients to deliver bold flavor and satisfying texture without the fuss. Most are pantry staples or easy to find at any grocery store. Here is what you will need:
For the Filling
- 3 cups cooked chicken, shredded (rotisserie chicken works beautifully; about 1 large chicken or 2 breasts)
- 1 cup Hatch green chiles, roasted, peeled, and chopped (fresh when in season, or use 2 cans of 7-ounce fire-roasted Hatch chiles—I recommend the 505 Southwestern brand for consistent quality)
- 8 ounces cream cheese, softened (adds richness and helps bind the filling; use dairy-free cream cheese if needed)
- 1/2 cup sour cream (adds tang and creaminess; Greek yogurt works as a substitute)
- 1 teaspoon ground cumin
- 1/2 teaspoon garlic powder
- 1/2 teaspoon onion powder
- 1/2 teaspoon salt (or to taste)
- 1/4 teaspoon black pepper
- 2 cups shredded Monterey Jack cheese (divided; use 1 cup in the filling and 1 cup for topping)
For the Enchilada Sauce
- 2 tablespoons butter
- 2 tablespoons all-purpose flour (use gluten-free flour blend if needed)
- 2 cups chicken broth (low-sodium preferred)
- 1/2 cup Hatch green chiles, roasted and chopped (same as above; you will use about 1 1/2 cups total for the whole recipe)
- 1/2 teaspoon salt
- 1/4 teaspoon garlic powder
For Assembly
- 8-10 flour or corn tortillas (I prefer flour for softness, but corn works for gluten-free; warm them slightly so they don’t crack)
- 1/2 cup shredded Monterey Jack cheese (for topping, in addition to the 1 cup reserved from above)
- Fresh cilantro, chopped (for garnish)
- Sour cream and sliced jalapeños (optional, for serving)
For the best smoky flavor, I really recommend using roasted Hatch chiles if you can find them. In summer, our local market has them fresh, and I roast a big batch to freeze. The rest of the year, jarred fire-roasted Hatch chiles work perfectly—just drain them well before using. If you want a milder version, look for “mild” Hatch chiles. For more heat, go with “hot” or “extra hot.”
Equipment Needed
- 9×13-inch baking dish (glass or ceramic works best for even heating)
- Large skillet (for making the sauce and mixing the filling)
- Medium saucepan (for the enchilada sauce if you prefer to make it separately)
- Mixing bowls (one large, one medium)
- Whisk (for a smooth sauce without lumps)
- Sharp knife and cutting board
- Measuring cups and spoons
- Spatula or wooden spoon
- Aluminum foil (for covering while baking)
If you don’t have a 9×13 dish, you can use two smaller dishes or even a cast-iron skillet. I once used a disposable aluminum pan for a potluck and it worked great. For warming tortillas, you can use a dry skillet or microwave them between damp paper towels for 30 seconds—this prevents cracking when you roll them.
Preparation Method
Let me walk you through this. I have made these best smoky Hatch green chile chicken enchiladas so many times that I could do it in my sleep. Here is exactly how to get perfect results every time.
- Preheat your oven to 375°F (190°C). While it heats, lightly grease your 9×13 baking dish with butter or non-stick spray. This prevents sticking and makes cleanup easier.
- Make the enchilada sauce. In a medium saucepan over medium heat, melt the 2 tablespoons of butter. Once it bubbles, whisk in the 2 tablespoons of flour. Cook for 1 minute, stirring constantly—this gets rid of the raw flour taste. Slowly pour in the 2 cups of chicken broth while whisking. Keep whisking until the sauce thickens, about 3-4 minutes. Stir in the 1/2 cup chopped Hatch chiles, 1/2 teaspoon salt, and 1/4 teaspoon garlic powder. Reduce heat to low and let it simmer while you prepare the filling. The sauce should be smooth and lightly thickened, like a thin gravy.
- Prepare the filling. In a large bowl, combine the shredded chicken, 1 cup of chopped Hatch chiles, softened cream cheese, sour cream, cumin, garlic powder, onion powder, salt, pepper, and 1 cup of shredded Monterey Jack cheese. Mix everything together until well combined. The cream cheese should be soft enough to blend easily—if it is still cold, microwave it for 15 seconds to soften. The filling will be thick and creamy.
- Warm the tortillas. This step is crucial. Cold tortillas crack when you roll them. Wrap 8-10 tortillas in a damp paper towel and microwave for 30-45 seconds, or heat them one at a time in a dry skillet for about 15 seconds per side. They should be pliable and warm.
- Assemble the enchiladas. Spread about 1/2 cup of the enchilada sauce evenly over the bottom of your prepared baking dish. This prevents the tortillas from sticking and adds flavor to the bottom layer. Take one warm tortilla, place about 1/3 cup of the chicken filling down the center, and roll it up tightly. Place it seam-side down in the dish. Repeat with the remaining tortillas, arranging them snugly in a single row. You should fit about 8-10 enchiladas depending on your dish size.
- Top and bake. Pour the remaining enchilada sauce evenly over the rolled tortillas. Sprinkle the remaining 1/2 cup of shredded Monterey Jack cheese on top. Cover the dish with aluminum foil and bake for 20 minutes. Then remove the foil and bake for another 5-10 minutes, until the cheese is melted and bubbly and the edges are slightly golden.
- Rest and serve. Let the enchiladas rest for 5 minutes after taking them out of the oven. This helps them set so they don’t fall apart when you serve them. Garnish with fresh cilantro and serve with sour cream and sliced jalapeños on the side.
A quick note: if your sauce seems too thin after baking, don’t worry. It will thicken as it cools slightly. And if the enchiladas look a little saucy, that is exactly how they should be—the tortillas soak up the liquid as they rest.
Cooking Tips & Techniques
After making these best smoky Hatch green chile chicken enchiladas more times than I can count, I have picked up a few tricks that make a real difference. Here are the ones I wish someone had told me from the start.
Don’t skip warming the tortillas. I learned this the hard way. The first time I made enchiladas, I used cold tortillas and ended up with a cracked, crumbly mess. Warming them makes them flexible and easy to roll without tearing. If you are using corn tortillas, you might want to quickly fry them in a little oil for 10 seconds per side—this prevents them from getting soggy.
Toast your cumin. This is a game-changer. Before adding the cumin to the filling, toss it in a dry skillet over medium heat for about 30 seconds until it smells fragrant. It deepens the flavor and adds a warm, nutty note that really complements the smoky chiles. I do this with all my ground spices now.
Use room temperature cream cheese. Cold cream cheese creates lumps in the filling that never quite smooth out. Let it sit on the counter for 20-30 minutes before you start. If you forget, pop it in the microwave for 10-15 seconds—just be careful not to melt it.
Don’t overfill the tortillas. I know it is tempting to pile in the filling, but about 1/3 cup per tortilla is the sweet spot. Overfilling makes rolling difficult and can cause the enchiladas to burst open during baking. Trust me, I have had a few explosions in my oven.
Let the enchiladas rest after baking. This is the hardest step because everything smells amazing and you just want to dig in. But resting allows the sauce to absorb into the tortillas and the filling to set. If you serve them immediately, they will be soupy and fall apart. Five minutes makes all the difference.
Make the sauce ahead of time. The enchilada sauce can be made up to 3 days in advance and stored in the fridge. This cuts your prep time in half on busy nights. Just reheat it gently before assembling.
Variations & Adaptations
One of the best things about this recipe is how adaptable it is. Here are some variations I have tried and loved.
Vegetarian Version: Swap the chicken for 3 cups of black beans (drained and rinsed) or roasted vegetables like zucchini, bell peppers, and corn. The filling stays creamy and satisfying. I made this for a vegetarian friend and she asked for the recipe immediately.
Spicy Version: Use hot Hatch chiles instead of mild, and add 1-2 finely chopped jalapeños to the filling. You can also stir in a teaspoon of chipotle powder for extra smoky heat. My husband loves this version—I always make a separate batch for him.
Dairy-Free Version: Use dairy-free cream cheese and sour cream (I like Kite Hill or Violife brands). Replace the Monterey Jack with a dairy-free shredded cheese that melts well. The texture is slightly different but still delicious.
Gluten-Free Version: Use corn tortillas instead of flour, and substitute the all-purpose flour in the sauce with a gluten-free all-purpose blend or cornstarch (use 1 tablespoon cornstarch mixed with 2 tablespoons cold water as a slurry).
Slow Cooker Method: Assemble the enchiladas in a slow cooker instead of a baking dish. Cook on low for 2-3 hours. The texture is softer and more casserole-like, but the flavor is just as good. I do this for potlucks when I need to transport everything easily.
Add More Veggies: Stir in a cup of sautéed onions and bell peppers to the filling for extra nutrition and flavor. I also like adding a handful of fresh spinach that wilts into the creamy mixture.
Serving & Storage Suggestions
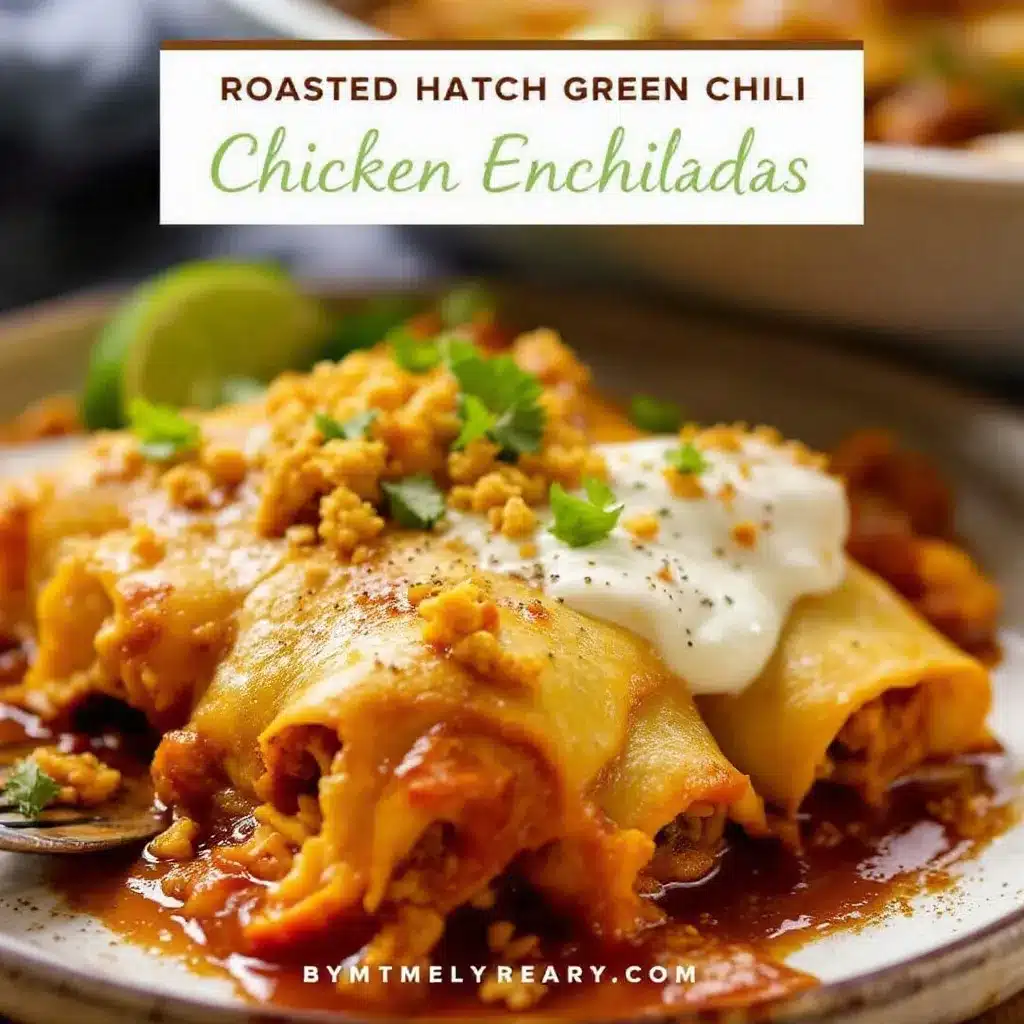
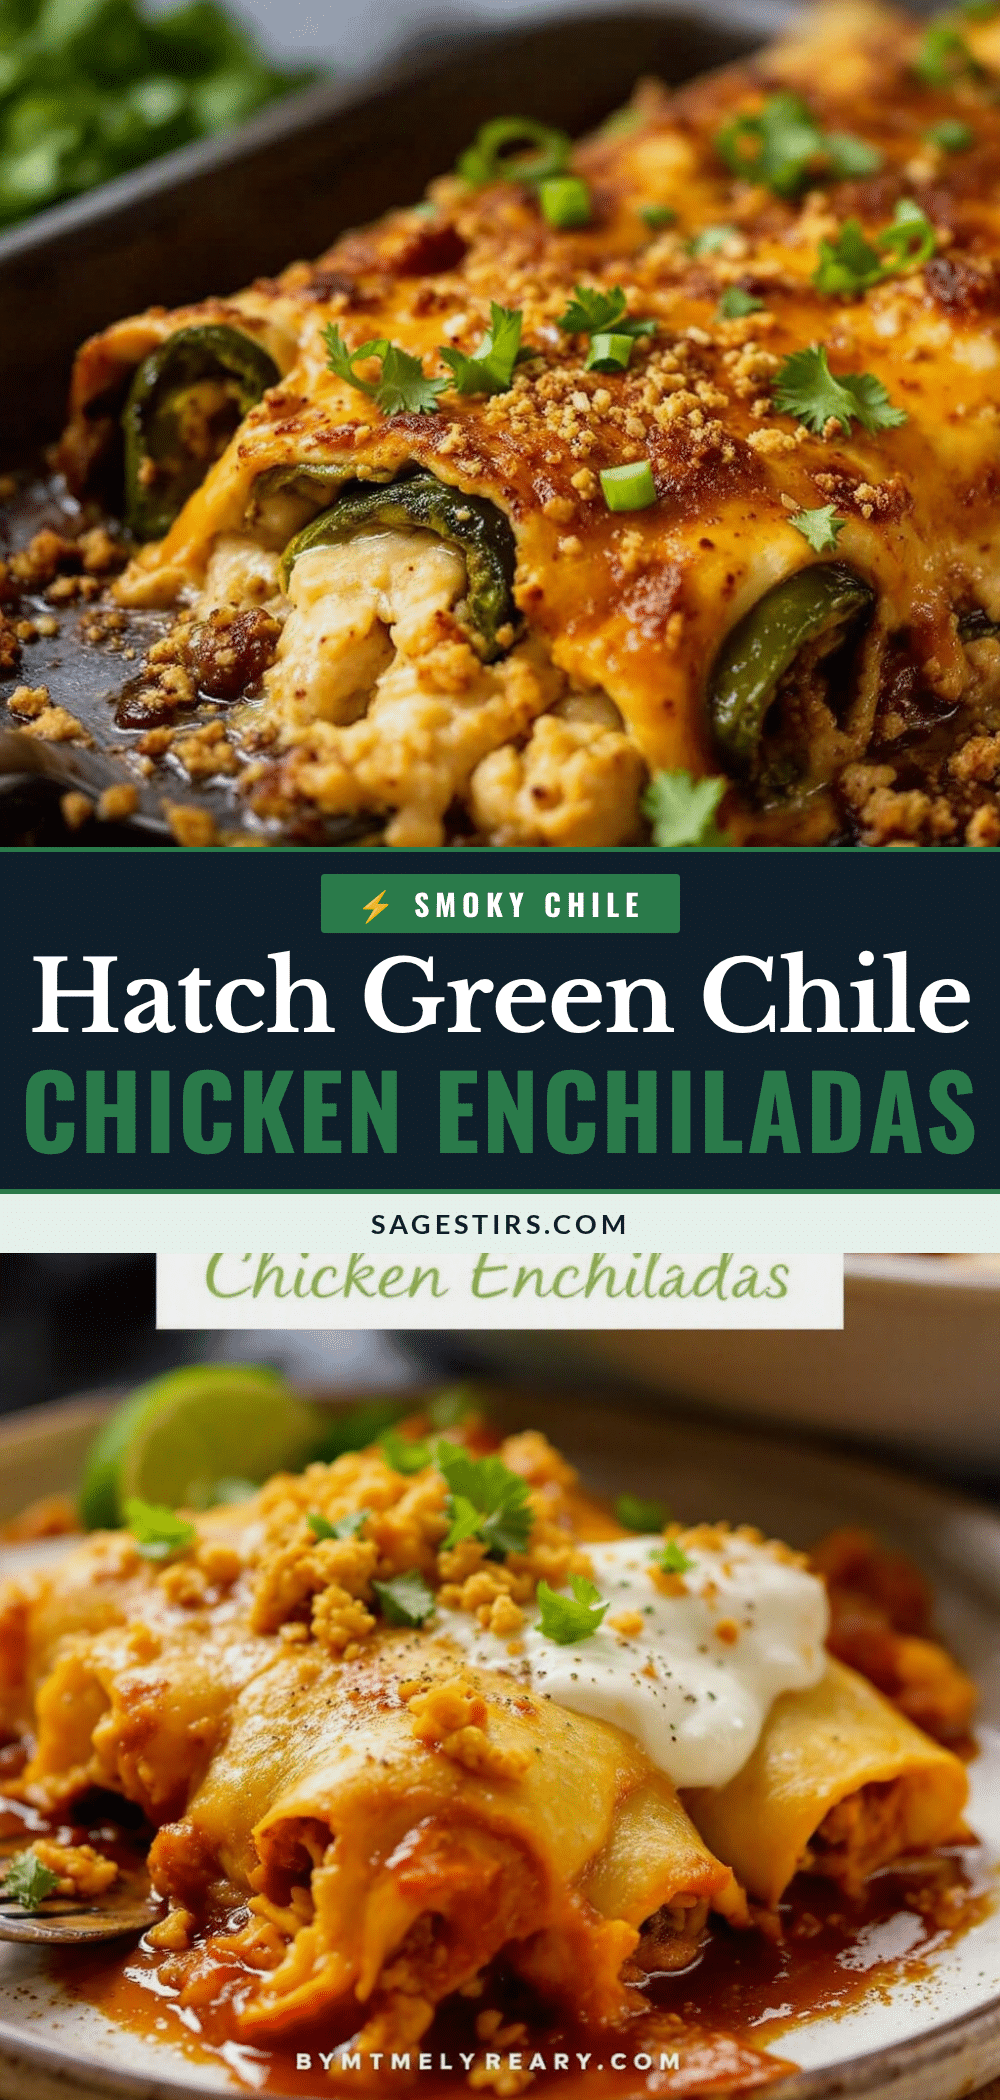
These best smoky Hatch green chile chicken enchiladas are best served hot, right after that 5-minute rest. The cheese should be melted and bubbly, and the edges of the tortillas slightly golden. I like to serve them with a dollop of sour cream, a sprinkle of fresh cilantro, and a few slices of pickled jalapeños for brightness.
They pair beautifully with simple sides like Mexican rice, refried beans, or a crisp green salad with lime vinaigrette. For a lighter meal, serve them with a side of grilled vegetables or a fresh corn and avocado salad. A cold Mexican beer or a tart margarita is the perfect drink pairing—though I have also been known to enjoy them with a glass of iced tea.
Storage: Leftover enchiladas keep well in the refrigerator for up to 4 days. Store them in an airtight container. The flavors actually meld together overnight, so leftovers taste even better the next day. I often make a double batch just for this reason.
Freezing: These enchiladas freeze beautifully. Assemble them completely in a freezer-safe dish, but do not bake. Cover tightly with plastic wrap and then foil. Freeze for up to 3 months. To bake, thaw overnight in the refrigerator, then bake as directed, adding 5-10 minutes to the covered baking time since the dish starts cold.
Reheating: The best way to reheat individual portions is in the microwave for 1-2 minutes, or in a 350°F oven for 10-15 minutes covered with foil. For a crispy top, uncover for the last 2 minutes. Avoid overheating, as the cream cheese filling can become grainy.
Nutritional Information & Benefits
Here is the approximate nutritional breakdown for one enchilada (based on 10 servings, using flour tortillas and full-fat dairy):
- Calories: 380
- Protein: 28g
- Fat: 22g
- Carbohydrates: 18g
- Fiber: 2g
- Sugar: 3g
- Sodium: 680mg
These enchiladas offer several nutritional benefits. The chicken provides lean protein that keeps you full and supports muscle health. Hatch green chiles are rich in vitamin C and capsaicin, which may boost metabolism and reduce inflammation. The cream cheese and sour cream add calcium, though you can lighten the recipe by using reduced-fat versions or Greek yogurt.
This recipe is naturally low-carb if you use corn tortillas (about 12g net carbs per enchilada). For a keto-friendly version, use low-carb tortillas and full-fat dairy. It is also easily made gluten-free and dairy-free with the substitutions mentioned earlier. The main allergens are dairy and gluten, so adjust accordingly for your needs.
Conclusion
Honestly, these best smoky Hatch green chile chicken enchiladas have become a staple in my kitchen for a reason. They are fast enough for a busy weeknight but impressive enough to serve to guests. The smoky flavor from the chiles, the creamy filling, and the melty cheese topping create a combination that is hard to beat. And the best part? You can tweak them endlessly to suit your taste—make them spicier, milder, vegetarian, or dairy-free. They are forgiving and flexible, like any good recipe should be.
I hope you give these a try soon. Whether you are a seasoned cook or someone who is still figuring out how to roll a tortilla without cracking it (I have been there), this recipe will work for you. Let me know how they turn out! Leave a comment below with your favorite variation, or share a photo of your creation. I love seeing how you make this recipe your own. Happy cooking!
Frequently Asked Questions
Can I use canned green chiles instead of fresh Hatch chiles?
Absolutely. Canned or jarred fire-roasted Hatch chiles work perfectly, especially when fresh ones are out of season. I use the 505 Southwestern brand often. Just drain them well before using to avoid watery filling.
How do I prevent my enchiladas from getting soggy?
Warm your tortillas before rolling, and do not oversaturate them with sauce. Spreading a thin layer of sauce on the bottom of the dish helps, but pour the remaining sauce over the top just before baking—not too far in advance. Also, using a slightly thicker sauce (cook it an extra minute or two) makes a big difference.
Can I make these enchiladas ahead of time?
Yes! Assemble them completely, cover, and refrigerate for up to 24 hours before baking. You may need to add 5-10 minutes to the baking time since the dish starts cold. They also freeze beautifully for up to 3 months.
What is the best cheese for enchiladas?
Monterey Jack is my top choice because it melts smoothly and has a mild flavor that lets the chiles shine. A blend of Monterey Jack and sharp cheddar also works well. Avoid pre-shredded cheese if possible—it contains anti-caking agents that prevent smooth melting.
How spicy are these enchiladas?
That depends on the chiles you use. Mild Hatch chiles give a gentle warmth without much heat. Hot Hatch chiles add a noticeable kick. If you are sensitive to spice, stick with mild chiles and remove all seeds before chopping. You can also add a dollop of sour cream to cool things down.
Pin This Recipe!
Best Smoky Hatch Green Chile Chicken Enchiladas: Easy 30-Min Recipe

These best smoky Hatch green chile chicken enchiladas are fast enough for a busy weeknight but impressive enough to serve to guests. The smoky flavor from the chiles, the creamy filling, and the melty cheese topping create a combination that is hard to beat.
- Prep Time: 15 minutes
- Cook Time: 30 minutes
- Total Time: 45 minutes
- Yield: 8-10 servings 1x
- Category: Main Course
- Cuisine: Mexican
Ingredients
- 3 cups cooked chicken, shredded (rotisserie chicken works beautifully; about 1 large chicken or 2 breasts)
- 1 cup Hatch green chiles, roasted, peeled, and chopped (fresh when in season, or use 2 cans of 7-ounce fire-roasted Hatch chiles)
- 8 ounces cream cheese, softened
- 1/2 cup sour cream
- 1 teaspoon ground cumin
- 1/2 teaspoon garlic powder
- 1/2 teaspoon onion powder
- 1/2 teaspoon salt
- 1/4 teaspoon black pepper
- 2 cups shredded Monterey Jack cheese (divided; use 1 cup in the filling and 1 cup for topping)
- 2 tablespoons butter
- 2 tablespoons all-purpose flour
- 2 cups chicken broth (low-sodium preferred)
- 1/2 cup Hatch green chiles, roasted and chopped (additional for sauce)
- 1/2 teaspoon salt (for sauce)
- 1/4 teaspoon garlic powder (for sauce)
- 8–10 flour or corn tortillas
- 1/2 cup shredded Monterey Jack cheese (for topping, in addition to the 1 cup reserved from above)
- Fresh cilantro, chopped (for garnish)
- Sour cream and sliced jalapeños (optional, for serving)
Instructions
- Preheat your oven to 375°F (190°C). Lightly grease your 9×13 baking dish with butter or non-stick spray.
- Make the enchilada sauce: In a medium saucepan over medium heat, melt the 2 tablespoons of butter. Whisk in the 2 tablespoons of flour and cook for 1 minute, stirring constantly. Slowly pour in the 2 cups of chicken broth while whisking. Continue whisking until the sauce thickens, about 3-4 minutes. Stir in the 1/2 cup chopped Hatch chiles, 1/2 teaspoon salt, and 1/4 teaspoon garlic powder. Reduce heat to low and let it simmer while you prepare the filling.
- Prepare the filling: In a large bowl, combine the shredded chicken, 1 cup of chopped Hatch chiles, softened cream cheese, sour cream, cumin, garlic powder, onion powder, salt, pepper, and 1 cup of shredded Monterey Jack cheese. Mix until well combined.
- Warm the tortillas: Wrap 8-10 tortillas in a damp paper towel and microwave for 30-45 seconds, or heat them one at a time in a dry skillet for about 15 seconds per side.
- Assemble the enchiladas: Spread about 1/2 cup of the enchilada sauce evenly over the bottom of your prepared baking dish. Take one warm tortilla, place about 1/3 cup of the chicken filling down the center, and roll it up tightly. Place it seam-side down in the dish. Repeat with the remaining tortillas, arranging them snugly in a single row.
- Top and bake: Pour the remaining enchilada sauce evenly over the rolled tortillas. Sprinkle the remaining 1/2 cup of shredded Monterey Jack cheese on top. Cover the dish with aluminum foil and bake for 20 minutes. Then remove the foil and bake for another 5-10 minutes, until the cheese is melted and bubbly and the edges are slightly golden.
- Rest and serve: Let the enchiladas rest for 5 minutes after taking them out of the oven. Garnish with fresh cilantro and serve with sour cream and sliced jalapeños on the side.
Notes
Don’t skip warming the tortillas to prevent cracking. Toast your cumin in a dry skillet for 30 seconds to deepen flavor. Use room temperature cream cheese to avoid lumps. Don’t overfill the tortillas (about 1/3 cup each). Let the enchiladas rest after baking to set. The sauce can be made up to 3 days ahead.
Nutrition
- Serving Size: 1 enchilada
- Calories: 380
- Sugar: 3
- Sodium: 680
- Fat: 22
- Saturated Fat: 12
- Carbohydrates: 18
- Fiber: 2
- Protein: 28
Keywords: Hatch green chile, chicken enchiladas, smoky enchiladas, easy enchiladas, 30-minute recipe, weeknight dinner, comfort food