Love this? Save it for later!
Share the inspiration with your friends
I was staring into the fridge on a Sunday night, completely out of ideas. My kid had rejected sandwiches for the third week in a row, and I was this close to just tossing a bag of chips in her lunchbox and calling it a day. The leftover ham from Sunday dinner was sitting there, staring back at me. A block of cheddar. Some cream cheese that was about to expire. Honestly, I was too tired to make anything complicated, so I just started throwing things into a bento box. I didn’t have a plan. I didn’t have a recipe. I just had a desperate need to avoid another trip to the grocery store.
The next day, her lunchbox came back empty. Not just the food—everything. The little silicone cups were licked clean. She asked for the same thing the next day, and the next. That’s how this Easy Ham and Cheese Lunch Box was born—not from a cookbook or a Pinterest board, but from a moment of pure parental exhaustion. It’s not a sandwich, it’s not a wrap, and it’s not some fancy charcuterie situation. It’s just really good food that happens to be ridiculously easy to pack.
Maybe you’ve been there—staring at the same bread loaf, wondering why your kid suddenly hates the thing they ate every day for two years. I get it. This lunch box is for those days (and honestly, every day after). It’s the kind of thing that makes you feel like you’ve got your act together, even when you’re winging it.
Why You’ll Love This Recipe
Let me tell you why this Easy Ham and Cheese Lunch Box has become my go-to. It solves the lunch problem without the drama, and it actually tastes good cold. No soggy bread, no sad lettuce—just protein-packed goodness that holds up in a lunchbox.
- No Cooking Required: You don’t even need to turn on the stove. This comes together in under five minutes, which is a lifesaver on chaotic mornings.
- Kid-Approved and Parent-Trusted: My picky eater devours this, and I love that it’s full of real food. No processed lunch kits here.
- Perfect for Lunch Prep: You can prep everything on Sunday and grab-and-go all week. It stays fresh and delicious.
- Totally Customizable: Swap the ham for turkey, change up the cheese, add whatever veggies are lingering in your fridge. It works with what you have.
- Naturally Low-Carb and Gluten-Free: Since there’s no bread, this works for gluten-sensitive kids and adults alike. It’s also great for low-carb lifestyles without feeling like a diet meal.
What makes this different from other lunch ideas is the simplicity. It’s not a recipe that requires special ingredients or a trip to three different stores. It’s the kind of lunch you can throw together while your coffee is brewing, and it still feels special. The ham and cheese combo is classic for a reason—salty, savory, satisfying. But without the bread, you actually taste each component. It’s comfort food, simplified.
What Ingredients You Will Need
This Easy Ham and Cheese Lunch Box uses simple, wholesome ingredients that you probably already have in your fridge. The beauty is in the quality—better ham and cheese make a huge difference, even in a simple lunch.
- Ham: 4-6 slices of deli ham (about 4 ounces or 115 grams). I prefer black forest ham or honey ham for the flavor. Look for thick-cut slices if you can—they hold up better and feel more substantial. My go-to is Boar’s Head or the store-brand black forest ham from the deli counter.
- Cheese: 4 ounces (115 grams) of cheddar cheese, cut into cubes. You can use colby jack, gouda, or even mozzarella pearls for a different twist. I recommend block cheese over pre-shredded—it tastes better and doesn’t dry out.
- Cream Cheese: 2 tablespoons (30 grams) of cream cheese, softened. This is the secret ingredient that makes everything feel creamy and indulgent. Use full-fat for best flavor, but Neufchatel works too.
- Cucumber: ½ cup (about 75 grams) of cucumber slices. English cucumbers are best because they’re less watery and don’t get soggy. Leave the skin on for extra crunch and color.
- Cherry Tomatoes: ½ cup (about 100 grams) of cherry tomatoes, halved. They add a burst of sweetness and acidity that cuts through the richness of the cheese.
- Olives: ¼ cup (about 30 grams) of black or green olives. I love Castelvetrano olives for their buttery texture, but any pitted olive works. This is optional but highly recommended.
- Almonds: ¼ cup (about 35 grams) of whole almonds. They add crunch and healthy fats. You can substitute with walnuts or pecans if you prefer.
- Grapes: ½ cup (about 75 grams) of red or green grapes. They’re nature’s candy and balance the savory elements perfectly.
For the dipping sauce, you can add a small container of honey mustard or ranch dressing. My kids love a little side of honey mustard for the ham. It takes this from “snack plate” to “lunch” in their minds.
Equipment Needed
You don’t need fancy tools for this Easy Ham and Cheese Lunch Box. That’s the whole point. Here’s what you’ll need:
- Bento Box or Lunch Container: A compartmentalized container is ideal for keeping everything separate. I use a three-compartment bento box, but any container with dividers works. If you don’t have one, use small silicone baking cups to separate items in a regular container.
- Cutting Board: A medium-sized cutting board for dicing cheese and slicing vegetables. I prefer a wooden board for vegetables and a separate plastic one for meat.
- Sharp Knife: A good chef’s knife or paring knife makes quick work of cubing cheese and slicing cucumbers. A dull knife is actually more dangerous—keep it sharp.
- Small Bowls: For holding prepped ingredients before assembly. I use small prep bowls to keep my station organized.
- Measuring Cups and Spoons: For portioning out almonds, olives, and cream cheese. Eyeballing works too, but measuring helps with consistency.
- Ice Pack: An insulated lunch bag with an ice pack keeps everything fresh until lunchtime. This is crucial for the cream cheese and ham.
If you’re packing for a school lunch, I recommend a bento box with a leak-proof lid. The stainless steel ones are durable and easy to clean. My favorite is the Bentgo Kids, but any compartmentalized container works. For adults, a simple glass meal prep container with dividers is perfect.
Preparation Method

This Easy Ham and Cheese Lunch Box comes together in under 10 minutes. Here’s how to do it, step by step.
- Prep the Ham: Take 4-6 slices of deli ham and roll them into tight cylinders. Then slice each roll into 1-inch (2.5 cm) pinwheels. This makes them easy to grab and eat. If your ham slices are very thin, fold them in half before rolling for a sturdier bite. Set aside in a small bowl.
- Cube the Cheese: Cut 4 ounces (115 grams) of cheddar cheese into ½-inch (1.25 cm) cubes. Aim for uniform pieces so they’re easy to pack and eat. If you’re using a softer cheese like gouda, chill it for 10 minutes in the freezer first—it’ll cut cleaner without sticking to the knife.
- Slice the Cucumber: Wash an English cucumber and slice it into rounds about ¼-inch (0.6 cm) thick. You’ll need about ½ cup (75 grams) of slices. Pat them dry with a paper towel to remove excess moisture—this keeps them crunchy in the lunchbox.
- Halve the Tomatoes: Rinse ½ cup (100 grams) of cherry tomatoes and cut them in half. Use a serrated knife for easy slicing without squishing them. Place them cut-side up in the container to prevent sogginess.
- Prepare the Olives: Drain ¼ cup (30 grams) of olives and pat them dry. If they’re not already pitted, use a cherry pitter or the flat side of a knife to remove the pits. This is a safety must for kids.
- Portion the Almonds: Measure out ¼ cup (35 grams) of whole almonds. If you’re packing for a younger child, you can slice them lengthwise to prevent choking hazards. Toast them lightly in a dry pan for 3 minutes if you want extra flavor—this is optional but worth it.
- Add the Cream Cheese: Spoon 2 tablespoons (30 grams) of softened cream cheese into a small silicone cup or compartment. You can also pipe it into a small star shape for fun presentation. If you’re prepping ahead, keep the cream cheese separate and add it the morning of to prevent it from making other items soggy.
- Wash the Grapes: Rinse ½ cup (75 grams) of grapes and pat them completely dry. Wet grapes can make the container humid and cause everything to get soft. Leave them on the stem if you want—it makes them easier to grab.
- Assemble the Lunch Box: Arrange all components in your bento box, keeping wet items (cucumber, tomatoes) separate from dry items (almonds, crackers if using). Place the cream cheese in a corner where it won’t touch the ham. Add a small ice pack on top if packing for later.
- Final Check: Give the container a gentle shake to make sure nothing is sliding around. If items are shifting, add a small piece of parchment paper between compartments to keep everything in place. Seal the lid tightly and refrigerate until ready to pack.
Pro tip: If you’re making these for the week, prep all the components on Sunday and store them in separate containers. Each morning, just grab and assemble. It takes 90 seconds once everything is prepped.
Cooking Tips & Techniques
After making this Easy Ham and Cheese Lunch Box dozens of times, I’ve learned a few tricks that make a real difference. Here’s what I wish I knew from the start.
Keep Everything Dry: Moisture is the enemy of a good lunch box. Pat your cucumbers, tomatoes, and grapes dry with a paper towel before packing. Even a little excess water can turn your ham slimy and your almonds soft. I learned this the hard way after opening a lunchbox that looked like a science experiment.
Roll the Ham Tight: When you roll your ham slices into pinwheels, roll them as tightly as you can without tearing the meat. A tight roll means the ham holds its shape and doesn’t unravel in the lunchbox. If your ham is thin, double it up before rolling. This also makes it feel more substantial—like a real food item, not just a floppy slice.
Chill the Cheese: If you’re cubing a soft cheese like gouda or havarti, pop it in the freezer for 10 minutes before cutting. It firms up just enough to give you clean cubes without the cheese sticking to your knife. For hard cheeses like cheddar, room temperature is fine.
Use a Cookie Cutter for Fun: For picky eaters, use a small cookie cutter to shape the cheese or ham into stars, hearts, or dinosaurs. It takes an extra 30 seconds but makes the lunch feel special. My daughter eats everything faster when it’s shaped like a star. I don’t question it—I just do it.
Don’t Skip the Cream Cheese: That little dollop of cream cheese is the glue that holds this lunch together. It’s a dip for the ham, a spread for the cucumber, and a creamy counterpoint to the salty olives. If you’re dairy-free, use a plant-based cream cheese or hummus instead. But honestly, the real thing is best here.
Timing Matters: Pack the lunch the night before and refrigerate everything except the grapes and almonds. Add those in the morning to keep them crunchy. If you pack everything at once, the grapes can make the almonds taste weird. Yes, I’ve tested this.
Variations & Adaptations
This Easy Ham and Cheese Lunch Box is endlessly adaptable. Here are some of my favorite variations.
Turkey and Swiss Version: Swap the ham for sliced turkey breast and use Swiss cheese instead of cheddar. Add a small container of whole-grain mustard for dipping. This feels more grown-up and is perfect for adult lunches. I pack this for myself when I’m stealing my kid’s lunch concept.
Italian-Inspired Lunch Box: Replace the ham with salami or pepperoni, use mozzarella pearls instead of cheddar, and add marinated artichoke hearts and roasted red peppers. A side of balsamic vinaigrette for dipping ties it all together. This is my go-to when I want something with more punch.
Vegetarian Option: Skip the ham entirely and double up on the cheese. Add hard-boiled eggs (sliced or quartered) for protein, and include hummus instead of cream cheese. Roasted chickpeas make a great crunchy substitute for almonds. My vegetarian friend swears by this version.
Low-Carb/Keto Adaptation: This recipe is already low-carb, but you can make it even more keto-friendly by swapping the grapes for sliced bell peppers or celery sticks. Add extra olives and almonds for healthy fats. The cream cheese is already perfect for keto macros.
Nut-Free School Lunch: Replace the almonds with sunflower seeds or pumpkin seeds. Most schools are nut-free, so this is a must for many families. You can also add cheese crisps or pork rinds for crunch. My niece’s school is nut-free, and this swap works beautifully.
Breakfast Lunch Box: Use breakfast ham or Canadian bacon, add a small container of Greek yogurt, and swap the grapes for apple slices. A sprinkle of cinnamon on the cream cheese makes it feel like breakfast. This is surprisingly good for brunch meal prep.
Serving & Storage Suggestions
This Easy Ham and Cheese Lunch Box is designed to be eaten cold, straight from the container. But how you serve and store it makes a difference.
Serving Temperature: Serve cold or at room temperature. If you’re packing for a school lunch, it will be at room temperature by lunchtime anyway, so don’t worry about keeping it ice-cold. The cream cheese will soften slightly, which actually makes it easier to spread on the ham.
Presentation Ideas: For kids, arrange the components in a fun pattern—a smiley face, a rainbow, or just color groups. Use small silicone cups to separate wet and dry items. For adults, arrange everything in neat rows for a clean, meal-prep aesthetic. A sprinkle of flaky salt on the cucumber slices makes it feel fancy.
Complementary Sides: This lunch box is a complete meal on its own, but you can add a small container of soup (thermos-style) in winter, or a fruit pouch for extra sweetness. A small piece of dark chocolate or a few berries make a nice dessert. I sometimes add a pickle spear because pickles and ham are a match made in heaven.
Storage Instructions: Store prepped components in separate airtight containers in the refrigerator for up to 4 days. Assemble the lunch box the night before or the morning of. Do not freeze—the cucumbers and tomatoes will become watery and sad. The ham and cheese can be prepped and frozen separately for up to a month, but it’s really not necessary for this recipe.
Reheating Notes: Do not reheat. This is a cold lunch. If you want a warm option, you can briefly microwave the ham and cheese pinwheels for 10 seconds, but it’s not recommended for the full lunch box. The cucumbers and grapes do not take well to heat.
Flavor Development: The flavors actually meld nicely after a few hours in the fridge. The cream cheese softens and coats the ham slightly, and the olives impart a subtle brininess to nearby items. It’s even better the next day, honestly. I sometimes make a double batch just for the leftovers.
Nutritional Information & Benefits
This Easy Ham and Cheese Lunch Box is packed with protein, healthy fats, and fresh produce. Here’s a rough breakdown per serving:
- Calories: Approximately 450-500 calories per serving (varies based on specific ingredients)
- Protein: 25-30 grams from ham, cheese, and almonds
- Fat: 30-35 grams, mostly from cheese, almonds, and cream cheese (healthy fats)
- Carbohydrates: 15-20 grams, primarily from grapes and vegetables
- Fiber: 4-6 grams from almonds, cucumber, and olives
Health Benefits: Ham provides high-quality protein and B vitamins, especially B12. Cheese offers calcium and phosphorus for bone health. Almonds are rich in vitamin E and magnesium, which support brain function and energy. Cucumbers are hydrating and low in calories, while grapes provide antioxidants like resveratrol. This lunch box is naturally gluten-free and can be made nut-free or dairy-free with simple substitutions.
Dietary Considerations: This recipe is naturally low-carb and keto-friendly. It’s also gluten-free and contains no added sugars (the sweetness comes from grapes). For dairy-free, use plant-based cheese and cream cheese alternatives. For nut-free, replace almonds with seeds. The ham can be swapped for turkey or plant-based deli slices for different dietary needs.
Allergen Note: Contains dairy (cheese, cream cheese) and tree nuts (almonds). May contain traces of other allergens depending on deli meat brands. Always check labels if serving to someone with allergies.
Conclusion
This Easy Ham and Cheese Lunch Box is proof that you don’t need a complicated recipe to make a great lunch. It’s simple, it’s fast, and it actually tastes good. No soggy bread, no sad leftovers—just real food that kids and adults both love. I make this for my daughter at least twice a week, and I’ve started packing it for my own work lunches too. It’s that good.
I want you to make this your own. Swap the ham for turkey, change up the cheese, add whatever veggies are in your fridge. The formula is flexible, and that’s the point. You don’t need to follow a strict recipe—just use good ingredients and pack them with care. The rest takes care of itself.
I’d love to hear how your lunch box turns out. Drop a comment below and tell me what variations you tried. Did your kid eat the olives? Did you add something unexpected that worked? Share your wins (and your fails—I’ve had plenty). And if you found this helpful, share it with a friend who’s also tired of making sandwiches. We’re all in this lunch-packing journey together.
Happy packing, friends. Your lunch box just got a whole lot better.
Frequently Asked Questions
Can I make this lunch box the night before?
Yes, you can assemble the entire lunch box the night before and refrigerate it. Just add the grapes and almonds in the morning to keep them crunchy. The cream cheese will firm up overnight, so let it sit at room temperature for 5 minutes before packing if you want it spreadable.
How do I keep the ham from drying out?
Rolling the ham into pinwheels helps retain moisture because there’s less surface area exposed to air. You can also place a slightly damp paper towel over the ham in the container (but not touching the almonds or crackers). The cream cheese also adds moisture when you dip the ham in it.
What if my child doesn’t like olives?
No problem at all. Swap the olives for pickles, bell pepper strips, or carrot sticks. You can also replace them with a small container of hummus or extra grapes. The olives are optional—the lunch box works beautifully without them.
Can I use pre-sliced cheese from a bag?
You can, but I recommend block cheese for better flavor and texture. Pre-shredded cheese has anti-caking agents that can make it dry and less creamy. Cubing your own cheese takes 2 minutes and tastes significantly better. If you’re in a rush, pre-sliced cheese cut into squares works in a pinch.
Is this lunch box safe for school if it doesn’t have an ice pack?
If your child eats lunch within 2-3 hours of packing, it should be fine without an ice pack. For longer storage, use an insulated lunch bag with a frozen ice pack. The ham and cheese are generally safe at room temperature for a few hours, but cream cheese is more perishable. When in doubt, add an ice pack.
Pin This Recipe!
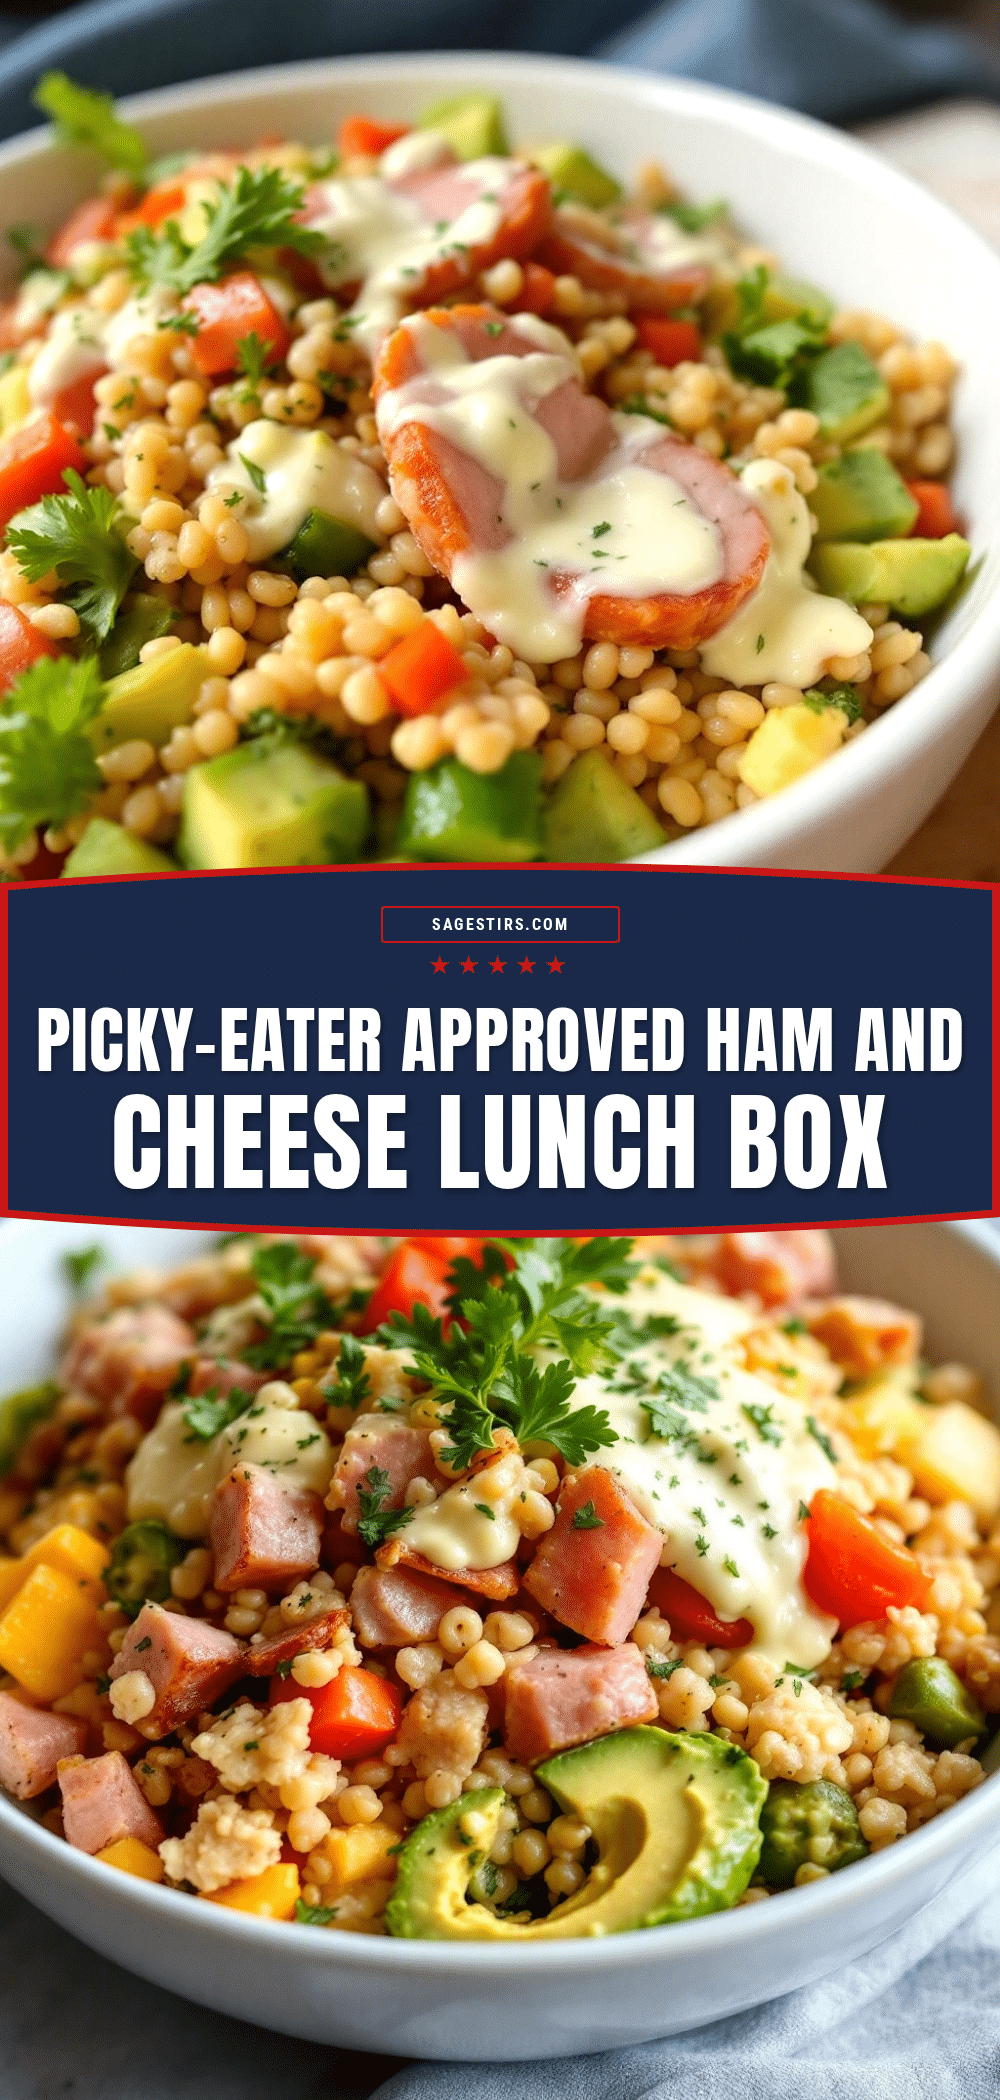
Easy Ham and Cheese Lunch Box (No Sandwich, Kid Friendly)

A quick, no-cook lunch box featuring ham, cheese, and fresh produce that’s perfect for picky eaters and busy mornings. It’s naturally low-carb, gluten-free, and endlessly customizable.
- Prep Time: 10 minutes
- Cook Time: 0 minutes
- Total Time: 10 minutes
- Yield: 1 serving 1x
- Category: Lunch
- Cuisine: American
Ingredients
- 4–6 slices deli ham (about 4 oz / 115 g)
- 4 oz (115 g) cheddar cheese, cut into cubes
- 2 tbsp (30 g) cream cheese, softened
- ½ cup (75 g) cucumber slices
- ½ cup (100 g) cherry tomatoes, halved
- ¼ cup (30 g) black or green olives
- ¼ cup (35 g) whole almonds
- ½ cup (75 g) red or green grapes
Instructions
- Prep the Ham: Roll 4-6 slices of deli ham into tight cylinders, then slice each roll into 1-inch (2.5 cm) pinwheels. Set aside.
- Cube the Cheese: Cut 4 oz (115 g) cheddar cheese into ½-inch (1.25 cm) cubes.
- Slice the Cucumber: Wash an English cucumber and slice into rounds about ¼-inch (0.6 cm) thick. Pat dry with a paper towel.
- Halve the Tomatoes: Rinse ½ cup (100 g) cherry tomatoes and cut them in half.
- Prepare the Olives: Drain ¼ cup (30 g) olives and pat dry. Remove pits if necessary.
- Portion the Almonds: Measure out ¼ cup (35 g) whole almonds.
- Add the Cream Cheese: Spoon 2 tbsp (30 g) softened cream cheese into a small silicone cup or compartment.
- Wash the Grapes: Rinse ½ cup (75 g) grapes and pat completely dry.
- Assemble the Lunch Box: Arrange all components in a bento box, keeping wet items separate from dry items. Place cream cheese in a corner away from ham.
- Final Check: Give the container a gentle shake to ensure nothing shifts. Seal tightly and refrigerate until ready to pack.
Notes
Keep all ingredients dry to prevent sogginess. Roll ham tightly for better shape. Chill soft cheese before cubing. For fun shapes, use cookie cutters. Pack grapes and almonds in the morning for maximum crunch.
Nutrition
- Serving Size: 1 lunch box
- Calories: 475
- Sugar: 12
- Sodium: 1200
- Fat: 32
- Saturated Fat: 14
- Carbohydrates: 18
- Fiber: 5
- Protein: 28
Keywords: ham and cheese lunch box, no sandwich lunch, kid friendly lunch, bento box, gluten free lunch, low carb lunch, easy lunch prep