Love this? Save it for later!
Share the inspiration with your friends
My sister had been a S’mores purist her entire adult life. She swore that the only acceptable way to enjoy graham crackers, chocolate, and marshmallow was over a campfire, on a stick, with the smoke stinging your eyes and the chocolate melting into a sticky mess on your fingers. For fifteen years, that was the rule. No exceptions. Then I showed up at our family’s Fourth of July barbecue last summer with a glass dish full of what looked like a very fancy, very cold chocolate cake. She took one look at it and said, “That’s not a S’more.” I just smiled and handed her a fork.
The power had gone out that morning, you see. Not the whole neighborhood, just my little bungalow on Elm Street. The forecast said 97 degrees, and I had promised to bring a dessert that would actually survive the heat without turning into a puddle before we even sat down to eat. I stood in my dark kitchen, staring at the pantry, and honestly, I was about to give up and bring a bag of chips. But then my eyes landed on the box of graham crackers I had bought for a different recipe, the bag of marshmallows my kids had abandoned after a rainy weekend, and the chocolate bars I was hoarding for a bad day.
I won’t pretend I invented the idea of an icebox cake. But what I did that morning, standing there with sweat on my forehead and a stubborn refusal to show up empty-handed, was figure out how to stack those three ingredients in a way that made the S’more experience actually better. No fire required. No sticky fingers. No mosquito bites. Just layers of creamy, crunchy, chocolatey, marshmallowy perfection that set up in the fridge while the rest of us were outside sweating over the grill. My sister caught me watching her take her third bite, and she just shrugged. “Okay,” she said. “This counts.” That was the moment I knew this recipe had to be shared. You know that feeling when you prove someone wrong without even trying? This is that feeling, in dessert form.
Why You’ll Love This Recipe
Let me tell you, I have made a lot of desserts in my time. Some have been spectacular failures—like the time I tried to make vegan caramel and ended up with something that looked like gravel. But this no-bake S’mores icebox cake? This one is different. It is the kind of dessert that makes people close their eyes on the first bite, and I am not exaggerating.
- No Oven Required: When it is 95 degrees outside and your kitchen feels like a sauna, the last thing you want to do is turn on the oven. This cake comes together on your countertop and sets up in the fridge. That is it.
- Simple Ingredients: You probably already have graham crackers, chocolate, and marshmallows in your pantry right now. If you don’t, a quick trip to the corner store is all you need. No fancy grocery runs required.
- Perfect for Summer Gatherings: This dessert was born for barbecues, pool parties, and holiday weekends. It travels well, it holds up in the heat, and it feeds a crowd without any last-minute fuss.
- Crowd-Pleaser Guaranteed: I have brought this to three different gatherings now, and every single time, the dish comes back empty. Kids love it. Adults love it. Even my S’mores-purist sister loves it.
- Unbelievably Delicious: The texture is what gets you. The graham crackers soften just enough to become cake-like, while the marshmallow layer stays light and fluffy, and the chocolate creates this rich, creamy glue that holds everything together. It is comfort food at its finest.
What makes this version different from the dozens of other icebox cakes out there? It is the way the marshmallow cream gets folded into the whipped cream, creating a texture that is somehow both airy and decadent. It is the sprinkle of flaky sea salt on top that makes the chocolate sing. It is the fact that you can make it the night before and just pull it out when you are ready to serve. This isn’t just another recipe—it is your new summer secret weapon.
What Ingredients You Will Need
This recipe uses simple, honest ingredients to deliver that classic campfire flavor without the campfire. Here is everything you need to make this magic happen.
- Graham crackers – 1 full box (about 14-16 full sheets). You will need about 3 full sheets per layer. I prefer the classic Honey Maid brand for their sturdy texture, but any brand works. You can also use chocolate graham crackers for an extra chocolatey twist.
- Heavy whipping cream – 2 cups (480 ml). This is the backbone of your creamy layers. Make sure it is cold straight from the fridge for the best volume when whipped. I have tried this with half-and-half in a pinch, and honestly, it works but the texture is much less stable.
- Marshmallow creme (fluff) – 1 jar (about 7 ounces or 200 grams). This is the secret ingredient that makes the filling taste like a toasted marshmallow without the fire. Jet-Puffed is my go-to brand, but any marshmallow fluff works. Do not substitute with mini marshmallows here—they do not incorporate the same way.
- Semi-sweet chocolate – 8 ounces (225 grams), finely chopped. You want good quality chocolate here because it is a star ingredient. I like Ghirardelli or Guittard for their smooth melting properties. Chocolate chips work in a pinch, but they contain stabilizers that can make the ganache slightly grainy.
- Unsalted butter – 4 tablespoons (56 grams), cubed. This adds richness and shine to the chocolate ganache. If you only have salted butter, just skip the salt I mention later in the recipe.
- Vanilla extract – 1 teaspoon (5 ml). Pure vanilla extract makes a difference here. The imitation stuff has a chemical aftertaste that you will notice in a simple recipe like this one.
- Flaky sea salt – A pinch for sprinkling on top. This is optional but highly recommended. It balances the sweetness and makes the chocolate taste even more chocolatey. Maldon is my favorite brand.
For the optional garnish: A few extra graham cracker crumbs, some mini marshmallows, and a drizzle of melted chocolate. These make the cake look as good as it tastes, especially if you are bringing it to a party.
Equipment Needed
You do not need a professional kitchen to pull this off. Here is what you will need:
- 9×9 inch square baking dish (or an 8×8 inch dish for thicker layers). A glass dish works best because you can see the layers, but metal or ceramic is fine too.
- Electric hand mixer or stand mixer – Whipping cream by hand is a workout I do not recommend on a hot day. A mixer makes this step effortless.
- Medium mixing bowl – For whipping the cream. Make sure it is clean and dry. Any trace of grease will keep your cream from whipping properly.
- Small saucepan – For making the chocolate ganache. You can also use a microwave-safe bowl if you prefer.
- Spatula – A rubber spatula is your best friend for folding the marshmallow creme into the whipped cream without deflating it.
- Sharp knife – For cutting the finished cake. A serrated knife works best for clean slices through the graham cracker layers.
If you do not have a 9×9 dish, you can use a loaf pan for a taller, narrower cake. Just adjust the layering accordingly. I have also made this in a 9×13 dish for a thinner, more snackable version that feeds a bigger crowd. Both work great.
Preparation Method
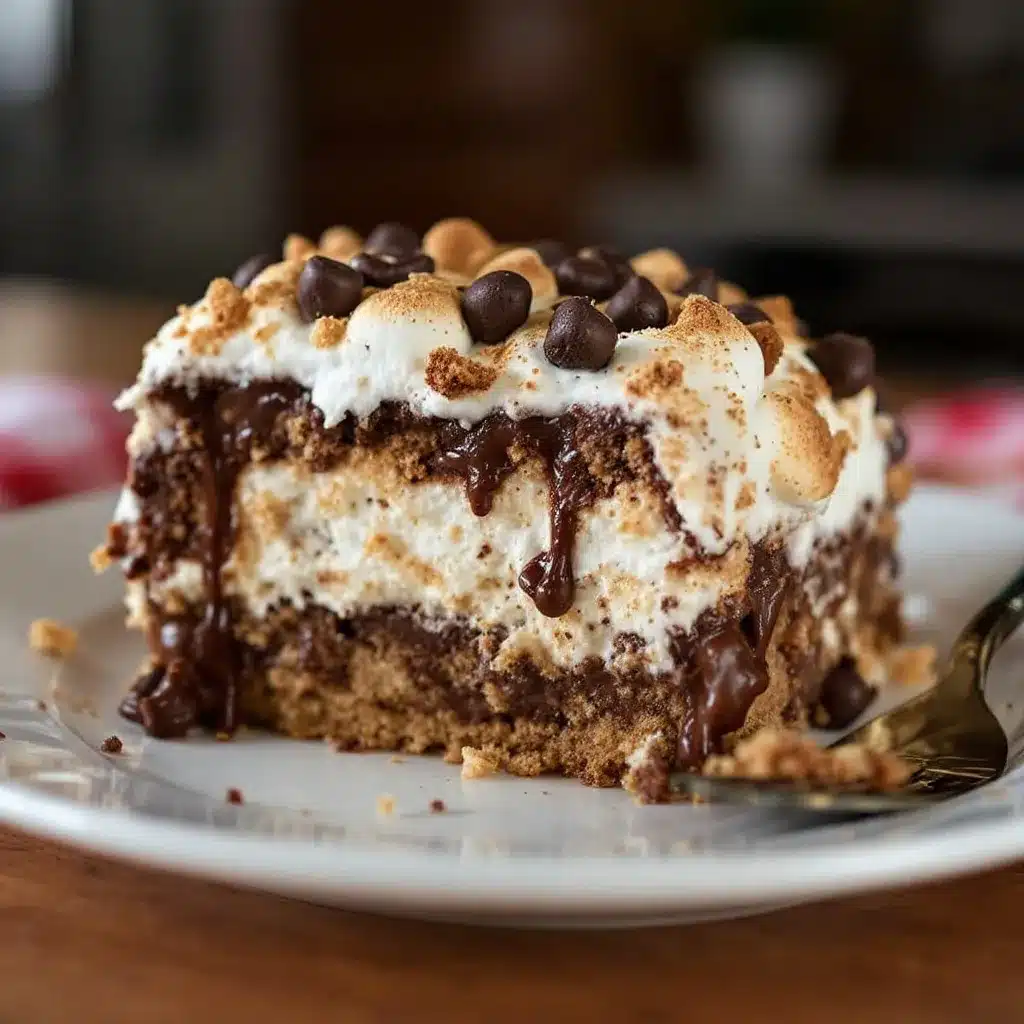
Alright, let us get to the good part. Follow these steps, and you will have a dessert that looks like you spent hours on it. I promise, it is easier than it looks.
- Make the chocolate ganache first. Place the finely chopped semi-sweet chocolate and cubed unsalted butter in a heatproof bowl. Heat 1/2 cup of heavy cream in a small saucepan over medium heat until it just begins to simmer—you will see small bubbles around the edges. Pour the hot cream over the chocolate and butter. Let it sit for 2 minutes without stirring. Then, gently whisk until smooth and glossy. Stir in the vanilla extract. Set aside to cool slightly while you prepare the other layers. Do not rush this step. If the ganache is too warm, it will melt your whipped cream layers.
- Whip the cream. Pour the remaining 1 1/2 cups of cold heavy cream into a clean mixing bowl. Using an electric hand mixer or stand mixer with the whisk attachment, beat the cream on medium-high speed until soft peaks form. You are looking for peaks that hold their shape but droop slightly at the tips. This usually takes about 2-3 minutes. Be careful not to over-whip, or you will end up with butter.
- Fold in the marshmallow creme. Scoop the entire jar of marshmallow fluff into the bowl with the whipped cream. Use a rubber spatula to gently fold it together. Do not stir vigorously. You want to incorporate the fluff without deflating all that lovely air you just whipped into the cream. Fold until you see no more white streaks. The mixture should be light, fluffy, and smell like toasted marshmallows.
- Prepare your graham crackers. You will need to break some of the graham cracker sheets to fit your dish perfectly. For a 9×9 dish, you can usually fit 3 full sheets per layer. If some break, do not worry—just patch them together like a puzzle. The cream will hold everything in place.
- Start layering. Spread a thin layer of the marshmallow cream mixture on the bottom of your baking dish. This helps the first layer of graham crackers stick. Place a single layer of graham crackers on top, breaking pieces as needed to cover the entire surface. Spread about 1/3 of the remaining marshmallow cream evenly over the crackers. Drizzle about 1/3 of the chocolate ganache over the cream layer. Repeat this process two more times: graham crackers, marshmallow cream, chocolate ganache. You should end with a final layer of graham crackers on top.
- Finish the top. Pour the remaining chocolate ganache over the top layer of graham crackers. Use a spatula to spread it evenly, letting it drip down the sides if you like that rustic look. Sprinkle a pinch of flaky sea salt over the top. If you want to get fancy, add a few mini marshmallows and a sprinkle of crushed graham crackers.
- Chill, chill, chill. Cover the dish with plastic wrap or aluminum foil and refrigerate for at least 6 hours, but overnight is better. I know it is hard to wait, but this step is non-negotiable. The graham crackers need time to soften and absorb the cream, transforming from crunchy crackers into a cake-like texture. If you cut into it too soon, you will have a sad, crunchy mess.
Here is a tip I learned the hard way: if you are in a hurry, you can speed things up by placing the dish in the freezer for about 2 hours. Just watch it carefully—you want it firm but not frozen solid. A frozen icebox cake is difficult to cut and loses that lovely creamy texture.
Cooking Tips & Techniques
I have made this cake probably a dozen times now, and I have made every mistake in the book so you do not have to. Here is what I have learned.
Do not skip the ganache cooling step. The first time I made this, I was impatient and poured warm ganache directly over the marshmallow cream layer. It melted right through, turning my beautiful layers into a chocolatey soup. Let the ganache cool to room temperature before you start layering. It should be thick enough to drizzle but not hot.
Use a serrated knife for slicing. A straight blade will squish your beautiful layers. A serrated knife cuts through the softened graham crackers cleanly. Run the knife under hot water and wipe it dry between cuts for the cleanest slices.
Let it sit at room temperature before serving. Pull the cake out of the fridge about 10-15 minutes before you plan to serve it. This takes the chill off and allows the flavors to open up. A straight-from-the-fridge icebox cake can taste a bit flat.
Watch your cream temperature. If your kitchen is hot, chill your mixing bowl and beaters in the freezer for 10 minutes before whipping the cream. Warm cream will not whip properly, and you will end up with a liquid mess. I learned this on a particularly humid August afternoon, and it was not pretty.
Layer evenly. Take the time to spread each layer of cream and ganache all the way to the edges of the dish. Uneven layers mean some bites will be all cracker and no cream, and nobody wants that. Use an offset spatula if you have one—it makes the job much easier.
Variations & Adaptations
One of the best things about this recipe is how easy it is to make it your own. Here are some variations I have tried and loved.
- S’mores Icebox Cake with Peanut Butter: Add 1/2 cup of creamy peanut butter to the marshmallow cream mixture before folding. The peanut butter adds a savory richness that pairs beautifully with the chocolate. My husband says this version is even better than the original, and he is not usually a peanut butter person.
- Gluten-Free S’mores Icebox Cake: Use gluten-free graham crackers. I have tested this with Schar brand graham-style crackers, and they work perfectly. Just be aware that gluten-free crackers can be more fragile, so handle them gently during layering.
- Mint Chocolate S’mores Icebox Cake: Add 1/2 teaspoon of peppermint extract to the chocolate ganache. Use mint-flavored chocolate if you can find it. The cool mint with the creamy marshmallow is a surprisingly good combination.
- Berry S’mores Icebox Cake: Add a layer of fresh strawberries or raspberries between the cream and ganache layers. The tartness of the berries cuts through the sweetness and adds a fresh, summery twist. I tried this with sliced strawberries last June, and it was a huge hit at a backyard brunch.
- Vegan S’mores Icebox Cake: Use full-fat coconut cream instead of heavy cream (chill the cans overnight and scoop out the solid part). Use vegan graham crackers and dairy-free chocolate. The texture will be slightly different, but the flavor is still spot-on.
Serving & Storage Suggestions
This cake is best served cold, straight from the fridge. Cut it into squares—I usually get 9 generous servings from a 9×9 dish, or 12 smaller ones if I am feeding a crowd. Serve it on a plate with a dollop of extra whipped cream if you are feeling indulgent.
Storage: Cover the dish tightly with plastic wrap or transfer leftovers to an airtight container. The cake will keep in the refrigerator for up to 5 days. The texture actually improves after the first day as the flavors meld together. I have snuck a slice for breakfast more than once, and I am not ashamed.
Freezing: You can freeze this cake for up to 1 month. Wrap the entire dish in a layer of plastic wrap, then a layer of aluminum foil. Thaw in the refrigerator overnight before serving. Do not thaw at room temperature, or the texture will become watery.
Reheating: This is a cold dessert, so no reheating is needed. However, if you want that campfire experience, you can briefly torch the top with a kitchen torch to toast a few mini marshmallows right before serving. Just do not overdo it, or you will melt the cream underneath.
One thing I have noticed: the flavors get better on the second and third days. The chocolate and marshmallow have time to really soak into the graham crackers, creating a texture that is almost like a soft, creamy cake. If you can resist eating it all on day one, you will be rewarded.
Nutritional Information & Benefits
Let us be real—this is a dessert, not a health food. But here is the approximate nutritional breakdown for one serving (based on 9 servings):
- Calories: Approximately 420-450 per serving
- Fat: 28g (mostly from cream and chocolate)
- Carbohydrates: 42g
- Protein: 4g
- Sugar: 30g
On the bright side, this dessert does contain some calcium from the cream and antioxidants from the dark chocolate. The graham crackers provide a small amount of fiber. If you use dark chocolate with 70% cocoa or higher, you will get more antioxidants and less sugar.
For those with dietary concerns: this recipe contains dairy and gluten. It is not suitable for vegans in its current form, but the variation above offers a plant-based alternative. It also contains no eggs, which is a bonus for those with egg allergies.
My personal philosophy? Desserts like this are meant to be enjoyed in moderation. I do not stress about the numbers when I am serving this at a party. It is a treat, and treats are supposed to make you happy. Life is too short to count calories on a holiday weekend.
Frequently Asked Questions
Can I use mini marshmallows instead of marshmallow creme?
I do not recommend it. Mini marshmallows do not incorporate smoothly into the whipped cream the way marshmallow fluff does. They will leave you with lumpy layers and an uneven texture. Stick with the jarred marshmallow creme for the best results.
How long does this cake need to chill?
At least 6 hours, but overnight is ideal. The graham crackers need time to soften and absorb the moisture from the cream. If you cut into it too early, the crackers will still be crunchy, and the layers will not hold together properly.
Can I make this cake in advance?
Absolutely. This is actually one of those desserts that benefits from being made a day ahead. The flavors meld together beautifully overnight. You can make it up to 2 days in advance and keep it covered in the refrigerator.
Why did my cream not whip properly?
There are a few possible reasons. Your cream might not have been cold enough, your bowl might have had a trace of grease, or you might have over-whipped it. Next time, chill your bowl and beaters in the freezer for 10 minutes before starting, and use cream that is straight from the fridge.
Can I double this recipe?
Yes, but use a 9×13 dish instead of a 9×9. Double all the ingredients and follow the same layering process. You may need to chill it a bit longer since the dish is larger and the layers are the same thickness.
Conclusion
If you take one thing away from this post, let it be this: you do not need a campfire to enjoy a perfect S’more. This no-bake icebox cake captures everything we love about that classic summer treat—the crunch of the graham cracker, the richness of the chocolate, the pillowy sweetness of the marshmallow—and turns it into a dessert that is actually easier to make than the original.
I love this recipe because it reminds me of that hot July morning when I refused to show up empty-handed. It reminds me that sometimes the best recipes come from necessity and a little bit of stubbornness. And honestly, it reminds me of my sister’s face when she took that third bite and had to admit she was wrong.
Now I want to hear from you. Have you tried this recipe? Did you add your own twist? Drop a comment below and tell me about it. And if you share a photo on Pinterest or Instagram, tag me so I can see your beautiful creation. Happy no-baking, friends!
Pin This Recipe!
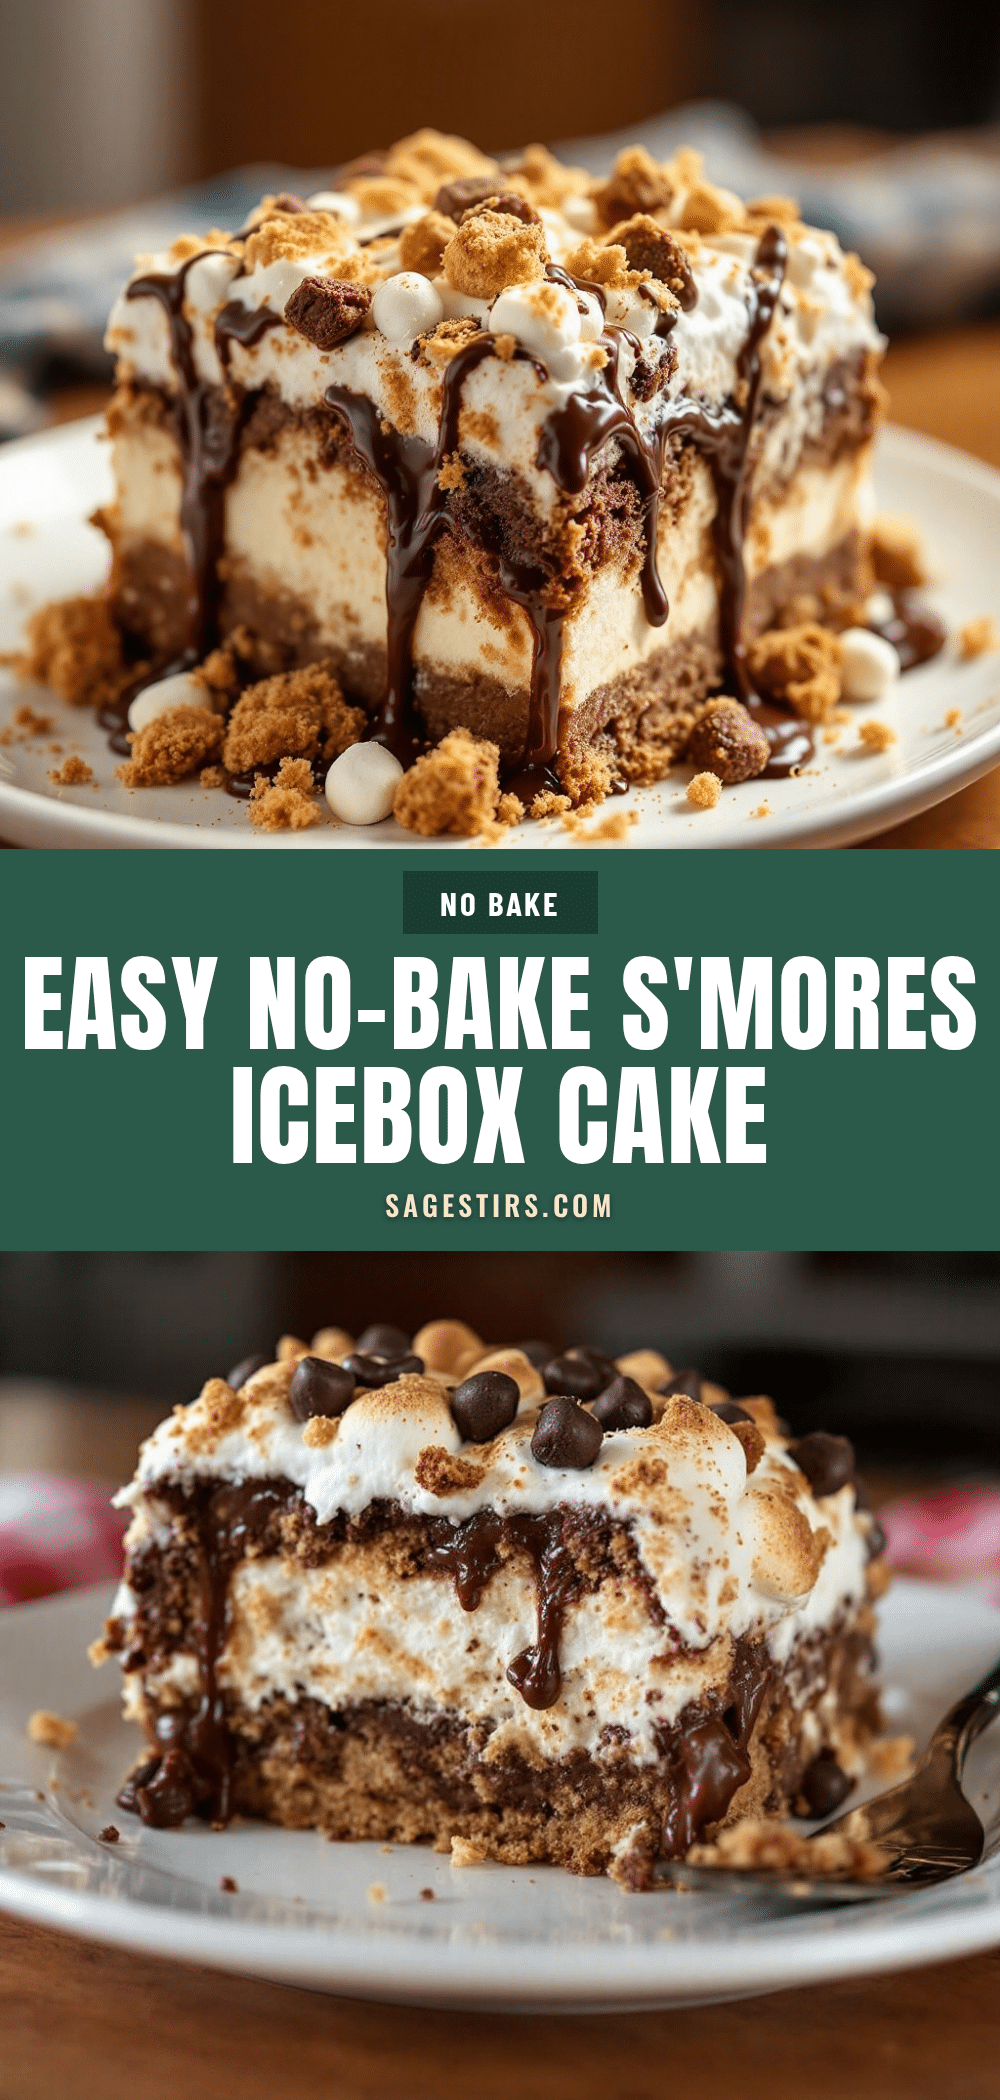
Best No-Bake Smores Icebox Cake Easy Summer Dessert
This no-bake S’mores icebox cake captures everything we love about that classic summer treat—the crunch of the graham cracker, the richness of the chocolate, the pillowy sweetness of the marshmallow—and turns it into a dessert that is actually easier to make than the original. No fire required, just layers of creamy, crunchy, chocolatey, marshmallowy perfection that sets up in the fridge.
- Prep Time: 20 minutes
- Cook Time: 0 minutes
- Total Time: 6 hours 20 minutes (includes chilling time)
- Yield: 9 servings 1x
- Category: Dessert
- Cuisine: American
Ingredients
- 1 full box (about 14–16 full sheets) graham crackers
- 2 cups (480 ml) heavy whipping cream, cold
- 1 jar (about 7 ounces or 200 grams) marshmallow creme (fluff)
- 8 ounces (225 grams) semi-sweet chocolate, finely chopped
- 4 tablespoons (56 grams) unsalted butter, cubed
- 1 teaspoon (5 ml) vanilla extract
- A pinch flaky sea salt (optional, for sprinkling)
- Optional garnish: extra graham cracker crumbs, mini marshmallows, melted chocolate drizzle
Instructions
- Make the chocolate ganache first. Place the finely chopped semi-sweet chocolate and cubed unsalted butter in a heatproof bowl. Heat 1/2 cup of heavy cream in a small saucepan over medium heat until it just begins to simmer—you will see small bubbles around the edges. Pour the hot cream over the chocolate and butter. Let it sit for 2 minutes without stirring. Then, gently whisk until smooth and glossy. Stir in the vanilla extract. Set aside to cool slightly while you prepare the other layers. Do …
- Whip the cream. Pour the remaining 1 1/2 cups of cold heavy cream into a clean mixing bowl. Using an electric hand mixer or stand mixer with the whisk attachment, beat the cream on medium-high speed until soft peaks form. You are looking for peaks that hold their shape but droop slightly at the tips. This usually takes about 2-3 minutes. Be careful not to over-whip, or you will end up with butter.
- Fold in the marshmallow creme. Scoop the entire jar of marshmallow fluff into the bowl with the whipped cream. Use a rubber spatula to gently fold it together. Do not stir vigorously. You want to incorporate the fluff without deflating all that lovely air you just whipped into the cream. Fold until you see no more white streaks. The mixture should be light, fluffy, and smell like toasted marshmallows.
- Prepare your graham crackers. You will need to break some of the graham cracker sheets to fit your dish perfectly. For a 9×9 dish, you can usually fit 3 full sheets per layer. If some break, do not worry—just patch them together like a puzzle. The cream will hold everything in place.
- Start layering. Spread a thin layer of the marshmallow cream mixture on the bottom of your baking dish. This helps the first layer of graham crackers stick. Place a single layer of graham crackers on top, breaking pieces as needed to cover the entire surface. Spread about 1/3 of the remaining marshmallow cream evenly over the crackers. Drizzle about 1/3 of the chocolate ganache over the cream layer. Repeat this process two more times: graham crackers, marshmallow cream, chocolate ganache. You sh…
- Finish the top. Pour the remaining chocolate ganache over the top layer of graham crackers. Use a spatula to spread it evenly, letting it drip down the sides if you like that rustic look. Sprinkle a pinch of flaky sea salt over the top. If you want to get fancy, add a few mini marshmallows and a sprinkle of crushed graham crackers.
- Chill, chill, chill. Cover the dish with plastic wrap or aluminum foil and refrigerate for at least 6 hours, but overnight is better. I know it is hard to wait, but this step is non-negotiable. The graham crackers need time to soften and absorb the cream, transforming from crunchy crackers into a cake-like texture. If you cut into it too soon, you will have a sad, crunchy mess.
Notes
Do not skip the ganache cooling step. Let the ganache cool to room temperature before layering to avoid melting the cream. Use a serrated knife for slicing clean layers. Let the cake sit at room temperature for 10-15 minutes before serving for best flavor. If in a hurry, you can chill in the freezer for about 2 hours, but watch carefully to avoid freezing solid. The cake keeps in the refrigerator for up to 5 days and can be frozen for up to 1 month.
Nutrition
- Serving Size: 1 square (9x9 dish c
- Calories: 420450
- Sugar: 30
- Sodium: 180
- Fat: 28
- Saturated Fat: 16
- Carbohydrates: 42
- Fiber: 2
- Protein: 4
Keywords: no-bake, smores, icebox cake, summer dessert, easy dessert, graham crackers, chocolate, marshmallow