Love this? Save it for later!
Share the inspiration with your friends
I’m not supposed to play favorites with recipes, but let’s be honest—we all have that one dish that makes everything else feel like a warm-up act. For me, it’s these crispy one-pan garlic butter chicken thighs. I stumbled onto this combination almost by accident, and honestly, it changed my weeknight dinner game forever.
The first time I made these, I was rushing between Zoom calls and trying to figure out what to do with the chicken thighs I’d defrosted that morning. I had about thirty minutes, a single skillet, and a desperate hope that dinner wouldn’t be a disaster. The smell that filled my kitchen was so good my neighbor actually texted me asking what I was cooking. That’s when I knew I had something special.
Maybe you’ve been there—standing in front of your fridge, wondering how to turn ordinary ingredients into something that feels like a real meal. These crispy one-pan garlic butter chicken thighs are that answer. They’re the kind of recipe that makes you look like you spent hours in the kitchen when really, you just let the pan do the work. The skin gets impossibly crispy, the garlic butter sauce is ridiculously good, and the whole thing comes together in one pan. No fancy techniques, no complicated steps, just honest food that tastes like comfort.
What keeps me coming back to this recipe isn’t just how fast it is or how few dishes I have to wash. It’s that moment when you take that first bite—the crackle of the skin, the richness of the butter, the way the garlic melts into everything. That’s the moment that makes me forget every kitchen fail I’ve ever had.
Why You’ll Love This Recipe
I’ve tested this recipe more times than I care to admit. I’ve made it with different pan sizes, different heat levels, and different butter-to-garlic ratios. After all that trial and error (and a few smoky kitchen moments), I can tell you with confidence—this version is the one.
- Quick & Easy: From fridge to table in under 30 minutes. Perfect for those nights when you’re starving but still want something that feels like a real meal.
- Simple Ingredients: You probably have most of this stuff in your kitchen right now. Chicken thighs, butter, garlic, salt, pepper—that’s basically it.
- Perfect for Busy Weeknights: Whether it’s a Tuesday after work or a lazy Sunday dinner, these chicken thighs fit right in. They’re fancy enough for guests but easy enough for a regular night.
- Crowd-Pleaser: I’ve served these to picky eaters, foodie friends, and family members who “don’t really like chicken.” Every single person went back for seconds.
- Unbelievably Delicious: The contrast between the crispy skin and the tender, juicy meat is next-level. And that garlic butter sauce? You’ll want to put it on everything.
What makes this recipe different is the technique. Most crispy chicken recipes require flipping, fussing, and constant attention. This one lets the pan do the heavy lifting. By starting the chicken skin-side down in a cold pan, you get that perfect golden crust without the meat drying out. It’s a small trick that makes a huge difference.
This isn’t just another chicken recipe. It’s the kind that makes you close your eyes after the first bite. It’s comfort food reimagined—simpler, faster, but with the same soul-soothing satisfaction. Perfect for impressing guests without stress, or turning a simple meal into something memorable.
What Ingredients You Will Need
This recipe uses simple, wholesome ingredients to deliver bold flavor and satisfying texture without the fuss. Most of these are pantry staples, which is exactly what you want in a weeknight dinner.
For the Chicken
- 4 bone-in, skin-on chicken thighs (about 1.5 pounds / 680 grams) — The bone keeps the meat juicy, and the skin is what gets that amazing crispy texture. Look for thighs that are similar in size so they cook evenly.
- 1 teaspoon kosher salt (5 grams) — I prefer Diamond Crystal brand for its clean taste, but any kosher salt works.
- 1/2 teaspoon black pepper (2 grams) — Freshly ground is best, but pre-ground works in a pinch.
- 1/2 teaspoon garlic powder (2 grams) — This adds an extra layer of garlic flavor that complements the fresh garlic.
For the Garlic Butter Sauce
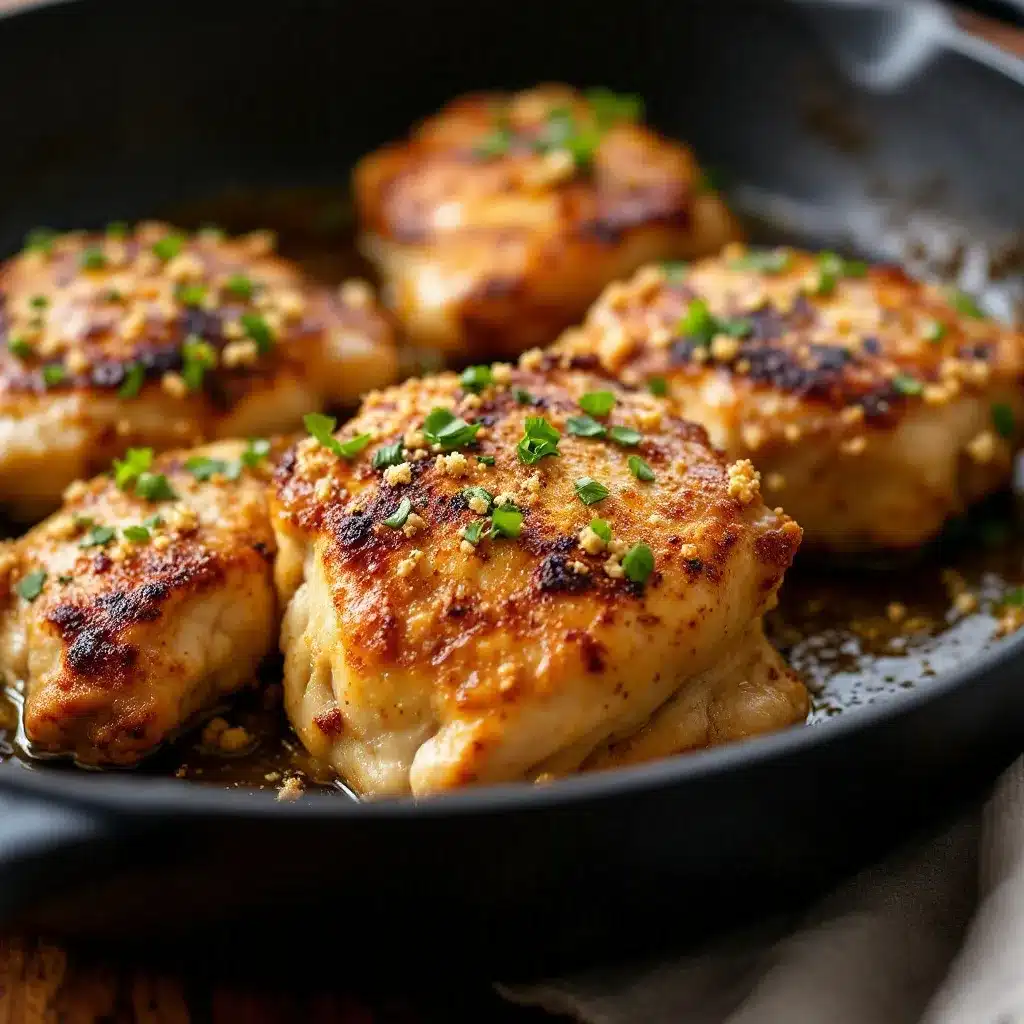
- 3 tablespoons unsalted butter (42 grams) — Use unsalted so you can control the salt level. Kerrygold is my go-to for its rich flavor, but any quality butter works.
- 5 cloves garlic, minced (about 15 grams) — Fresh garlic is non-negotiable here. The pre-minced stuff in jars won’t give you the same depth of flavor.
- 1 tablespoon fresh lemon juice (15 ml) — This brightens up the rich butter and cuts through the fat. A squeeze of bottled lemon juice works if that’s all you have.
- 1 tablespoon chopped fresh parsley (optional, for garnish) — Adds a pop of color and freshness. Dried parsley isn’t a great substitute here.
Substitution Notes
If you’re out of bone-in thighs, boneless skinless thighs will work—just reduce the cooking time by about 5 minutes and watch them closely. For a dairy-free version, use a good quality vegan butter or high-heat avocado oil instead. The flavor will be different but still delicious. And if you’re avoiding garlic (I’m so sorry), try using shallots or a pinch of asafoetida powder for a similar aromatic effect.
Equipment Needed
The beauty of this recipe is that you don’t need fancy equipment. Here’s what you’ll need:
- Large cast-iron skillet or heavy-bottomed oven-safe pan (10 to 12 inches / 25 to 30 cm) — Cast iron gives you the best heat retention and that perfect crispy skin. I use my trusty Lodge skillet that I’ve had for years. If you don’t have cast iron, a stainless steel or non-stick oven-safe skillet works too.
- Tongs — For flipping the chicken without piercing the skin. A fork will release the juices and make the meat dry.
- Sharp knife and cutting board — For mincing the garlic and chopping parsley. A microplane works great for garlic if you want it super fine.
- Paper towels — For patting the chicken dry. This step is crucial for crispy skin.
- Instant-read thermometer (optional but recommended) — Takes the guesswork out of doneness. Chicken thighs are safe at 165°F (74°C), but I prefer them at 175°F (80°C) for the most tender texture.
If you don’t have an oven-safe skillet, you can finish the chicken on the stovetop covered with a lid. Just watch the heat so the butter doesn’t burn.
Preparation Method
Let’s get cooking. This recipe moves fast, so having everything ready before you start makes a big difference.
- Prep the chicken. Pat the chicken thighs dry with paper towels. This is the most important step for crispy skin—don’t skip it. Season both sides generously with salt, pepper, and garlic powder. Let them sit at room temperature for 10 minutes while you prep the garlic and parsley.
- Start the chicken skin-side down. Place the chicken thighs skin-side down in a cold cast-iron skillet. Yes, cold. This is the trick that gives you the crispiest skin without burning the butter later. Turn the heat to medium-high and let the chicken cook undisturbed for 8 to 10 minutes. You’ll hear a gentle sizzle, and the fat will start rendering out. The skin should be deep golden brown and release easily from the pan.
- Flip and sear the other side. Using tongs, flip the chicken thighs over. Cook for 4 to 5 minutes until the other side is golden brown. The meat should feel firm but still have a little give when pressed.
- Make the garlic butter. Reduce the heat to medium-low. Push the chicken to one side of the pan and add the butter to the empty space. Let it melt, then add the minced garlic. Stir constantly for 30 to 45 seconds until the garlic is fragrant and just starting to turn golden. Be careful—garlic burns fast and turns bitter.
- Finish in the oven (or on the stovetop). Spoon some of the garlic butter over the chicken thighs. Transfer the skillet to a preheated 400°F (200°C) oven. Bake for 8 to 10 minutes until the internal temperature reaches 175°F (80°C) for bone-in thighs. If you don’t have an oven-safe pan, cover the skillet with a lid and cook on low heat for the same amount of time.
- Rest and serve. Remove the skillet from the oven. Squeeze fresh lemon juice over the chicken and sprinkle with parsley. Let the chicken rest for 5 minutes before serving. This allows the juices to redistribute, making the meat even more tender.
Pro tip: The pan will be hot, so use oven mitts when handling the skillet. And don’t be tempted to move the chicken around while it’s cooking—letting it sit undisturbed is what creates that beautiful crispy crust.
Cooking Tips & Techniques
I learned most of these tips the hard way—through burnt butter, soggy skin, and one particularly memorable kitchen smoke alarm incident. Here’s what I wish someone had told me.
Start with a cold pan. This sounds counterintuitive, but trust me. Starting the chicken in a cold skillet allows the fat to render slowly, which gives you that deep golden crust without burning the skin. If you start with a hot pan, the outside cooks too fast and the fat doesn’t have time to render properly.
Don’t crowd the pan. If you’re making more than 4 thighs, use two pans or cook in batches. Overcrowding traps steam and makes the skin soggy instead of crispy. The chicken needs room to breathe.
Watch the garlic. Garlic goes from perfect to burnt in about 15 seconds. When you add it to the butter, keep stirring and pull the pan off the heat if it starts browning too fast. Burnt garlic tastes bitter and will ruin the whole dish. I’ve done this more times than I care to admit.
Use a thermometer. I know, I know—you can probably tell when chicken is done by cutting into it. But an instant-read thermometer takes the guesswork out and guarantees perfectly cooked chicken every time. For thighs, 175°F (80°C) gives you the most tender, juicy meat. At 165°F (74°C), the meat is safe but can still be a bit tough near the bone.
Let it rest. This is the hardest tip to follow because the chicken smells incredible and you just want to eat it. But resting for 5 minutes makes a real difference. The juices redistribute, the meat relaxes, and every bite is more tender.
Variations & Adaptations
One of the best things about this recipe is how easy it is to adapt. Here are some variations I’ve tried and loved.
Spicy Garlic Butter Chicken
Add 1/2 teaspoon of red pepper flakes along with the garlic, or stir in a tablespoon of sriracha with the butter. The heat cuts through the richness beautifully. I made this version for a game day party and it disappeared in minutes.
Lemon Herb Variation
Add 2 sprigs of fresh thyme and 1 sprig of rosemary to the pan when you add the butter. The herbs infuse the oil and give the chicken a fragrant, earthy flavor. This is my go-to when I want something that feels a little fancier.
Honey Garlic Version
Stir 1 tablespoon of honey into the butter along with the garlic. The sweetness caramelizes in the pan and creates a sticky, glossy glaze. This version is dangerously addictive—I’ve eaten three thighs in one sitting before.
Dairy-Free Adaptation
Use 3 tablespoons of avocado oil or a high-quality vegan butter instead of regular butter. The flavor will be different but still delicious. I’ve made this for friends with dairy sensitivities and they couldn’t tell the difference.
Air Fryer Method
If you want to skip the oven, you can finish the chicken in an air fryer. After searing on the stovetop, transfer the chicken to the air fryer basket and cook at 375°F (190°C) for 6 to 8 minutes. The skin gets even crispier in the air fryer—it’s almost unfair.
Serving & Storage Suggestions
These chicken thighs are incredibly versatile when it comes to serving. Here’s how I like to enjoy them.
Serving Temperature: Serve these hot, straight from the pan. The butter sauce should be warm and glossy. If it starts to solidify, just reheat gently on the stovetop.
What to Serve With Them: The garlic butter sauce is begging for something to soak it up. I love serving these with crusty bread, mashed potatoes, or rice. For a lighter option, try them with roasted asparagus, a simple green salad, or steamed green beans. The sauce also works beautifully over pasta—just toss cooked spaghetti or angel hair with the remaining pan juices.
Storage: Leftover chicken keeps in an airtight container in the refrigerator for up to 4 days. The flavors actually deepen overnight, so these are great for meal prep. Store the chicken and sauce together to keep the meat moist.
Reheating: The best way to reheat is in a skillet over medium heat with a splash of chicken broth or water to loosen the sauce. Cover the pan and heat for 5 to 7 minutes until warmed through. The microwave works in a pinch, but the skin won’t be as crispy. For extra crunch, pop the reheated chicken under the broiler for 2 to 3 minutes.
Freezing: You can freeze the cooked chicken for up to 3 months. Let it cool completely, then wrap each thigh tightly in plastic wrap and place in a freezer bag. Thaw overnight in the refrigerator before reheating.
Nutritional Information & Benefits
Here’s the approximate nutritional breakdown for one serving (one chicken thigh with sauce):
- Calories: 380
- Protein: 28g
- Fat: 29g
- Carbohydrates: 2g
- Fiber: 0g
- Sugar: 0g
- Sodium: 520mg
Chicken thighs are a great source of protein, iron, and B vitamins. The skin contains healthy fats that help your body absorb fat-soluble vitamins. Garlic is known for its anti-inflammatory properties and immune-boosting benefits. And butter, when used in moderation, provides vitamin A and healthy saturated fats that can actually support brain health.
This recipe is naturally low-carb and keto-friendly. It’s also gluten-free, dairy-free (if you use the substitution), and can be made nut-free easily. The only potential allergen is dairy from the butter. If you’re watching your sodium, reduce the salt to 1/2 teaspoon and season to taste at the end.
I’m not a nutritionist, but I’ve learned that food made with real ingredients and cooked with care is almost always good for you. This recipe fits into a balanced diet beautifully.
Conclusion
If you take nothing else away from this post, let it be this: crispy one-pan garlic butter chicken thighs are the answer to almost every weeknight dinner question. They’re fast, they’re forgiving, and they taste like you spent way more effort than you actually did.
I’ve made this recipe for busy Tuesdays, lazy Sundays, and everything in between. I’ve served it to friends who asked for the recipe before they finished eating. I’ve even made it for myself on nights when I needed a little comfort—and it delivered every time.
The best part? You can make it your own. Add more garlic if you’re a garlic lover like me. Throw in some herbs if you’re feeling fancy. Drizzle with honey if you want a touch of sweetness. The base recipe is solid, but the variations are endless.
So go ahead—pull out that skillet, grab some chicken thighs, and give this recipe a try. I’d love to hear how it turns out for you. Drop a comment below and let me know what variations you tried, or tag me in your photos. Happy cooking, friends!
Frequently Asked Questions
Can I use boneless skinless chicken thighs?
Yes, but the cooking time will be shorter—about 6 to 8 minutes total on the stovetop. The skinless version won’t be as crispy, but the garlic butter flavor will still be amazing. Just watch the internal temperature closely so they don’t dry out.
Why did my chicken skin turn out soggy?
This usually happens for one of two reasons: the chicken wasn’t patted dry enough before cooking, or the pan was overcrowded. Make sure to really blot the skin with paper towels, and give each thigh enough space in the pan. If you’re cooking a big batch, do it in two rounds.
Can I make this recipe ahead of time?
Absolutely. You can sear the chicken and make the sauce up to 2 days ahead. Store everything in the fridge, then reheat in a 350°F (175°C) oven for 10 to 12 minutes before serving. The skin won’t be quite as crispy, but the flavor will be even better.
What if I don’t have a cast-iron skillet?
No problem! Any heavy-bottomed oven-safe pan will work. Stainless steel is great because it gives you good browning. Non-stick works too, but you won’t get quite as much color on the skin. Just make sure the pan is oven-safe up to 400°F (200°C).
How do I know when the chicken is fully cooked?
The safest way is to use an instant-read thermometer. Insert it into the thickest part of the thigh without touching the bone. You’re looking for 165°F (74°C) for safety, but 175°F (80°C) gives you the most tender texture. If you don’t have a thermometer, pierce the thigh with a knife—the juices should run clear, not pink.
Pin This Recipe!
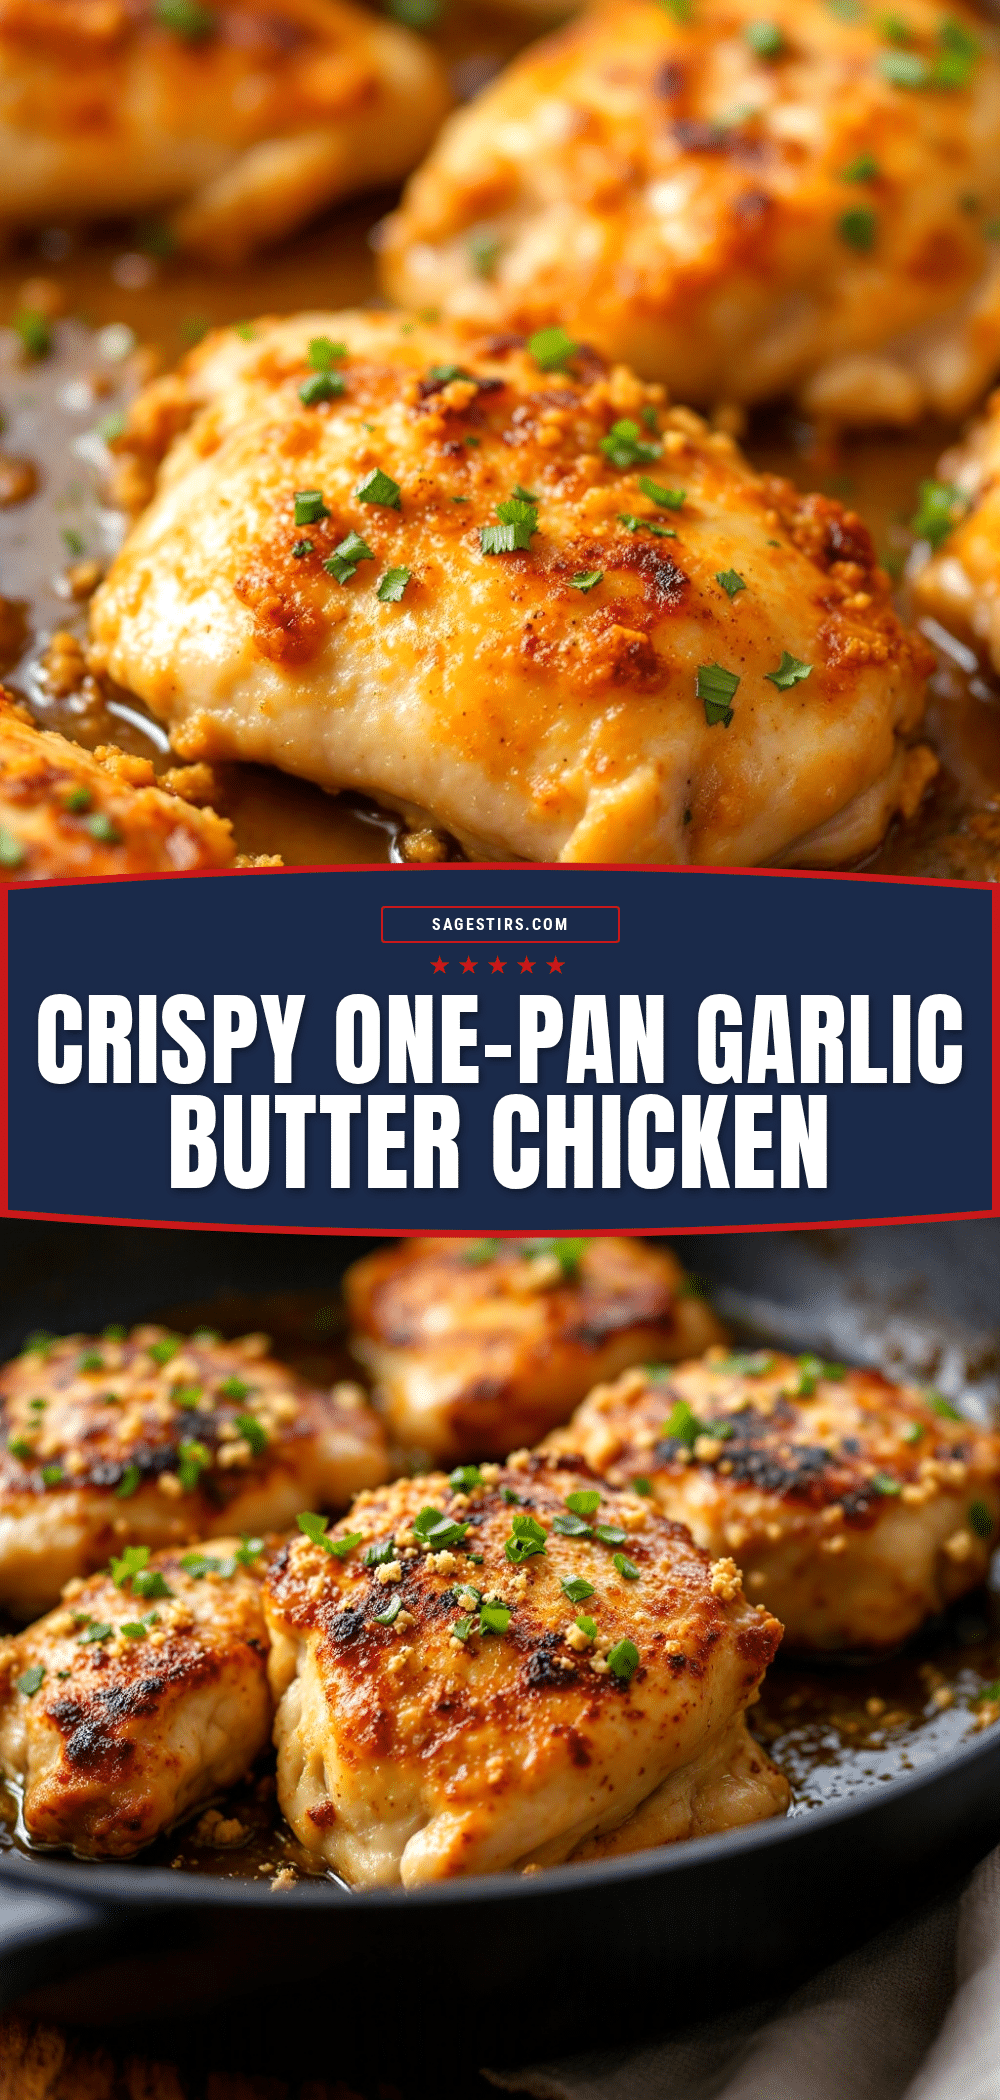
Crispy One-Pan Garlic Butter Chicken Thighs: Easy 30-Minute Dinner

Crispy, juicy chicken thighs with a rich garlic butter sauce, all made in one pan in under 30 minutes. Perfect for busy weeknights when you want a delicious, comforting meal without the fuss.
- Prep Time: 10 minutes
- Cook Time: 20 minutes
- Total Time: 30 minutes
- Yield: 4 servings 1x
- Category: Main Course
- Cuisine: American
Ingredients
- 4 bone-in, skin-on chicken thighs (about 1.5 pounds / 680 grams)
- 1 teaspoon kosher salt (5 grams)
- 1/2 teaspoon black pepper (2 grams)
- 1/2 teaspoon garlic powder (2 grams)
- 3 tablespoons unsalted butter (42 grams)
- 5 cloves garlic, minced (about 15 grams)
- 1 tablespoon fresh lemon juice (15 ml)
- 1 tablespoon chopped fresh parsley (optional, for garnish)
Instructions
- Prep the chicken. Pat the chicken thighs dry with paper towels. Season both sides generously with salt, pepper, and garlic powder. Let them sit at room temperature for 10 minutes while you prep the garlic and parsley.
- Start the chicken skin-side down. Place the chicken thighs skin-side down in a cold cast-iron skillet. Turn the heat to medium-high and let the chicken cook undisturbed for 8 to 10 minutes until the skin is deep golden brown and releases easily from the pan.
- Flip and sear the other side. Using tongs, flip the chicken thighs over. Cook for 4 to 5 minutes until the other side is golden brown.
- Make the garlic butter. Reduce the heat to medium-low. Push the chicken to one side of the pan and add the butter to the empty space. Let it melt, then add the minced garlic. Stir constantly for 30 to 45 seconds until the garlic is fragrant and just starting to turn golden.
- Finish in the oven (or on the stovetop). Spoon some of the garlic butter over the chicken thighs. Transfer the skillet to a preheated 400°F (200°C) oven. Bake for 8 to 10 minutes until the internal temperature reaches 175°F (80°C) for bone-in thighs. If you don’t have an oven-safe pan, cover the skillet with a lid and cook on low heat for the same amount of time.
- Rest and serve. Remove the skillet from the oven. Squeeze fresh lemon juice over the chicken and sprinkle with parsley. Let the chicken rest for 5 minutes before serving.
Notes
Start with a cold pan for the crispiest skin. Don’t crowd the pan—cook in batches if needed. Watch the garlic carefully as it burns quickly. Let the chicken rest for 5 minutes before serving for the juiciest results. For dairy-free, use avocado oil or vegan butter.
Nutrition
- Serving Size: 1 chicken thigh with
- Calories: 380
- Sodium: 520
- Fat: 29
- Saturated Fat: 12
- Carbohydrates: 2
- Protein: 28
Keywords: crispy chicken thighs, garlic butter chicken, one-pan dinner, 30-minute meal, weeknight dinner, easy chicken recipe, cast iron skillet chicken