Love this? Save it for later!
Share the inspiration with your friends
I had absolutely no intention of making Halloween-themed mac and cheese. It was the Tuesday before Halloween, and my plan was simple—a quick, no-fuss dinner that would use up the block of cheddar in my fridge and the box of pasta I’d grabbed on autopilot at the grocery store. My kid had been asking for “spooky food” for a week, but honestly, I figured a few strategically placed plastic spiders on the dinner table would do the trick. I was tired. I was out of creative energy. And then I saw the skull-shaped silicone mold, shoved in the back of a kitchen drawer, still in its packaging from a baking kick I went on three years ago. I almost closed the drawer. But something made me pause. Maybe it was the fact that I was already holding the cheese grater. Maybe it was the look on my daughter’s face when she heard me open the drawer. “Mom,” she said, her voice dropping to that serious whisper kids use when they’re about to ask for something they know you might say no to, “can we make skull mac and cheese?” I sighed. I told her it would take too long. I told her we didn’t have the right ingredients. She pointed at the cheese. She pointed at the pasta. She pointed at the mold. I was out of excuses. So I caved. And let me tell you—sometimes the best recipes come from the moments you give up trying to be in control. This one-pan Halloween mac and cheese skull situation turned into the kind of dinner that makes you forget you were ever tired in the first place. The kind where you catch yourself grinning at the plate. The kind where your kid eats three servings and asks if you can make it every night until November. I mean, it’s mac and cheese. It’s Halloween. It’s one pan. What’s not to love?
Why You’ll Love This Recipe
Let’s be real for a second. Halloween dinner is usually a chaotic mess of candy-induced sugar highs and questionable nutrition. This recipe changes that. It gives you a legit, filling meal that also happens to look like it came from a haunted kitchen. Here’s why it works:
- One-Pan Wonder: Everything cooks in a single pot or deep skillet. No colander needed. No extra dishes. You cook the pasta right in the cheese sauce. It’s almost magical.
- Kid-Approved, Parent-Beloved: My daughter, who once declared that “orange food is suspicious,” ate this without a single complaint. The skull shape is a game-changer. It turns dinner into a craft project.
- Simple Pantry Ingredients: You don’t need anything weird. Cheddar, milk, butter, pasta, a little mustard powder. That’s it. No neon food coloring, no specialty cheese from a fancy shop.
- Ready in Under 30 Minutes: From the moment you start grating cheese to the moment you’re staring at a plate of skull-shaped noodles, you’re looking at about 25 minutes. Perfect for a busy weeknight or a pre-trick-or-treating fuel-up.
- Customizable for Any Diet: Swap the dairy for plant-based alternatives. Use gluten-free pasta. Add bacon bits or broccoli. The base recipe is forgiving and flexible.
- It’s Just Plain Fun: I’m not usually one for themed food, but there’s something deeply satisfying about watching someone’s face light up when they see a skull made of mac and cheese. It’s comfort food with a sense of humor.
This isn’t just another mac and cheese recipe. It’s the one that saves Halloween dinner from being a sad plate of takeout eaten over the kitchen sink. It’s the one that makes your kid’s friends jealous when they see the photos. It’s the one you’ll actually want to make again, even when it’s not October.
What Ingredients You Will Need
This recipe leans on simple, everyday ingredients. Nothing fancy, nothing hard to find. The key is using good-quality cheddar and not skimping on the butter. Here’s what you’ll need:
- 2 tablespoons unsalted butter (adds richness and helps create a smooth sauce base)
- 2 tablespoons all-purpose flour (this thickens the sauce without making it gluey)
- 2 cups whole milk (whole milk gives the creamiest result, but 2% works in a pinch. Avoid skim—it can make the sauce watery)
- 2 cups shredded sharp cheddar cheese (I prefer Tillamook or Cabot for their meltability and flavor. Pre-shredded cheese has anti-caking agents that can make the sauce grainy, so shred your own if you can)
- 1/2 teaspoon garlic powder (adds a savory depth without being overpowering)
- 1/2 teaspoon mustard powder (this is the secret ingredient—it doesn’t make the mac taste like mustard, it just makes the cheese taste more cheesy)
- 1/2 teaspoon salt (adjust to taste, especially if your cheese is already salty)
- 1/4 teaspoon black pepper (freshly ground is best)
- 8 ounces elbow macaroni or small shell pasta (about 2 cups dry. Elbows are classic, but shells hold the sauce beautifully. Use any small pasta shape you have on hand)
- 2 cups low-sodium chicken or vegetable broth (this is the cooking liquid for the pasta. It adds flavor that water just can’t match)
- Optional: 1/4 cup panko breadcrumbs mixed with 1 tablespoon melted butter (for a crispy topping if you want to bake the skulls for a few minutes)
For the Skull Mold
- Skull-shaped silicone mold (available at most craft stores, online, or in the baking aisle around Halloween. You can also use any fun-shaped mold—pumpkins, ghosts, bats)
- Non-stick cooking spray (essential for easy release. Even silicone molds can be sticky)
Equipment Needed
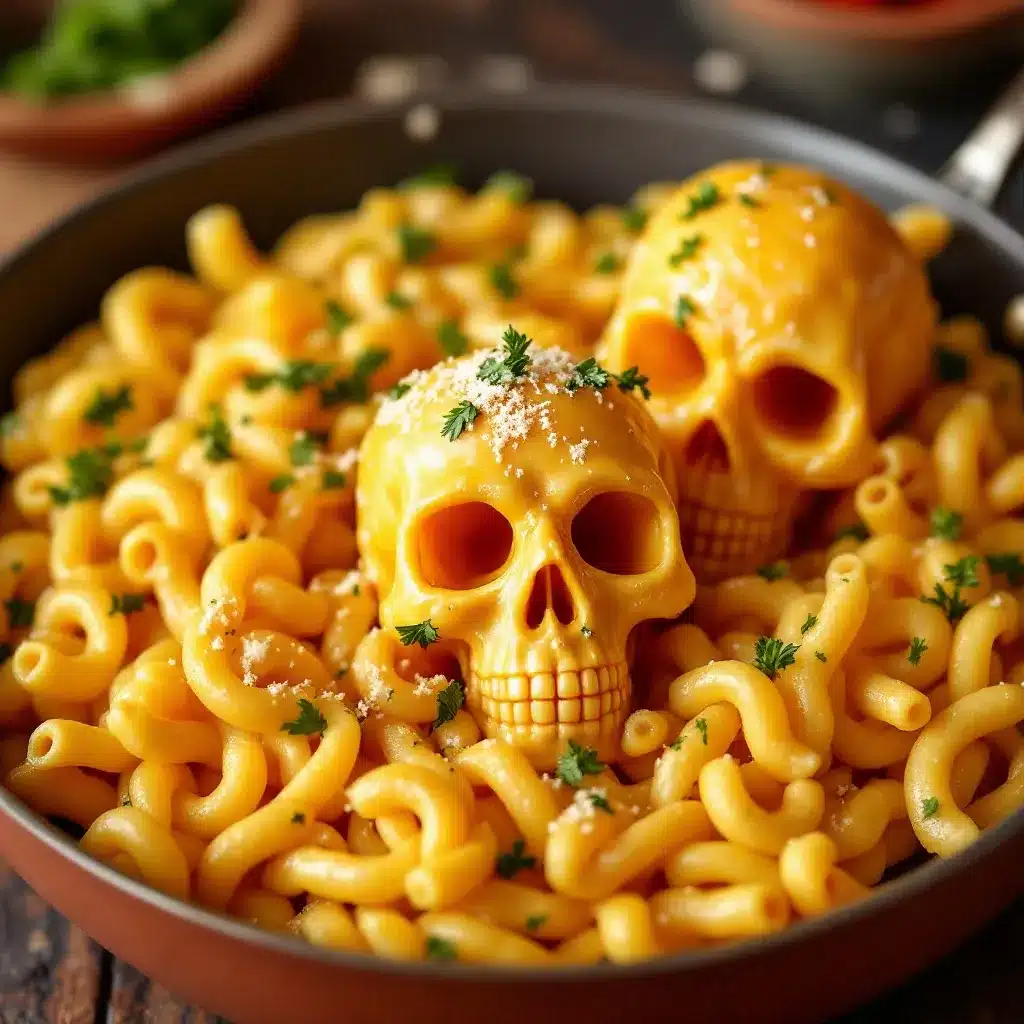
You don’t need a lot of gear for this recipe, which is part of the appeal. Here’s what you’ll need:
- Large deep skillet or Dutch oven: A 12-inch skillet with high sides works perfectly. You need enough room to cook the pasta and stir the sauce without everything spilling over. I use my trusty old Lodge cast iron Dutch oven, but any heavy-bottomed pot will do.
- Skull-shaped silicone mold: This is the star of the show. If you don’t have one, you can use any Halloween-themed mold, or even just press the mac and cheese into a greased muffin tin and call them “spooky bites.”
- Cheese grater: Please, for the love of all that is creamy, grate your own cheese. A box grater or a food processor with a grating disc works great.
- Wooden spoon or silicone spatula: For stirring. A whisk can also help smooth out lumps in the sauce.
- Measuring cups and spoons: Precision matters here, especially with the flour and liquid ratios.
- Small bowl: For mixing the panko topping if you’re using it.
If you don’t have a skull mold, don’t panic. I’ve made this recipe as regular one-pan mac and cheese dozens of times, and it’s just as delicious. The mold is for presentation, not for flavor. You can also press the mac and cheese into a greased 8×8 pan, chill it for 20 minutes, and then cut out shapes with a cookie cutter. Works like a charm.
Preparation Method
This method is designed to be as hands-off as possible while still delivering that creamy, dreamy texture. Follow these steps, and you’ll be eating skull-shaped noodles in under half an hour.
- Melt the butter: Place your large skillet or Dutch oven over medium heat. Add the 2 tablespoons of butter and let it melt completely, swirling the pan occasionally. It should foam slightly but not brown. If it starts to turn brown, the heat is too high—turn it down.
- Make the roux: Once the butter is melted, sprinkle the 2 tablespoons of flour over the top. Whisk or stir constantly for about 1 minute. The mixture will look like a thick paste. This is good. Cooking the flour for a minute removes the raw taste. You’re looking for a pale golden color.
- Add the liquid: Slowly pour in the 2 cups of milk and 2 cups of broth while whisking continuously. Keep whisking until the mixture is smooth and no lumps remain. It will look thin at first, but don’t worry—it will thicken as it heats.
- Season the sauce: Add the garlic powder, mustard powder, salt, and pepper. Stir to combine. Taste the liquid at this point—it should be well-seasoned, maybe even a touch salty. The pasta will absorb some of the salt as it cooks.
- Cook the pasta: Add the dry pasta to the pot. Stir to make sure every piece is submerged in the liquid. Bring the mixture to a gentle boil, then reduce the heat to a simmer. Cover the pot and let it cook for 10-12 minutes, stirring every 2-3 minutes to prevent the pasta from sticking to the bottom. The pasta will absorb most of the liquid as it cooks.
- Check for doneness: After 10 minutes, test a piece of pasta. It should be tender but still have a slight bite (al dente). If it’s still too firm, cook for another 2 minutes. If the mixture looks too dry before the pasta is done, add a splash of milk or broth.
- Add the cheese: Once the pasta is cooked, remove the pot from the heat. Sprinkle the shredded cheddar over the top and stir gently until the cheese is completely melted and the sauce is smooth and glossy. The residual heat will melt the cheese without making it grainy.
- Let it rest: Let the mac and cheese sit in the pot for 2-3 minutes. This allows the sauce to thicken slightly and the flavors to meld. It will look a bit looser than you expect at first, but it will set up as it cools.
- Prepare the mold: While the mac and cheese rests, spray the inside of your skull mold with non-stick cooking spray. Make sure you get into all the nooks and crannies—the eye sockets, the nose holes. This step is non-negotiable if you want clean releases.
- Fill the mold: Using a spoon or a small cookie scoop, press the mac and cheese firmly into the mold. Pack it in tightly, especially in the detailed areas. Overfill each cavity slightly, then use the back of the spoon to press it down and level it off.
- Chill (optional but recommended): Place the filled mold in the refrigerator for 10-15 minutes. This helps the mac and cheese firm up and hold its shape when you unmold it. If you’re in a hurry, you can skip this step, but the skulls will be more fragile.
- Unmold: Gently press on the back of the silicone mold to release each skull. If any pieces stick, use a small knife or your fingernail to gently pry them loose. Place the skulls on a serving platter.
- Optional crispy topping: If you want a golden, crunchy crust, preheat your broiler. Mix the panko breadcrumbs with the melted butter and sprinkle a little over each skull. Broil for 1-2 minutes, watching carefully, until the breadcrumbs are golden brown.
- Serve immediately: These are best eaten warm, while the cheese is still gooey and the skulls are firm enough to hold their shape. Arrange them on a platter and watch your guests lose their minds.
Cooking Tips & Techniques
I’ve made this recipe about seven times now, and I’ve learned a few things the hard way. Here are the tips that actually matter:
Don’t skip the roux. I know it’s tempting to just dump everything in the pot and hope for the best, but the roux is what gives this mac and cheese its creamy, non-grainy texture. Cooking the flour for a full minute is crucial. I once rushed this step and ended up with a sauce that tasted like raw paste. Not ideal.
Grate your own cheese. I cannot stress this enough. Pre-shredded cheese is coated with cellulose and potato starch to prevent clumping, but those same additives prevent the cheese from melting smoothly. Your sauce will be gritty. I learned this when I was in a rush and used a bag of pre-shredded cheddar. The skulls looked great, but the texture was off. Never again.
Use a light hand with the mustard powder. It’s a subtle flavor enhancer, not a main event. If you add too much, your mac and cheese will taste like a hot dog. Start with 1/2 teaspoon and go from there.
Pack the mold tightly. Loose mac and cheese falls apart when you unmold it. You want to press it in with authority. I use the back of a teaspoon to really work it into the eye sockets and jawline. The more compact the filling, the cleaner the skull.
Let the mac and cheese cool slightly before molding. If it’s piping hot, it will be too soft to hold its shape. A 5-minute rest on the counter does wonders. If you’re in a hurry, spread it on a baking sheet to cool faster.
If the sauce breaks: Sometimes, despite your best efforts, the sauce can separate and look oily. This usually happens if the heat was too high when you added the cheese. To fix it, remove the pot from the heat and add a splash of cold milk. Whisk vigorously until it comes back together. It won’t be perfect, but it will be edible.
Variations & Adaptations
This recipe is a canvas. Here are some ways to make it your own:
Spicy Halloween Mac: Add 1/4 teaspoon of cayenne pepper or a minced jalapeño to the sauce. The heat pairs beautifully with the sharp cheddar and gives the skulls a little kick. I tried this version for a grown-up Halloween party, and it was the first thing to disappear.
Bacon & Chive Skulls: Cook 4 slices of bacon until crispy, crumble them, and stir into the mac and cheese before molding. Sprinkle chopped fresh chives over the finished skulls. The salty, smoky bacon adds texture and flavor that kids and adults both love.
Vegan/Plant-Based Version: Use plant-based butter, unsweetened oat milk or cashew milk, and a vegan cheddar shred that melts well (I like Violife or Miyoko’s). The roux still works with plant-based butter, though the sauce may be slightly thinner. Add an extra tablespoon of flour if needed.
Gluten-Free Option: Use gluten-free pasta (I recommend Jovial or Barilla’s gluten-free elbows) and a gluten-free all-purpose flour blend for the roux. The cooking time may vary slightly—check the pasta a minute or two earlier than the package suggests.
Broccoli & Cheddar Skulls: Steam 1 cup of small broccoli florets until tender, then fold them into the mac and cheese before molding. The green flecks against the orange cheese look surprisingly festive. My daughter calls these “zombie brains.”
Smoked Gouda Twist: Replace half the cheddar with smoked Gouda. The smoky flavor adds depth and makes the skulls taste like they were cooked over a campfire. This is my personal favorite variation—it feels fancy without any extra effort.
Serving & Storage Suggestions
These skulls are best served warm, right after you unmold them. Arrange them on a black or dark-colored platter for maximum spooky effect. A few strategically placed rosemary sprigs (they look like tiny trees) or a dusting of paprika (looks like “blood”) can amp up the Halloween vibe.
They pair beautifully with a simple green salad dressed with a tangy vinaigrette to cut through the richness. For a full Halloween spread, serve them alongside roasted chicken wings, a bowl of chili, or some crispy garlic chicken for a protein boost. A glass of crisp apple cider or a light lager works well for adults; kids love them with a side of apple slices.
Storage: Leftover mac and cheese skulls can be stored in an airtight container in the refrigerator for up to 4 days. The texture will firm up as they chill, but they reheat beautifully. To reheat, place them on a baking sheet and warm them in a 350°F oven for 10 minutes, or microwave them in 30-second bursts until heated through. If you microwave them, the skulls may lose some of their shape, so the oven is better for presentation.
Freezing: You can freeze the unmolded skulls for up to 2 months. Place them on a baking sheet in a single layer and freeze until solid, then transfer to a freezer bag. To reheat, bake from frozen at 350°F for 15-20 minutes, or until warmed through. The texture won’t be quite as creamy as fresh, but it’s still delicious.
Flavor-wise, these actually improve after a day in the fridge. The flavors meld and deepen, making the second-day leftovers somehow even better than the first. Just don’t tell anyone I said that.
Nutritional Information & Benefits
Let’s be honest—this is comfort food, not health food. But it’s made with real ingredients, and that counts for something. Here’s the estimated nutritional breakdown per serving (one skull, assuming 8 servings per recipe):
| Nutrient | Amount Per Serving |
|---|---|
| Calories | 320 |
| Total Fat | 18g |
| Saturated Fat | 11g |
| Cholesterol | 55mg |
| Sodium | 520mg |
| Total Carbohydrates | 28g |
| Dietary Fiber | 1g |
| Sugars | 4g |
| Protein | 14g |
| Calcium | 280mg (22% DV) |
The cheddar cheese provides a solid dose of calcium and protein, which is great for growing kids (and adults who need a little extra bone support). The milk adds vitamin D and more calcium. If you use whole milk, you’re also getting a bit of vitamin A. The mustard powder, while tiny in quantity, contains antioxidants and anti-inflammatory compounds.
This recipe is vegetarian as written. It contains dairy and gluten, so it’s not suitable for vegans or those with celiac disease without modifications (see variations above). If you’re watching your sodium, use low-sodium broth and reduce the added salt—the cheese already brings plenty of saltiness.
I’m not a nutritionist, and I’m not here to tell you that mac and cheese is a superfood. But I will say this: feeding your family a warm, homemade meal made with real ingredients, even if it’s indulgent, is a win in my book. Balance is everything.
Conclusion
This easy one-pan Halloween mac and cheese skull recipe is the kind of thing that makes you feel like a kitchen wizard without actually having to do much work. It’s creamy, it’s cheesy, it’s shaped like tiny skulls. What more could you want from a Tuesday night dinner in October?
I love this recipe because it’s proof that you don’t need elaborate decorations or expensive ingredients to make Halloween special. Sometimes all it takes is a silicone mold and a block of good cheddar. It’s the kind of meal that makes your kid’s eyes go wide. It’s the kind of meal that makes you take a photo before anyone takes a bite. And honestly? It’s the kind of meal that makes you feel like you’ve got this whole parenting thing figured out, even if just for one night.
So go ahead. Dig that skull mold out of the back of the drawer. Make a mess. Laugh at the eye sockets. And when someone asks you how you made it look so easy, just smile and say, “One pan, baby. One pan.”
I’d love to hear how yours turn out! Drop a comment below with your spooky creations, your variations, or just a note about who ate the most skulls at your table. And if you’re looking for more easy weeknight dinners that feel special, check out our collection of one-pan meals for more inspiration. Happy Halloween, and happy cooking!
Frequently Asked Questions
Can I use a different shape mold?
Absolutely! Pumpkin, ghost, bat, or even a simple muffin tin work great. Just adjust the molding and chilling time based on the size of the cavities. Smaller molds need less chilling time.
Why did my mac and cheese turn out grainy?
Grainy mac and cheese is usually caused by pre-shredded cheese or overheating. Always shred your own cheese from a block, and remove the pot from the heat before adding the cheese. The residual heat is enough to melt it smoothly.
Can I make this ahead of time for a party?
Yes! Make the mac and cheese, press it into the mold, and refrigerate for up to 24 hours before unmolding and serving. You can also freeze the molded skulls (see storage notes above). Reheat gently in the oven before serving.
How do I get the skulls to hold their shape better?
Pack the mac and cheese very firmly into the mold, especially in the detailed areas like the eyes and nose. Chilling the filled mold for at least 15 minutes helps the structure set. If they still fall apart, your mac and cheese might be too loose—try reducing the liquid slightly next time.
Can I add vegetables to this recipe?
Definitely! Finely chopped broccoli, peas, or roasted red peppers fold in beautifully. Just make sure any vegetables are cooked and well-drained before adding, so they don’t water down the cheese sauce. Steamed broccoli florets are my go-to.
Pin This Recipe!
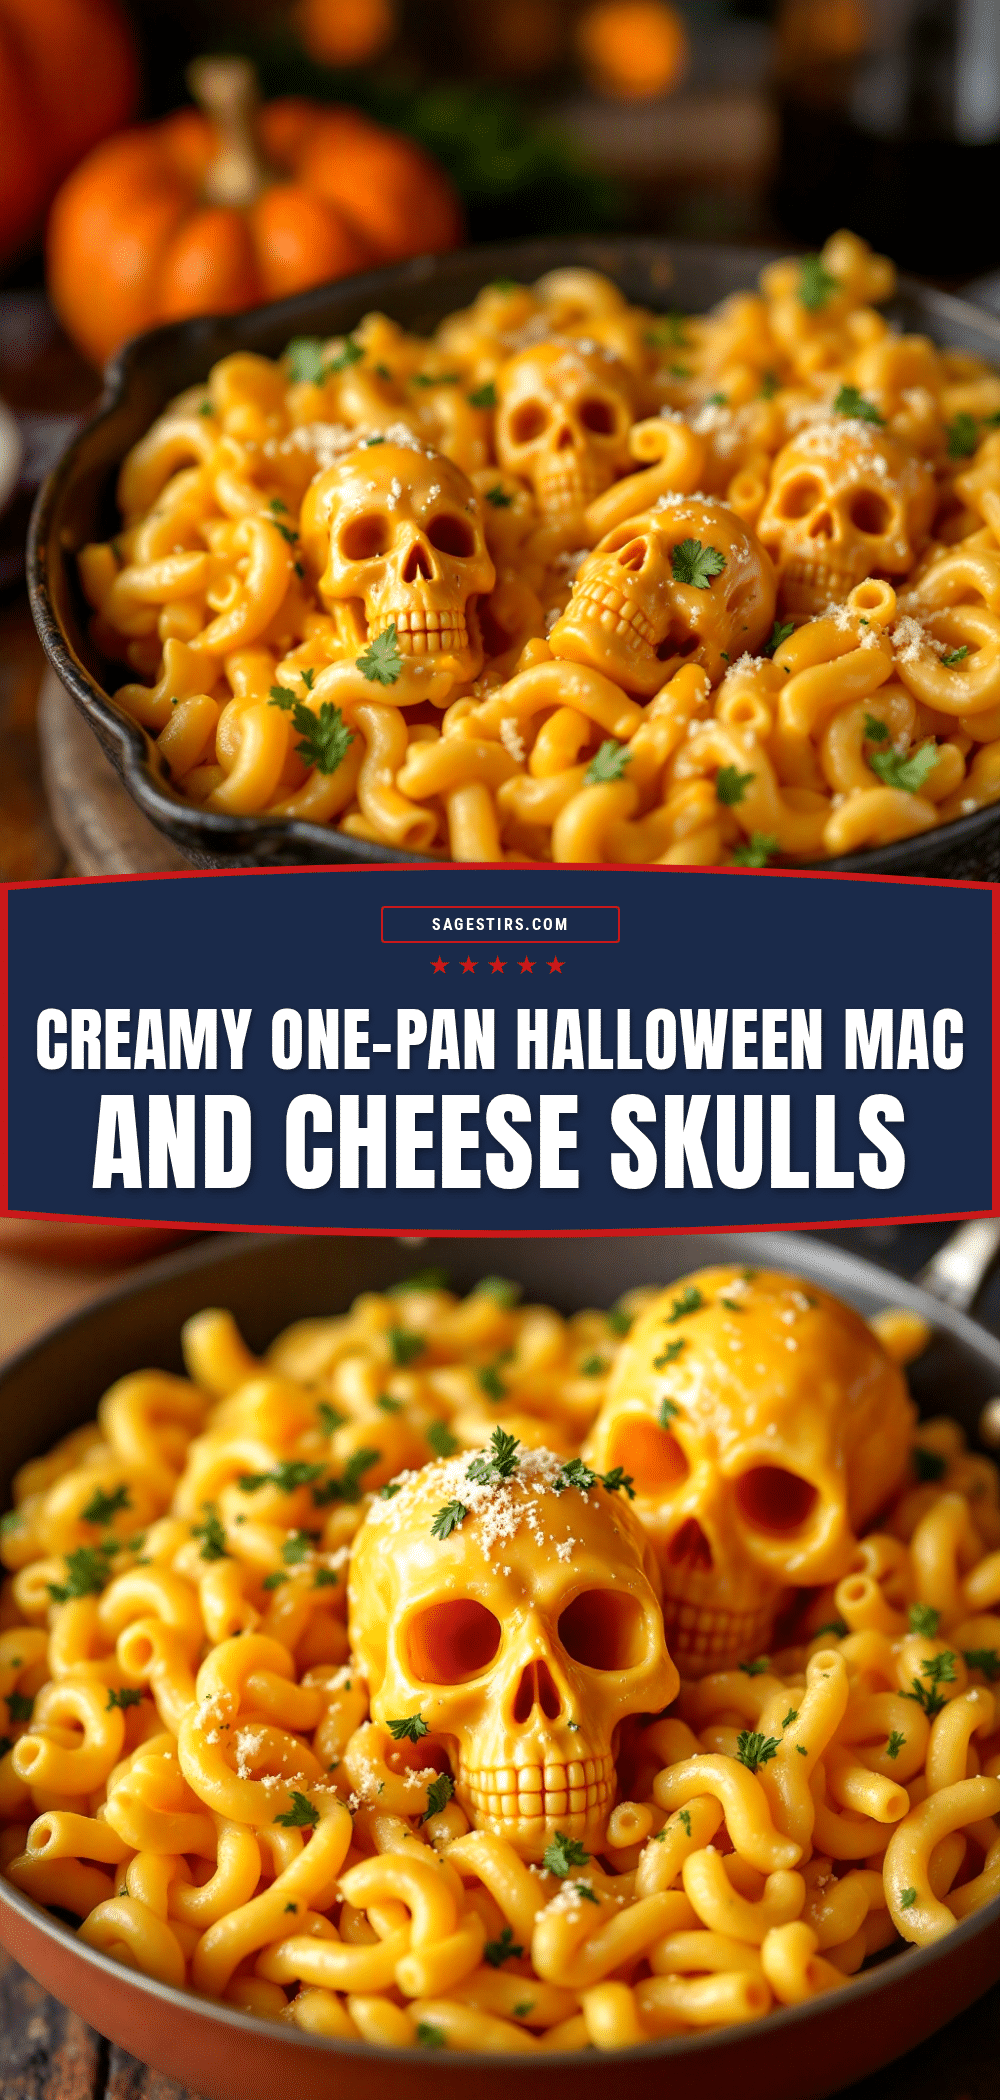
Easy One-Pan Halloween Mac and Cheese Skulls

This creamy, cheesy mac and cheese is shaped into spooky skulls using a silicone mold, making it the perfect Halloween dinner that’s ready in under 30 minutes. It’s a one-pan wonder that kids and adults will love.
- Prep Time: 15 minutes
- Cook Time: 15 minutes
- Total Time: 30 minutes
- Yield: 8 servings 1x
- Category: Main Course
- Cuisine: American
Ingredients
- 2 tablespoons unsalted butter
- 2 tablespoons all-purpose flour
- 2 cups whole milk
- 2 cups shredded sharp cheddar cheese
- 1/2 teaspoon garlic powder
- 1/2 teaspoon mustard powder
- 1/2 teaspoon salt
- 1/4 teaspoon black pepper
- 8 ounces elbow macaroni or small shell pasta
- 2 cups low-sodium chicken or vegetable broth
- Optional: 1/4 cup panko breadcrumbs mixed with 1 tablespoon melted butter
- Non-stick cooking spray
Instructions
- Melt the butter in a large deep skillet or Dutch oven over medium heat.
- Sprinkle the flour over the melted butter and whisk constantly for about 1 minute to make a roux.
- Slowly pour in the milk and broth while whisking continuously until smooth.
- Add garlic powder, mustard powder, salt, and pepper. Stir to combine.
- Add the dry pasta and stir to submerge. Bring to a gentle boil, then reduce heat to a simmer. Cover and cook for 10-12 minutes, stirring every 2-3 minutes.
- Test pasta for doneness; it should be tender but al dente. If too firm, cook 2 more minutes. If too dry, add a splash of milk or broth.
- Remove pot from heat and stir in the shredded cheddar until melted and smooth.
- Let the mac and cheese rest for 2-3 minutes to thicken slightly.
- Spray the skull-shaped silicone mold with non-stick cooking spray.
- Press the mac and cheese firmly into the mold, packing it tightly, especially in detailed areas.
- Optional: Refrigerate the filled mold for 10-15 minutes to firm up.
- Gently unmold the skulls onto a serving platter.
- Optional: For a crispy topping, sprinkle panko mixture over skulls and broil for 1-2 minutes until golden.
- Serve immediately.
Notes
Grate your own cheese for the smoothest sauce. Pack the mold tightly for clean skull shapes. If the sauce breaks, add a splash of cold milk and whisk vigorously.
Nutrition
- Serving Size: 1 skull
- Calories: 320
- Sugar: 4
- Sodium: 520
- Fat: 18
- Saturated Fat: 11
- Carbohydrates: 28
- Fiber: 1
- Protein: 14
Keywords: Halloween, mac and cheese, one-pan, skull, kid-friendly, easy dinner, spooky



