Love this? Save it for later!
Share the inspiration with your friends
My brother-in-law, Mark, did not trust oven-baked chicken wings. To him, the words “baked” and “wings” sitting next to each other was practically a crime against football. He’d spent years defending the deep fryer, claiming that anything less than a bubbling vat of oil was just a sad, floppy imitation. Every single game day, he would haul out his ancient turkey fryer, and honestly, the smell of hot oil would linger in the house for three days. I got tired of it. I wanted wings that were crispy, messy, and satisfying without turning my kitchen into a greasy diner. I wanted wings you could eat while still holding a remote control, not a fire extinguisher.
So I started experimenting. I read about baking powder, about air-drying, about high heat. I ruined a few batches—some were dry, some were rubbery, and one batch tasted suspiciously like the baking powder I forgot to mix in properly. But then, about three weeks before the big playoff game, it happened. The skin was shatteringly crisp. The meat was juicy. And Mark, between bites, mumbled something that sounded like approval. He didn’t say “I was wrong,” but he did ask for the recipe. That was close enough for me.
These crispy baked chicken wings for football Sunday are now our non-negotiable game day staple. They are the thing we bring to every party, the thing that disappears before the halftime show even starts. They are proof that you don’t need a deep fryer to get that perfect, crackling skin. You just need a little patience, a hot oven, and the right technique. And honestly, once you try them, you will never go back to the fryer either.
Why You’ll Love This Recipe
Let’s be real—game day food should be easy. You want to be cheering on your team, not slaving over a stove. These wings fit that bill perfectly. They are hands-off, reliable, and they deliver every single time.
- Oven-Baked, Not Fried: You get all the crunch without the mess, the smell, or the guilt. No deep fryer required, and no standing over a pot of hot oil.
- Seriously Crispy Skin: The secret is a little baking powder and a hot oven. The skin puffs up and gets golden and brittle. It’s the kind of crunch that echoes in the room.
- Perfect for a Crowd: You can easily double or triple this recipe. Just grab a few sheet pans and feed the whole block. They are the ultimate party food.
- Customizable Flavor: This recipe is a blank canvas. Use the classic Buffalo sauce below, or toss them in garlic parmesan, honey sriracha, or a dry rub. You are in control.
- Better Than Takeout: Honestly, most delivery wings get soggy by the time they arrive. These stay crispy for a good hour, which is about the lifespan of a plate of wings at our house anyway.
This isn’t just another wing recipe. It is the one my family and friends beg for. It is the one that makes people ask, “Wait, these are baked?” It is the kind of recipe that feels like a cheat code for the perfect game day spread. If you want to impress your guests without stress, this is your play.
What Ingredients You Will Need
You don’t need a long grocery list for these wings. Most of these are pantry staples, which is exactly what you want on a busy Sunday morning.
- Chicken Wings (3 lbs): Look for whole wings or party wings. Party wings are already separated into flats and drumettes, which saves you a step. If you buy whole wings, you just need a sharp knife to cut through the joints. I prefer fresh wings, but frozen ones work fine—just thaw them completely in the fridge overnight.
- Baking Powder (2 teaspoons): This is the non-negotiable secret ingredient. Do not confuse it with baking soda. Baking powder raises the pH of the skin and helps it dry out, creating that bubbly, crispy texture. It is the magic here.
- Salt (1 teaspoon): I use fine sea salt. It dissolves better and seasons the wings evenly. You can also use kosher salt, but you might need a little more.
- Black Pepper (½ teaspoon): Freshly ground is always better. It adds a subtle warmth that works with any sauce you choose.
- Garlic Powder (½ teaspoon): This adds a savory backbone to the wings before they even hit the sauce. Don’t skip it—it makes a difference.
- For the Buffalo Sauce:
- Hot Sauce (½ cup): I use Frank’s RedHot. It is the gold standard for Buffalo wings. It has the perfect balance of heat and tang.
- Unsalted Butter (¼ cup, melted): This mellows out the heat and adds richness. Use salted butter if you must, but cut back on the added salt in the sauce.
- Worcestershire Sauce (1 teaspoon): This adds a deep, savory umami flavor that makes the sauce more complex.
- Honey (1 tablespoon): Just a touch of sweetness to round out the heat. It helps the sauce cling to the wings, too.
For serving, you will want some celery sticks and carrot sticks. They are not just for decoration—the crunch and coolness balance the spicy wings perfectly. And of course, you need a good ranch or blue cheese dressing for dipping. I am a ranch person myself, but I won’t judge your choice.
Equipment Needed
You don’t need a lot of fancy gear for this recipe, which is part of the beauty of it.
- Baking Sheet: A large, rimmed baking sheet is essential. The rim keeps any rendered fat from dripping into your oven. I use a half-sheet pan.
- Wire Rack: This is the second most important tool. A wire rack set inside the baking sheet lifts the wings up so air can circulate all around them. This is what makes them crispy on the bottom, too. No soggy spots. If you don’t have one, you can use a cooling rack, but make sure it is oven-safe.
- Sharp Knife: If you bought whole wings, you need a sharp chef’s knife or a sturdy pair of kitchen shears to separate them.
- Large Bowl: For tossing the wings with the dry rub and later with the sauce.
- Paper Towels: You will need a lot of these to pat the wings dry. This step is crucial for crispiness.
- Small Saucepan: For melting the butter and mixing the sauce. You can also do this in the microwave in a safe bowl.
If you are on a budget, you can skip the wire rack. Just flip the wings halfway through cooking. They won’t be quite as crispy on the bottom, but they will still be delicious. I have done it that way, and it works in a pinch.
Preparation Method
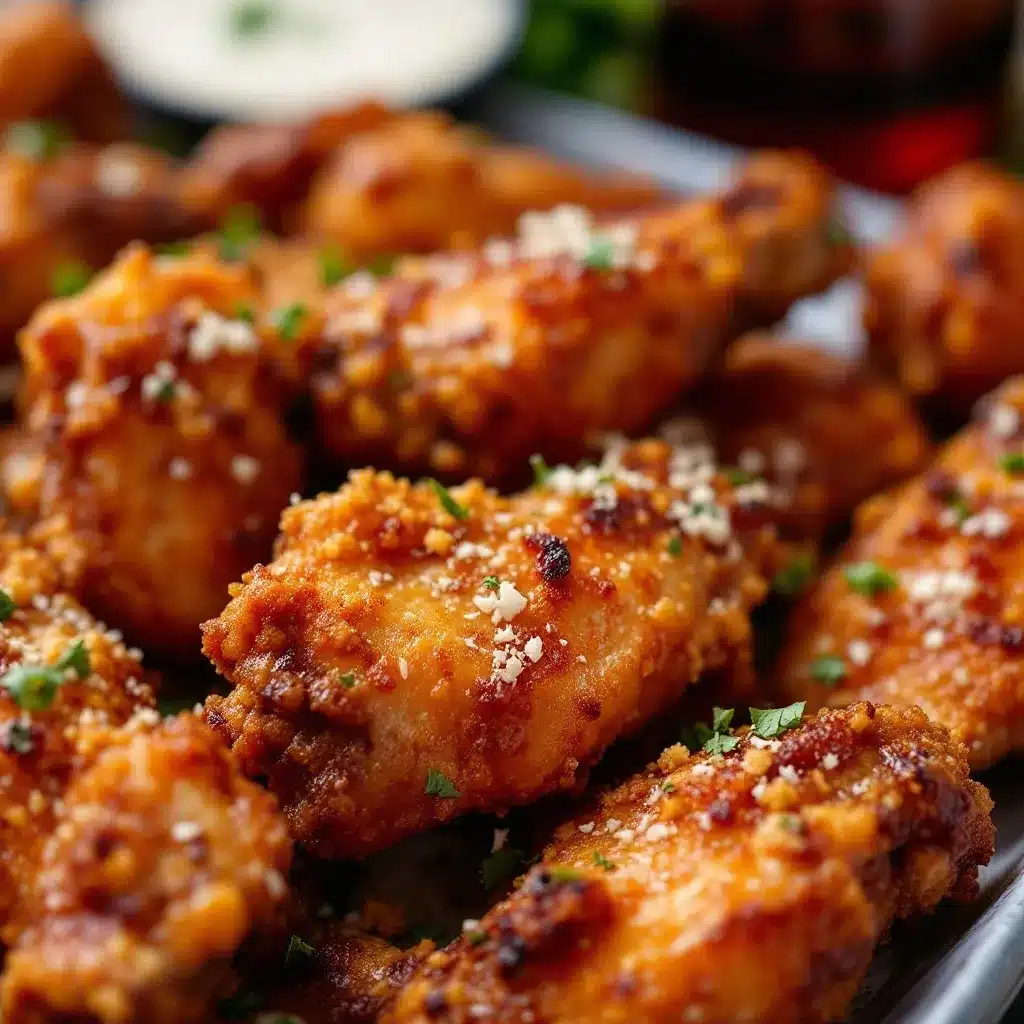
This method is all about patience and heat. Follow these steps, and you will be rewarded with the best wings of your life.
- Prep the Wings (15 minutes): Start by patting the chicken wings completely dry with paper towels. This is the most important step. Any moisture on the skin will steam the wings instead of crisping them. If you have time, let them sit uncovered in the fridge for an hour or two to dry out even more. If you bought whole wings, cut them at the joints. You will get a drumette, a flat, and a tip. You can save the tips for making stock later.
- Season the Wings (5 minutes): In a large bowl, whisk together the baking powder, salt, pepper, and garlic powder. Add the dried wings to the bowl and toss them with your hands until every piece is evenly coated. The mixture will look a little dusty, but that is exactly what you want. Don’t skip the baking powder—it is what makes the skin bubble and crisp.
- Set Up the Oven (5 minutes): Place a wire rack inside a rimmed baking sheet. Arrange the wings on the rack in a single layer. Do not crowd them. If they are touching, they will steam. Give them a little space to breathe.
- Refrigerate (Optional but Recommended, 1 hour): If you have time, put the tray of wings in the fridge, uncovered, for at least an hour. This dries the skin out even more, which leads to maximum crispiness. I do this every time I can, and it makes a noticeable difference.
- Bake the Wings (45-50 minutes): Preheat your oven to 425°F (220°C). Bake the wings for 25 minutes. Then, flip each wing over using tongs. Bake for another 20-25 minutes, until the skin is deep golden brown and crispy. The internal temperature should reach 165°F (74°C). Don’t open the oven too often—you want to keep the heat steady.
- Make the Sauce (5 minutes): While the wings are baking, make the sauce. In a small saucepan over low heat, melt the butter. Whisk in the hot sauce, Worcestershire sauce, and honey. Keep it warm until the wings are ready.
- Toss and Serve (5 minutes): When the wings are done, transfer them to a clean large bowl. Pour the warm sauce over them and toss gently with a spatula or by using two spoons until every wing is coated. Don’t let them sit in the sauce too long before serving, or they will start to soften.
And that is it. You now have a pile of perfectly crispy, saucy wings ready for kickoff.
Cooking Tips & Techniques
I have made a lot of mistakes with wings. Let me save you from my own failures.
- Dryness is Key: I cannot stress this enough. Wet wings are sad wings. Pat them dry with paper towels. Let them sit in the fridge uncovered. The drier the skin, the crispier the result. I once rushed this step and ended up with steamed, rubbery skin. Never again.
- Don’t Skip the Flip: Flipping the wings halfway through ensures even cooking and crispiness on both sides. I forgot to do this once, and the bottoms were pale and soggy. It was a texture tragedy.
- Use a Meat Thermometer: Ovens vary. The only way to be sure your wings are cooked perfectly is to use an instant-read thermometer. Stick it into the thickest part of a drumette, avoiding the bone. 165°F is the magic number.
- High Heat is Your Friend: 425°F is the sweet spot. It is hot enough to render the fat and crisp the skin, but not so hot that it burns the outside before the inside is cooked. Don’t be tempted to go higher.
- Baking Powder, Not Baking Soda: I have made this mistake. Baking soda will make your wings taste metallic and weird. Baking powder is the correct ingredient. Double check your container before you start.
- Work in Batches: If you are making a huge batch for a party, do not crowd the pan. Cook them in two batches if you have to. Crowding leads to steaming, and steaming leads to sadness.
Variations & Adaptations
Once you master the basic crispy wing, the world is your oyster. Or, you know, your wing sauce.
- Classic Buffalo: The recipe above is my go-to. It is tangy, buttery, and has a nice kick. It is the wing you think of when you think of game day.
- Garlic Parmesan: Skip the Buffalo sauce. After baking, toss the wings in melted butter, minced garlic, and a generous heap of grated Parmesan cheese. Add a pinch of dried parsley for color. It is rich, savory, and incredibly addictive.
- Honey Sriracha: For a sweet and spicy twist, mix ¼ cup of sriracha with 3 tablespoons of honey and a splash of rice vinegar. Toss the hot wings in this mixture. The sweetness balances the heat perfectly.
- Dry Rub: If you want to skip the sauce entirely, double the dry rub. Add a teaspoon of smoked paprika, ½ teaspoon of cayenne pepper, and a teaspoon of brown sugar to the baking powder mixture. These are fantastic on their own, with a deeply savory, smoky flavor.
- Lemon Pepper: This is a classic for a reason. After baking, toss the wings in melted butter and a generous amount of lemon pepper seasoning. The citrus cuts through the richness of the skin beautifully.
I have tried all of these, and honestly, I cannot pick a favorite. It depends on my mood. The garlic parmesan ones are dangerous—I can eat a dozen without even realizing it.
Serving & Storage Suggestions
These wings are best served hot, right out of the oven, but they hold up surprisingly well.
- Serving: Pile them high on a large platter. Arrange celery and carrot sticks around the edges. Serve with small bowls of ranch dressing and blue cheese dressing on the side. A little extra hot sauce on the table is never a bad idea. These wings are perfect alongside a football charcuterie board with an easy pretzel end zone for the ultimate spread.
- Storage: If you have leftovers (a rare event in my house), let them cool completely. Store them in an airtight container in the refrigerator for up to 3 days. The sauce will soften the skin over time, so don’t expect them to be as crispy the next day.
- Reheating: The oven is your best friend here. Reheat them on a wire rack at 350°F (175°C) for about 10 minutes. This will help recrisp the skin. The microwave will turn them into a rubbery mess, so avoid it at all costs.
- Make Ahead: You can prep the wings up to the point of seasoning them. Keep them on the wire rack in the fridge, uncovered, for up to 24 hours. Then just pop them in the oven when you are ready. This is a game-changer for busy game days.
Nutritional Information & Benefits
Let’s be honest: wings are not a health food. But they are a protein-packed snack that can fit into a balanced diet, especially when baked instead of fried.
A serving of about 5-6 wings (with sauce) contains roughly:
- Calories: 400-450
- Protein: 30-35g
- Fat: 28-32g
- Carbohydrates: 5-8g
Chicken wings are a good source of protein, which helps keep you full and satisfied. They also provide selenium and B vitamins. Baking them instead of frying significantly reduces the fat and calorie content, making them a slightly lighter option for indulgent game day eating. If you are watching your sodium, you can use a low-sodium hot sauce and reduce the salt in the dry rub. This recipe is naturally gluten-free, but always double-check your specific brand of hot sauce and Worcestershire sauce to be sure.
I like to balance out the indulgence with a big bowl of veggies on the side. A cowboy caviar with lime cilantro dressing is a fantastic, fresh counterpoint to the rich, spicy wings.
Conclusion
These crispy baked chicken wings have completely changed how we do game day. They are the recipe that won over my fryer-obsessed brother-in-law, and they have won over everyone else who has tried them. They are proof that you don’t need a deep fryer, a lot of oil, or a complicated technique to get that perfect, shatteringly crispy skin. You just need a hot oven, a little baking powder, and a willingness to trust the process.
I love this recipe because it is reliable. It works every single time, and it never fails to impress. Whether you are hosting a Super Bowl party, a weekly watch party, or just craving a snack that feels like a celebration, these wings deliver. They are messy, they are satisfying, and they are absolutely delicious.
I want to hear about your game day creations! Leave a comment below and let me know how these wings turned out for you. Did you try a different sauce? Did you double the batch? Share your wins (and your lessons learned) with the community. And if you loved them, please share this post with your fellow football fans. Let’s make every Sunday a little more delicious.
Frequently Asked Questions
Can I use frozen chicken wings?
Yes, you can. Just make sure to thaw them completely in the refrigerator overnight. Then, pat them very dry with paper towels. Frozen wings hold more moisture, so the drying step is even more important. You might need to add an extra 5-10 minutes to the baking time.
Why are my wings not crispy?
There are a few common culprits. The most likely reason is that the wings were not dried thoroughly before seasoning. Another is that they were crowded on the baking sheet, which caused them to steam instead of roast. Finally, make sure you are using baking powder, not baking soda, and that your oven is fully preheated to 425°F.
Can I make these in an air fryer?
Absolutely! The air fryer is fantastic for crispy wings. Follow the same seasoning steps, then cook them in a single layer in the air fryer basket at 400°F (200°C) for 20-25 minutes, shaking the basket halfway through. You may need to work in batches depending on the size of your air fryer.
How do I make the wings less spicy?
To tone down the heat, use a mild hot sauce or cut the amount of hot sauce in the Buffalo sauce in half. You can also increase the amount of butter or honey to mellow out the spice. Alternatively, try the garlic parmesan or dry rub variations, which are not spicy at all.
Can I prep these wings the night before?
Yes, and I highly recommend it. Season the wings with the baking powder mixture and arrange them on the wire rack over the baking sheet. Place the whole tray in the refrigerator, uncovered, overnight. This dries the skin out beautifully and makes the wings extra crispy. Just bake them straight from the fridge the next day, adding a few extra minutes to the cooking time if needed.
Pin This Recipe!
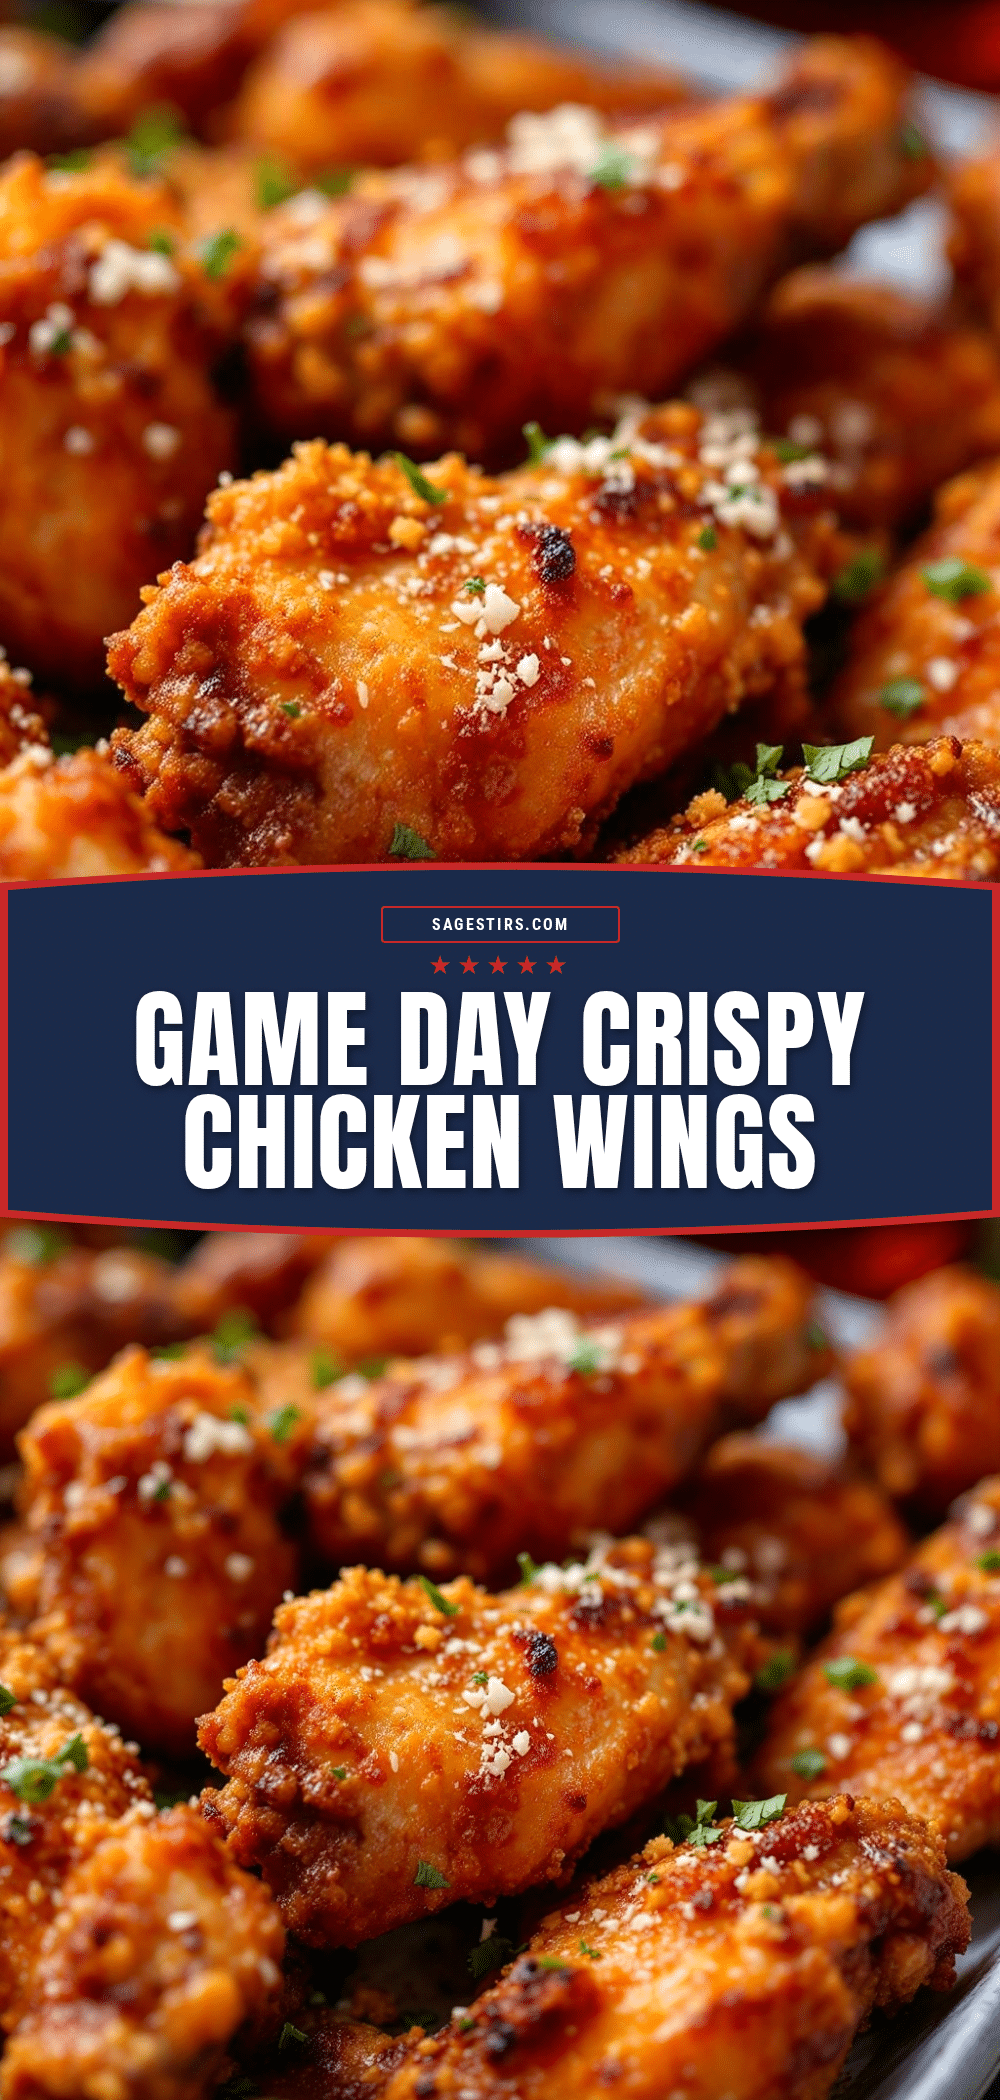
Crispy Baked Chicken Wings for Football Sunday – Best Game Day Recipe

These oven-baked chicken wings are shatteringly crispy, juicy, and perfect for game day. No deep fryer needed—just a hot oven, a little baking powder, and the right technique for the best wings you’ll ever make.
- Prep Time: 15 minutes
- Cook Time: 45 minutes
- Total Time: 1 hour (plus optional refrigeration time)
- Yield: 4 servings 1x
- Category: Appetizer
- Cuisine: American
Ingredients
- 3 lbs chicken wings (whole or party wings)
- 2 teaspoons baking powder
- 1 teaspoon fine sea salt
- ½ teaspoon freshly ground black pepper
- ½ teaspoon garlic powder
- ½ cup hot sauce (e.g., Frank’s RedHot)
- ¼ cup unsalted butter, melted
- 1 teaspoon Worcestershire sauce
- 1 tablespoon honey
- Celery sticks, for serving
- Carrot sticks, for serving
- Ranch or blue cheese dressing, for dipping
Instructions
- Prep the Wings: Pat the chicken wings completely dry with paper towels. If using whole wings, cut them at the joints into drumettes, flats, and tips (save tips for stock).
- Season the Wings: In a large bowl, whisk together baking powder, salt, pepper, and garlic powder. Add the dried wings and toss until evenly coated.
- Set Up the Oven: Place a wire rack inside a rimmed baking sheet. Arrange the wings in a single layer on the rack, not touching.
- Refrigerate (Optional): For extra crispiness, refrigerate the tray of wings uncovered for at least 1 hour (or up to 24 hours).
- Bake the Wings: Preheat oven to 425°F (220°C). Bake for 25 minutes, then flip each wing. Bake for another 20-25 minutes until deep golden brown and crispy (internal temperature reaches 165°F/74°C).
- Make the Sauce: In a small saucepan over low heat, melt the butter. Whisk in hot sauce, Worcestershire sauce, and honey. Keep warm.
- Toss and Serve: Transfer baked wings to a clean large bowl. Pour warm sauce over and toss gently until coated. Serve immediately with celery, carrots, and dressing.
Notes
Pat wings very dry for maximum crispiness. Do not skip the baking powder—it’s essential for crispy skin. For best results, refrigerate wings uncovered for at least 1 hour before baking. Reheat leftovers on a wire rack at 350°F for 10 minutes to recrisp.
Nutrition
- Serving Size: 5-6 wings
- Calories: 400450
- Sugar: 35
- Sodium: 8001000
- Fat: 2832
- Saturated Fat: 1012
- Carbohydrates: 58
- Protein: 3035
Keywords: crispy baked chicken wings, game day wings, buffalo wings, oven baked wings, football party food



