Love this? Save it for later!
Share the inspiration with your friends
I want brown butter pumpkin bread right now, and I have everything except the patience to let it cool before glazing. That’s the thought running through my head as I stand in my kitchen at 9 PM on a Tuesday, staring at a cooling rack like it personally offended me. The nutty aroma of browned butter still hangs in the air, mixing with cinnamon and that deep, earthy pumpkin scent that somehow makes everything feel cozier. I’ve made this recipe maybe a dozen times now, tweaking it each round, and I think I’ve finally landed on something worth sharing.
The thing about brown butter is it changes everything. It takes something familiar—pumpkin bread, that classic fall staple—and gives it this almost caramelized depth that makes you stop mid-bite and just notice. And the maple glaze? That came about because I ran out of powdered sugar one afternoon and had maple syrup sitting on the counter. Desperate times, you know? But honestly, it was one of those happy accidents that turned into a permanent addition.
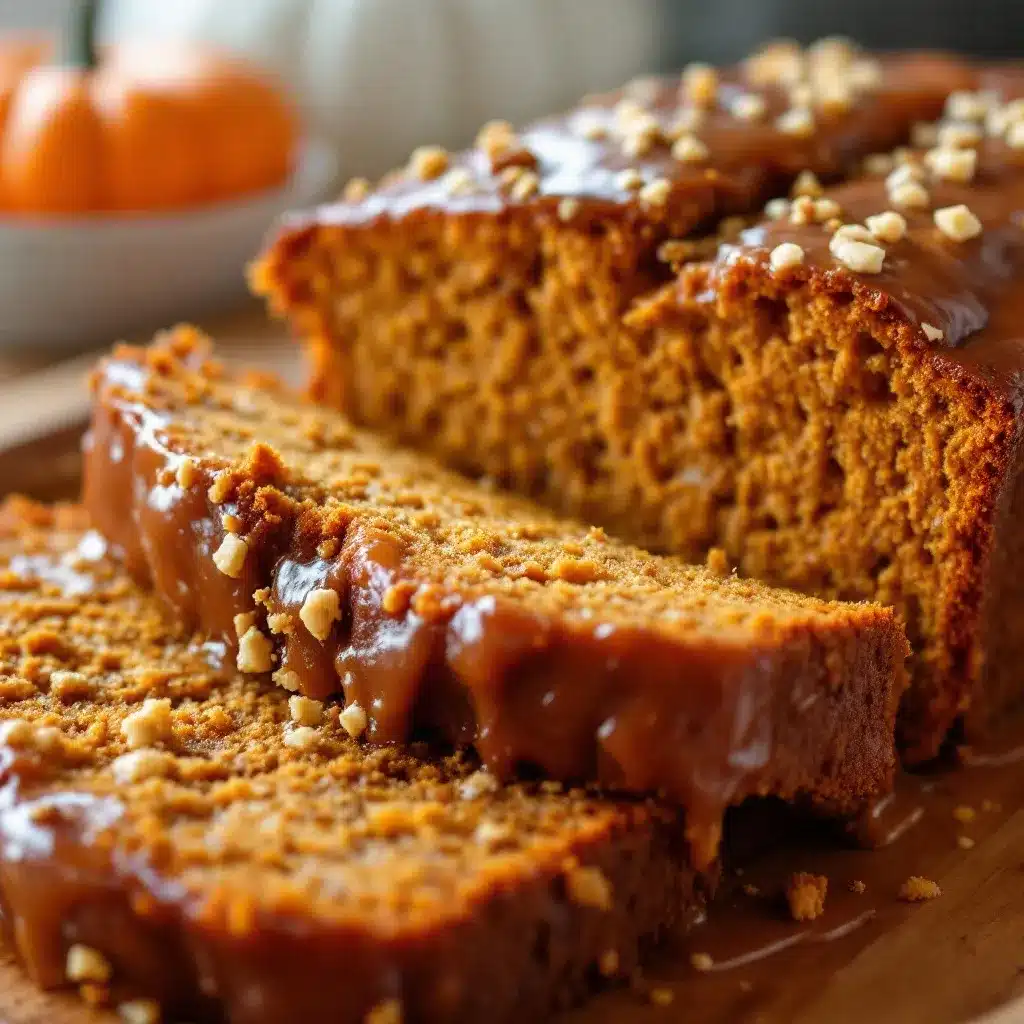
This isn’t fancy bakery bread. It’s the kind you make on a Sunday afternoon, slice up for breakfast the next morning, and find yourself sneaking pieces of throughout the day. The crumb is tender, the top gets that perfect crack, and the glaze seeps into the warm bread just enough to make every bite interesting. I’ve brought loaves to neighbors, to potlucks, to my kids’ teachers, and I’ve never brought a single slice home. That tells you everything.
Why You’ll Love This Recipe
Let me tell you why this particular pumpkin bread stands out from the dozens of recipes floating around the internet. I’ve tested this version extensively in my own kitchen, through multiple batches and plenty of taste-testers, and here’s what makes it special.
- Quick & Easy: From start to oven in about 15 minutes. No mixer required, no complicated techniques. Just a bowl, a whisk, and some melted butter.
- Simple Ingredients: You probably have most of this in your pantry right now. Canned pumpkin, flour, sugar, eggs, butter, and spices. The brown butter adds flavor without needing anything fancy.
- Perfect for Fall Baking: Whether it’s a Thanksgiving brunch, a cozy weekend morning, or just because the weather turned chilly, this bread fits the moment.
- Crowd-Pleaser: I’ve served this to kids who swear they don’t like pumpkin bread, and they went back for seconds. The brown butter makes it approachable, not overly pumpkin-y.
- Unbelievably Delicious: That moment when the warm maple glaze hits the warm bread and starts to melt into the cracks? Pure magic. The texture is moist without being gummy, and the flavor has layers you don’t expect from a quick bread.
What makes this recipe different is the brown butter technique. Most pumpkin breads use oil or plain melted butter, but browning the butter first adds a nutty, toasty flavor that complements the pumpkin and spices beautifully. It’s not a huge extra step, but it makes a noticeable difference. And the maple glaze isn’t just sweet—it has that slightly complex, almost woodsy flavor that real maple syrup brings. Together, they create something that tastes like you spent hours in the kitchen when really, you just browned some butter and stirred things together.
This is the kind of recipe that makes you feel accomplished without actually working that hard. And honestly? That’s my favorite kind of baking.
What Ingredients You Will Need
This recipe uses simple, pantry-friendly ingredients to create something that tastes anything but basic. Here’s what you’ll need and why each one matters.
For the Brown Butter Pumpkin Bread
- Unsalted butter, ½ cup (1 stick or 113 grams) — You’ll brown this first, so don’t skip that step. I use unsalted so I can control the salt level. Land O’Lakes or Kerrygold both work great here.
- Canned pumpkin puree, 1 cup (about 240 grams) — Make sure you grab pumpkin puree, not pumpkin pie filling. They’re different and the filling has added sugar and spices. Libby’s is my go-to brand.
- Granulated sugar, ¾ cup (150 grams) — Adds sweetness and helps create that tender crumb. You could reduce this slightly if you prefer less sweet bread, but I wouldn’t go below ½ cup.
- Light brown sugar, ½ cup (100 grams), packed — Adds moisture and a hint of molasses flavor that plays nicely with the pumpkin and brown butter.
- Large eggs, 2, at room temperature — Room temperature eggs incorporate more evenly into the batter. If you forget to set them out, place them in a bowl of warm water for 5 minutes.
- Vanilla extract, 1 teaspoon — Enhances all the other flavors. Pure vanilla extract is worth the splurge here.
- All-purpose flour, 1 ¾ cups (220 grams) — Spoon and level your flour for accuracy. Scooping directly from the bag can pack in too much flour and make the bread dry.
- Baking soda, 1 teaspoon — Helps the bread rise and gives it that nice domed top.
- Baking powder, ½ teaspoon — Works alongside the baking soda for the right texture.
- Salt, ½ teaspoon — Balances the sweetness and enhances the flavors. I use fine sea salt.
- Ground cinnamon, 2 teaspoons — The backbone of the spice blend. Fresh cinnamon makes a difference.
- Ground nutmeg, ½ teaspoon — Adds warmth. Freshly grated is amazing if you have it.
- Ground ginger, ½ teaspoon — Gives a little warmth without being spicy.
- Ground cloves, ¼ teaspoon — A tiny amount goes a long way. Don’t skip it—it rounds out the spice blend.
For the Maple Glaze
- Powdered sugar, 1 cup (120 grams) — Sifted if it’s lumpy. Nobody wants lumpy glaze.
- Pure maple syrup, 2 tablespoons — Use the real stuff, not pancake syrup. The flavor is noticeably better. Grade A dark amber works beautifully.
- Milk or heavy cream, 1-2 tablespoons — Adjust to reach your desired consistency. Heavy cream makes a richer glaze.
- Pinch of salt — Optional but recommended. It cuts the sweetness just a little.
Substitution notes: If you need a dairy-free version, use vegan butter for browning and plant-based milk in the glaze. For a gluten-free option, substitute a 1:1 gluten-free flour blend—I’ve had good results with Bob’s Red Mill. And if you’re out of pumpkin pie spice blend, just use the individual spices listed above; you can adjust to taste.
Equipment Needed
Nothing too fancy here. You probably already own most of this.
- 9×5-inch loaf pan — Standard size works perfectly. Glass, metal, or ceramic all work, though metal gives the best browning on the sides.
- Parchment paper — Lining the pan makes removal so much easier. Leave some overhang on the long sides as handles.
- Medium saucepan — For browning the butter. A light-colored pan helps you see the color change.
- Large mixing bowl — For the wet ingredients and the dry ingredients.
- Whisk — For mixing everything together. A wooden spoon works too.
- Rubber spatula — For scraping down the bowl and folding in the flour.
- Cooling rack — Essential for even cooling. If you don’t have one, you can use the inverted loaf pan or even the oven grates (once they’re cool).
- Small bowl — For the glaze.
- Measuring cups and spoons — For accuracy, especially with the flour and spices.
If you don’t have a 9×5 pan, you can use an 8×4 pan, but you’ll need to increase the baking time by 5-10 minutes. Just keep an eye on it.
Preparation Method
Let me walk you through this step by step. Trust me, it’s straightforward once you get going.
Step 1: Brown the Butter
Place the ½ cup of butter in a medium saucepan over medium heat. Let it melt completely, then continue cooking, swirling the pan occasionally. You’ll see it foam up, then the foam will subside, and small brown specks will start forming at the bottom. This takes about 5-7 minutes. The moment it smells nutty and turns a golden-amber color, remove it from the heat immediately. Watch it carefully— butter can go from browned to burnt in seconds. Pour it into a heatproof bowl and let it cool for about 10 minutes. It should be warm but not hot when you add it to the batter.
Step 2: Preheat and Prep
Preheat your oven to 350°F (175°C). Line your 9×5 loaf pan with parchment paper, leaving overhang on the two long sides. Lightly spray the exposed ends with cooking spray. This ensures the bread releases cleanly.
Step 3: Mix the Wet Ingredients
In a large bowl, whisk together the cooled brown butter, granulated sugar, and brown sugar until well combined. It’ll look a bit grainy, and that’s fine. Add the pumpkin puree, eggs, and vanilla extract. Whisk until smooth and fully incorporated. The mixture should be thick and glossy.
Step 4: Combine the Dry Ingredients
In a separate medium bowl, whisk together the flour, baking soda, baking powder, salt, cinnamon, nutmeg, ginger, and cloves. Make sure the spices are evenly distributed. This step matters more than you think—nobody wants a pocket of straight cinnamon in their bread.
Step 5: Fold Together
Add the dry ingredients to the wet ingredients in two additions, folding gently with a rubber spatula after each addition. Do not overmix. Stir just until you no longer see streaks of flour. A few lumps are perfectly fine. Overmixing develops gluten and makes the bread tough.
Step 6: Bake
Pour the batter into your prepared loaf pan and spread it evenly. Bake for 50-60 minutes, or until a toothpick inserted into the center comes out clean or with just a few moist crumbs. The top should be golden brown and spring back lightly when touched. If the top is browning too quickly around the 40-minute mark, tent loosely with aluminum foil.
Step 7: Cool
Let the bread cool in the pan on a wire rack for about 15 minutes. Then use the parchment overhang to lift it out and transfer it to the rack to cool completely. Do not skip this step— if you glaze it while it’s still warm, the glaze will melt right off and soak into the bread. Wait until it’s completely cool, about 1-2 hours.
Step 8: Make the Glaze
In a small bowl, whisk together the powdered sugar, maple syrup, and 1 tablespoon of milk or cream. Add more liquid, ½ teaspoon at a time, until the glaze is thick but pourable. It should coat the back of a spoon but still drizzle easily. Stir in a tiny pinch of salt if you’re using it.
Step 9: Glaze and Serve
Once the bread is completely cool, drizzle the glaze over the top. Let it set for about 10 minutes before slicing. The glaze will harden slightly but stay soft enough to be delicious. Slice with a serrated knife for clean cuts.
Cooking Tips & Techniques
I’ve made this bread enough times to learn a few things the hard way. Let me save you some trouble.
Don’t rush the brown butter. I know it’s tempting to crank up the heat and get it done faster, but medium heat is your friend. High heat cooks the milk solids unevenly and increases the chance of burning. You want those little brown specks to form gradually. The first time I made this, I got distracted and ended up with black specks instead of brown. The bread still tasted okay, but it had a slightly bitter edge that wasn’t ideal.
Room temperature ingredients matter. Cold eggs can seize the brown butter and create a lumpy batter. If you forgot to take them out ahead of time, place them in a bowl of warm water for 5 minutes. Same goes for the pumpkin puree—it should be at room temperature too. I’ve made this with cold pumpkin straight from the fridge, and the batter came together fine, but it took longer to bake evenly.
Check for doneness with a thermometer. If you have an instant-read thermometer, the internal temperature should read about 200-205°F (93-96°C) when the bread is done. This is more reliable than the toothpick test, especially if you’re new to baking quick breads.
Let it cool completely. I cannot stress this enough. I know the smell is intoxicating and you want a slice with that warm glaze melting into it. But if you glaze too early, the glaze will just slide off and pool at the bottom. Patience pays off here. If you absolutely cannot wait, at least let it cool for an hour before glazing.
Toast leftover slices. Day-old pumpkin bread is actually better toasted. Pop a slice in the toaster or under the broiler for a minute or two. The edges get slightly crispy while the inside stays tender. Top with a pat of butter and you’ve got breakfast.
Variations & Adaptations
This recipe is flexible, and I’ve tried several variations over the years. Here are some of my favorites.
Chocolate Chip Pumpkin Bread: Fold in ½ cup of semi-sweet or dark chocolate chips along with the dry ingredients. The chocolate pairs beautifully with the brown butter and pumpkin. I’ve made this for my kids, and it disappears faster than the plain version. If you want to go all in, try my Easy One-Bowl Chocolate Chip Pumpkin Bread for a dedicated recipe.
Nutty Pumpkin Bread: Add ½ cup of toasted pecans or walnuts to the batter. Toast them first in a dry skillet for 3-4 minutes until fragrant. The crunch adds texture, and the nuts complement the brown butter flavor. I love this version with a cup of coffee in the morning.
Dairy-Free Adaptation: Use vegan butter for browning—Miyoko’s or Earth Balance work well. Replace the milk in the glaze with oat milk or almond milk. The texture will be slightly different, but the flavor is still excellent.
Gluten-Free Version: Substitute the all-purpose flour with a 1:1 gluten-free baking blend. I’ve used Bob’s Red Mill and King Arthur Measure for Measure with good results. Add an extra tablespoon of milk or pumpkin puree if the batter seems too thick.
Spice It Up: Add ¼ teaspoon of cardamom or allspice to the spice blend for a more complex flavor profile. Or use pumpkin pie spice mix instead of the individual spices—about 2 ½ teaspoons total.
Mini Loaves or Muffins: This batter works great for mini loaves (bake 25-30 minutes) or muffins (bake 18-22 minutes). Adjust the glaze accordingly—you might need a little less. For a similar muffin option, check out my Perfect Pumpkin Cream Cheese Muffins.
Serving & Storage Suggestions
This bread is versatile enough for any occasion. Here’s how to serve and store it.
Serving Temperature: Room temperature is ideal. The glaze sets properly, and the crumb is at its most tender. If you want warm bread, toast individual slices rather than reheating the whole loaf.
Presentation Ideas: Place the glazed loaf on a wooden cutting board or a cake stand. Slice it at the table for a cozy presentation. For brunch, arrange slices on a platter with fresh apple slices and a dusting of cinnamon. You can also serve it alongside a Cozy Homemade Pumpkin Spice Latte for the ultimate fall pairing.
Complementary Dishes: This bread pairs beautifully with coffee, tea, or a glass of cold milk. For a more substantial breakfast, serve it with scrambled eggs and fruit. It also works as a dessert with a scoop of vanilla ice cream or a dollop of whipped cream.
Storage Instructions: Store the bread in an airtight container at room temperature for up to 3 days. If you’ve glazed it, place a piece of parchment paper between the bread and the container lid to prevent the glaze from sticking. Do not refrigerate—the cold dries out the bread and makes the glaze sticky.
Freezing Instructions: This bread freezes beautifully. Wrap the unglazed loaf tightly in plastic wrap, then in aluminum foil. Freeze for up to 3 months. When ready to serve, thaw overnight in the refrigerator, then bring to room temperature before glazing. You can also freeze individual slices for quick breakfasts—just wrap each slice separately.
Flavor Development: The flavors actually improve after a day. The spices meld together, and the brown butter flavor becomes more pronounced. I often make this bread a day ahead of when I plan to serve it.
Nutritional Information & Benefits
While this is definitely a treat, it does have some redeeming qualities. Here’s a rough estimate per slice (assuming 10 slices per loaf):
- Calories: Approximately 280-320 per slice
- Fat: 12-14g (mostly from butter)
- Carbohydrates: 40-45g
- Protein: 4-5g
- Fiber: 2-3g
- Sugar: 22-26g (including glaze)
Health Benefits: Pumpkin is rich in vitamin A (from beta-carotene), which supports eye health and immune function. It also provides fiber and potassium. The spices—cinnamon, ginger, nutmeg, and cloves—have anti-inflammatory properties and can help regulate blood sugar. Brown butter adds a small amount of vitamin A and healthy fats.
Dietary Considerations: This recipe contains gluten, dairy, and eggs. For gluten-free or dairy-free options, see the variations section above. It’s not low-carb or keto-friendly due to the sugar content, but you can reduce the sugar slightly if needed.
My Take: Look, this isn’t health food. It’s comfort food, and there’s nothing wrong with that. But using real ingredients—pumpkin, butter, eggs, spices—means you’re not eating processed junk. I’d rather have a slice of this than a packaged muffin any day.
Frequently Asked Questions
Can I use fresh pumpkin instead of canned?
Yes, but you’ll need to roast and puree it first. Fresh pumpkin has more water content than canned, so you may need to drain it in a cheesecloth-lined sieve for about 30 minutes. The flavor is slightly less concentrated, so I recommend adding an extra ½ teaspoon of pumpkin pie spice. Canned pumpkin is more convenient and gives consistent results, but fresh works in a pinch.
Why did my pumpkin bread sink in the middle?
This usually happens for one of three reasons: the oven temperature was too low, the batter was overmixed, or the bread was underbaked. Make sure your oven is properly preheated to 350°F, mix just until combined, and bake until a toothpick comes out clean. An oven thermometer can help ensure accuracy.
Can I make this without the maple glaze?
Absolutely. The bread is delicious on its own. You can skip the glaze entirely, or substitute a simple dusting of powdered sugar, a cream cheese frosting, or even a sprinkle of cinnamon sugar. If you want a different glaze option, try a vanilla glaze made with powdered sugar and milk instead of maple syrup.
How do I know when the brown butter is done?
Look for three signs: the butter will smell nutty and toasty, it will turn a golden-amber color, and you’ll see small brown specks forming at the bottom of the pan. The process takes about 5-7 minutes over medium heat. Remove it from the heat immediately once you see those brown specks—it continues cooking from the residual heat. If you see black specks or smell burnt toast, you’ve gone too far.
Can I double this recipe?
Yes, this recipe doubles beautifully. Use two 9×5 loaf pans and bake them on the same oven rack, rotating halfway through. You may need to add 5-10 minutes to the baking time. If you only have one pan, you can refrigerate the second batch of batter while the first bakes, but bring it back to room temperature before baking.
Conclusion
This brown butter pumpkin bread with maple glaze has become my go-to fall recipe for a reason. It’s easy enough for a weekday bake but impressive enough to bring to a gathering. The brown butter adds a depth of flavor that makes it feel special, while the maple glaze gives it that little something extra that keeps people coming back for more.
I love that this recipe doesn’t require any special equipment or hard-to-find ingredients. It’s just good, honest baking with a few small touches that make a big difference. The nutty brown butter, the warm spices, the sweet maple glaze—they all come together in a way that feels both familiar and exciting.
If you make this bread, I’d love to hear how it turns out. Leave a comment below and let me know if you tried any variations, or tag me in your photos on social media. And if you’re looking for more fall baking inspiration, don’t miss my Perfect Brown Butter Pumpkin Snickerdoodle Cookies or my Flaky Maple Cinnamon Pumpkin Scones.
Happy baking, friends. And remember—wait for that bread to cool before you glaze it. Trust me on this one.
Pin This Recipe!
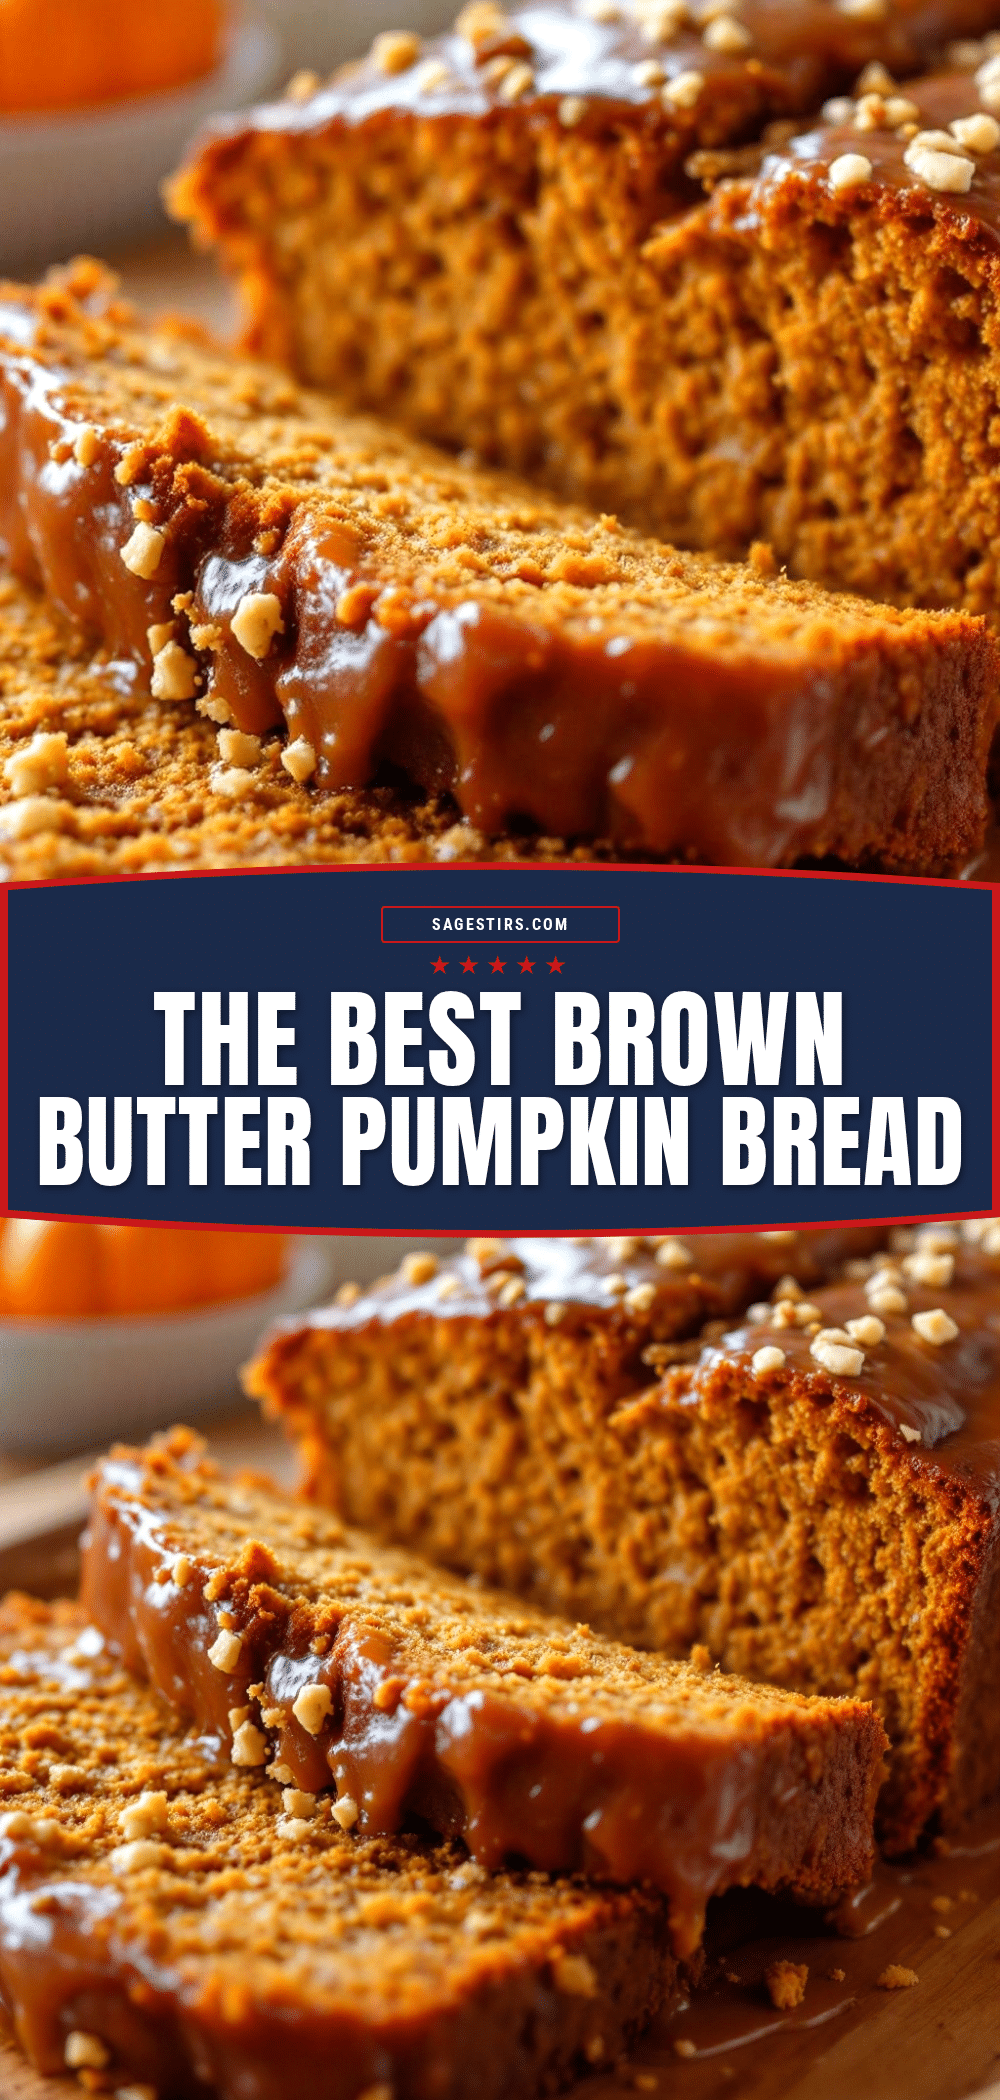
Best Brown Butter Pumpkin Bread with Maple Glaze
This brown butter pumpkin bread with maple glaze is a cozy fall staple that’s easy to make and packed with nutty, spiced flavor. The brown butter adds depth, while the maple glaze provides a sweet finish that makes every bite irresistible.
- Prep Time: 15 minutes
- Cook Time: 50-60 minutes
- Total Time: 1 hour 15 minutes to 1 hour 30 minutes
- Yield: 10 servings 1x
- Category: Dessert
- Cuisine: American
Ingredients
- ½ cup (1 stick or 113 grams) unsalted butter
- 1 cup (about 240 grams) canned pumpkin puree
- ¾ cup (150 grams) granulated sugar
- ½ cup (100 grams) light brown sugar, packed
- 2 large eggs, at room temperature
- 1 teaspoon vanilla extract
- 1 ¾ cups (220 grams) all-purpose flour
- 1 teaspoon baking soda
- ½ teaspoon baking powder
- ½ teaspoon salt
- 2 teaspoons ground cinnamon
- ½ teaspoon ground nutmeg
- ½ teaspoon ground ginger
- ¼ teaspoon ground cloves
- 1 cup (120 grams) powdered sugar
- 2 tablespoons pure maple syrup
- 1–2 tablespoons milk or heavy cream
- Pinch of salt (optional)
Instructions
- Brown the butter: Place ½ cup butter in a medium saucepan over medium heat. Melt completely, then continue cooking, swirling occasionally, until it foams, subsides, and small brown specks form at the bottom (about 5-7 minutes). Remove from heat immediately when it smells nutty and turns golden-amber. Pour into a heatproof bowl and let cool for about 10 minutes.
- Preheat oven to 350°F (175°C). Line a 9×5-inch loaf pan with parchment paper, leaving overhang on the long sides. Lightly spray exposed ends with cooking spray.
- In a large bowl, whisk together cooled brown butter, granulated sugar, and brown sugar until well combined. Add pumpkin puree, eggs, and vanilla extract; whisk until smooth and glossy.
- In a separate medium bowl, whisk together flour, baking soda, baking powder, salt, cinnamon, nutmeg, ginger, and cloves until evenly distributed.
- Add dry ingredients to wet ingredients in two additions, folding gently with a rubber spatula after each addition. Mix just until no streaks of flour remain; do not overmix.
- Pour batter into prepared loaf pan and spread evenly. Bake for 50-60 minutes, until a toothpick inserted into the center comes out clean or with a few moist crumbs. If top browns too quickly, tent with foil at 40 minutes.
- Cool bread in pan on a wire rack for 15 minutes. Use parchment overhang to lift out and transfer to rack to cool completely (about 1-2 hours).
- Make the glaze: In a small bowl, whisk together powdered sugar, maple syrup, and 1 tablespoon milk or cream. Add more liquid, ½ teaspoon at a time, until thick but pourable. Stir in a pinch of salt if desired.
- Once bread is completely cool, drizzle glaze over the top. Let set for about 10 minutes before slicing with a serrated knife.
Notes
Do not rush the brown butter; use medium heat to avoid burning. Room temperature ingredients ensure even mixing. Let bread cool completely before glazing to prevent glaze from melting off. For best flavor, make a day ahead. Toast leftover slices for a crispy exterior.
Nutrition
- Serving Size: 1 slice
- Calories: 300
- Sugar: 24
- Sodium: 280
- Fat: 13
- Saturated Fat: 8
- Carbohydrates: 43
- Fiber: 2
- Protein: 4
Keywords: brown butter pumpkin bread, maple glaze, fall baking, pumpkin bread recipe, easy pumpkin bread



