Love this? Save it for later!
Share the inspiration with your friends
The first time I really wanted a warm apple crisp, it was just me and my husband on a random Tuesday night. No guests, no holiday gathering, no excuse to bake a whole 9×13 pan of something that would sit on the counter for days. I just wanted that brown sugar oat topping—the kind that gets all crunchy and buttery—and soft cinnamon apples underneath. But every recipe I found made enough to feed a small army. So I just accepted that apple crisp was something you made for company, not for a quiet night on the couch.
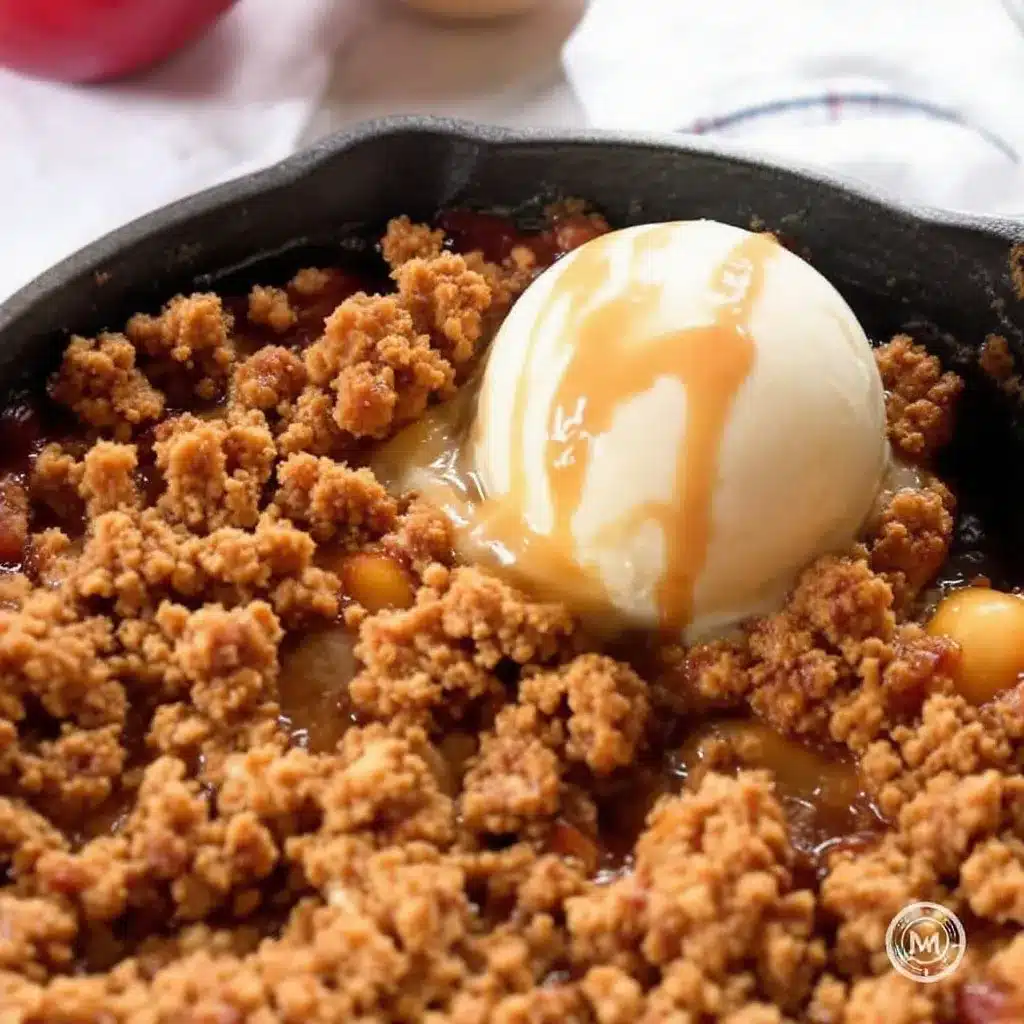
After a few too many attempts at scaling down a full recipe (and ending up with a weirdly watery filling or a topping-to-apple ratio that felt all wrong), I started tinkering in my 6-inch cast iron skillet. That little pan is the unsung hero of our kitchen. It fits two generous servings perfectly, and because it holds heat so well, the topping gets extra crispy around the edges. Honestly, that first test batch was a revelation—the fruit was jammy, the topping was golden, and there wasn’t a single leftover to tempt me at breakfast.
This cozy small-batch apple crisp for two made in cast iron is the answer to that Tuesday night craving. It’s the kind of dessert that feels special without any fuss. You get that perfect balance of tender apples and crunchy streusel, and it goes from your counter to the oven in about fifteen minutes. I’ve made it so many times now that I don’t even measure the oats anymore. It’s just one of those recipes that finally feels right.
Why You’ll Love This Recipe
This isn’t just another apple crisp recipe. It’s built for the moments when you want something warm and homemade without committing to a full batch. Here is why it works so well:
- Perfectly Portioned: No leftovers staring at you from the fridge. This makes exactly two generous servings, ideal for date night or a quiet evening.
- Quick & Easy: From start to oven in about 15 minutes. No peeling required if you don’t want to, and the topping comes together in one bowl.
- Simple Ingredients: You probably have everything in your pantry right now. Apples, oats, flour, butter, brown sugar, and cinnamon. That’s it.
- Cast Iron Magic: Baking in a small skillet gives you those irresistible crispy edges on the topping and perfectly tender fruit underneath. The heat distribution is unmatched.
- Foolproof Technique: No cornstarch slurry, no pre-cooking the filling. Just toss the apples with a little flour and sugar, top with streusel, and bake.
What makes this recipe different from others I’ve tried is the ratio. So many small-batch recipes end up with a soggy topping because there’s too much fruit moisture. By using a small cast iron skillet and a slightly higher topping-to-apple ratio, you get that perfect crunch every single time. It’s the kind of dessert that makes you close your eyes after the first bite—warm, spiced, and exactly what you needed.
What Ingredients You Will Need
This recipe uses simple, wholesome ingredients that come together to deliver that classic apple crisp flavor and texture. No fancy extracts or hard-to-find spices here.
For the Apple Filling
- 2 medium apples (about 300g or 10.5 oz) – I recommend a mix of tart and sweet varieties like Granny Smith and Honeycrisp. The tart ones hold their shape, while the sweet ones break down into a lovely jammy texture. If you only have one type, go with Honeycrisp.
- 2 tablespoons granulated sugar (25g) – Just enough to sweeten the fruit without overpowering the apple flavor.
- 1 tablespoon all-purpose flour (8g) – This helps thicken the juices as the apples bake. No need for cornstarch.
- 1 teaspoon ground cinnamon – The backbone of any good apple dessert. I use Vietnamese cinnamon for its extra warmth.
- 1 teaspoon lemon juice – A small splash brightens the apples and prevents browning.
For the Crisp Topping
- 1/3 cup old-fashioned rolled oats (30g) – Don’t use quick oats here. The texture of old-fashioned oats gives that classic crispy-chewy topping.
- 1/3 cup all-purpose flour (40g) – Forms the base of the streusel.
- 1/3 cup packed light brown sugar (70g) – For that deep, caramel-like sweetness.
- 1/4 cup unsalted butter (57g), cold and cut into small cubes – Cold butter is key for a crumbly topping. If you use salted butter, just skip adding any extra salt.
- Pinch of salt – Balances the sweetness.
- Pinch of nutmeg (optional) – Adds a subtle warmth I really love.
For the apples, I’ve had great luck with Fuji and Braeburn as well. If you prefer a less sweet dessert, you can reduce the brown sugar to 1/4 cup. And if you’re out of lemons, a splash of apple cider vinegar works in a pinch. I also love using a good quality butter here—it really makes the topping shine.
Equipment Needed
- 6-inch cast iron skillet – This is the star of the show. The small size is perfect for two servings and gives the best crispy edges. If you don’t have one, a 6-inch oven-safe skillet or a small baking dish will work.
- Mixing bowls – One medium for the apples, one small for the topping.
- Chef’s knife and cutting board – For chopping the apples.
- Measuring cups and spoons – For accuracy.
- Pastry cutter or fork – To cut the butter into the flour mixture. Your fingertips work too, just work quickly so the butter stays cold.
If you’re new to cast iron, don’t worry. A well-seasoned skillet is naturally non-stick for this kind of dessert. I’ve also made this in a small ceramic ramekin (just divide the mixture between two) and it works perfectly—just add a couple of minutes to the bake time.
Preparation Method
- Preheat your oven to 375°F (190°C). Place your empty 6-inch cast iron skillet in the oven while it preheats. This helps the bottom of the crisp get golden from the start.
- Prepare the apples. Wash, core, and chop your apples into 1/2-inch chunks. You don’t need to peel them if you don’t want to—the skins soften during baking and add a little fiber. I leave the skins on about half the time. Place the chopped apples in a medium mixing bowl.
- Make the filling. Add the granulated sugar, 1 tablespoon flour, cinnamon, and lemon juice to the apples. Toss everything together until the apples are evenly coated. Let them sit while you make the topping. This gives the sugar time to draw out some juice, which creates that lovely syrup.
- Make the crisp topping. In a small bowl, combine the rolled oats, 1/3 cup flour, brown sugar, and salt (and nutmeg if using). Add the cold butter cubes. Use a pastry cutter or your fingertips to work the butter into the dry ingredients until the mixture looks like coarse crumbs with some pea-sized butter pieces remaining. Don’t overmix—those little butter pockets create the flaky, crunchy bits.
- Assemble the crisp. Carefully remove the hot skillet from the oven using an oven mitt. Pour the apple mixture into the skillet and spread it into an even layer. Sprinkle the topping evenly over the apples, covering them completely. Don’t press it down—let it sit loose for maximum crunch.
- Bake. Place the skillet in the oven and bake for 25 to 30 minutes, or until the topping is golden brown and the apple filling is bubbly around the edges. If the topping is browning too quickly after 20 minutes, tent loosely with foil.
- Cool slightly. Let the crisp rest on a wire rack for at least 10 minutes before serving. This allows the filling to set up a bit. If you dig in too soon, it will be runny (trust me, I’ve learned this the hard way).
Cooking Tips & Techniques
After making this cozy small-batch apple crisp for two in cast iron more times than I can count, I’ve picked up a few things that make a real difference.
Don’t skip preheating the skillet. This is the trick that takes the crisp from good to great. A hot skillet gives the bottom of the apples a head start on cooking and creates a slightly caramelized layer. Just be careful when adding the apples—the skillet will be very hot.
Cut your butter into the flour mixture until it looks like uneven crumbs. Some bigger pieces are fine. Those chunks melt in the oven and create air pockets in the topping, making it light and crispy instead of dense and doughy. I once used melted butter out of impatience, and the topping turned into a sad, soggy paste. Never again.
Use a mix of apple textures. If you use all Granny Smith, the filling will be a bit too firm. All Honeycrisp, and it might turn into applesauce. A 50/50 mix gives you the best of both worlds—chunks of apple that hold their shape and some that break down into a natural sauce.
Let it rest. I cannot stress this enough. The first time I made this, I scooped it straight from the oven and ended up with a puddle of apple juice on the plate. Those 10 minutes of resting are non-negotiable for a clean serving.
Variations & Adaptations
This recipe is incredibly forgiving, so feel free to play around with it. Here are some of my favorite variations:
- Gluten-Free Version: Substitute the all-purpose flour with a 1:1 gluten-free baking flour blend. The topping works beautifully with oat flour too.
- Vegan Adaptation: Use cold coconut oil or vegan butter in place of regular butter. The topping might be slightly less crisp, but it’s still delicious.
- Spiced Variation: Add 1/4 teaspoon of cardamom or ginger to the filling along with the cinnamon. It gives the dessert a lovely warm, aromatic kick.
- Nutty Topping: Swap 2 tablespoons of the flour with finely chopped pecans or walnuts. Toast them first for extra flavor. I tried this last fall and it was a huge hit.
- Berry-Apple Combo: Replace half of the apples with fresh or frozen raspberries or cranberries. Reduce the sugar slightly if using sweet berries.
- Pear Crisp: Swap the apples for firm pears like Bosc or Anjou. Pears are a bit sweeter, so you can reduce the sugar by a tablespoon.
If you’re a fan of cozy fall flavors, you might also enjoy these flaky maple cinnamon pumpkin scones for another seasonal treat.
Serving & Storage Suggestions
This crisp is best served warm, straight from the skillet. I love it with a generous scoop of vanilla ice cream melting into the cracks of the topping. A dollop of whipped cream or a drizzle of heavy cream works beautifully too. For a breakfast indulgence (no judgment here), try it with a spoonful of plain Greek yogurt.
If you have any leftovers (unlikely, but possible), cover the skillet tightly with foil or transfer the crisp to an airtight container. It will keep in the refrigerator for up to 3 days. The topping will lose some of its crunch, but the flavor gets even better as the spices meld.
To reheat: Place the skillet in a 350°F (175°C) oven for about 10 minutes, or until warmed through. The microwave works in a pinch (about 45 seconds), but the topping will be soft. For a quick fix, I sometimes reheat individual servings in a small toaster oven.
You can also freeze the unbaked crisp. Assemble it in the skillet, cover tightly with foil, and freeze for up to 3 months. Bake from frozen, adding about 10 extra minutes to the cooking time. This is a great trick for spontaneous cozy nights.
Nutritional Information & Benefits
This recipe makes two generous servings. Per serving (without ice cream), the estimated values are:
- Calories: 385
- Fat: 16g
- Carbohydrates: 60g
- Fiber: 5g
- Sugar: 38g
- Protein: 4g
Apples are a great source of fiber and vitamin C, especially if you leave the skins on. Oats provide soluble fiber, which is good for heart health. This dessert is relatively low in saturated fat compared to many baked goods, and it’s free from artificial ingredients. It’s also easily adaptable for gluten-free or vegan diets. While it’s certainly a treat, it uses whole food ingredients you can feel good about serving.
Conclusion
This cozy small-batch apple crisp for two made in cast iron has become one of my most-requested desserts. It’s simple, honest, and delivers exactly what you want from a fall-inspired treat—warm fruit, crunchy topping, and zero fuss. Whether you’re making it for a date night, a quiet evening, or just because you deserve something sweet, this recipe delivers every single time.
I’d love to hear how it turns out for you. Did you try a variation? Use a different apple? Leave a comment below and share your experience. And if you’re looking for another easy dessert that uses simple ingredients, check out these easy small-batch chocolate chip cookies for another perfect-for-two treat. Happy baking!
Frequently Asked Questions
Can I make this apple crisp in a regular baking dish?
Absolutely. If you don’t have a 6-inch cast iron skillet, use a small 5×5-inch baking dish or two 8-ounce ramekins. The bake time may vary slightly, so start checking at 22 minutes.
Do I have to peel the apples?
Not at all. Leaving the skins on adds fiber and saves prep time. The skins soften during baking and are barely noticeable. If you prefer a smoother texture, go ahead and peel them.
Can I use quick oats instead of old-fashioned oats?
You can, but the topping won’t be as crispy. Quick oats absorb more moisture and create a softer, more cake-like topping. Old-fashioned oats give that classic crunchy texture.
How do I store leftovers?
Cover the skillet with foil or transfer the crisp to an airtight container and refrigerate for up to 3 days. Reheat in a 350°F oven for 10 minutes to restore some crunch.
Can I double this recipe?
Yes. To make a larger batch, simply double all the ingredients and bake in an 8-inch or 9-inch skillet or baking dish. Increase the bake time to 35-40 minutes, or until bubbly and golden.
Pin This Recipe!
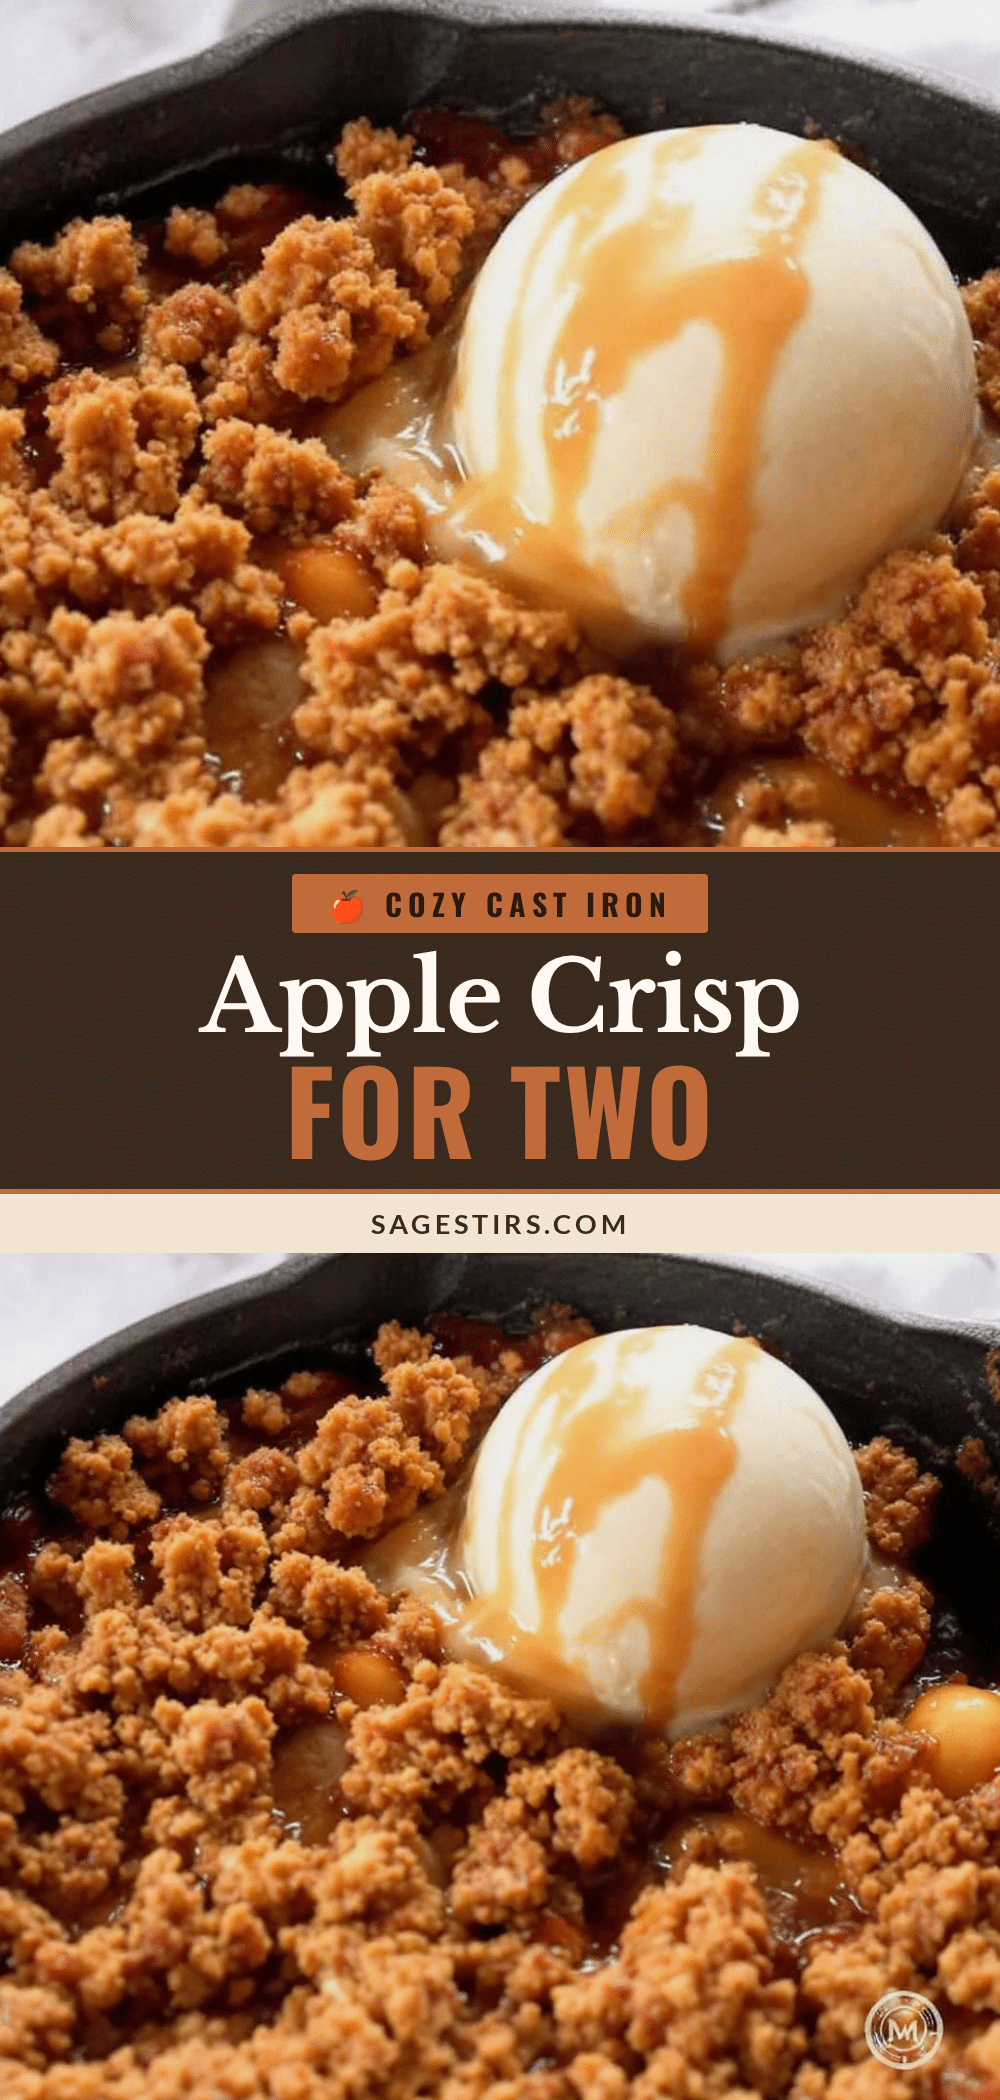
Cozy Small-Batch Apple Crisp for Two Made in Cast Iron

This cozy small-batch apple crisp for two made in cast iron is the answer to that Tuesday night craving. It’s the kind of dessert that feels special without any fuss, with tender apples and crunchy streusel, ready in about fifteen minutes.
- Prep Time: 15 minutes
- Cook Time: 30 minutes
- Total Time: 45 minutes
- Yield: 2 servings 1x
- Category: Dessert
- Cuisine: American
Ingredients
- 2 medium apples (about 300g or 10.5 oz), such as Granny Smith and Honeycrisp
- 2 tablespoons granulated sugar (25g)
- 1 tablespoon all-purpose flour (8g)
- 1 teaspoon ground cinnamon
- 1 teaspoon lemon juice
- 1/3 cup old-fashioned rolled oats (30g)
- 1/3 cup all-purpose flour (40g)
- 1/3 cup packed light brown sugar (70g)
- 1/4 cup unsalted butter (57g), cold and cut into small cubes
- Pinch of salt
- Pinch of nutmeg (optional)
Instructions
- Preheat your oven to 375°F (190°C). Place your empty 6-inch cast iron skillet in the oven while it preheats.
- Wash, core, and chop your apples into 1/2-inch chunks. Place in a medium mixing bowl.
- Add the granulated sugar, 1 tablespoon flour, cinnamon, and lemon juice to the apples. Toss until evenly coated. Let sit while you make the topping.
- In a small bowl, combine the rolled oats, 1/3 cup flour, brown sugar, and salt (and nutmeg if using). Add the cold butter cubes. Use a pastry cutter or your fingertips to work the butter into the dry ingredients until the mixture looks like coarse crumbs with some pea-sized butter pieces remaining.
- Carefully remove the hot skillet from the oven. Pour the apple mixture into the skillet and spread into an even layer. Sprinkle the topping evenly over the apples, covering them completely. Do not press it down.
- Bake for 25 to 30 minutes, or until the topping is golden brown and the apple filling is bubbly around the edges. If the topping is browning too quickly after 20 minutes, tent loosely with foil.
- Let the crisp rest on a wire rack for at least 10 minutes before serving.
Notes
Don’t skip preheating the skillet. Cut butter into flour mixture until uneven crumbs. Use a mix of apple textures. Let the crisp rest for 10 minutes before serving.
Nutrition
- Serving Size: 1 serving
- Calories: 385
- Sugar: 38
- Sodium: 115
- Fat: 16
- Saturated Fat: 10
- Carbohydrates: 60
- Fiber: 5
- Protein: 4
Keywords: apple crisp, small batch, cast iron, dessert for two, easy apple crisp, fall dessert



