Love this? Save it for later!
Share the inspiration with your friends
I want dinner on the table in under 40 minutes with as few dishes as possible. That’s the thought running through my head at 4:47 PM on a Tuesday, staring into the fridge. Ground beef? No. Chicken thighs thawed? Yes. Rice in the pantry? Obviously. The only question is whether I have the energy to brown the chicken, wash a pot, cook the rice separately, and then somehow bring it all together without burning something. Honestly, most nights the answer is no.
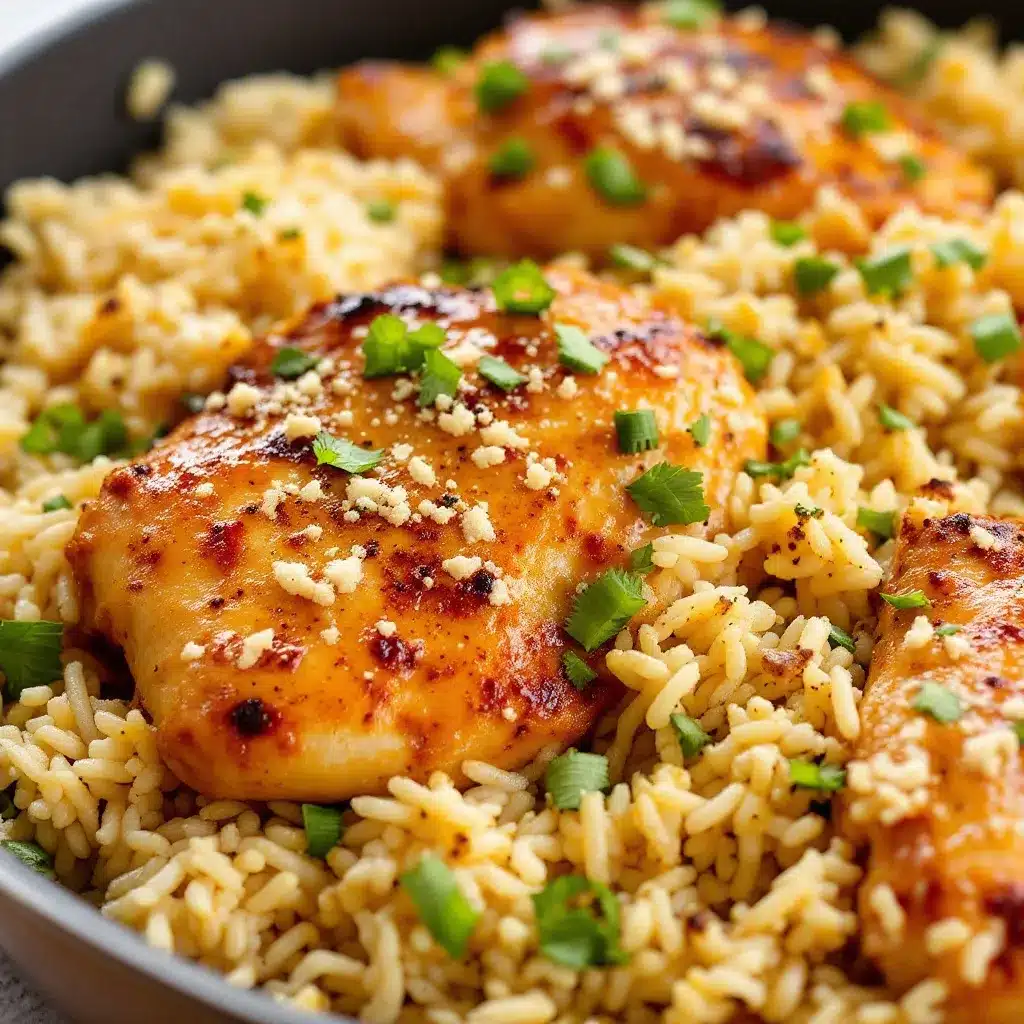
So I started making this one-pan garlic butter chicken and rice instead. It’s the kind of meal that feels like a cheat code—you get perfectly cooked chicken, fluffy rice that soaks up all that garlic butter goodness, and the whole thing happens in a single skillet. No separate pots, no draining, no extra dishes. Just a deep pan, a lid, and about 35 minutes of mostly hands-off cooking. The first time I made it, I actually checked the pan twice because I couldn’t believe there wasn’t a mess to clean up. There wasn’t.
This recipe became my go-to for those nights when I need something hearty but can’t handle a complicated process. It’s simple enough for a beginner but satisfying enough that I’ve served it to guests without a single complaint. The rice absorbs the chicken drippings and garlic butter in a way that feels luxurious, even though it’s just pantry ingredients doing their thing. That’s the kind of dinner I can get behind—no fuss, no stress, just good food that comes together in one pan.
Why You’ll Love This Recipe
- One Pan, Minimal Mess: Everything cooks in a single skillet or Dutch oven. You won’t have a sink full of pots and pans staring at you while you eat.
- Bold Garlic Butter Flavor: We’re not shy with the garlic here. It infuses the rice and coats the chicken in a way that makes every bite taste intentional.
- Weeknight-Friendly Timing: From start to finish, you’re looking at about 35 minutes. That’s fast enough for a Tuesday but special enough for a Sunday.
- Pantry Staples: Chicken, rice, butter, garlic, broth—these are things most of us already have on hand. No specialty ingredients required.
- Built-In Meal: Protein and carbs in one dish. Add a simple vegetable or salad on the side, and dinner is done.
What sets this apart from other one-pan chicken and rice recipes is the technique. I brown the chicken first to build that deep, savory fond on the bottom of the pan, then I sauté the garlic in butter before adding the rice. That extra step—letting the garlic bloom in hot butter—makes the rice taste like it’s been simmering in a restaurant kitchen. It’s not just another version of chicken and rice. It’s the version I actually want to eat on a busy night.
And let’s be real: there’s something deeply satisfying about lifting that lid after 20 minutes and seeing perfectly cooked rice with golden chicken nestled on top. It feels like you pulled off something impressive, but really you just followed a few simple steps. That’s my favorite kind of cooking.
What Ingredients You Will Need
This recipe keeps things simple. You won’t find any exotic ingredients here—just honest, flavorful components that work together beautifully. Here’s what you need:
- Chicken thighs (bone-in, skin-on): About 4 to 6 thighs, depending on size. The bone keeps the meat juicy, and the skin crisps up nicely in the pan. You can use boneless thighs if you prefer, but reduce the cooking time by about 5 minutes.
- Unsalted butter: 4 tablespoons. We’ll use some for searing the chicken and some for sautéing the garlic. I prefer unsalted so I can control the salt level.
- Garlic: 6 to 8 cloves, minced. Don’t skimp here. This is garlic butter chicken and rice, so let the garlic shine. Fresh garlic is non-negotiable for the best flavor.
- Long-grain white rice: 1 ½ cups. Basmati or jasmine both work beautifully. Avoid short-grain rice here—it can get too sticky for this preparation.
- Chicken broth: 3 cups. Use low-sodium so you can season to taste. Homemade broth is lovely if you have it, but a good store-bought brand works perfectly.
- Onion: 1 medium yellow onion, finely diced. It adds sweetness and depth to the rice.
- Dried thyme: 1 teaspoon. It complements the garlic and chicken without overpowering anything.
- Paprika: 1 teaspoon. Adds a subtle warmth and a nice color to the chicken skin.
- Salt and black pepper: To taste. Season generously at each stage.
- Fresh parsley (optional): For garnish. It adds a pop of color and freshness at the end.
I usually pick up chicken thighs from my local market—they’re affordable and forgiving to cook. For the broth, I’ve had good luck with the Pacific Foods brand, but any low-sodium option works. If you want to add a little heat, throw in a pinch of red pepper flakes with the garlic. It’s subtle but nice.
Equipment Needed
The beauty of this recipe is that it doesn’t require much. Here’s what you’ll need:
- Large skillet or Dutch oven (12-inch): This is the star of the show. A deep, heavy-bottomed skillet with a tight-fitting lid is ideal. I use a 12-inch cast iron skillet for the best heat retention and browning. If you don’t have a lid, a sheet of aluminum foil works in a pinch.
- Wooden spoon or spatula: For stirring the rice and scraping up the browned bits from the bottom of the pan.
- Sharp knife and cutting board: For mincing garlic and dicing the onion.
- Measuring cups and spoons: For accurate rice-to-liquid ratio.
- Tongs: For flipping the chicken without piercing the skin.
If you don’t have a cast iron skillet, a stainless steel or non-stick skillet with a lid works just fine. Just make sure it’s oven-safe if you plan to finish the dish in the oven (though this stovetop method is my preference). I’ve used a cheap non-stick pan from the grocery store for years before upgrading, and it worked perfectly—don’t let equipment hold you back.
Preparation Method
- Pat the chicken dry and season it. Use paper towels to remove excess moisture from the chicken thighs. This step is crucial for getting crispy skin. Season both sides generously with salt, pepper, and paprika. Let it sit at room temperature for 10 minutes while you prep the other ingredients.
- Melt 2 tablespoons of butter in your skillet over medium-high heat. Once the butter stops foaming and starts to brown slightly, place the chicken thighs skin-side down in the pan. Don’t crowd them—work in batches if needed. Cook for 5-6 minutes without moving them. You want a deep golden-brown crust. Flip and cook for another 3 minutes on the second side. The chicken won’t be fully cooked yet, and that’s fine.
- Remove the chicken to a plate. Leave the rendered fat and browned bits in the pan. Those bits are flavor gold.
- Reduce heat to medium and add the remaining 2 tablespoons of butter. Once melted, add the diced onion and cook for 3-4 minutes, stirring occasionally, until softened and translucent. Scrape up any browned bits from the bottom of the pan as the onion releases moisture.
- Add the minced garlic and cook for 30 seconds. Stir constantly—garlic burns fast. You’ll smell it immediately. That’s your cue to move to the next step.
- Add the rice and stir to coat it in the garlic butter mixture. Cook for 1-2 minutes, stirring frequently. The rice will start to look slightly translucent around the edges. This toasting step adds nuttiness and helps the rice stay separate after cooking.
- Pour in the chicken broth and add the dried thyme. Stir everything together, scraping the bottom of the pan one last time. Bring the liquid to a gentle boil.
- Nestle the chicken thighs back into the pan, skin-side up. The rice should be mostly submerged in the liquid. Don’t push the chicken under—let it sit on top so the skin stays crispy.
- Reduce heat to low, cover the skillet with a tight-fitting lid, and let it simmer for 20 minutes. Do not lift the lid during this time. I know it’s tempting, but the steam is doing important work in there.
- After 20 minutes, turn off the heat and let the pan sit, covered, for another 5 minutes. This resting period allows the rice to finish absorbing the liquid and the chicken to rest.
- Remove the lid carefully (steam is hot!) and check the rice. It should be fluffy and tender. If it looks a little wet, let it sit uncovered for 2-3 minutes. The chicken should reach an internal temperature of 165°F (74°C).
- Garnish with fresh parsley if using, and serve directly from the skillet. That’s it—one pan, minimal cleanup, maximum flavor.
A few notes from experience: if your rice is still crunchy after 20 minutes, add 2-3 tablespoons of hot water, re-cover, and cook for another 5 minutes. Every stovetop runs a little differently, so adjust as needed. Also, if you’re using a dark-colored non-stick pan, you might need to reduce the heat slightly during the browning stage to prevent burning.
Cooking Tips & Techniques
I’ve made this recipe more times than I can count, and I’ve learned a few things along the way. Here are the tips that make the biggest difference:
- Don’t skip drying the chicken. Moisture is the enemy of crispy skin. Pat those thighs dry like you mean it, then season immediately. The salt will draw out a little moisture, but that’s okay—you’ve already removed the excess.
- Let the butter brown slightly before adding the chicken. You’re not making a full brown butter here, but letting it go just past the foaming stage adds a nutty depth that carries through the whole dish. Watch it closely so it doesn’t burn.
- Resist the urge to peek under the lid. I know, I know—it’s hard. But every time you lift that lid, steam escapes, and the cooking time gets thrown off. Trust the process. Set a timer and walk away.
- Toast the rice properly. That 1-2 minutes of stirring the rice in the garlic butter isn’t optional. It creates a protective starch layer that keeps the grains from turning mushy. You’ll notice the difference.
- Use a heavy-bottomed pan. Thin pans create hot spots that can burn the rice before the center is cooked. A cast iron skillet or heavy stainless steel pan distributes heat evenly and gives you better results.
I once tried to rush this recipe by using a cheap non-stick pan with a warped bottom. The rice burned in the center and stayed crunchy around the edges. Lesson learned: the pan matters. If you don’t have a good heavy skillet, consider making this in a Dutch oven instead.
Variations & Adaptations
This recipe is a great starting point, but don’t be afraid to make it your own. Here are some variations I’ve tried and loved:
- Lemon Herb Version: Add the zest of one lemon and 2 tablespoons of fresh lemon juice along with the broth. Swap the thyme for fresh rosemary or oregano. The brightness cuts through the richness beautifully.
- Creamy Mushroom Adaptation: After removing the chicken, sauté 8 ounces of sliced mushrooms in the pan until golden, then proceed with the onion and garlic. Stir in ¼ cup of heavy cream just before adding the broth. It makes the rice incredibly luxurious.
- Spicy Cajun Twist: Replace the paprika with 1-2 teaspoons of Cajun seasoning. Add a diced bell pepper along with the onion. This version pairs perfectly with a side of collard greens or a simple green salad.
- Vegetarian Option: Skip the chicken and use 3 cups of vegetable broth. Add 1 cup of diced carrots and 1 cup of frozen peas along with the broth. Cook for 18 minutes covered, then fluff and serve. It’s a satisfying meatless meal on its own.
- Brown Rice Version: If you prefer brown rice, increase the broth to 3 ½ cups and the cooking time to 40-45 minutes. Check at 35 minutes and add more liquid if needed. The flavor is nuttier and the texture is chewier.
My personal favorite is the lemon herb version. I make it in the spring when I’m craving something bright, and it never disappoints. The lemon cuts through the butter in a way that makes the whole dish feel lighter, even though it’s still plenty satisfying.
Serving & Storage Suggestions
This dish is best served hot, straight from the skillet. The chicken skin stays crispy for about 10 minutes after cooking, so I like to serve it immediately. Spoon the rice onto plates and top with a chicken thigh. A sprinkle of fresh parsley or a squeeze of lemon juice right before serving adds a nice finishing touch.
For sides, I keep it simple. A crisp green salad with a lemon vinaigrette balances the richness of the garlic butter. Steamed green beans or roasted asparagus also work well. If you’re feeding a crowd, this pairs nicely with a side of crusty bread to soak up any extra garlic butter from the bottom of the pan.
Leftovers store beautifully. Transfer the chicken and rice to an airtight container and refrigerate for up to 4 days. The rice will absorb some of the liquid and become a bit softer, but the flavor actually deepens overnight. To reheat, place everything in a covered skillet with a splash of chicken broth or water and warm over medium-low heat for 5-7 minutes. You can also microwave individual portions, but the stovetop method keeps the texture better.
I don’t recommend freezing this dish. Rice tends to get mushy after freezing and thawing, and the chicken skin loses its crispness entirely. If you need a freezer-friendly meal, try our easy Crockpot beef and broccoli instead—it holds up beautifully in the freezer.
Nutritional Information & Benefits
Here’s an approximate nutritional breakdown per serving (based on 4 servings with bone-in chicken thighs):
- Calories: 520-580
- Protein: 32g
- Carbohydrates: 48g
- Fat: 22g (10g saturated)
- Fiber: 1g
- Sodium: 680mg (varies with broth and added salt)
Chicken thighs provide a good amount of iron and B vitamins, which support energy metabolism. Garlic is known for its immune-supporting properties, and butter gives you a dose of vitamin A. This isn’t a low-calorie meal, but it’s a balanced one—protein, carbs, and fat in a satisfying combination that keeps you full for hours.
If you’re watching your sodium, use unsalted butter and low-sodium broth, and go easy on the added salt. You can also remove the chicken skin before eating to reduce the fat content, though I think that’s a sad choice. For a lower-carb option, swap the rice for cauliflower rice and reduce the cooking time to 10 minutes covered.
Conclusion
This one-pan garlic butter chicken and rice is the kind of recipe that earns a permanent spot in your dinner rotation. It’s simple enough for a beginner, fast enough for a weeknight, and flavorful enough to feel like a treat. The best part? You get all that without a mountain of dishes to wash afterward.
I love how forgiving this recipe is. You can swap the herbs, adjust the spice level, or use whatever chicken parts you have on hand, and it still turns out delicious. That’s the mark of a great weeknight meal—it works with you, not against you.
Give it a try and let me know how it goes. Did you add your own twist? Use a different herb? Make it for a crowd? Drop a comment below or tag me in your photos—I genuinely love seeing how these recipes come to life in your kitchens. And if you’re looking for another quick skillet dinner, check out our quick cheesy ground beef and rice skillet for another one-pan winner. Happy cooking!
Frequently Asked Questions
Can I use chicken breast instead of thighs?
Yes, but be careful. Chicken breasts cook faster and can dry out. Use boneless, skinless breasts and reduce the covered cooking time to 15-18 minutes. Check the internal temperature—165°F is your target. The rice might need an extra 2-3 minutes uncovered if it’s not fully tender.
Why is my rice still crunchy after 20 minutes?
This usually happens when the heat is too low or the lid doesn’t fit tightly. Check that your burner is on low (not simmer) and that your lid forms a good seal. If the rice is still crunchy, add 2-3 tablespoons of hot water, re-cover, and cook for another 5 minutes. Next time, make sure the broth is at a gentle boil before covering.
Can I make this in a slow cooker?
I don’t recommend it for this recipe. The rice tends to turn mushy in a slow cooker, and you lose the crispy chicken skin. If you want a set-it-and-forget-it option, try our easy Crockpot honey garlic chicken instead—it’s designed for slow cooking and turns out perfectly every time.
How do I prevent the rice from burning on the bottom?
Use a heavy-bottomed pan and keep the heat on low once you add the broth and cover the skillet. If your stovetop runs hot, try using a heat diffuser or moving the pan to a smaller burner. Also, make sure you’re using enough liquid—3 cups of broth for 1 ½ cups of rice is the right ratio for this method.
Can I double this recipe?
Yes, but you’ll need a larger pan. A 14-inch skillet or a 6-quart Dutch oven works well. Double all ingredients and increase the covered cooking time to 25-28 minutes. Check the rice at 22 minutes and adjust as needed. The chicken might need an extra minute or two to reach temperature.
Pin This Recipe!
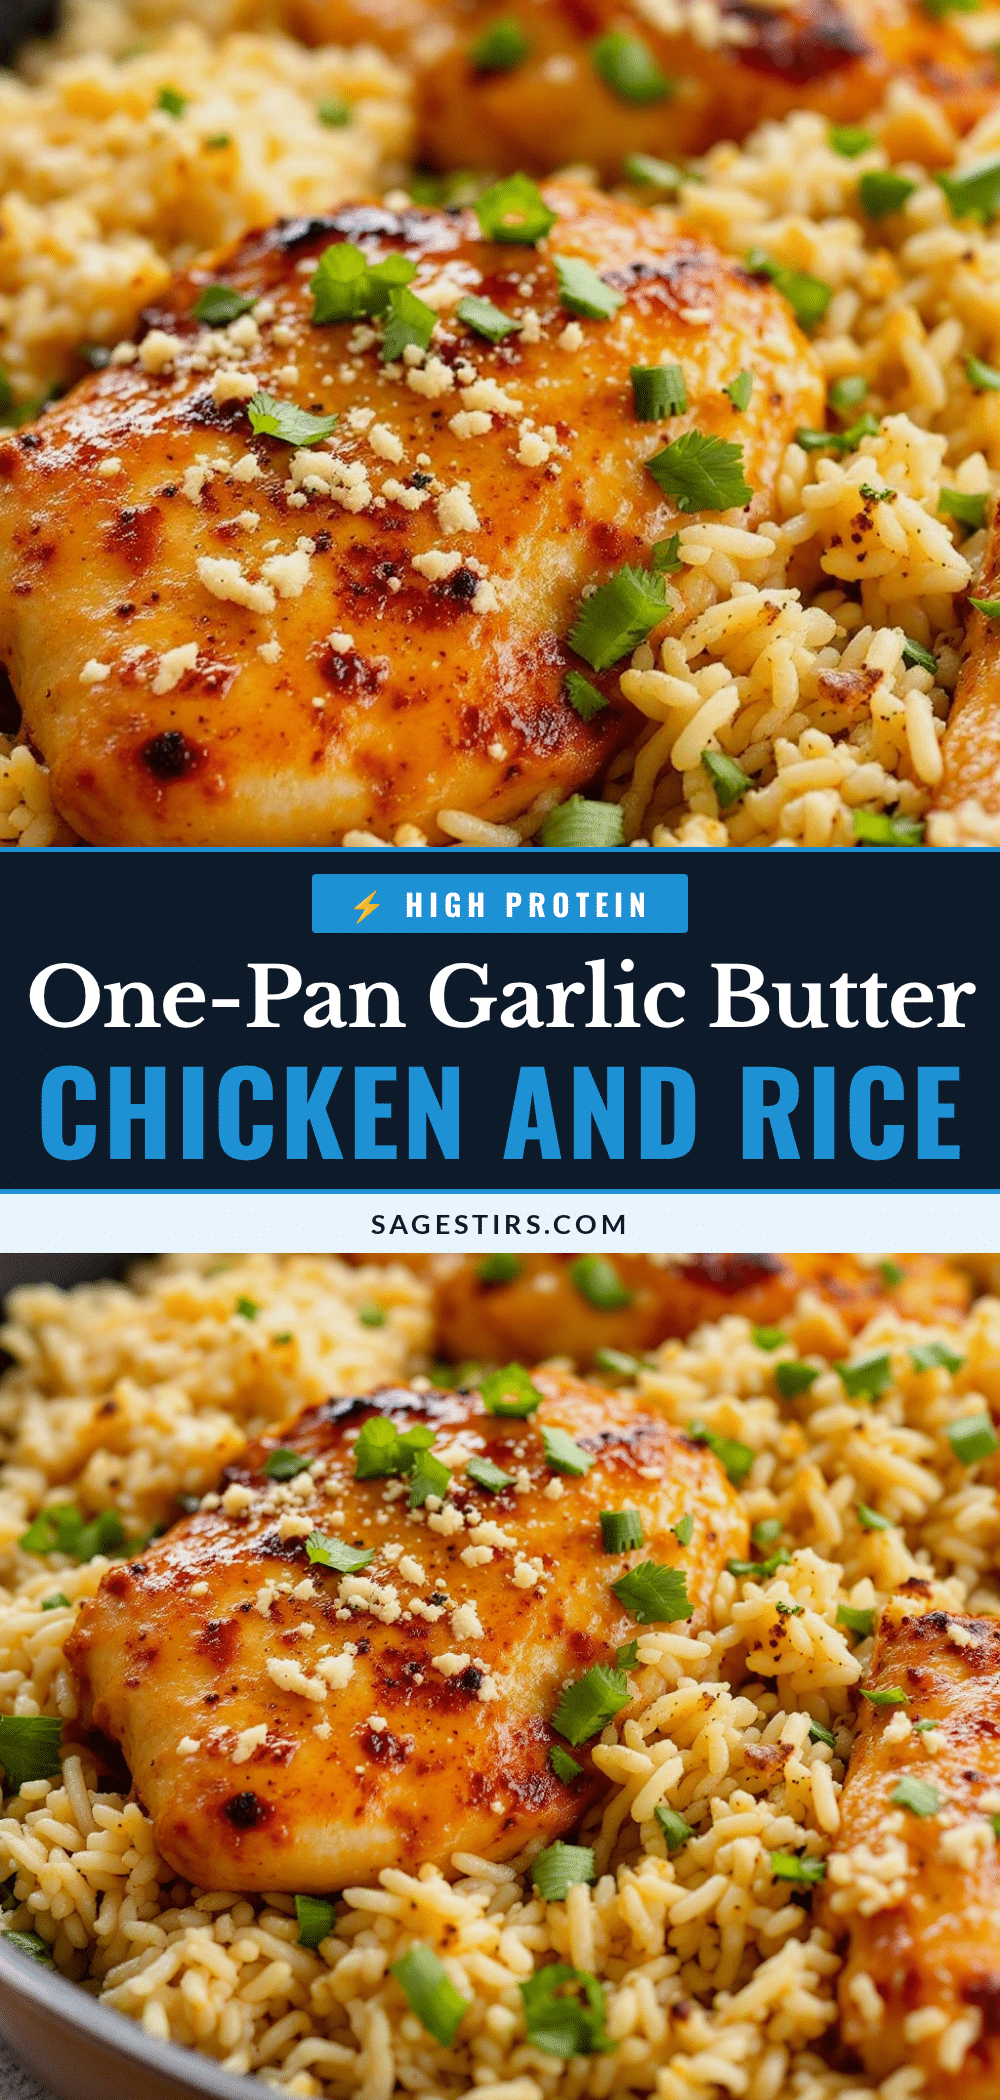
Easy One-Pan Garlic Butter Chicken and Rice Recipe

Perfectly cooked chicken and fluffy rice soak up garlic butter goodness in a single skillet. This 35-minute one-pan meal is simple enough for a beginner but satisfying enough for guests, with minimal cleanup.
- Prep Time: 10 minutes
- Cook Time: 25 minutes
- Total Time: 35 minutes
- Yield: 4 servings 1x
- Category: Main Course
- Cuisine: American
Ingredients
- 4–6 bone-in, skin-on chicken thighs
- 4 tablespoons unsalted butter, divided
- 6–8 cloves garlic, minced
- 1 ½ cups long-grain white rice (basmati or jasmine)
- 3 cups low-sodium chicken broth
- 1 medium yellow onion, finely diced
- 1 teaspoon dried thyme
- 1 teaspoon paprika
- Salt and black pepper to taste
- Fresh parsley for garnish (optional)
Instructions
- Pat the chicken thighs dry with paper towels. Season both sides generously with salt, pepper, and paprika. Let sit at room temperature for 10 minutes.
- Melt 2 tablespoons of butter in a large skillet or Dutch oven over medium-high heat. Once the butter stops foaming and starts to brown slightly, place the chicken skin-side down. Cook for 5-6 minutes without moving until deep golden brown. Flip and cook for 3 more minutes. Remove chicken to a plate.
- Reduce heat to medium. Add remaining 2 tablespoons of butter. Once melted, add diced onion and cook for 3-4 minutes until softened, scraping up browned bits from the pan.
- Add minced garlic and cook for 30 seconds, stirring constantly.
- Add rice and stir to coat in the garlic butter mixture. Cook for 1-2 minutes, stirring frequently, until rice looks slightly translucent.
- Pour in chicken broth and add dried thyme. Stir, scraping the bottom of the pan. Bring to a gentle boil.
- Nestle chicken thighs back into the pan, skin-side up. Do not submerge the chicken.
- Reduce heat to low, cover with a tight-fitting lid, and simmer for 20 minutes. Do not lift the lid.
- Turn off heat and let the pan sit, covered, for 5 more minutes.
- Remove lid carefully. Check that rice is fluffy and tender and chicken reaches 165°F (74°C) internally. If rice is wet, let sit uncovered for 2-3 minutes.
- Garnish with fresh parsley if desired. Serve directly from the skillet.
Notes
If rice is still crunchy after 20 minutes, add 2-3 tablespoons of hot water, re-cover, and cook for 5 more minutes. For best results, use a heavy-bottomed pan and resist lifting the lid during cooking. Leftovers can be refrigerated for up to 4 days; reheat on stovetop with a splash of broth.
Nutrition
- Serving Size: 1 chicken thigh with
- Calories: 520580
- Sugar: 2
- Sodium: 680
- Fat: 22
- Saturated Fat: 10
- Carbohydrates: 48
- Fiber: 1
- Protein: 32
Keywords: one-pan chicken and rice, garlic butter chicken, easy weeknight dinner, skillet chicken recipe, one pot meal



