Love this? Save it for later!
Share the inspiration with your friends
Half a bag of semisweet chips left in the pantry and a butter wrapper still greasy on the counter when I realized—I had exactly forty-five minutes before my kid’s entire preschool class descended on our house for an impromptu playdate. Not the kind of thing you plan for. The kind of thing that happens when you volunteer for snack duty and forget to check the calendar.
I’d been chasing that bakery cookie taste for years. You know the ones—thick, almost puffy in the center, with edges that shatter just a little when you bite in. The ones that taste like they came from a glass case with a little parchment doily underneath. I’d tried every trick in the book. Chilling the dough overnight. Using bread flour. Brown butter. Nothing ever got me quite there.
That afternoon, standing in my kitchen with butter softening too fast and a timer ticking, I threw together something that honestly felt like a gamble. I used more yolk than white. I skipped the chill time entirely. I pressed a few extra chips right into the tops before they went in the oven (a move my grandma would have called “cheating”). And when I pulled that first tray out, golden around the edges and still pillowy in the middle, I just stood there holding the spatula.
These are the cookies I’ve been making ever since. Thick. Chewy. Bakery-style. And somehow, the version that worked came together in a rush, on a random Tuesday, with thirty-seven minutes to spare.
Why You’ll Love This Recipe
I’ve tested this recipe more times than I care to admit. Some batches came out flat as pancakes. Others were too cakey, like I’d accidentally made a cookie-shaped muffin. This version? It’s the one that finally stuck.
- Thick and Chewy, Not Cakey: The ratio of egg yolks to whites gives you that dense, fudgy center without crossing into muffin territory. It’s the texture you pay extra for at a bakery.
- No Chill Time Required: I know. It sounds wrong. But these cookies go from mixing bowl to oven in under fifteen minutes, and they still hold their shape beautifully. No overnight wait. No fridge space sacrificed.
- Simple Pantry Ingredients: Butter, sugar, eggs, flour, vanilla, chips. That’s it. Nothing weird, nothing you have to hunt down at a specialty store.
- Crowd-Pleaser Status: I’ve brought these to potlucks, school events, and casual get-togethers. They disappear fast. Every time.
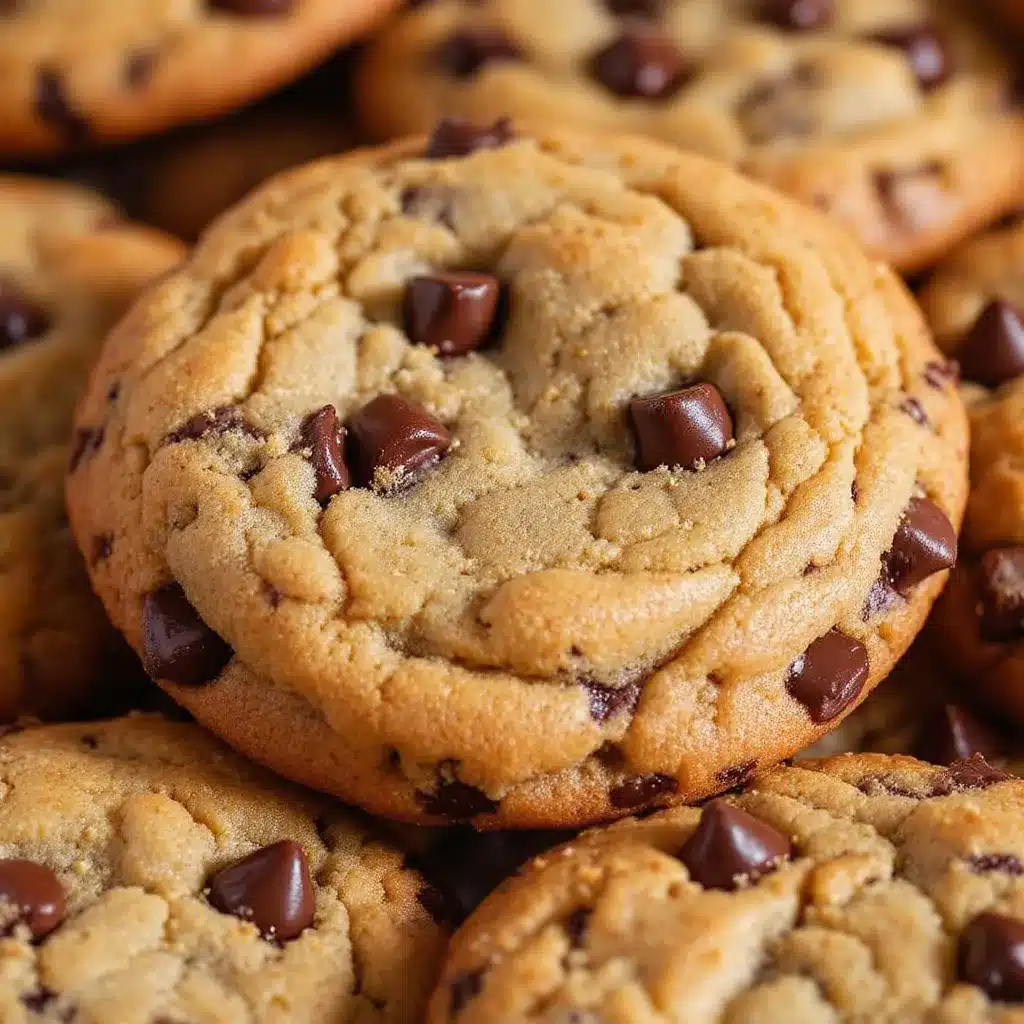
- That Bakery Look: The slightly domed tops, the crispy golden edges, the pools of melted chocolate—they photograph well and taste even better.
What makes these different from every other chocolate chip cookie recipe out there? It’s the technique. Using melted butter instead of creaming, plus an extra yolk, gives you that chewy texture without needing to chill the dough. It’s not complicated. It just works.
What Ingredients You Will Need
This recipe keeps things simple. You probably have most of these in your kitchen right now. Here’s what you need and why each ingredient matters.
- Unsalted Butter, melted (1 cup / 2 sticks / 226g): Melted butter is the secret to a chewy cookie. It coats the flour proteins differently than creamed butter, reducing gluten formation and giving you that tender, dense texture. I use melted but not hot—warm enough to dissolve the sugar, cool enough that it won’t cook the eggs.
- Light Brown Sugar, packed (1 cup / 200g): Brown sugar brings moisture and that subtle molasses flavor that makes chocolate chip cookies taste deep and rich. Pack it firmly into your measuring cup. Don’t skip this.
- Granulated Sugar (½ cup / 100g): White sugar helps the cookies spread just enough and adds a bit of crunch to the edges. The combination of both sugars gives you that contrast between soft center and crispy rim.
- Large Egg (1 whole) + Large Egg Yolk (1 extra): The whole egg provides structure. The extra yolk adds fat and richness, which makes the cookies chewier. Save the leftover egg white for your morning scramble—it keeps in the fridge for a few days.
- Vanilla Extract (2 teaspoons): Use real vanilla if you can. Imitation works in a pinch, but pure vanilla adds a warmth that makes these cookies taste more “bakery.” I’ve used both, and the difference is noticeable.
- All-Purpose Flour (2 cups + 2 tablespoons / 270g): Spoon and level your flour. Scooping directly from the bag packs in too much flour and gives you dry, crumbly cookies. The extra two tablespoons above 2 cups is intentional—it helps the cookies stay thick.
- Baking Soda (1 teaspoon): This gives the cookies lift and helps them spread to that perfect thickness. Make sure your baking soda isn’t expired. Quick test: drop a little in vinegar—if it fizzes vigorously, you’re good.
- Salt (1 teaspoon): Salt balances the sweetness and makes the chocolate flavor pop. I use fine sea salt. If you use kosher, increase to 1 ¼ teaspoons.
- Semi-Sweet Chocolate Chips (2 cups / 340g): I use Guittard or Ghirardelli chips for the best melt and flavor. You can also chop a high-quality chocolate bar into chunks for those irregular puddles of chocolate. Save a handful to press into the tops right before baking.
Equipment Needed
Nothing fancy here. If you’ve made cookies before, you probably have all of this.
- Large Mixing Bowl: I use a glass or stainless steel bowl. Plastic works fine too, but avoid anything too shallow—you’ll be stirring vigorously.
- Whisk or Wooden Spoon: A whisk works best for combining the wet ingredients. A sturdy wooden spoon or silicone spatula handles the flour and chips without bending.
- Measuring Cups and Spoons: Dry measuring cups for flour and sugar. Liquid measuring cup for the melted butter. A kitchen scale is even better if you have one—baking by weight is more accurate.
- Baking Sheets (2): Light-colored, rimmed baking sheets work best. Dark sheets absorb more heat and can over-brown the bottoms. If you only have dark sheets, reduce your oven temperature by 25°F.
- Parchment Paper or Silicone Baking Mat: Parchment paper is cheap and makes cleanup effortless. Silicone mats work too, but they can sometimes prevent cookies from spreading as much. I prefer parchment for these.
- Cookie Scoop (2-tablespoon size): Not essential, but it gives you evenly sized cookies that bake at the same rate. A standard dinner spoon works if you don’t have one.
- Cooling Rack: Letting cookies cool on the pan for a few minutes before transferring to a rack prevents them from breaking and helps the centers set.
Preparation Method
Preheat your oven to 350°F (175°C). Line two baking sheets with parchment paper. This recipe makes about 24 cookies, so you’ll likely need to bake in batches.
- Melt the butter. In a small saucepan or microwave-safe bowl, melt 1 cup (2 sticks) of unsalted butter. Let it cool for 2-3 minutes. It should be warm but not hot—you should be able to touch it without burning yourself. Hot butter can scramble the eggs.
- Combine the sugars and butter. In your large mixing bowl, whisk together the melted butter, 1 cup packed light brown sugar, and ½ cup granulated sugar. Whisk vigorously for about 30 seconds until the mixture looks like wet sand and smells amazing. There shouldn’t be any sugar granules visible.
- Add the eggs and vanilla. Whisk in 1 whole egg and 1 extra egg yolk, plus 2 teaspoons of vanilla extract. Keep whisking until the mixture is smooth, pale, and slightly thickened—about 1 minute. It should look like a thin caramel sauce.
- Mix the dry ingredients separately. In a separate bowl, whisk together 2 cups plus 2 tablespoons all-purpose flour, 1 teaspoon baking soda, and 1 teaspoon salt. This ensures the baking soda and salt are evenly distributed. No one wants a pocket of salt in their cookie.
- Combine wet and dry. Pour the dry ingredients into the wet mixture. Use a wooden spoon or silicone spatula to fold everything together. Stir just until you no longer see streaks of flour. Overmixing at this stage develops gluten and makes tough cookies. Stop when it’s just combined.
- Fold in the chocolate chips. Add 2 cups of semi-sweet chocolate chips. Fold gently until the chips are evenly distributed. The dough will be thick and slightly sticky—this is exactly right. Reserve about ¼ cup of chips for pressing into the tops later.
- Portion the dough. Use a 2-tablespoon cookie scoop or a regular spoon to scoop rounded balls of dough. Place them on the prepared baking sheets about 2 inches apart. I fit 8 cookies per sheet. For that bakery-style look, gently press a few reserved chocolate chips into the top of each dough ball.
- Bake immediately. No chilling needed. Bake one sheet at a time on the center rack for 10-12 minutes. At 10 minutes, the edges will be golden brown and set, but the centers will still look soft and slightly underdone. That’s what you want. The cookies will continue to bake on the hot pan after you pull them out.
- Cool on the pan. Let the cookies rest on the baking sheet for 5 minutes. This is crucial—moving them too early will cause them to fall apart. The centers will set as they cool. After 5 minutes, transfer them to a wire cooling rack.
- Repeat with remaining dough. If your baking sheets are still warm, let them cool completely before placing more dough on them. Warm pans cause cookies to spread too much. I run mine under cold water and dry them off to speed things up.
Cooking Tips & Techniques
I learned most of these the hard way. Here’s what I wish someone had told me sooner.
Don’t overbake. This is the number one mistake. Cookies that look underdone in the oven will be perfectly set after cooling. If you wait until they look fully baked, they’ll be crispy and dry. Pull them when the edges are golden and the centers are still pale and puffy.
Use a kitchen scale for flour. I know it’s an extra step, but measuring flour by weight is the most reliable way to get consistent results. One cup of all-purpose flour should weigh 120-125 grams. If you scoop directly from the bag, you can end up with 140 grams or more, and your cookies will be dry and crumbly.
Press extra chips on top. This is the trick that makes cookies look like they came from a bakery case. Right after scooping, press 3-4 chocolate chips into the surface of each dough ball. It creates those beautiful chocolate puddles on top and makes every cookie look intentional.
Rotate your baking sheet halfway through. Ovens have hot spots. About 5 minutes in, spin the sheet 180 degrees. This ensures even browning across all the cookies. I forgot to do this once and ended up with half a batch burnt on one side.
Let the butter cool properly. If your melted butter is too hot, it can partially cook the eggs and give you greasy cookies. If it’s too cool, the sugar won’t dissolve properly. Aim for warm but not hot—about 90-100°F if you want to get technical.
Room temperature eggs matter. Cold eggs can seize the melted butter and create a lumpy dough. If you forgot to take your eggs out ahead of time, place them in a bowl of warm water for 5 minutes before cracking them.
Variations & Adaptations
This base recipe is forgiving. Here are some ways to change it up.
Dark Chocolate Lovers: Swap the semi-sweet chips for dark chocolate chunks (60-70% cacao). The bitterness balances the sweetness beautifully. I use a chopped dark chocolate bar for those jagged, irregular pieces that melt into pools.
Nutty Crunch: Add ¾ cup of toasted, chopped walnuts or pecans along with the chocolate chips. Toast them in a dry skillet over medium heat for 3-4 minutes until fragrant. Let them cool completely before adding. The crunch is a lovely contrast to the soft center.
Sea Salt Finish: Sprinkle a tiny pinch of flaky sea salt (like Maldon) on each cookie right after they come out of the oven. The salt crystals hit your tongue first, then the sweetness follows. It’s a simple upgrade that makes these cookies taste restaurant-quality.
Gluten-Free Option: Substitute the all-purpose flour with a 1:1 gluten-free baking flour blend that contains xanthan gum. I’ve used King Arthur Measure for Measure with good results. The texture will be slightly more tender, but they still come out thick and chewy.
Double Chocolate: Replace ¼ cup of the all-purpose flour with ¼ cup of unsweetened cocoa powder. Use white chocolate chips or milk chocolate chips instead of semi-sweet. You get a rich, chocolatey cookie that’s perfect for serious chocolate fans.
Mint Chocolate Chip: Add ½ teaspoon of peppermint extract along with the vanilla. Use dark chocolate chips or chop up a dark chocolate mint bar. These taste like a fancy holiday cookie but work year-round.
Serving & Storage Suggestions
These cookies are best served slightly warm, when the chocolate is still soft and the edges are crisp. Let them cool for at least 10 minutes after baking if you can wait that long. A glass of cold milk is the classic pairing, but they’re also fantastic with a hot cup of coffee or a mug of cozy homemade pumpkin spice latte for a fall treat.
For a dessert platter, arrange them on a wooden board with fresh berries and a bowl of vanilla ice cream for dipping. They hold up well at room temperature for a few hours, making them perfect for parties and bake sales.
Room Temperature Storage: Keep cookies in an airtight container at room temperature for up to 5 days. Place a slice of bread in the container to keep them soft—the cookies will absorb the moisture from the bread. Replace the bread slice every other day.
Freezer Instructions: These freeze beautifully. You have two options. Freeze baked cookies in a single layer on a baking sheet, then transfer to a freezer bag for up to 3 months. Thaw at room temperature for 15 minutes. Or freeze the raw dough balls on a baking sheet, then transfer to a freezer bag. Bake from frozen, adding 2-3 minutes to the bake time. This is my favorite method for spontaneous cookie emergencies.
Reheating: Microwave a cookie for 10-15 seconds to get that just-baked softness back. Or pop them in a 300°F oven for 3-4 minutes. The oven method crisps up the edges again while keeping the center soft.
Nutritional Information & Benefits
Let’s be honest—these are a treat, not a health food. But here’s the estimated breakdown for one cookie (based on 24 cookies per batch).
| Nutrient | Amount Per Cookie |
|---|---|
| Calories | 210 |
| Total Fat | 11g |
| Saturated Fat | 7g |
| Cholesterol | 35mg |
| Sodium | 155mg |
| Total Carbohydrates | 28g |
| Dietary Fiber | 1g |
| Sugars | 18g |
| Protein | 3g |
Dark chocolate (70% or higher) contains antioxidants called flavonoids, which can support heart health. The eggs provide a small amount of protein and choline. But honestly, these cookies are about joy, not nutrition. They’re for the moments when you need something familiar and comforting.
This recipe contains gluten, dairy, and eggs. For a dairy-free version, use a high-quality vegan butter stick (not spreadable margarine). For egg-free, I haven’t tested a reliable substitute for this specific recipe, so proceed with caution.
Frequently Asked Questions
Can I chill this dough overnight?
Yes, absolutely. While this recipe is designed to be baked immediately, chilling the dough for 24-48 hours actually deepens the flavor. The cookies will spread slightly less and have a more caramel-like taste. If chilling, let the dough sit at room temperature for 10 minutes before scooping.
Why did my cookies turn out flat?
Flat cookies usually mean one of three things: your butter was too warm, you used too much sugar, or your baking soda is old. Make sure your butter is melted but not hot, measure your flour correctly (spoon and level), and check that your baking soda is fresh.
Can I use margarine or plant-based butter?
I recommend using a high-quality vegan butter stick for best results. Spreadable margarine contains too much water and will make your cookies spread into thin, greasy discs. Brands like Earth Balance or Miyoko’s work well in this recipe.
How do I get that crinkly, cracked top?
That classic bakery look comes from the sugar dissolving into the butter and then recrystallizing on the surface during baking. Using melted butter and whisking the sugar in thoroughly helps create that crinkly top. Also, don’t skip the extra egg yolk—it contributes to the domed shape.
Can I make these cookies smaller or larger?
Absolutely. For smaller cookies, use a 1-tablespoon scoop and bake for 8-10 minutes. For jumbo bakery-style cookies, use a 3-tablespoon scoop and bake for 13-15 minutes. Adjust your bake time based on size, and always look for golden edges with soft centers.
Conclusion
These perfect bakery-style chocolate chip cookies have become my go-to for every occasion. They’re the ones I bring to potlucks, the ones I bake when I need a quick dessert, and the ones my family requests most often. The recipe came together in a moment of chaos, but it’s earned a permanent spot in my rotation.
What I love most about these cookies is how forgiving they are. You don’t need special equipment. You don’t need to plan ahead. You just need butter, sugar, flour, and about thirty minutes. And if you’re anything like me, you probably have all of that right now.
Try them as-is, or play around with the variations. Throw in some nuts. Add a sprinkle of salt. Use dark chocolate chunks. Make them your own. And when you do, I’d love to hear about it. Drop a comment below or tag me in your photos. Happy baking, friends.
Pin This Recipe!
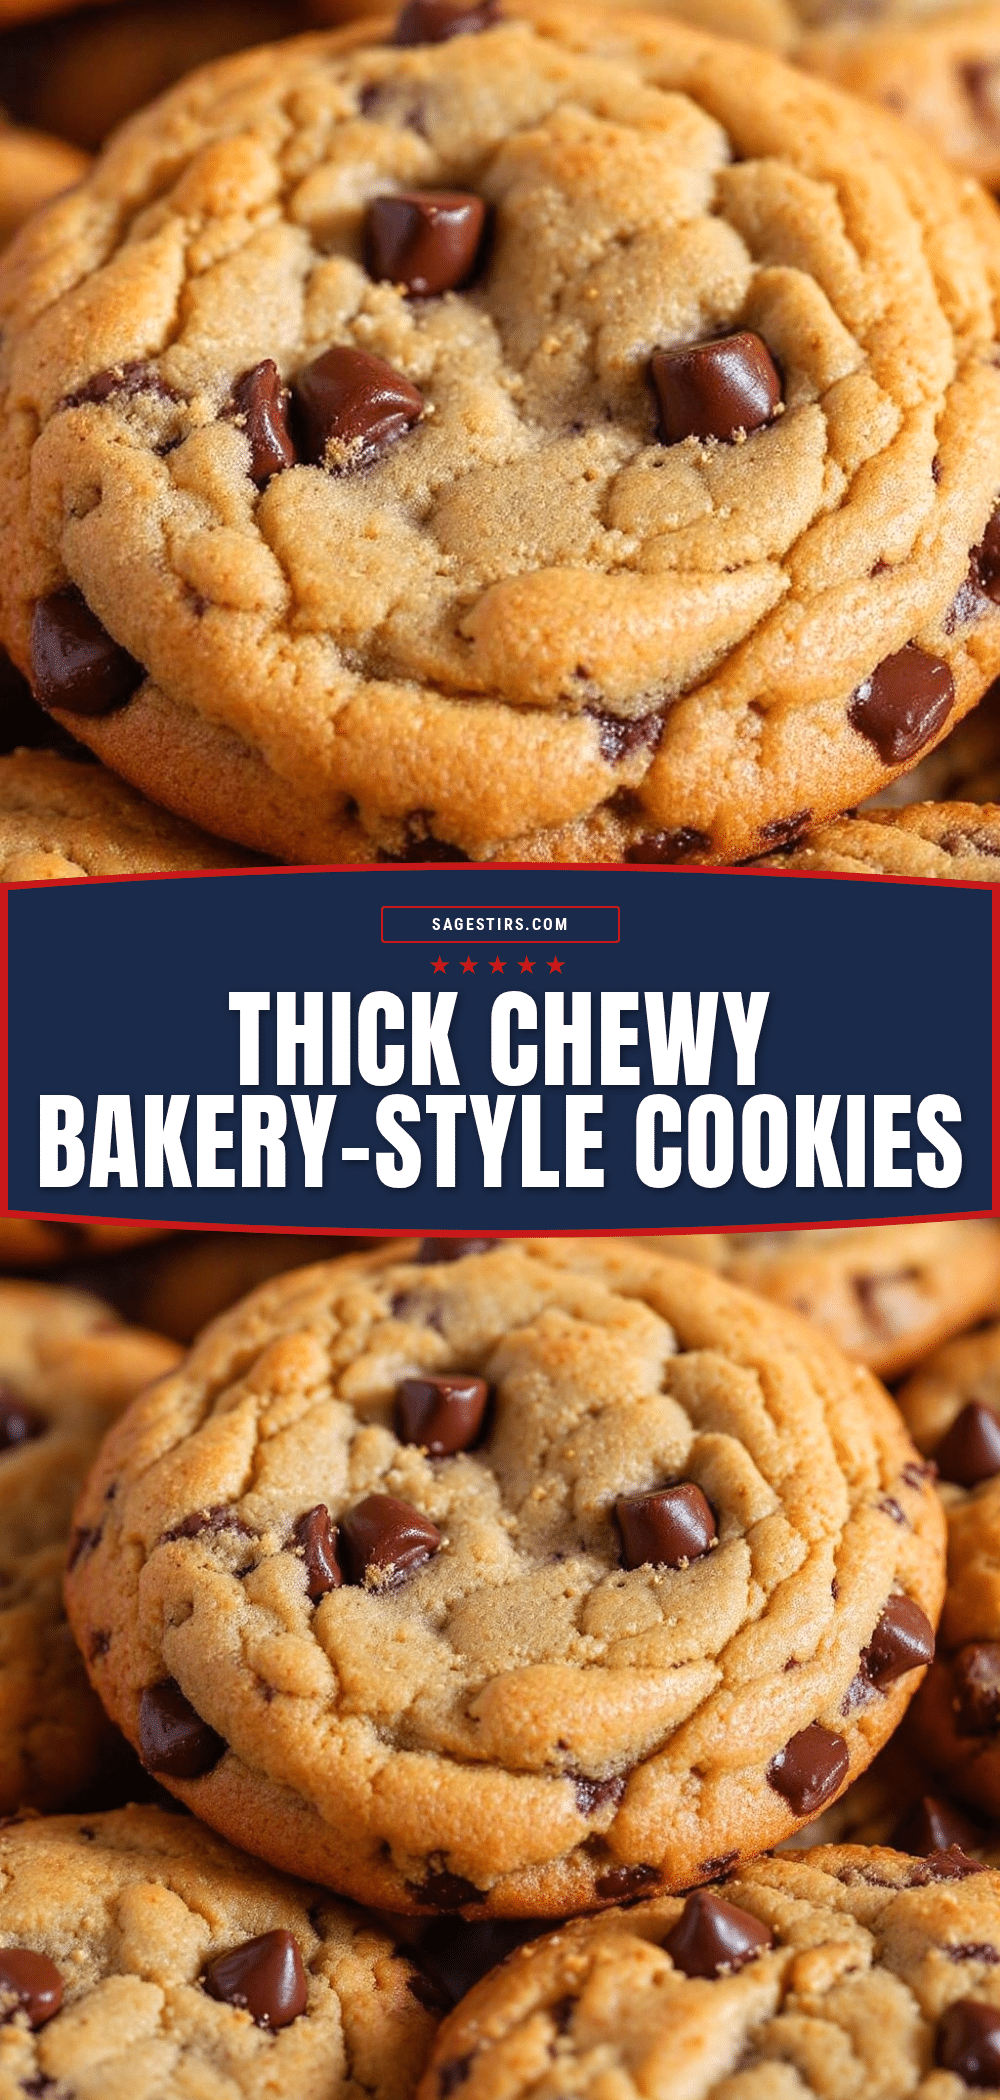
Perfect Bakery-Style Chocolate Chip Cookies: Thick & Chewy

Thick, chewy, bakery-style chocolate chip cookies that come together in under 30 minutes with no chilling required. Made with simple pantry ingredients, these cookies have golden edges, soft centers, and pools of melted chocolate.
- Prep Time: 15 minutes
- Cook Time: 12 minutes
- Total Time: 27 minutes
- Yield: 24 cookies 1x
- Category: Dessert
- Cuisine: American
Ingredients
- 1 cup (2 sticks / 226g) unsalted butter, melted
- 1 cup (200g) light brown sugar, packed
- ½ cup (100g) granulated sugar
- 1 large egg + 1 large egg yolk
- 2 teaspoons vanilla extract
- 2 cups + 2 tablespoons (270g) all-purpose flour
- 1 teaspoon baking soda
- 1 teaspoon salt
- 2 cups (340g) semi-sweet chocolate chips
Instructions
- Preheat oven to 350°F (175°C). Line two baking sheets with parchment paper.
- Melt the butter in a small saucepan or microwave-safe bowl. Let cool for 2-3 minutes until warm but not hot.
- In a large mixing bowl, whisk together melted butter, brown sugar, and granulated sugar for about 30 seconds until well combined.
- Whisk in the whole egg, egg yolk, and vanilla extract until smooth, pale, and slightly thickened (about 1 minute).
- In a separate bowl, whisk together flour, baking soda, and salt.
- Pour dry ingredients into wet mixture. Fold with a wooden spoon or silicone spatula just until no streaks of flour remain. Do not overmix.
- Fold in chocolate chips until evenly distributed. Reserve about ¼ cup of chips for pressing into tops.
- Using a 2-tablespoon cookie scoop or spoon, portion dough into rounded balls and place on prepared baking sheets about 2 inches apart. Press a few reserved chocolate chips into the top of each dough ball.
- Bake one sheet at a time on the center rack for 10-12 minutes, until edges are golden brown and centers are still soft and slightly underdone.
- Let cookies rest on the baking sheet for 5 minutes, then transfer to a wire cooling rack. Repeat with remaining dough.
Notes
For best results, use a kitchen scale for flour (1 cup = 120-125g). Do not overbake; cookies will set as they cool. Press extra chocolate chips on top for a bakery look. Rotate baking sheet halfway through for even browning. Let butter cool properly to avoid greasy cookies. Use room temperature eggs.
Nutrition
- Serving Size: 1 cookie
- Calories: 210
- Sugar: 18
- Sodium: 155
- Fat: 11
- Saturated Fat: 7
- Carbohydrates: 28
- Fiber: 1
- Protein: 3
Keywords: chocolate chip cookies, bakery-style cookies, thick and chewy cookies, no chill cookies, easy cookie recipe



