Love this? Save it for later!
Share the inspiration with your friends
The casserole dish was empty. Just a few crumbs clinging to the ceramic edges and the faint, ghostly scent of toasted nuts and browned butter lingering in the air. My brother-in-law, who usually sticks to the turkey and politely ignores the sides, was actually scraping the bottom of the bowl with a fork. He looked up, fork in hand, and asked if I had the recipe for the sourdough bits. Again. It’s the third year in a row this specific dish has vanished before dessert is even served.
It’s funny how a side dish can become the main event. I started making this crispy brown butter sage sourdough stuffing because I had a half-loaf of day-old sourdough staring at me from the counter. I didn’t want to throw it out, and I certainly didn’t want to make dry, sad bread cubes. So, I took a risk. I decided to brown the butter until it smelled like hazelnuts and toss in a handful of fresh sage leaves until they curled and crackled.
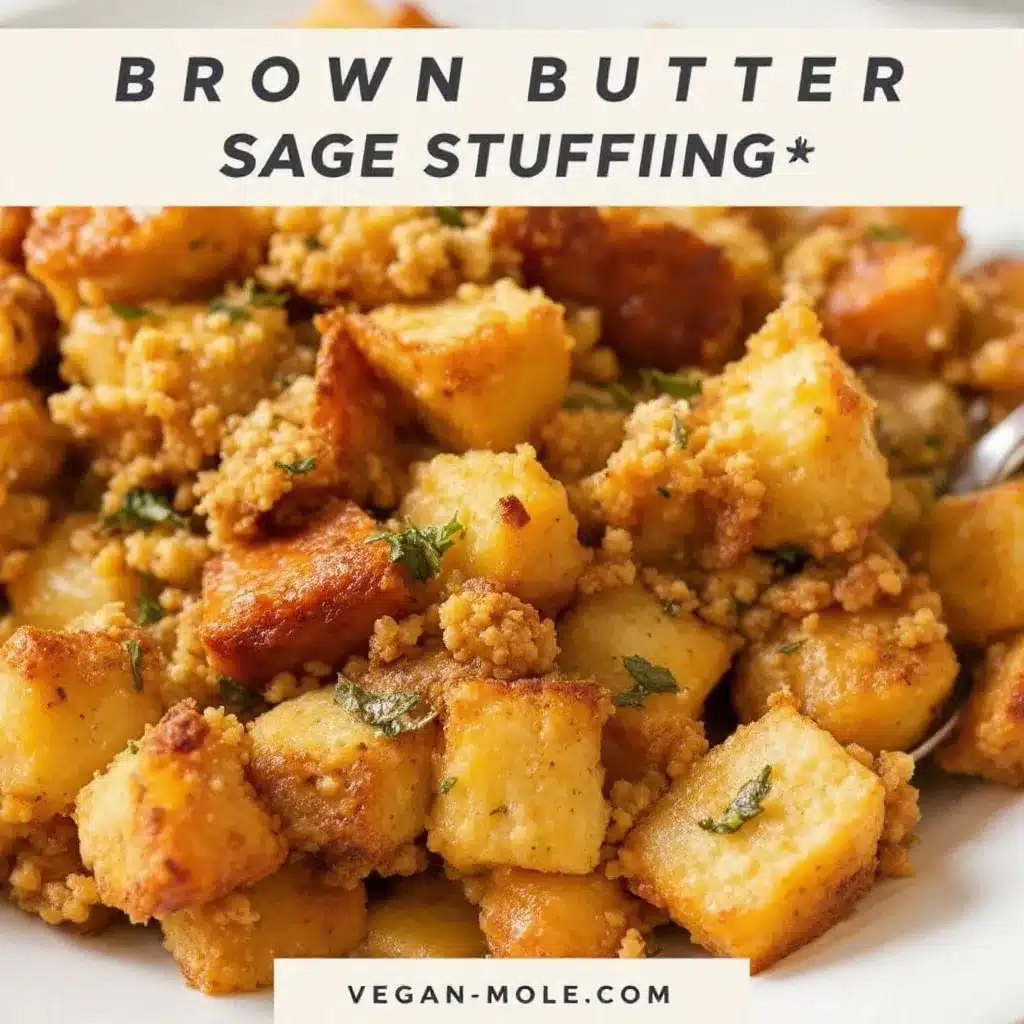
Let’s be honest, stuffing is usually an afterthought. It’s often mushy or bland, hiding behind the gravy. But this version? It’s different. It’s crunchy on top, pillowy in the middle, and smells like autumn itself. The sourdough soaks up the savory broth without turning into a sponge, while the brown butter adds this deep, nutty richness that feels fancy but is actually super simple. I remember standing in the kitchen last Thanksgiving, listening to the oven timer and watching the edges turn golden brown. I knew then that this wasn’t just a recipe anymore; it was a tradition.
There is something quietly satisfying about knowing you’ve solved the biggest problem at the dinner table. You don’t need to boast about it. You just watch people go back for seconds. And honestly, that’s the best reward you can ask for.
Why You’ll Love This Recipe
There are a lot of stuffing recipes out there, but this one stands out because it solves the two biggest problems people have with holiday sides: dryness and boredom. I’ve tested enough bread puddings and casseroles to know that texture is everything. This crispy brown butter sage sourdough stuffing delivers on all fronts. It’s not just another version of a classic; it’s the upgraded version you didn’t know you needed.
- Quick & Easy: While the bread needs to dry out, the actual prep is straightforward. You’ll have it in the oven in under 30 minutes of active work, making it perfect for busy weeknights or last-minute holiday prep when you’re already juggling a turkey.
- Simple Ingredients: You likely already have the core components in your pantry. Good sourdough, butter, sage, and broth. No fancy grocery trips needed, and no obscure spices hiding in the back of your cabinet.
- Perfect for Fall Gatherings: Whether it’s Thanksgiving, a cozy Sunday dinner, or a pre-game tailgate, this dish fits right in. The warm, nutty aroma fills the house and sets the tone for a comforting meal.
- Crowd-Pleaser: I’ve served this to picky eaters and foodies alike. Kids love the crunch, and adults appreciate the depth of flavor. It always gets rave reviews, often stealing the show from the main course.
- Unbelievably Delicious: The combination of toasted sourdough and browned butter creates a texture and flavor profile that is next-level comfort food. It’s savory, nutty, and herbaceous all at once.
What makes this recipe different is the sourdough. Regular sandwich bread turns to mush too easily. Sourdough has a sturdy crumb structure that holds up to the broth while still staying tender. Plus, the slight tang of the sourdough cuts through the richness of the brown butter perfectly. It’s not just good—it’s the kind that makes you close your eyes after the first bite. It’s comfort food reimagined, with the same soul-soothing satisfaction but with way more crunch.
What Ingredients You Will Need
This recipe uses simple, wholesome ingredients to deliver bold flavor and satisfying texture without the fuss. The magic here lies in the quality of the bread and the transformation of the butter. You don’t need anything complicated, just high-quality basics that let each other shine.
- Day-Old Sourdough Bread: This is the star. You need about 1 to 1.5 pounds of bread, cubed. The bread should be stale or dried out. Fresh bread will be too wet and turn the stuffing into a dense brick. I recommend using a good, tangy sourdough loaf from your local bakery. The structure of sourdough is key here.
- Unsalted Butter: You’ll need a generous amount, about 1/2 cup (1 stick). Unsalted is best so you can control the saltiness. We are going to brown this butter, which changes its flavor entirely.
- Fresh Sage Leaves: About 1/4 cup of fresh leaves. Fresh is non-negotiable here. Dried sage lacks the aromatic oils that make this dish smell amazing. Look for vibrant green leaves, free of black spots.
- Chicken or Vegetable Broth: Approximately 3 to 4 cups. Use a low-sodium version so you can control the salt level. If you are vegetarian, a rich vegetable broth works beautifully. I prefer a high-quality bone broth if I can find it, for extra depth.
- Yellow Onion: One medium onion, finely diced. This provides the savory base flavor. Sweet onions like Vidalia are great if you want a milder taste.
- Celery: Two stalks, finely diced. Celery adds a necessary crunch and aromatic background note that balances the richness of the butter.
- Eggs: Two large eggs, beaten. These act as a binder to hold the stuffing together, though this recipe is loose enough to be fluffy rather than dense.
- Salt and Black Pepper: To taste. Since the broth and butter vary in saltiness, taste your mixture before baking.
- Optional Add-Ins: Some people like to add diced apples or toasted pecans. I personally skip them to keep the focus on the sourdough and sage, but they are a nice touch if you want a bit of sweetness.
Do I need specific sourdough?
Not necessarily. Any sourdough loaf works as long as it is day-old. A thick-crusted loaf is ideal because it has more structure. Avoid soft, sliced sandwich-style sourdough if possible, as it lacks the chewiness that makes this stuffing great.
Equipment Needed
You don’t need a lot of fancy gadgets for this recipe, but having the right tools makes the process smoother and ensures that perfect crunch.
- Large Skillet: A 12-inch cast-iron skillet or a large stainless steel sauté pan is essential for browning the butter and cooking the onions. Cast iron holds heat well, which helps get those sage leaves crispy.
- Baking Dish: A 9×13 inch baking dish is standard. If you prefer a deeper, more concentrated texture, you can use a smaller dish, but you may need to adjust the baking time. Ceramic or glass dishes work fine, but metal pans will help crisp up the top even more.
- Sharp Knife and Cutting Board: You’ll be cubing bread and dicing veggies. A sharp chef’s knife makes quick work of the sourdough crust.
- Measuring Cups and Spoons: Standard kitchen tools for the broth and spices.
- Whisk: For beating the eggs smoothly before adding them to the mix.
- Spatula: A silicone spatula is great for scraping the browned butter from the pan and stirring the stuffing without scratching your dish.
If you don’t have a large skillet, you can use two smaller ones. Just be careful not to overcrowd the pan when browning the butter, or it will steam instead of brown. Also, make sure your baking dish is large enough to spread the stuffing in an even layer; this promotes even cooking and that coveted crispy top.
Preparation Method
Getting this crispy brown butter sage sourdough stuffing ready is a process of layers. Each step builds the flavor and texture that makes it so special. Take your time with the bread drying and the butter browning; these are the most critical parts.
- Prepare the Bread (Time: 30 mins – 24 hours): Start by cutting your day-old sourdough into 1-inch cubes. Spread them out in a single layer on two large baking sheets. Let them sit out on the counter to dry. If you are in a hurry, you can bake them at 300°F (150°C) for 10-15 minutes until they are dry and hard. Let them cool completely before using. This step is crucial because dry bread absorbs broth without getting mushy.
- Preheat the Oven: Set your oven to 350°F (175°C). Grease your 9×13 inch baking dish with a little bit of butter or oil.
- Brown the Butter and Sage: In your large skillet, melt the butter over medium heat. Swirl it occasionally. It will foam up and then settle. Watch closely as it starts to turn golden brown and smell nutty. This takes about 5-7 minutes. Immediately add the fresh sage leaves. They will sizzle and crisp up in about 30 seconds. Remove the pan from the heat and pour the entire contents (butter, sage, and all) into a large mixing bowl. Scrape the brown bits from the pan into the bowl; that’s where the flavor is.
- Sauté the Aromatics: In the same skillet, add a tablespoon of oil (or use the leftover sage-infused butter if you want extra flavor). Add the diced onion and celery. Sauté over medium heat for about 5-8 minutes until they are soft and translucent. Do not brown them too much; you just want them tender. Add these vegetables to the bowl with the brown butter.
- Combine the Base: Add the dried sourdough cubes to the large bowl. Pour the warm broth over the bread. Use your hands or a large spoon to toss everything together. Make sure every piece of bread is coated. Let this mixture sit for 10-15 minutes. The bread needs time to soak up the liquid.
- Add the Eggs: Beat the two eggs in a small bowl and pour them over the bread mixture. Toss again to distribute the eggs evenly. This helps bind the stuffing and adds richness.
- Season: Taste a small piece of bread (it’s safe since it’s raw egg but you’re cooking it later). Add salt and pepper as needed. Remember, the broth already has some salt, so go easy at first.
- Transfer to Baking Dish: Pour the mixture into your greased baking dish. Spread it out evenly. For maximum crunch, press the top down firmly with the back of a spoon. This creates a compact layer that crisps up nicely.
- Bake: Cover the dish with foil and bake for 20 minutes. Then, remove the foil and bake for another 15-20 minutes, or until the top is golden brown and crispy, and the center is hot. If the top browns too quickly, tent it loosely with foil.
- Rest and Serve: Let the stuffing rest for 10 minutes before serving. This allows it to set slightly, making it easier to scoop.
What if the stuffing looks dry?
If the mixture looks dry after adding the broth, add another half-cup of broth. The bread varies in how much it absorbs. It should look moist but not soupy.
Cooking Tips & Techniques
There are a few tricks I’ve learned over the years to ensure this stuffing turns out perfectly every time. The biggest mistake people make is rushing the bread drying process. If the bread is even slightly soft, the stuffing will be gummy. I always recommend drying the bread overnight if possible. It makes a huge difference in the final texture.
Another key technique is watching the butter closely. Brown butter can go from perfect to burnt in seconds. Once it smells nutty, take it off the heat immediately. The residual heat will continue to cook it slightly. Don’t skip the sage frying step; it infuses the butter with flavor far better than just stirring in dried herbs.
I also like to press the stuffing down firmly in the baking dish. This isn’t just for looks; it helps the top layer crisp up evenly. If the stuffing is too loose, the top might stay soft while the bottom burns. Pressing it creates a uniform surface area for browning.
Timing is everything. If you are making this for a big dinner, you can assemble the stuffing a day ahead and refrigerate it. Just add 10-15 minutes to the baking time if you put it in the oven cold. This is a lifesaver when you’re trying to coordinate a whole meal. Let’s face it, holiday cooking is a juggling act, and having one less thing to do on the day of is a win.
Finally, don’t be afraid to add a little extra butter on top before baking. If you want that extra crunch, drizzle a tablespoon of melted butter over the top before you put it in the oven. It’s a small detail that makes the top layer incredibly savory and crisp.
Variations & Adaptations
While this crispy brown butter sage sourdough stuffing is perfect on its own, there are plenty of ways to tweak it to suit your taste or dietary needs. Cooking is all about experimentation, and I’ve tried a few variations that work well.
- Add Sausage: For a heartier version, brown some Italian sausage in the skillet before sautéing the onions. Crumble it up and mix it in. This adds a savory, spiced depth that pairs beautifully with the sage.
- Vegetarian Boost: If you want more veggies, add diced mushrooms or roasted Brussels sprouts. Mushrooms add a meaty texture, while Brussels sprouts add a nice bitter contrast.
- Gluten-Free Option: You can easily make this gluten-free by using a gluten-free sourdough-style bread. Just check the label to ensure it’s sturdy enough to hold up to the broth. Some GF breads are more crumbly, so you might need slightly less broth.
- Dairy-Free: Substitute the butter with a high-quality plant-based butter that browns well. Olive oil can also work, though it won’t give you that same nutty flavor. The sage will still infuse the oil nicely.
- Herb Swap: If you don’t have fresh sage, you can use thyme or rosemary. Thyme is particularly good with sourdough. Just use half the amount of dried herbs if you are substituting.
I once tried adding chopped apples and walnuts to this recipe. It was delicious, but it changed the profile from savory to sweet-savory. If you like that combo, go for it. But for me, the pure sage and brown butter flavor is what makes this recipe special. Keep it simple, and let the bread shine.
Serving & Storage Suggestions
This stuffing is best served warm, straight out of the oven. It pairs wonderfully with roasted turkey, but it’s also fantastic with the easy one pan apple cider braised pork chops for a non-traditional meal. The apple notes in the pork complement the nutty bread perfectly.
For presentation, garnish with a few extra fresh sage leaves or a light dusting of black pepper. It looks rustic and inviting. You can also serve it with a side of cozy slow cooker spiced apple cider to keep things fall-themed.
Leftovers store well in the refrigerator for up to 4 days. Place them in an airtight container. To reheat, you can microwave individual portions, but for the best texture, reheat them in the oven at 350°F (175°C) for 10-15 minutes. This restores the crispiness on the edges. If you freeze it, wrap it tightly in foil and freeze for up to 3 months. Thaw in the fridge before reheating.
Interestingly, the flavors develop over time. Some people say the stuffing tastes even better the next day as the bread fully absorbs the broth and spices. It’s a great way to enjoy leftovers without feeling like you’re eating the same meal twice.
Nutritional Information & Benefits
While stuffing is definitely a comfort food, this version has some redeeming qualities. The sourdough bread is easier to digest than regular wheat bread due to the fermentation process, which breaks down some of the gluten and phytic acid. The brown butter adds healthy fats, and the sage has anti-inflammatory properties.
One serving (approximately 1 cup) contains roughly 250-300 calories, depending on the amount of butter and broth used. It provides a good balance of carbohydrates from the bread and some protein from the eggs and broth. It is not particularly low-carb, but it is a satisfying side dish that fits into a balanced meal.
For those with dietary restrictions, remember to check your broth for gluten if you are using a vegetarian version, as some broths contain wheat-derived ingredients. Always opt for certified gluten-free broth if needed. This recipe is naturally nut-free unless you add walnuts or pecans, making it safer for many allergies.
Conclusion
This crispy brown butter sage sourdough stuffing is more than just a side dish; it’s a centerpiece of flavor and texture. The combination of nutty brown butter, aromatic sage, and sturdy sourdough creates a dish that is both comforting and impressive. It’s easy to make, uses simple ingredients, and always gets rave reviews.
I encourage you to try this recipe and make it your own. Add your favorite herbs, swap in different broths, or tweak the spice level. Cooking is personal, and this recipe is a great canvas for your creativity. I love this recipe because it brings people together. There is something special about sharing a meal where everyone goes back for seconds.
Give it a try this weekend or for your next gathering. I’d love to hear how it turns out for you. Leave a comment below with your variations or tips. Happy cooking, and enjoy every crunchy bite!
FAQs
Can I make this stuffing ahead of time?
Yes, you can assemble the stuffing up to 24 hours in advance. Cover it tightly and refrigerate. When you’re ready to bake, add 10-15 minutes to the baking time since the mixture will be cold.
What kind of bread is best for stuffing?
Sourdough is ideal because of its sturdy texture and tangy flavor. However, you can use any dense, day-old bread like ciabatta or rustic white bread. Avoid soft, pre-sliced sandwich bread as it will turn mushy.
Can I use dried sage instead of fresh?
You can, but fresh sage is highly recommended for the brown butter step. If you must use dried, add it to the broth or the bread mixture rather than frying it in the butter, as dried herbs can burn easily.
How do I know when the brown butter is ready?
Watch for the butter to turn a golden amber color and smell nutty. Small brown specks will form at the bottom of the pan. Remove it from the heat immediately once you see this to prevent burning.
Can I freeze leftover stuffing?
Absolutely. Wrap the cooled stuffing tightly in plastic wrap and then foil. It will keep in the freezer for up to 3 months. Thaw in the refrigerator before reheating in the oven to restore crispiness.
Pin This Recipe!
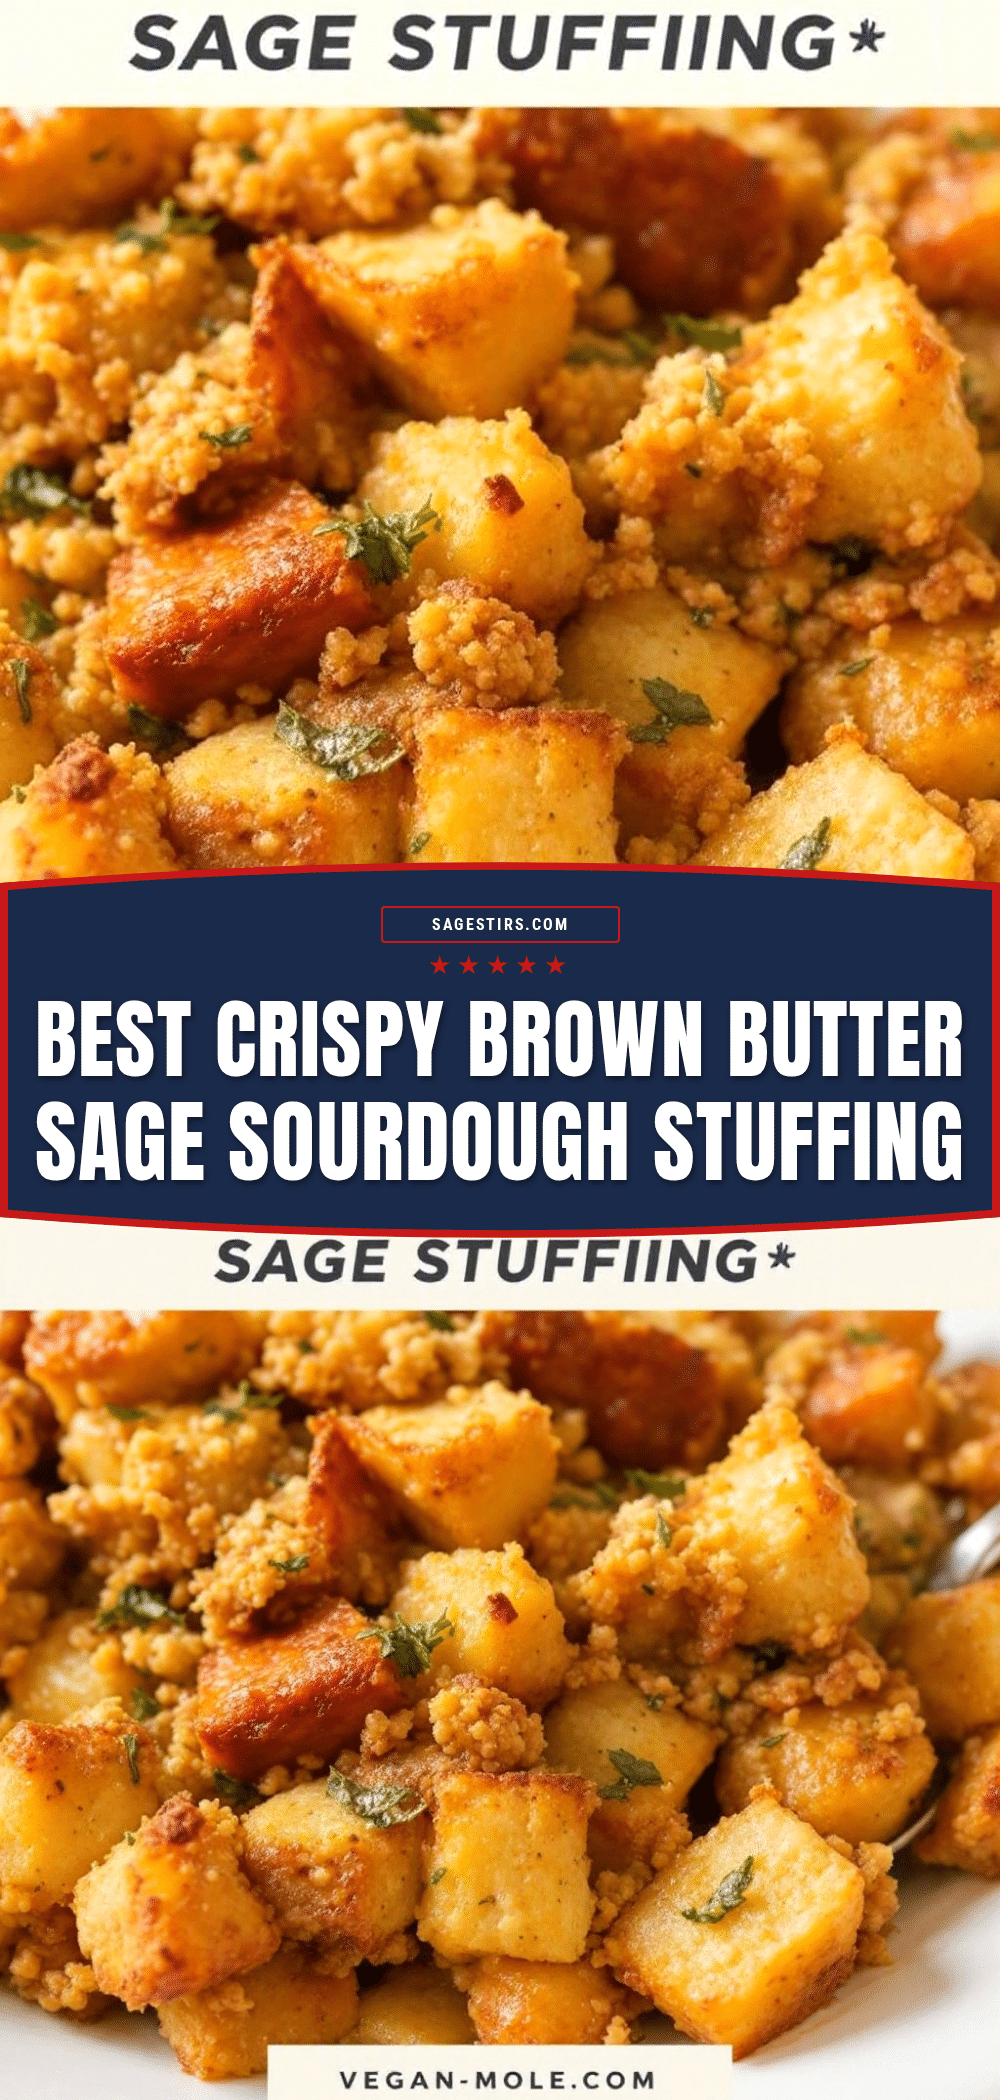
Best Crispy Brown Butter Sage Sourdough Stuffing

A crowd-pleasing side dish featuring day-old sourdough bread soaked in savory broth and tossed with nutty brown butter and crispy fresh sage. It delivers a crunchy top and pillowy interior, solving the common problems of dryness and blandness in holiday stuffing.
- Prep Time: 30 minutes
- Cook Time: 35-40 minutes
- Total Time: 1 hour 5 minutes
- Yield: 8 servings 1x
- Category: Side Dish
- Cuisine: American
Ingredients
- 1 to 1.5 pounds day-old sourdough bread, cut into 1-inch cubes
- 1/2 cup (1 stick) unsalted butter
- 1/4 cup fresh sage leaves
- 3 to 4 cups low-sodium chicken or vegetable broth
- 1 medium yellow onion, finely diced
- 2 stalks celery, finely diced
- 2 large eggs, beaten
- Salt and black pepper to taste
- Optional: diced apples or toasted pecans
Instructions
- Cut the day-old sourdough into 1-inch cubes and spread them on baking sheets to dry for at least 30 minutes or up to 24 hours. Alternatively, bake at 300°F (150°C) for 10-15 minutes until dry and hard, then cool completely.
- Preheat the oven to 350°F (175°C) and grease a 9×13 inch baking dish.
- In a large skillet over medium heat, melt the butter. Swirl occasionally until it turns golden brown and smells nutty (5-7 minutes).
- Add the fresh sage leaves to the brown butter and cook for 30 seconds until crisp. Pour the entire contents (butter, sage, and brown bits) into a large mixing bowl.
- In the same skillet, add a tablespoon of oil or leftover sage butter. Sauté the diced onion and celery for 5-8 minutes until soft and translucent. Add these vegetables to the mixing bowl.
- Add the dried sourdough cubes to the bowl. Pour the warm broth over the bread and toss to coat. Let the mixture sit for 10-15 minutes to absorb the liquid.
- Pour the beaten eggs over the bread mixture and toss again to distribute evenly.
- Season with salt and pepper to taste, keeping in mind the saltiness of the broth.
- Transfer the mixture to the greased baking dish. Press the top down firmly with the back of a spoon to create a compact layer.
- Cover the dish with foil and bake for 20 minutes. Remove the foil and bake for another 15-20 minutes until the top is golden brown and crispy.
- Let the stuffing rest for 10 minutes before serving.
Notes
Ensure the bread is completely dry before using to prevent mushy stuffing. Watch the butter closely as it can burn quickly; remove from heat immediately when it smells nutty. Pressing the stuffing down firmly helps create a crispy top. Leftovers can be stored in the refrigerator for up to 4 days or frozen for up to 3 months.
Nutrition
- Serving Size: 1 cup
- Calories: 275
- Sugar: 2
- Sodium: 450
- Fat: 14
- Saturated Fat: 8
- Carbohydrates: 28
- Fiber: 2
- Protein: 6
Keywords: sourdough stuffing, brown butter sage, crispy stuffing, holiday side dish, Thanksgiving recipe, easy stuffing, gluten-free option



