Love this? Save it for later!
Share the inspiration with your friends
I did not trust brown butter in chocolate chip cookies. Honestly, I thought it sounded like a mistake until I accidentally left the pot on the stove a little too long. I was rushing to get dinner ready and decided to brown the butter while chopping vegetables. The smell hit me first—a nutty, toasted aroma that filled the kitchen and made my stomach growl louder than the sizzle of onions. I pulled the pot off the heat just as the foam started to settle, careful not to let it burn.
When I mixed that golden, fragrant butter into the dough, the kitchen felt different. It smelled richer, more complex than the usual flat scent of melted butter. I baked the batch and waited the ten minutes it takes for a cookie to cool enough to touch. The first bite was shocking. The texture was crisp at the edges but chewy in the center, with a depth of flavor I couldn’t quite place. It wasn’t just sweet; it was savory-sweet, like a caramel note without the sugar.
I used to think that adding extra steps like browning butter was just a way for food bloggers to sound fancy. You know, trying to make simple baking seem like a high-end pastry shop experience. But let’s face it, the result speaks for itself. The nutty flavor permeates every bite, transforming a basic pantry staple into something that feels gourmet. I realized that skipping this step was actually the mistake all along.
Now, I can’t make these cookies any other way. The effort of watching the butter melt and foam is minimal compared to the payoff. It’s the kind of upgrade that makes you wonder why you didn’t do it sooner. There is a quiet satisfaction in knowing that a simple pan and a few minutes of attention can change everything. That’s when I knew I had found my new favorite way to bake.
Why You’ll Love This Recipe
This recipe isn’t just another chocolate chip cookie; it is the result of countless trials to get the balance of crisp and chewy just right. As someone who has spent years in the kitchen testing dozens of cookie recipes, I can tell you that the secret lies in the Maillard reaction. By browning the butter, you are essentially toasting the milk solids, which adds a layer of complexity that standard melted butter simply cannot achieve. This is chef-tested and family-approved, meaning it holds up to the highest standards of flavor while remaining approachable for home bakers.
Here is what makes this recipe stand out from the crowd:
- Quick & Easy: While browning butter takes a few minutes, the total active time is under 30 minutes. This is perfect for busy weeknights or when you need a last-minute treat.
- Simple Ingredients: You likely already have everything in your kitchen. No fancy grocery trips are needed for special flours or exotic spices.
- Perfect for Gift Giving: These cookies travel well and look beautiful on a platter, making them great for holiday mornings or potlucks.
- Crowd-Pleaser: They always get rave reviews from kids and adults alike. The familiar chocolate chip flavor is elevated without being too adventurous.
- Unbelievably Delicious: The texture and flavor combo is next-level comfort food. The edges crackle while the centers stay soft.
What makes this recipe different is the attention to the butter. Many recipes call for creaming cold butter and sugar, which creates a cakier texture. By using browned, melted butter, we get a denser, chewier crumb that feels more substantial. It is comfort food reimagined—richer and faster, but with the same soul-soothing satisfaction. Whether you are impressing guests or just treating yourself, these cookies deliver.
What Ingredients You Will Need
This recipe uses simple, wholesome ingredients to deliver bold flavor and satisfying texture without the fuss. The key to success here is quality. Since there are fewer ingredients, each one plays a critical role. You want to use unsalted butter so you can control the saltiness, and high-quality chocolate chips ensure that every bite has a rich chocolate punch.
Here is what you need to gather:
- Unsalted Butter: 1 cup (2 sticks). You will need to brown this in a saucepan. Look for high-fat butter for the best flavor.
- Light Brown Sugar: 1 cup, packed. This adds moisture and a hint of molasses flavor that complements the toasted butter.
- Granulated White Sugar: ½ cup. This helps create the crispy edges.
- Large Eggs: 2 large eggs, room temperature. Room temperature eggs emulsify better with the butter.
- Vanilla Extract: 2 teaspoons. Use pure vanilla extract, not imitation, for a robust flavor profile.
- All-Purpose Flour: 2 ¼ cups. Measure carefully by spooning it into the cup to avoid dense cookies.
- Baking Soda: 1 teaspoon. This helps the cookies spread and brown.
- Salt: 1 teaspoon. Fine sea salt balances the sweetness.
- Chocolate Chips: 2 cups. I recommend using high-quality semi-sweet chocolate chips, like Ghirardelli or Guittard, for the best melt.
- Flaky Sea Salt (Optional): For sprinkling on top after baking.
If you are looking to substitute ingredients, you can use dark chocolate chunks for a more intense chocolate flavor. For a gluten-free option, you can swap the all-purpose flour for a 1-to-1 gluten-free baking blend, though the texture may be slightly more crumbly. In the summer, you might even add a pinch of sea salt to the dough to highlight the citrus notes in the butter.
Equipment Needed
You don’t need a fancy kitchen to make these cookies. A standard heavy-bottomed saucepan is essential for browning the butter evenly. A light-colored pan is best so you can see the color change of the milk solids without burning them. You will also need a whisk for mixing the wet ingredients and a spatula for folding in the chocolate chips.
For baking, use large rimmed baking sheets lined with parchment paper. This prevents sticking and promotes even baking. If you don’t have parchment paper, you can use silicone baking mats, though parchment gives a slightly crisper edge. A wire cooling rack is crucial to stop the cooking process immediately after baking. Avoid using glass bowls for mixing the butter and sugars, as they retain heat and can melt the butter further, affecting the texture. A stand mixer or hand mixer works well for creaming the butter and sugars, but a wooden spoon works too if you want to get some arm workout in.
Preparation Method

Follow these steps carefully to ensure the best results. Precision matters in baking, so take your time with each step.
- Brown the Butter (10 minutes): Start by placing your unsalted butter in a heavy-bottomed saucepan over medium heat. Stir constantly with a wooden spoon or silicone spatula. The butter will melt, foam up, and then start to subside. Listen for a crackling sound, which indicates the water is evaporating. Watch closely for the milk solids at the bottom to turn golden brown and smell nutty. This usually takes 5-7 minutes. Immediately pour the brown butter into a heat-safe bowl to stop the cooking process. Let it cool for 10-15 minutes until it is still liquid but not hot.
- Mix Wet Ingredients (2 minutes): In a large mixing bowl, combine the cooled brown butter, brown sugar, and white sugar. Whisk vigorously for about a minute until the mixture looks glossy and smooth. This step helps dissolve the sugar slightly, which contributes to the chewy texture. Add the eggs one at a time, whisking well after each addition. Stir in the vanilla extract. The mixture should be uniform and slightly thickened.
- Combine Dry Ingredients (2 minutes): In a separate medium bowl, whisk together the all-purpose flour, baking soda, and salt. This ensures that the leavening agent is evenly distributed, preventing any bitter spots of baking soda in the final cookie.
- Make the Dough (3 minutes): Gradually add the dry ingredients to the wet mixture. Use a spatula to fold them together just until no streaks of flour remain. Do not overmix, or the cookies will become tough. Fold in the chocolate chips gently, ensuring they are distributed evenly throughout the dough.
- Chill the Dough (30-60 minutes): This step is non-negotiable if you want thick, chewy cookies. Cover the bowl with plastic wrap and refrigerate for at least 30 minutes, or up to 24 hours. Chilling solidifies the fat, which prevents the cookies from spreading too much in the oven. It also allows the flavors to meld together.
- Preheat and Prep (5 minutes): Preheat your oven to 350°F (175°C). Line two large baking sheets with parchment paper. If you are making a large batch, do one sheet at a time to ensure even baking.
- Scoop and Bake (12-14 minutes): Use a cookie scoop or tablespoon to portion the dough onto the baking sheets, leaving about 2 inches between each cookie for spreading. Bake for 12-14 minutes, or until the edges are golden brown but the centers still look slightly underbaked and soft. The cookies will continue to cook on the hot pan after you remove them.
- Cool and Finish (10 minutes): Let the cookies cool on the baking sheet for 5 minutes. Then, transfer them to a wire rack to cool completely. If using flaky sea salt, sprinkle it on top while the cookies are still warm so it adheres properly.
Cooking Tips & Techniques
Browning butter is an art form that requires a bit of practice. One common mistake is walking away from the stove. Butter can go from perfectly browned to burnt in seconds. If you smell smoke, you have waited too long, and you will need to start over. Burnt butter tastes bitter and will ruin the entire batch of cookies.
Another tip is to use a light-colored pan. Dark pans absorb more heat and can cause the butter to brown too quickly on the bottom before the rest is done. If you only have a dark pan, reduce the heat slightly and watch more closely.
When mixing the dough, resist the urge to overwork it. Once you add the flour, mix only until combined. Overmixing develops gluten, which leads to tough cookies. You want a tender crumb, so gentle folding is key.
Also, consider the altitude if you live high up. At higher altitudes, cookies may spread less and bake faster. You might need to increase the oven temperature by 25°F or reduce the baking soda slightly to prevent a soapy taste.
Finally, don’t skip the chilling step. Warm dough spreads too fast in the oven, resulting in thin, greasy cookies. Chilled dough holds its shape, allowing the inside to cook through while the outside crisps up. This is the secret to that perfect contrast in texture.
Variations & Adaptations
While the classic brown butter chocolate chip is unbeatable, there are many ways to adapt this recipe to suit your taste or dietary needs.
- White Chocolate Macadamia: Swap the semi-sweet chocolate chips for white chocolate chips and add 1 cup of toasted macadamia nuts. The nutty flavor of the brown butter pairs beautifully with the tropical nuts.
- Peanut Butter Twist: Add ½ cup of creamy peanut butter to the wet ingredients. This adds a savory depth and makes the cookies even richer. You can also drizzle melted peanut butter on top before baking.
- Gluten-Free Option: Use a 1-to-1 gluten-free flour blend. Add ¼ teaspoon of xanthan gum if your blend does not contain it. The cookies may be slightly more fragile, so handle them gently.
- Spiced Version: Add 1 teaspoon of cinnamon and ½ teaspoon of nutmeg to the dry ingredients. This gives the cookies a warm, autumnal flavor that pairs well with the toasted butter.
- Dark Chocolate Chunk: For a more intense chocolate flavor, use a bar of high-quality dark chocolate and chop it into chunks. This creates pools of melted chocolate in each bite.
I personally love adding a handful of toasted pecans to the dough. The crunch adds another layer of texture that complements the chewy cookie base. You can also add a splash of bourbon to the wet ingredients for a grown-up twist, though this is optional.
Serving & Storage Suggestions
These cookies are best served at room temperature, allowing the flavors to fully develop. They pair wonderfully with a cold glass of milk or a hot cup of coffee. For a dessert presentation, serve them on a platter with a drizzle of caramel sauce and a sprinkle of flaky sea salt.
To store the cookies, keep them in an airtight container at room temperature for up to 5 days. Place a slice of bread in the container to help maintain moisture and keep the cookies soft. If you want to freeze the dough, scoop it onto a baking sheet and freeze until solid, then transfer to a freezer bag. You can bake them straight from frozen, adding 1-2 minutes to the baking time.
Reheating leftovers is easy. Pop them in the microwave for 10-15 seconds to soften the center, or bake at 350°F for 5 minutes to restore the crisp edges. The flavors actually improve after a day or two as the ingredients meld together, making them great for meal prep.
Nutritional Information & Benefits
While these cookies are a treat, they offer some nutritional benefits. Brown butter contains conjugated linoleic acid (CLA), which has been linked to various health benefits, including improved body composition. The use of brown sugar provides a lower glycemic index than white sugar, offering a slower release of energy.
One cookie (approximately 2 inches in diameter) contains roughly 180 calories, 10 grams of fat, 22 grams of carbohydrates, and 2 grams of protein. These values are estimates and will vary based on the specific ingredients and portion size used.
For those with dietary restrictions, this recipe can be made gluten-free or dairy-free with appropriate substitutions. However, it is important to note that it contains eggs and gluten in the standard version. Always check labels if you have severe allergies. Moderation is key, as these are dense, calorie-dense treats meant to be enjoyed in small portions.
Conclusion
Making crispy brown butter chocolate chip cookies is a simple yet rewarding process that transforms a classic dessert into something extraordinary. The nutty depth of the brown butter elevates the familiar chocolate chip flavor, creating a cookie that is both comforting and sophisticated. I encourage you to try this recipe and customize it with your favorite add-ins. Whether you stick to the classic or experiment with nuts and spices, the result will be delicious.
I love these cookies because they remind me that small changes in technique can lead to big improvements in flavor. They are perfect for sharing with friends or enjoying alone with a good book. Please leave a comment below with your thoughts or share your variations. I would love to hear how you made these your own. Happy baking!
Frequently Asked Questions
Can I use salted butter instead of unsalted?
Yes, but you should reduce the added salt in the recipe by half. Salted butter varies in salt content, so tasting the dough (if safe) can help you decide if more salt is needed.
Why are my cookies flat?
This usually happens if the butter was too hot when mixed with the sugar, or if the dough was not chilled long enough. Make sure to cool the brown butter completely and chill the dough for at least 30 minutes.
Can I freeze the brown butter?
Yes, you can freeze brown butter for up to 3 months. Let it thaw in the refrigerator before using it in the recipe. The flavor remains intact after freezing.
How do I know when the butter is properly browned?
Look for a golden brown color on the milk solids at the bottom of the pan and smell a nutty, toasted aroma. The foam will also settle down. Be careful not to let it turn dark brown, as it will taste burnt.
What is the best chocolate to use?
High-quality semi-sweet chocolate chips or chopped chocolate bars work best. Avoid low-quality chocolate chips that contain excessive fillers, as they may not melt evenly and can affect the texture.
Pin This Recipe!
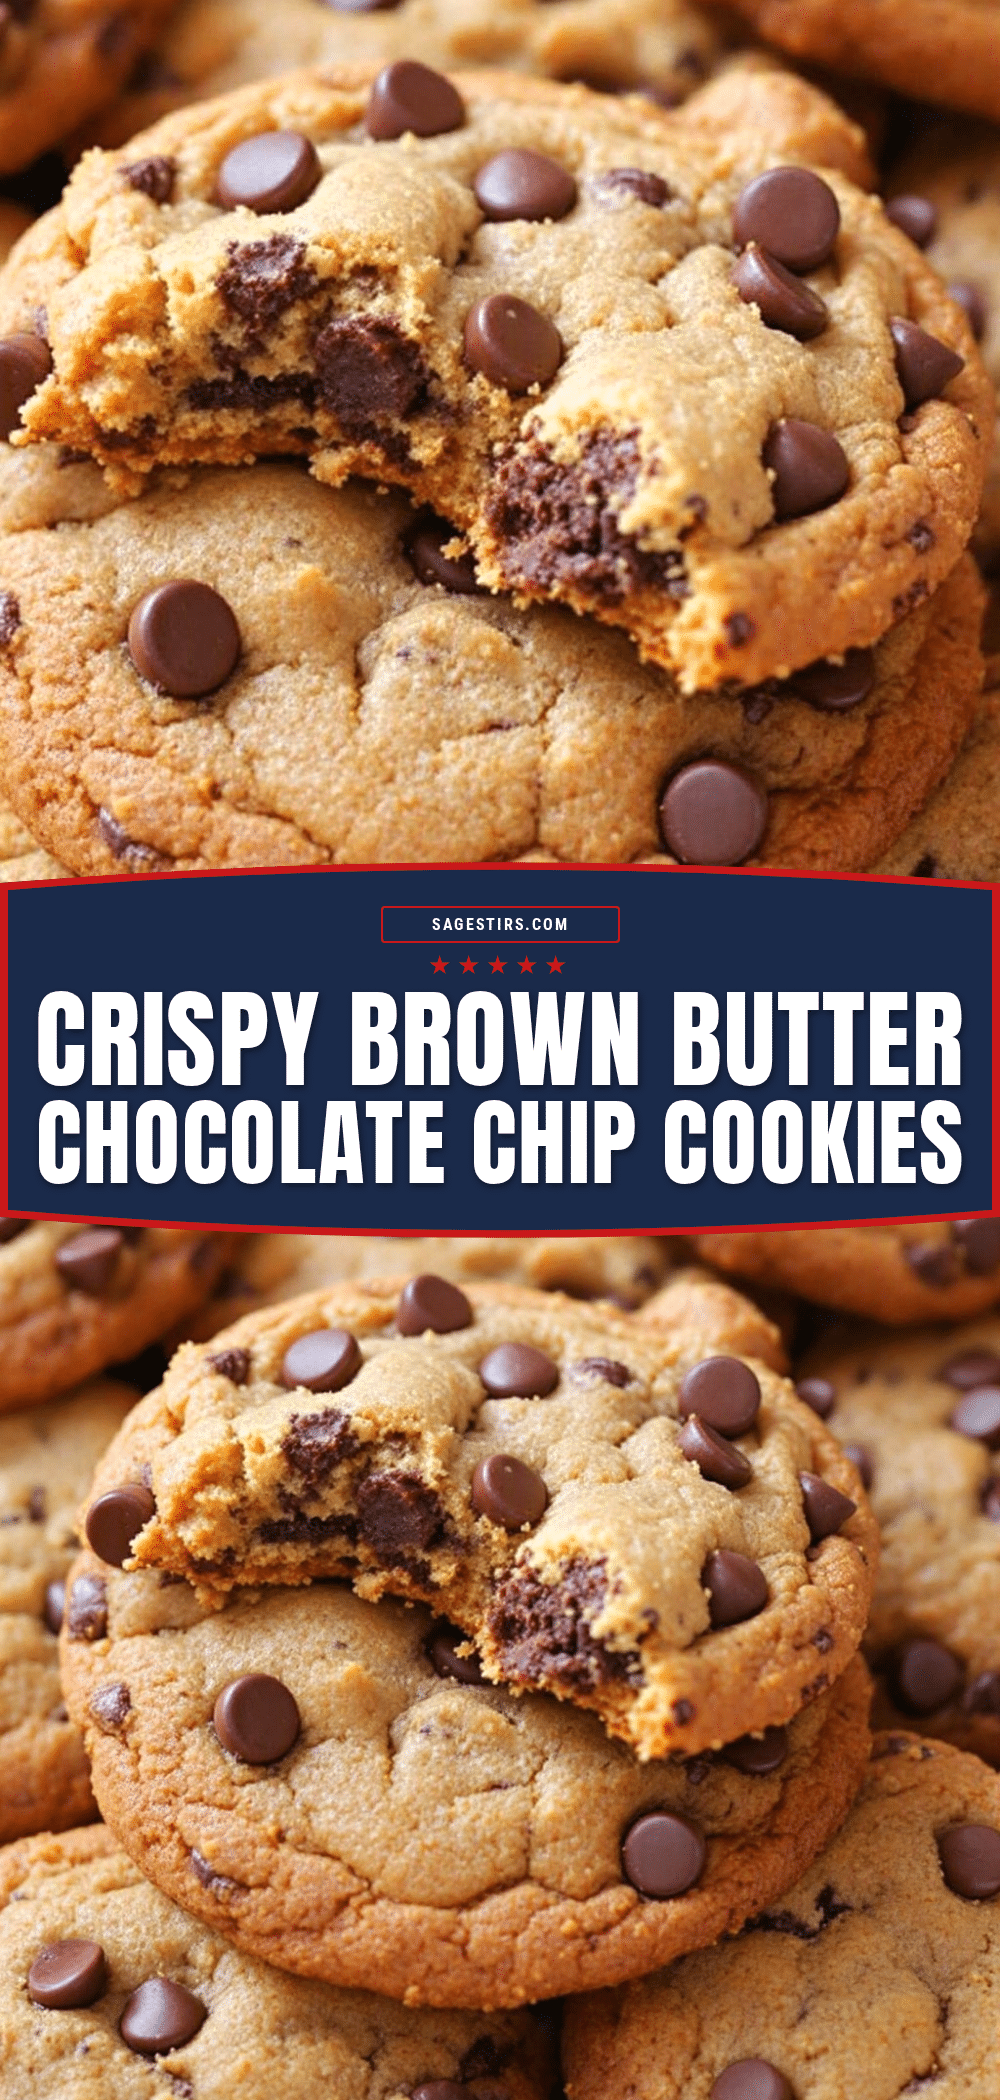
Crispy Brown Butter Chocolate Chip Cookies

These cookies feature a nutty, toasted flavor from browned butter, resulting in crisp edges and a chewy center. They are easy to make with simple pantry ingredients and offer a gourmet twist on a classic dessert.
- Prep Time: 30 minutes
- Cook Time: 14 minutes
- Total Time: 45 minutes
- Yield: Approximately 24 cookies 1x
- Category: Dessert
- Cuisine: American
Ingredients
- 1 cup (2 sticks) unsalted butter
- 1 cup light brown sugar, packed
- ½ cup granulated white sugar
- 2 large eggs, room temperature
- 2 teaspoons vanilla extract
- 2 ¼ cups all-purpose flour
- 1 teaspoon baking soda
- 1 teaspoon fine sea salt
- 2 cups semi-sweet chocolate chips
- Flaky sea salt (optional, for topping)
Instructions
- Brown the butter: Melt unsalted butter in a heavy-bottomed saucepan over medium heat. Stir constantly until the milk solids turn golden brown and the butter smells nutty (5-7 minutes). Pour into a heat-safe bowl and cool for 10-15 minutes.
- Mix wet ingredients: In a large bowl, whisk the cooled brown butter, brown sugar, and white sugar until glossy. Add eggs one at a time, whisking well after each addition. Stir in vanilla extract.
- Combine dry ingredients: In a separate medium bowl, whisk together flour, baking soda, and salt.
- Make the dough: Gradually add dry ingredients to the wet mixture. Fold with a spatula just until no flour streaks remain. Fold in chocolate chips.
- Chill the dough: Cover and refrigerate dough for at least 30 minutes (or up to 24 hours) to prevent excessive spreading.
- Preheat and prep: Preheat oven to 350°F (175°C). Line baking sheets with parchment paper.
- Scoop and bake: Portion dough onto sheets, leaving 2 inches between cookies. Bake for 12-14 minutes until edges are golden but centers look soft.
- Cool and finish: Let cookies cool on the sheet for 5 minutes, then transfer to a wire rack. Sprinkle with flaky sea salt while warm if desired.
Notes
Use a light-colored pan to monitor butter browning. Do not overmix the dough to avoid tough cookies. Chilling the dough is essential for texture. If using salted butter, reduce added salt by half. For gluten-free, use a 1-to-1 gluten-free flour blend.
Nutrition
- Serving Size: 1 cookie (approx. 2
- Calories: 180
- Sugar: 14
- Sodium: 150
- Fat: 10
- Saturated Fat: 6
- Carbohydrates: 22
- Fiber: 1
- Protein: 2
Keywords: brown butter cookies, chocolate chip cookies, crispy cookies, chewy cookies, easy baking, dessert, homemade cookies



