Love this? Save it for later!
Share the inspiration with your friends
I figured roasting pumpkin seeds was just a way to use up the guts from a Halloween pie without throwing them in the compost. It took about twenty minutes for that assumption to fall apart completely. I had a large sugar pumpkin sitting on my counter, hollowed out and looking a bit sad. The stringy orange flesh was clinging to the shell, and I honestly thought the seeds would be a nuisance to clean. I scraped them into a colander, rinsed them off, and tossed them onto a baking sheet with some butter and cinnamon sugar.
Then the smell hit me. It wasn’t just the scent of baking pumpkin; it was warm, sweet, and spicy, filling the entire kitchen. When I pulled the tray out, the seeds were golden brown and crackling as they cooled. They weren’t soggy or bitter like the ones I used to buy in bags. They were crunchy, salty-sweet perfection. I ended up eating half the batch before they even cooled down, standing over the stove in my pajamas.
There is something deeply satisfying about turning what we usually throw away into a premium snack. These crispy baked cinnamon sugar pumpkin seeds changed how I look at fall produce. It’s not just about the pie or the soup anymore. It’s about not wasting a single part of the vegetable. Now, every time I carve a pumpkin, I save the seeds. They become the best part of the process, honestly. You get this incredible crunch that satisfies a sweet tooth without the guilt of processed candy. It’s a simple trick, but it makes you feel like a culinary wizard for five minutes.
I’ve made these dozens of times since that first accidental snack. They are my go-to when I need a quick treat or a healthy addition to a salad. The flavor sticks with you, that mix of cinnamon and sugar with a tiny bit of salt. It’s comforting in a way that feels homemade, not manufactured. You know how some snacks just disappear while others linger? These linger. They make you want to make more pumpkin dishes just to get the seeds.
That first batch taught me that the best snacks are often the ones you make yourself. It’s not about fancy ingredients. It’s about patience and a good oven. Once you try these, you won’t go back to store-bought. They are cheaper, healthier, and way more delicious. It’s a small change in habit that pays off in flavor every single time.
Why You’ll Love This Recipe
I’ve tested a lot of seed recipes over the years, and let’s face it, most of them turn out chewy or burnt. This version is different because I finally cracked the code on getting that perfect crunch without drying them out into rocks. It’s the kind of recipe that feels like a secret weapon in your snack rotation. Here is why these crispy baked cinnamon sugar pumpkin seeds have earned a permanent spot in my kitchen:
- Quick & Easy: From cleaning to eating, this takes less than an hour. It is perfect for busy weeknights or those sudden afternoon cravings when you want something sweet but healthy.
- Simple Ingredients: You don’t need a specialty store for this. You likely already have pumpkin seeds, butter, cinnamon, and sugar in your pantry. It is zero-fuss cooking.
- Perfect for Game Day: Whether you are watching the big game or just hanging out on the couch, these are the ultimate finger food. They are messy-free compared to nuts and way more interesting than chips.
- Crowd-Pleaser: Kids and adults alike love the sweet and salty combo. I’ve served these at potlucks and they always disappear first. It’s a safe bet for any gathering.
- Unbelievably Delicious: The texture is next-level. They are crisp, not hard, and the cinnamon sugar coating sticks perfectly without clumping. It’s comfort food reimagined.
What makes this recipe stand out from the rest is the prep method. Most people skip the step of drying the seeds thoroughly, which leads to steaming instead of roasting. I learned that the hard way. By patting them dry and using a light coating of fat, the sugar caramelizes instead of burning. It’s a small technique, but it changes everything. This isn’t just another pumpkin seed recipe; it’s the best version because it actually works every time.
It’s the kind of snack that makes you close your eyes after the first bite. You get that warm spice hit and the satisfying crunch. It’s healthier than candy, but it satisfies that same urge. Perfect for impressing guests without stress, or just turning a boring Tuesday into something memorable. Plus, it’s a great way to get more zinc and magnesium into your diet without even thinking about it.
What Ingredients You Will Need
This recipe uses simple, wholesome ingredients to deliver bold flavor and satisfying texture without the fuss. The magic happens in the ratio of sweet to salty. You want enough sugar to caramelize, but enough salt to balance it out so it doesn’t taste like dessert. Here is what you need to get started:
- Pumpkin Seeds (Pepitas): Freshly scooped from a sugar pumpkin are best, but you can use store-bought raw seeds. If using fresh, you need about 2 cups of cleaned seeds. I recommend looking for firm, plump seeds that are free of stringy pumpkin flesh for the best texture.
- Unsalted Butter: Melted butter helps the sugar stick and adds a rich flavor. I use about 2 tablespoons. If you need a dairy-free option, olive oil or coconut oil works well, though butter gives that classic bakery smell.
- Granulated White Sugar: This is the standard for even coating. You need about 2 tablespoons. Some people use brown sugar, but it can make the seeds sticky and chewy rather than crisp. White sugar creates that glass-like crunch.
- Ground Cinnamon: About 1 teaspoon of good quality cinnamon. Don’t skip this; it’s the main flavor profile. If you have pumpkin pie spice, you can swap it in for a more complex flavor.
- Kosher Salt: About 1/2 teaspoon. Sea salt flakes work too, but kosher salt dissolves better into the butter mixture. This is crucial for balancing the sweetness.
- Vanilla Extract: A few drops add a hidden depth of flavor. It’s optional, but I find it makes the cinnamon taste more like a pie filling.
If you are sourcing your seeds, look for ones that are green and flat, not white and hard. White seeds usually need to be roasted longer to remove the shell. For the butter, I prefer European-style brands like Plugra for their higher fat content, which helps with browning. However, standard supermarket butter works fine. If you are watching your sugar intake, you can substitute the white sugar with a keto-friendly sweetener like erythritol, though the texture might be slightly different.
One tip: if your seeds are wet, they won’t crisp up. Make sure you rinse them well and then pat them dry with paper towels. This step is non-negotiable. You want the surface of the seed to be dry so the butter can coat it directly. This ensures every seed gets that cinnamon sugar hug without turning into a soggy mess.
Equipment Needed
You don’t need much to make these, which is part of the appeal. Here is what you’ll need to keep on hand:
- Baking Sheet: A standard rimmed baking sheet is perfect. I use a heavy-gauge aluminum sheet because it conducts heat evenly. Avoid dark non-stick pans if you can, as they can cause the sugar to burn faster.
- Parchment Paper: Line your baking sheet with parchment. This prevents sticking and makes cleanup a breeze. Silicone mats work too, but parchment is cheaper and easier to replace.
- Large Bowl: You need a bowl big enough to toss the seeds in the butter mixture. A wide bowl is better than a deep one for even coating.
- Colander: Essential for rinsing the fresh seeds to remove the pumpkin pulp. A fine-mesh strainer works if your colander holes are too big.
- Whisk: Just a simple whisk to mix the melted butter, sugar, and spices together until it forms a paste. This ensures the cinnamon doesn’t clump.
I’ve tried making these in an air fryer before, and while it works, you have to shake the basket constantly. The oven method is more hands-off. If you don’t have a baking sheet, a cast-iron skillet works well for stovetop roasting, but the oven gives a more consistent crunch. Just make sure your pan is clean and dry. Old residue from previous cooking can add weird flavors to your sweet seeds.
Preparation Method
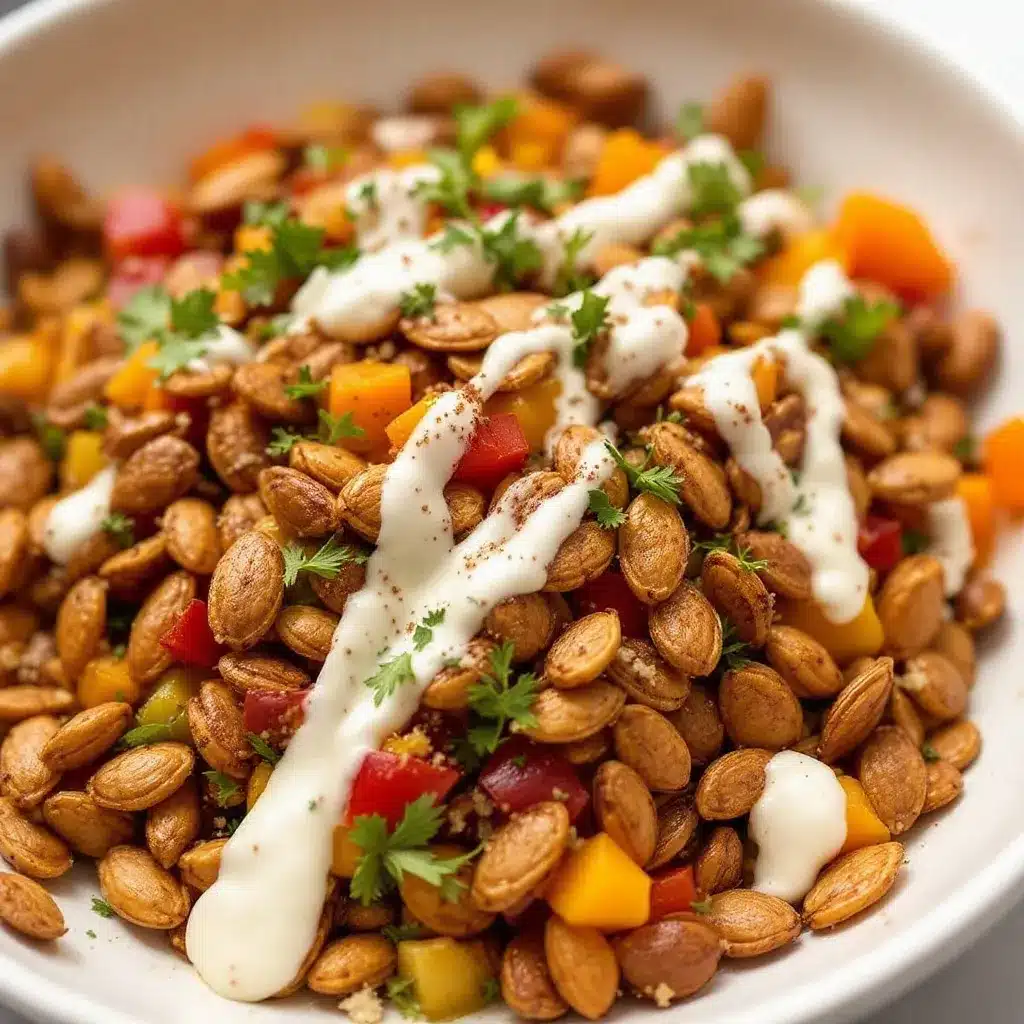
Getting these right is all about timing and texture. Follow these steps carefully to avoid soggy seeds.
- Preheat the Oven: Set your oven to 325°F (165°C). This lower temperature is key. High heat burns the sugar before the seed inside is toasted. Let the oven come to temperature while you prep the seeds.
- Extract and Clean: Scoop the seeds and stringy pulp from your pumpkin into a large bowl. Cover them with warm water. Use your hands to rub the seeds together, loosening the pulp. The good seeds will sink, while the pulp floats. Skim off the pulp and transfer the seeds to a colander. Rinse thoroughly under cold water until all slime is gone. This might take 5 minutes, but it’s worth it.
- Dry Thoroughly: Spread the clean seeds on a clean kitchen towel or paper towels. Pat them dry. You want them as dry as possible. If they are wet, they will steam. This step takes about 10 minutes. Be patient here.
- Mix the Coating: In your large bowl, melt the butter. Add the sugar, cinnamon, salt, and vanilla. Whisk vigorously until it looks like wet sand. If it’s too dry, add a teaspoon more butter. If it’s too soupy, add a pinch more sugar.
- Coat the Seeds: Add the dried seeds to the bowl. Toss them with a spatula or your hands until every single seed is coated in the cinnamon-sugar paste. It should look uniformly brown. If you see white spots, keep tossing.
- Spread on Baking Sheet: Line your baking sheet with parchment. Spread the seeds in a single layer. Do not overcrowd them. If they touch, they will stick together. You might need two sheets. This ensures hot air can circulate around each seed.
- Roast: Place in the oven for 15-20 minutes. Halfway through, at the 10-minute mark, pull the tray out and stir the seeds. This prevents burning on one side. Watch them closely after 15 minutes. They will continue to cook even after you take them out.
- Cool: Remove from the oven. They will still feel slightly soft. Let them cool completely on the pan. As they cool, the sugar hardens, creating that signature crunch. This takes about 15 minutes. Do not store them until they are fully cool, or they will get soggy in the container.
If you are using store-bought raw seeds, skip the cleaning step. Just rinse them quickly to remove any dust and pat them dry. Then proceed to step 4. The roasting time might be slightly shorter, so check them at 12 minutes.
Cooking Tips & Techniques
I’ve burned a lot of pumpkin seeds in my time, so I’ve learned a few things the hard way. Here is how to avoid common mistakes:
- Don’t Rush the Dry Step: Wet seeds are the enemy of crunch. If you rush the drying process, your seeds will be chewy. Give them time to air dry.
- Low and Slow: 325°F is the sweet spot. If you go higher, the sugar burns black before the seed is done. Burnt sugar tastes bitter, not sweet.
- Stir Frequently: Sugar melts and can pool. Stirring every 5-10 minutes ensures even browning. It also breaks up any clumps that form.
- Use the Senses: Look for a golden brown color. Smell for a nutty, toasted aroma. If it smells like burnt toast, take them out immediately. Taste one after cooling to check for doneness.
- Cooling is Cooking: Seeds continue to cook as they cool. Remove them when they look just slightly underdone. They will crisp up on the pan.
One pro tip: if you want extra crunch, add a tiny pinch of baking soda to the sugar mixture. It helps the sugar crystallize more. But be careful, too much makes them taste soapy. Just a pinch is enough. Also, if you live in a humid climate, store your seeds in a sealed container with a silica packet to keep them crisp.
Variations & Adaptations
While the cinnamon sugar version is my favorite, these seeds are a blank canvas. Here are some ways to mix it up:
- Spicy Kick: Replace the cinnamon with cayenne pepper and chili powder. Add a little extra salt. This is great for those who like heat. It pairs well with cold beer.
- Herb & Garlic: Skip the sugar and cinnamon. Use garlic powder, onion powder, dried rosemary, and parmesan cheese. This is a savory snack that goes great with salads.
- Maple Pecan: Swap the sugar for maple syrup and add chopped pecans. Roast until the pecans are toasted. It’s like a fall candy bar in seed form.
- Dairy-Free: Use olive oil or coconut oil instead of butter. The flavor changes slightly, but the crunch remains. Coconut oil adds a nice tropical note.
I once tried making these with honey instead of sugar. It was delicious but sticky. If you want to use liquid sweeteners, reduce the amount slightly and add a bit more flour to absorb the moisture. It’s a learning process, but experimenting is half the fun. Try one variation per batch to see what you like best.
Serving & Storage Suggestions
These seeds are best served at room temperature. They don’t need to be hot, and in fact, they crisp up more as they cool. Serve them in a small bowl on the coffee table or pack them into lunchboxes for a healthy afternoon snack.
For storage, let them cool completely. Transfer them to an airtight container. They will keep at room temperature for up to 2 weeks. If you live in a humid area, store them in the refrigerator. They might lose a tiny bit of crunch, but they will stay fresh. You can also freeze them for up to 3 months. Just thaw at room temperature before eating.
Reheating is easy. If they go soft, spread them on a baking sheet and put them in a 300°F oven for 5 minutes. They will crisp right back up. Don’t microwave them; that makes them chewy. Pair these with a glass of apple cider or a cup of coffee for a complete autumn experience. They also make a great topping for oatmeal or yogurt, adding a nice textural contrast.
Nutritional Information & Benefits
Pumpkin seeds are a nutritional powerhouse. They are packed with magnesium, which helps with muscle function and sleep. They are also a great source of zinc, supporting immune health. Plus, they provide a good amount of protein and healthy fats. Unlike processed chips, these seeds offer real nutrients.
While the sugar and butter add calories, the portion control is easier with homemade snacks. You can eat a small handful and feel satisfied. They are gluten-free and vegan (if using oil), making them accessible for many dietary needs. However, they are high in calories, so enjoy in moderation. A quarter-cup serving is a perfect portion. I like to think of them as a guilt-free treat because of the nutrient density. It’s a way to snack smarter, not harder.
For those watching their sugar intake, you can reduce the sugar to 1 tablespoon or use a zero-calorie sweetener. The flavor will be less sweet, but the crunch will still be there. It’s a flexible recipe that adapts to your health goals. I find that having these on hand helps me avoid vending machine snacks. It’s a small change that adds up over time.
Conclusion
Making crispy baked cinnamon sugar pumpkin seeds is one of those simple joys of cooking. It turns waste into wonder and brings the flavors of fall into your kitchen. I hope you try this recipe and find it as addictive as I did. It’s a great way to use up your pumpkin scraps and satisfy a sweet craving in a healthy way.
Feel free to experiment with different spices and coatings. Make it your own. I’d love to hear how you like them. Do you prefer them sweet or spicy? Leave a comment below and let me know your favorite variation. Share this recipe with friends who love fall snacks. And if you make them, tag me on social media. I love seeing your creations.
Happy roasting! Keep your oven warm and your snacks crunchy. It’s the little things that make cooking fun.
Frequently Asked Questions
Can I use store-bought pumpkin seeds?
Yes, absolutely. You can use raw, shelled pumpkin seeds (pepitas) from the grocery store. Just rinse them briefly to remove any dust and pat them very dry before coating. The roasting time may be slightly shorter, so check them early.
Why are my pumpkin seeds chewy instead of crunchy?
This usually happens if the seeds weren’t dried thoroughly before roasting, or if they were overcrowded on the baking sheet. Make sure to pat them dry with paper towels and spread them in a single layer. Also, ensure your oven temperature is not too high, which can steam the seeds instead of crisping them.
How do I store leftover pumpkin seeds?
Let them cool completely to room temperature. Then store them in an airtight container at room temperature for up to 2 weeks. If you live in a humid climate, store them in the refrigerator or freezer to maintain crunchiness.
Can I make these ahead of time?
Yes, these seeds keep well for up to 2 weeks. You can make them a few days before a party or event. They actually taste great a day or two after making, as the flavors meld together. Just keep them in a sealed container to prevent them from absorbing moisture.
What can I substitute for sugar?
You can use brown sugar for a caramel-like flavor, though it may make the seeds slightly stickier. For a healthier option, try using a keto-friendly sweetener like erythritol or monk fruit. You can also skip the sugar entirely and just use salt and spices for a savory snack.
Do I need to remove the shell from the seeds?
No, the shell is edible and nutritious. In fact, the shell contains most of the fiber and nutrients. Just make sure to rinse the seeds well to remove any pumpkin pulp. If you prefer shelled seeds, you can buy raw pepitas, but roasting them in the shell gives them a nice texture.
Can I roast these in an air fryer?
Yes, you can. Set your air fryer to 325°F and roast the seeds for 8-10 minutes, shaking the basket every few minutes. Keep a close eye on them as they can burn quickly in an air fryer due to the concentrated heat.
Pin This Recipe!
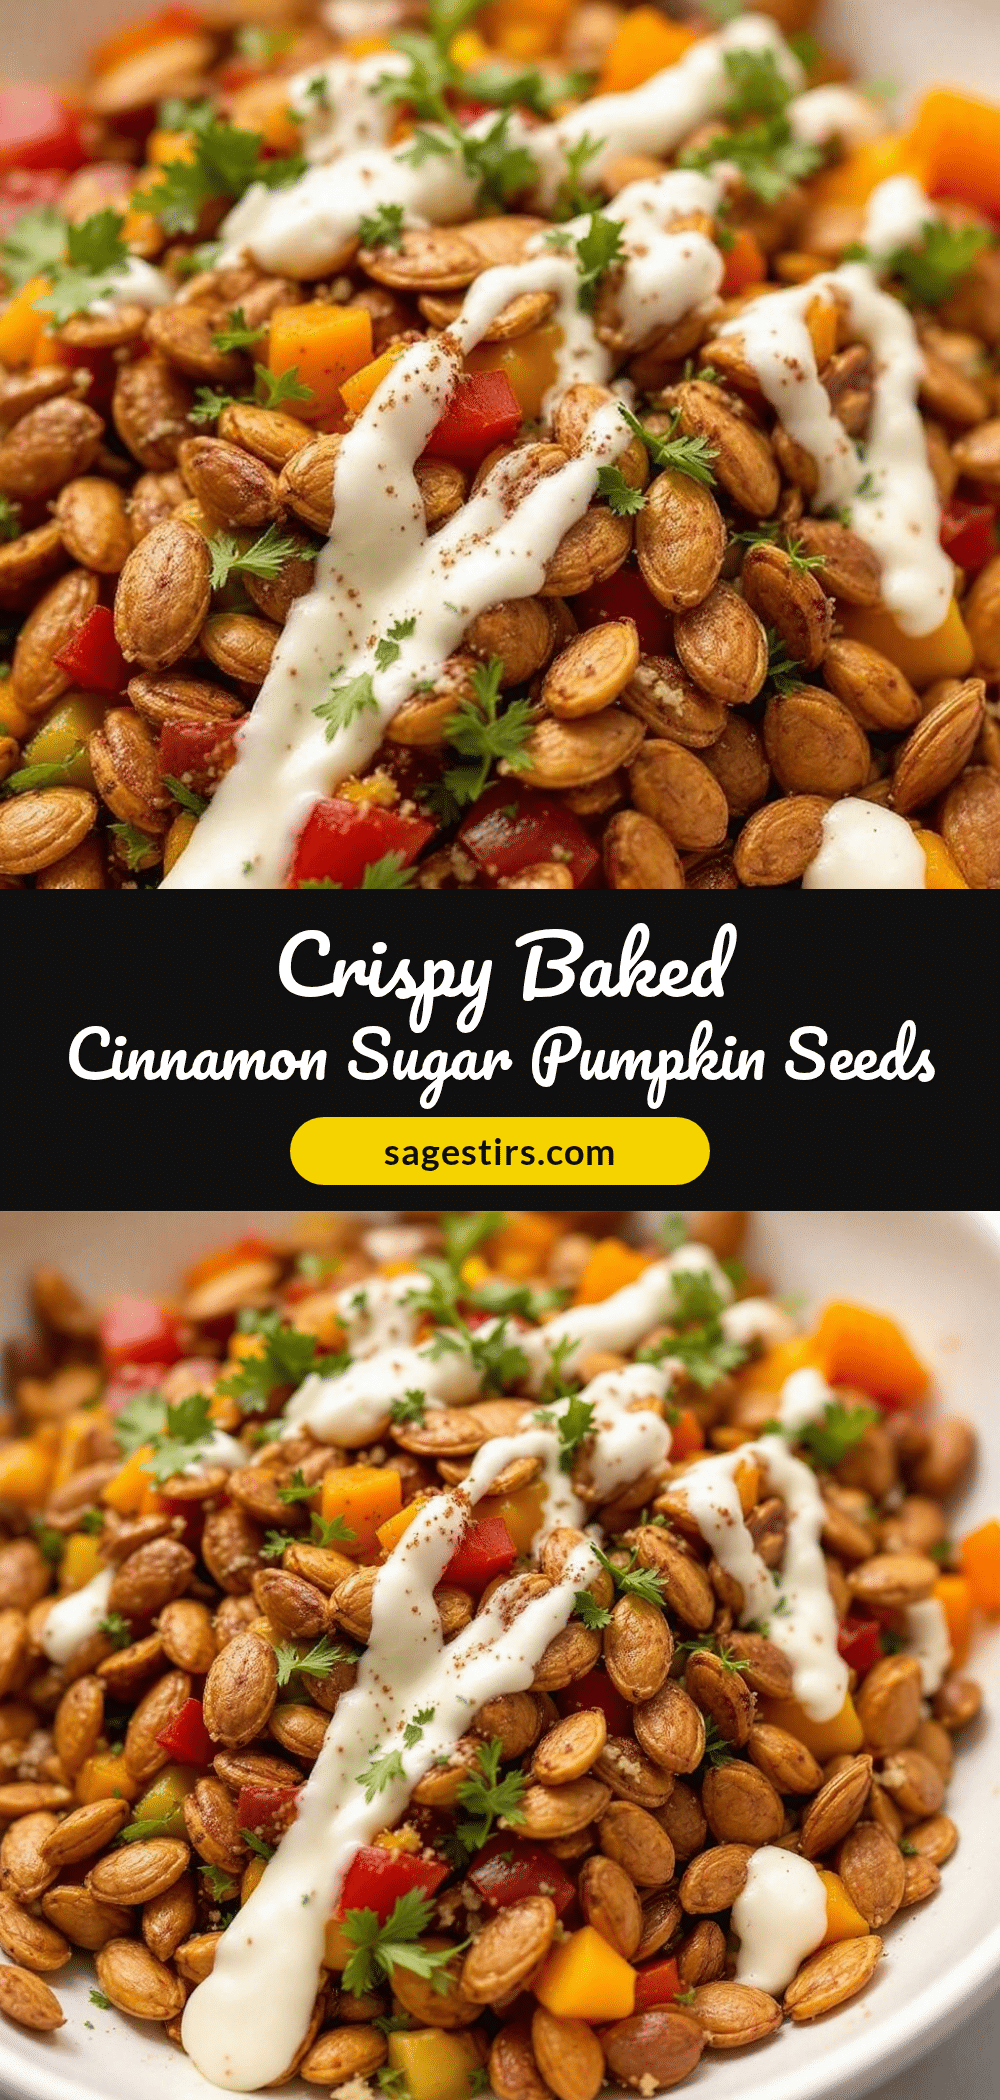
Crispy Baked Cinnamon Sugar Pumpkin Seeds

Transform pumpkin scraps into a premium, crunchy snack with this easy baked cinnamon sugar pumpkin seed recipe. Perfect for game day or a healthy treat.
- Prep Time: 20 minutes
- Cook Time: 20 minutes
- Total Time: 40 minutes
- Yield: 4 servings 1x
- Category: Snack
- Cuisine: American
Ingredients
- 2 cups fresh pumpkin seeds (pepitas), cleaned and dried
- 2 tablespoons unsalted butter, melted
- 2 tablespoons granulated white sugar
- 1 teaspoon ground cinnamon
- 1/2 teaspoon kosher salt
- Few drops vanilla extract (optional)
Instructions
- Preheat oven to 325°F (165°C).
- Scoop seeds from pumpkin into a bowl, cover with warm water, and rub to loosen pulp. Skim off floating pulp and rinse seeds thoroughly in a colander.
- Pat seeds completely dry with paper towels or a clean kitchen towel.
- In a large bowl, whisk melted butter, sugar, cinnamon, salt, and vanilla until it resembles wet sand.
- Add dried seeds to the bowl and toss until every seed is evenly coated in the mixture.
- Line a baking sheet with parchment paper and spread seeds in a single layer.
- Roast for 15-20 minutes, stirring halfway through, until golden brown.
- Remove from oven and let cool completely on the pan to crisp up before storing or serving.
Notes
Ensure seeds are completely dry before roasting to prevent steaming. Use low heat (325°F) to caramelize sugar without burning. Seeds continue to crisp as they cool. Store in an airtight container for up to 2 weeks.
Nutrition
- Serving Size: 1/4 cup
- Calories: 180
- Sugar: 12
- Sodium: 250
- Fat: 10
- Saturated Fat: 5
- Carbohydrates: 18
- Fiber: 3
- Protein: 6
Keywords: pumpkin seeds, pepitas, cinnamon sugar, healthy snack, fall recipe, gluten-free, vegan option, game day snack



