Love this? Save it for later!
Share the inspiration with your friends
I was ten, maybe eleven, wearing a sweater that was definitely too big for me. My hands were tucked into the sleeves, just my fingertips poking out to hold a plastic cup of cider that was warm enough to burn my tongue but cold enough to numb my lips. The orchard had just finished its annual press, and the ground was slick with juice and leaves. You could taste the season change in the air, thick and heavy like a blanket.
My grandmother didn’t believe in wasting anything. If the apples were bruised, they went into the press. If the cider was too strong, she cut it with a little water. But if there was leftover pulp, well, that was a different story entirely. She’d mix it into batter, fold it with brown sugar, and bake it into these dense, moist cakes that tasted like autumn itself. I never really understood why I loved it until I was an adult, standing in my own kitchen, trying to recreate that specific feeling of being wrapped up against the chill.
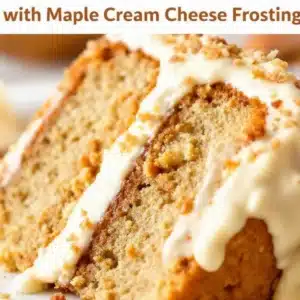
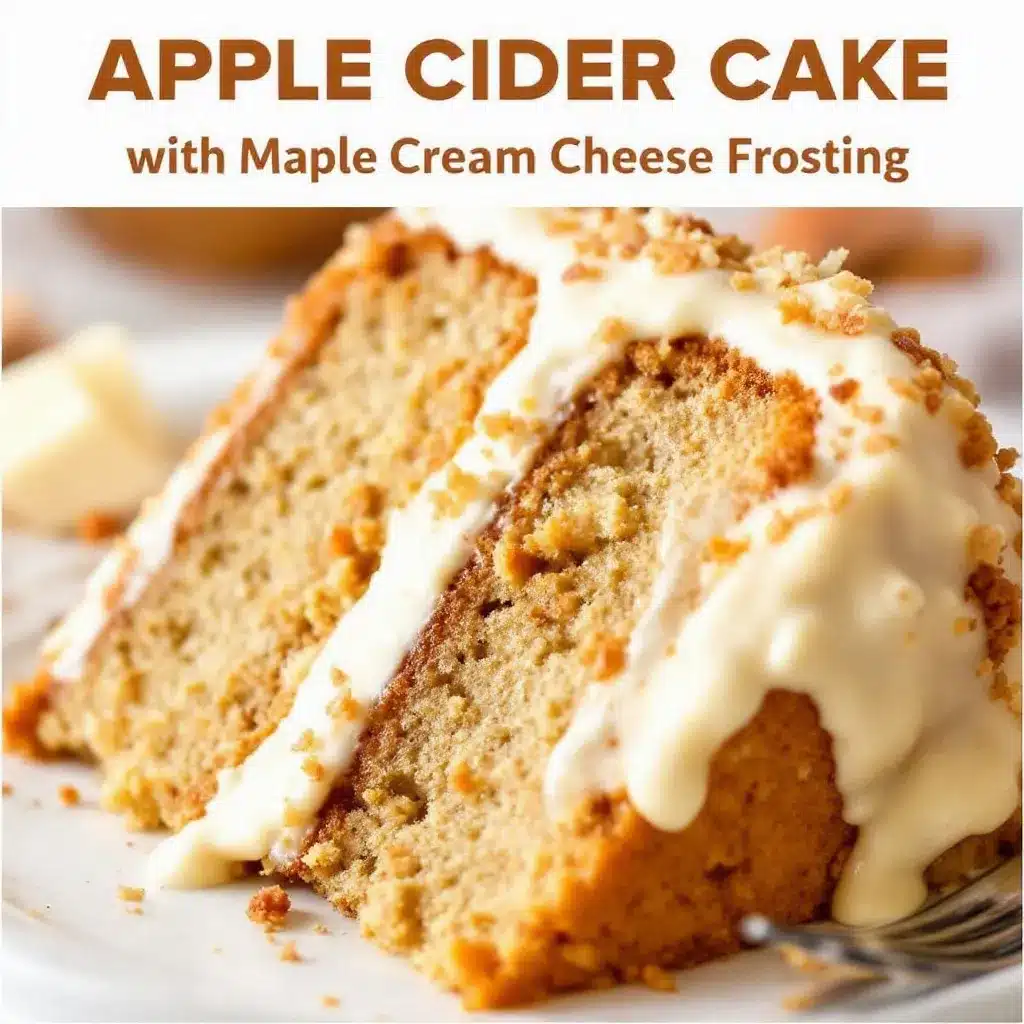
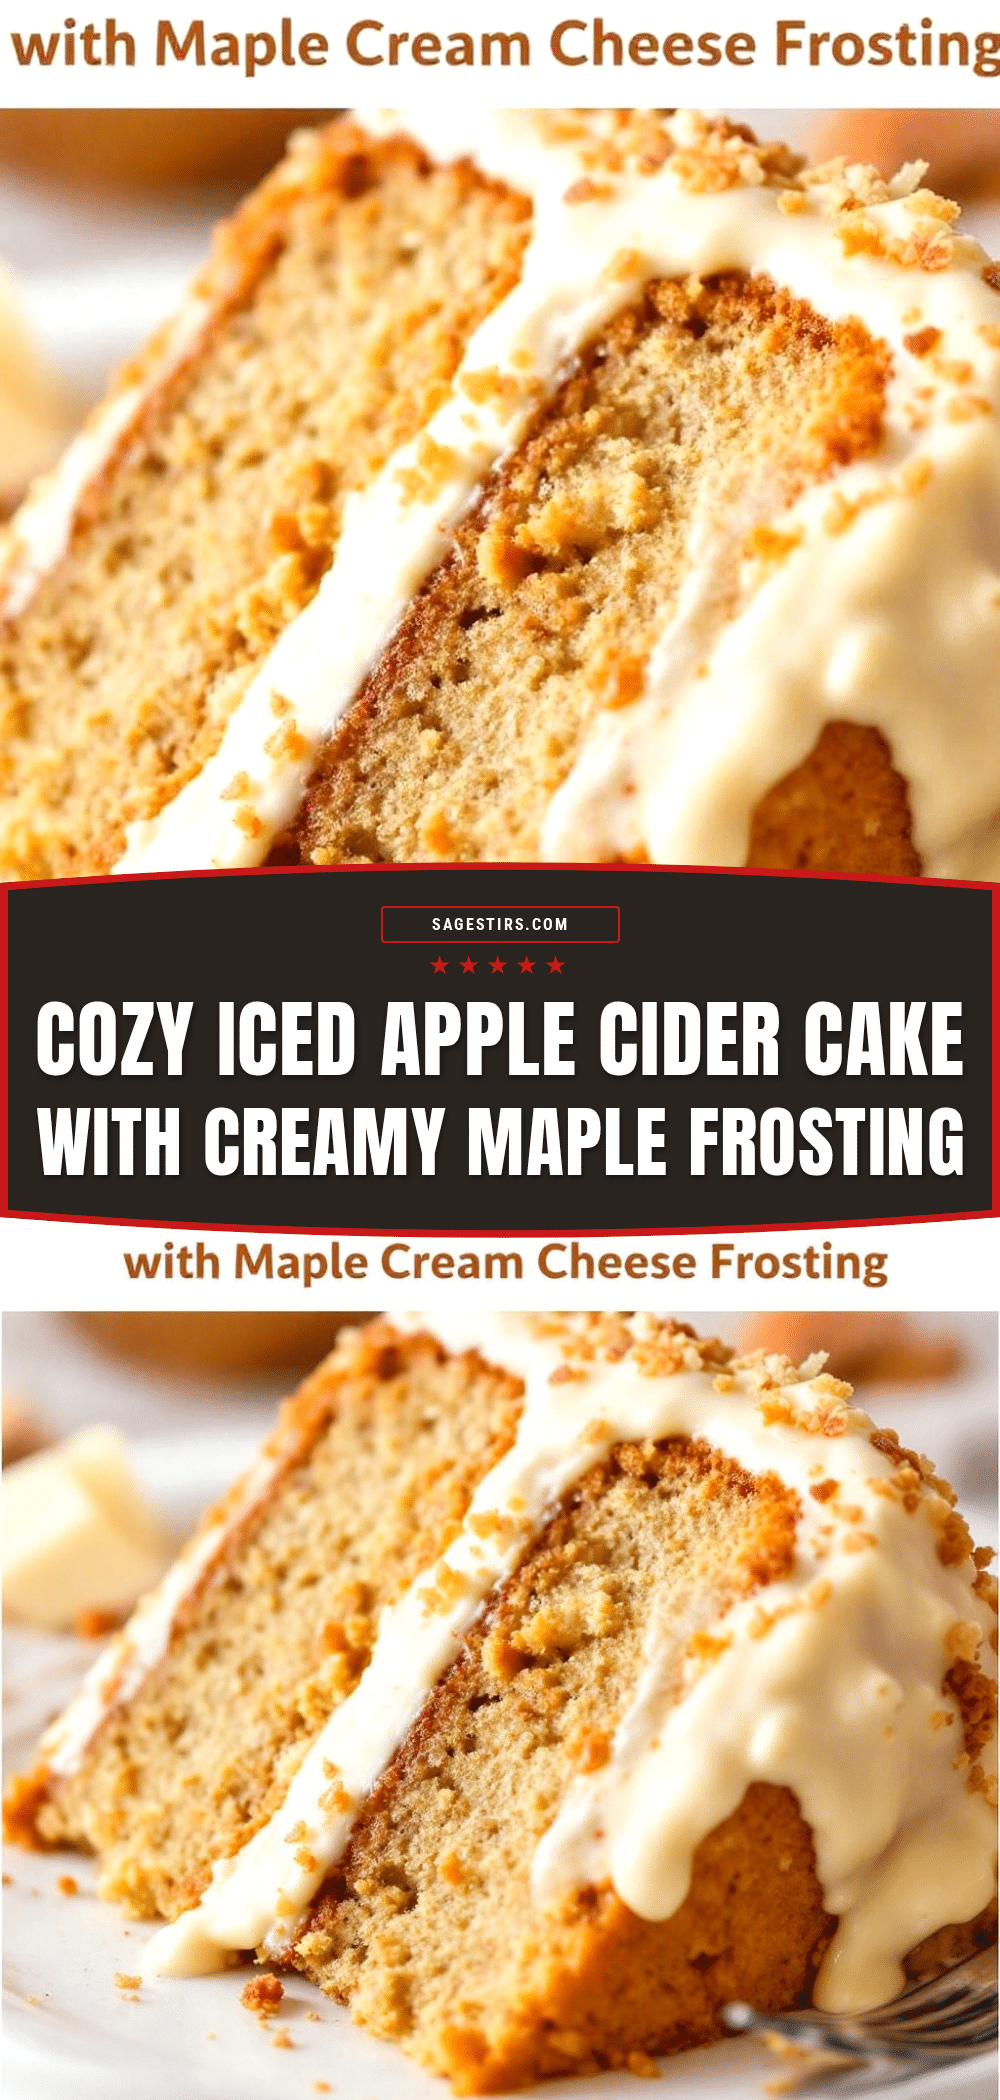
This cozy iced apple cider cake with maple frosting is my attempt to bottle that memory. It’s not fancy. It doesn’t have tiers or intricate piping. It’s just a simple, tender crumb cake soaked in the essence of spiced cider, topped with a frosting that tastes like liquid gold. Honestly, it’s the kind of bake that makes you want to sit by a window and watch the rain fall, or maybe just curl up with a good book. You know that feeling when food just feels like a hug? That’s this cake.
I’ve made this recipe dozens of times, tweaking the spice ratios and testing different flours, trying to get that texture just right — not too dry, not too soggy. The result is a cake that’s sturdy enough to hold its shape but melts in your mouth. It’s become a staple in my house, especially when the days get shorter and the air turns crisp. It’s comforting, sure, but it’s also just really, really good. And that’s really all it needs to be.
Why You’ll Love This Recipe
There’s a reason this cake has become my go-to for every gathering from casual Tuesday nights to holiday brunches. It’s not just about the flavor, though that’s definitely a big part of it. It’s about the experience of making it and the way it brings people together. I’ve spent years testing variations, from using different types of apples to experimenting with various frostings, and this version hits the sweet spot — literally and figuratively.
- Quick & Easy: You know how some cakes take forever? This one doesn’t. It comes together in under an hour from start to finish, which is perfect for those busy weeknights when you’re craving something homemade but don’t have hours to spare. The batter mixes up fast, and the baking time is straightforward.
- Simple Ingredients: No fancy grocery trips needed here. You likely already have everything in your kitchen. Flour, sugar, butter, eggs, and, of course, apple cider. If you have a bottle of maple syrup, you’re golden. It’s pantry-friendly, which means you can whip this up without a special shopping run.
- Perfect for Fall Gatherings: Whether it’s a potluck, a family dinner, or just a cozy night in, this cake fits right in. It’s versatile enough to be served warm with coffee or chilled with tea. It’s the kind of dish that feels special without being pretentious.
- Crowd-Pleaser: I’ve served this to picky eaters and dessert connoisseurs alike, and it always gets rave reviews. Kids love the sweetness, and adults appreciate the subtle spice notes. It’s a safe bet for any occasion.
- Unbelievably Delicious: The texture is next-level comfort food. The cake is moist and tender, infused with the deep, caramelized notes of reduced apple cider. The maple frosting adds a rich, creamy contrast that balances the tartness of the apples perfectly.
What makes this recipe different from the rest is the technique of reducing the cider. Most recipes just use apple juice, but reducing it concentrates the flavor, giving the cake a depth that you can’t get from anything else. It’s a small step that makes a huge difference. Plus, the maple frosting isn’t just sweet; it has a slight saltiness that cuts through the richness, keeping every bite interesting.
This recipe isn’t just good — it’s the kind that makes you close your eyes after the first bite. It’s comfort food reimagined, using simple ingredients to create something soul-soothing. It’s perfect for impressing guests without stress, or turning a simple meal into something memorable. You’ll find yourself making it again and again, just to hold onto that feeling of warmth and contentment.
What Ingredients You Will Need
This recipe uses simple, wholesome ingredients to deliver bold flavor and satisfying texture without the fuss. The key here is quality over quantity. You don’t need a dozen exotic spices or hard-to-find items. Just a few basics, done right, will get you that homemade taste. I like to keep things straightforward, focusing on the core flavors of apple and maple, which naturally complement each other. Some ingredients are pantry staples, while others, like fresh apple cider, are seasonal, but that’s part of the charm.
For the Cake
- Apple Cider: 2 cups of fresh, unfiltered apple cider. This is the star of the show. Look for cloudy, unpasteurized cider if you can find it, as it has a much richer flavor. If you can’t find fresh cider, 100% apple juice works, but the flavor won’t be as deep.
- All-Purpose Flour: 2 cups. This provides the structure. I recommend using a good quality brand like Gold Medal or King Arthur for consistent results. Sift it to avoid lumps.
- Baking Powder: 1 teaspoon. Make sure it’s fresh for the best rise.
- Baking Soda: 1/2 teaspoon. This reacts with the acidity in the cider to help the cake rise.
- Salt: 1/2 teaspoon. Essential for balancing the sweetness. Use fine sea salt.
- Unsalted Butter: 1/2 cup, softened. Room temperature butter creams better with sugar, creating a lighter texture. If you prefer a richer flavor, you can use salted butter and reduce the added salt slightly.
- Granulated Sugar: 1 cup. Provides sweetness and helps with browning.
- Brown Sugar: 1/2 cup, packed. Adds moisture and a caramel-like depth. Dark brown sugar works well if you want a more intense molasses flavor.
- Eggs: 2 large eggs, room temperature. This helps bind the ingredients and adds richness.
- Vanilla Extract: 1 teaspoon. Pure vanilla is best here; imitation can taste artificial.
- Cinnamon: 1 teaspoon. Ground cinnamon is standard, but if you have a favorite blend, use that.
- Nutmeg: 1/4 teaspoon. Freshly grated is ideal, but ground works fine.
- Apple Pulp (Optional): 1/2 cup. If you have leftover pulp from pressing your own apples, fold this in for extra texture and flavor. If not, you can skip it or use finely grated apple.
For the Maple Frosting
- Butter: 1/2 cup, softened. Again, room temperature is key for a smooth frosting.
- Powdered Sugar: 2-3 cups. Sift this to avoid any gritty texture. You might not need all of it, depending on how thick you like your frosting.
- Maple Syrup: 2-3 tablespoons. Use real maple syrup, not pancake syrup. Grade B maple syrup has a stronger flavor, which I prefer for baking.
- Heavy Cream: 1-2 tablespoons. Helps adjust the consistency. Add it slowly to get the right texture.
- Salt: A pinch. Enhances the maple flavor.
For the best results, I recommend using a high-quality maple syrup like Tree Top or Coombs Family Farms. The flavor difference is noticeable. Also, if you’re substituting ingredients, keep in mind that gluten-free flour blends may require additional liquid, so adjust accordingly.
Equipment Needed
You don’t need a fancy kitchen to make this cake, but having the right tools makes the process smoother. Here’s what you’ll need:
- 9×9 Inch Baking Pan: A square pan works well for this type of cake. If you don’t have one, a 9-inch round cake pan is fine, but the baking time might vary slightly.
- Mixing Bowls: Two medium-sized bowls. One for dry ingredients, one for wet.
- Whisk: For mixing the dry ingredients and beating the eggs.
- Electric Mixer: A hand mixer or stand mixer makes creaming the butter and sugar much easier. You can do it by hand, but it takes more effort.
- Spatula: A rubber spatula is great for folding in the apple pulp and scraping the sides of the bowl.
- Measuring Cups and Spoons: Be precise, especially with baking powder and soda.
- Pan: A small saucepan for reducing the apple cider. A non-stick pan is easiest to clean.
- Cooling Rack: Essential for cooling the cake before frosting. Placing the cake on a rack prevents the bottom from getting soggy.
If you don’t have an electric mixer, don’t worry. A sturdy wooden spoon and some elbow grease will work. Just make sure your butter is soft enough to cream properly. For the saucepan, any medium-sized pot will do, but a lighter color is better so you can see the reduction process clearly.
Preparation Method
Making this cake is straightforward, but there are a few steps that require attention to detail. Let’s break it down.
- Reduce the Apple Cider (15 minutes): Pour 2 cups of apple cider into a saucepan. Bring it to a boil over medium-high heat, then reduce the heat to medium-low. Let it simmer until it reduces to about 1/2 cup. This should take about 15-20 minutes. You want it to be syrupy and concentrated. Let it cool completely. This step is crucial for flavor. Warning: Do not skip this. Using un-reduced cider will make the cake too wet and bland.
- Preheat and Prep (5 minutes): Preheat your oven to 350°F (175°C). Grease your 9×9 inch baking pan with butter or cooking spray. Line the bottom with parchment paper for easy removal.
- Mix Dry Ingredients (2 minutes): In a medium bowl, whisk together the flour, baking powder, baking soda, salt, cinnamon, and nutmeg. Set aside.
- Cream Butter and Sugar (3 minutes): In a large bowl, beat the softened butter, granulated sugar, and brown sugar until light and fluffy. This should take about 3 minutes with an electric mixer. If mixing by hand, it will take longer. Tip: Scrape down the sides of the bowl to ensure even mixing.
- Add Eggs and Vanilla (2 minutes): Beat in the eggs one at a time, followed by the vanilla extract. Mix until just combined.
- Combine Wet and Dry (2 minutes): Add the cooled, reduced apple cider to the butter mixture. Mix on low speed until incorporated. Then, gradually add the dry ingredients, mixing on low until just combined. Do not overmix. Warning: Overmixing leads to a tough cake.
- Add Apple Pulp (1 minute): If using, gently fold in the apple pulp with a spatula.
- Bake (30-35 minutes): Pour the batter into the prepared pan. Bake for 30-35 minutes, or until a toothpick inserted into the center comes out clean. The top should be golden brown. Sensory Cue: The cake should spring back lightly when touched.
- Cool (30 minutes): Let the cake cool in the pan for 10 minutes, then transfer it to a wire rack to cool completely. Tip: Frosting a warm cake will cause it to melt and slide off.
- Make Frosting (5 minutes): While the cake cools, beat the softened butter until creamy. Add powdered sugar one cup at a time, alternating with maple syrup and heavy cream. Beat until smooth and spreadable. Add more sugar if too thin, or more cream if too thick.
- Frost and Serve: Spread the maple frosting over the cooled cake. Slice and enjoy.
Cooking Tips & Techniques
I’ve made my fair share of mistakes in the kitchen, and some of them involve cake. Here are a few lessons I’ve learned that can help you succeed.
Don’t Rush the Reduction: The most common mistake is using too much liquid. Reducing the cider concentrates the flavor and removes excess water. If you rush this step, your cake might be gummy. Let it simmer gently until it’s syrupy.
Room Temperature Ingredients: This is a classic baking rule for a reason. Cold butter doesn’t cream properly, and cold eggs can cause the batter to curdle. Take your butter and eggs out of the fridge 30 minutes before you start.
Don’t Overmix: Once you add the flour, mix until you *just* can’t see any more streaks. Overmixing develops gluten, which makes the cake dense and chewy instead of tender. Personal Failure: I once mixed for five minutes straight and ended up with a brick. Don’t be me.
Check for Doneness Early: Ovens vary. Start checking your cake at 30 minutes. If the toothpick comes out clean, it’s done. If it’s wet, give it 5 more minutes.
Cool Completely: I know it’s tempting to cut into the cake while it’s warm, but wait. The structure needs to set, and the frosting will melt if applied to a warm cake. Patience pays off.
Frosting Consistency: The frosting should be thick enough to hold its shape but soft enough to spread. If it’s too stiff, add a teaspoon of cream. If it’s too runny, add a bit more powdered sugar.
Variations & Adaptations
One of the best things about this recipe is how adaptable it is. Here are a few ways to tweak it:
- Gluten-Free: Substitute the all-purpose flour with a 1:1 gluten-free flour blend. Add 1/4 teaspoon of xanthan gum if your blend doesn’t include it. The texture will be slightly different but still delicious.
- Dairy-Free: Use vegan butter instead of regular butter. For the frosting, use a dairy-free milk alternative like oat milk or almond milk. Make sure your maple syrup is vegan (most are).
- Spice It Up: Add a pinch of cardamom or allspice to the dry ingredients for a more complex flavor profile. If you like ginger, add 1/2 teaspoon of ground ginger.
- Add-Ins: Fold in 1/2 cup of chopped walnuts or pecans for added crunch. Cinnamon chips or chopped dried apples also work well.
- Mini Cakes: Divide the batter into muffin tins and bake for 15-18 minutes. These are perfect for portion control or gifting.
I’ve tried adding a layer of apple butter between two layers of cake, and it was amazing. It’s a nice variation if you want to make it extra special for a dinner party.
Serving & Storage Suggestions
This cake is best served at room temperature, but it’s also delicious chilled. The flavors meld together nicely after a few hours in the fridge.
Serving: Slice it into squares for a rustic look. Pair it with a cup of hot coffee or tea. It’s also great with a scoop of vanilla ice cream or whipped cream if you want to go all out.
Storage: Store leftovers in an airtight container at room temperature for up to 2 days. For longer storage, refrigerate for up to 5 days. The cake will stay moist, but the frosting might firm up. Let it sit out for 15 minutes before serving.
Freezing: You can freeze the unfrosted cake for up to 3 months. Wrap it tightly in plastic wrap and then in foil. Thaw it in the fridge overnight before frosting. The frosting can also be frozen separately in an airtight container.
Reheating: If you prefer warm cake, microwave a slice for 10-15 seconds. Don’t overdo it, or the frosting will melt. Note: Flavors develop over time, so the cake often tastes even better the next day.
Nutritional Information & Benefits
While this is a dessert, there are some nutritional benefits to consider. Apples are a good source of fiber and vitamin C. Maple syrup contains antioxidants and minerals like zinc and manganese. However, this cake is still high in sugar and calories, so enjoy it in moderation.
Estimated Nutrition (per slice):
- Calories: 350
- Carbohydrates: 50g
- Sugar: 35g
- Fat: 15g
- Protein: 4g
For those with dietary restrictions, remember to check labels for allergens. This recipe contains gluten, dairy, and eggs. Use the substitutions mentioned earlier to adapt it for specific needs. From a wellness perspective, I view this as an occasional treat, a way to enjoy the flavors of the season without overindulging. Balance is key.
Conclusion
This cozy iced apple cider cake with maple frosting is more than just a recipe; it’s a taste of memory and comfort. It’s simple, forgiving, and incredibly delicious. I hope you try it and find your own special moments while making it. Feel free to customize it with your favorite spices or add-ins. I’d love to hear how you make it your own.
If you make this recipe, please share your results in the comments below. Did you add any unique twists? How did it turn out? Your feedback helps me improve and inspires others to try it. Don’t forget to share your photos on social media — I love seeing your creations.
Thank you for cooking with me. Here’s to many more cozy baking sessions ahead. Enjoy every bite!
FAQs
Can I use apple juice instead of apple cider?
You can, but the flavor won’t be as intense. Apple juice is often filtered and lacks the depth of cider. If you must use juice, reduce it by half to concentrate the flavor. Fresh cider is definitely preferred.
How do I store leftover cake?
Store it in an airtight container at room temperature for up to 2 days. For longer storage, refrigerate for up to 5 days. You can also freeze the unfrosted cake for up to 3 months.
Can I make this cake ahead of time?
Yes! You can bake the cake a day in advance. Let it cool completely, then wrap it tightly in plastic wrap. Frost it the next day. This actually helps the flavors meld together.
What type of maple syrup should I use?
Use real maple syrup, not pancake syrup. Grade B maple syrup has a stronger, more robust flavor that works well in baking. Avoid syrups with high fructose corn syrup.
Can I add nuts to the cake?
Absolutely. Chopped walnuts or pecans add a nice crunch and complement the apple flavor. Fold them in with the apple pulp or sprinkle them on top before baking for a crunchy crust.
Pin This Recipe!
Cozy Iced Apple Cider Cake with Maple Frosting
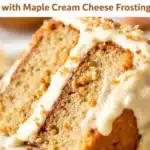
A simple, tender crumb cake soaked in the essence of spiced cider and topped with a rich maple frosting. This comforting dessert is perfect for fall gatherings and busy weeknights.
- Prep Time: 20 minutes
- Cook Time: 35 minutes
- Total Time: 55 minutes
- Yield: 9 servings 1x
- Category: Dessert
- Cuisine: American
Ingredients
- 2 cups fresh unfiltered apple cider
- 2 cups all-purpose flour
- 1 teaspoon baking powder
- 1/2 teaspoon baking soda
- 1/2 teaspoon fine sea salt
- 1/2 cup unsalted butter, softened
- 1 cup granulated sugar
- 1/2 cup packed brown sugar
- 2 large eggs, room temperature
- 1 teaspoon vanilla extract
- 1 teaspoon ground cinnamon
- 1/4 teaspoon ground nutmeg
- 1/2 cup apple pulp (optional)
- 1/2 cup butter, softened (for frosting)
- 2–3 cups powdered sugar, sifted (for frosting)
- 2–3 tablespoons real maple syrup (for frosting)
- 1–2 tablespoons heavy cream (for frosting)
- A pinch of salt (for frosting)
Instructions
- Pour 2 cups of apple cider into a saucepan. Bring to a boil over medium-high heat, then reduce heat to medium-low. Simmer until reduced to about 1/2 cup (15-20 minutes). Let cool completely.
- Preheat oven to 350°F (175°C). Grease a 9×9 inch baking pan and line the bottom with parchment paper.
- In a medium bowl, whisk together flour, baking powder, baking soda, salt, cinnamon, and nutmeg. Set aside.
- In a large bowl, beat softened butter, granulated sugar, and brown sugar until light and fluffy (about 3 minutes).
- Beat in eggs one at a time, followed by vanilla extract. Mix until just combined.
- Add the cooled, reduced apple cider to the butter mixture. Mix on low speed until incorporated. Gradually add dry ingredients, mixing on low until just combined. Do not overmix.
- If using, gently fold in apple pulp with a spatula.
- Pour batter into prepared pan. Bake for 30-35 minutes or until a toothpick inserted into the center comes out clean.
- Let cake cool in pan for 10 minutes, then transfer to a wire rack to cool completely.
- While cake cools, beat frosting butter until creamy. Add powdered sugar one cup at a time, alternating with maple syrup and heavy cream. Beat until smooth and spreadable.
- Spread maple frosting over the cooled cake. Slice and serve.
Notes
Do not skip reducing the cider; using un-reduced cider will make the cake too wet. Ensure ingredients are at room temperature for best results. Do not overmix the batter to avoid a tough cake. Cool the cake completely before frosting to prevent melting.
Nutrition
- Serving Size: 1 slice
- Calories: 350
- Sugar: 35
- Sodium: 250
- Fat: 15
- Saturated Fat: 8
- Carbohydrates: 50
- Fiber: 1
- Protein: 4
Keywords: apple cider cake, maple frosting, fall baking, easy dessert, comfort food, homemade cake, autumn recipes