Love this? Save it for later!
Share the inspiration with your friends
“Last Saturday morning, the sun was already warming the sand, and my friends were waiting on the porch, ready to head out for our beach day. I was in a mad scramble, trying to put together snacks that wouldn’t turn into a sandy mess or require a dozen containers. Honestly, the idea of lugging around cheese boards and cutting fruit on the spot? No thanks. That’s when I remembered a little trick a coworker shared during lunch last week—Easy No-Mess Dump and Seal Charcuterie Snack Bags. I wasn’t expecting much, but I threw together a few simple ingredients into those bags, sealed them up, and tossed them in the cooler. By the time we hit the shore, the snack bags were a total lifesaver—clean, convenient, and perfect for beach munching without the hassle.”
You know that feeling when you want something tasty, fresh, and fuss-free, especially outdoors? Well, these charcuterie snack bags hit that sweet spot. I mean, who wants to deal with sticky fingers, sand in the cheese, or soggy crackers? Not me. Maybe you’ve been there, juggling plates and napkins while trying to enjoy the ocean breeze. Let me tell you, this recipe stuck with me not just for the convenience but for the way it kept everyone happy and satisfied without turning snack time into a cleanup nightmare.
So, if you’re craving an easy, no-mess solution for your next beach trip or picnic, these dump and seal charcuterie snack bags are exactly what you need. It’s simple, smart, and honestly, kind of fun to assemble your own little flavor-packed pouches. Let’s get into why this recipe deserves a spot in your summer routine!
Why You’ll Love This Recipe
After testing and tweaking these dump and seal charcuterie snack bags over several beach outings, I can confidently say this method is a total game-changer. Here’s why you’ll want to make these your go-to beach snack:
- Quick & Easy: Put together in under 10 minutes—perfect for those last-minute beach runs or spontaneous picnics.
- Simple Ingredients: You probably have most of these pantry staples and fridge favorites already, no special store trips necessary.
- Perfect for Beach Trips: Designed to stay fresh, mess-free, and portable even on hot, sandy days.
- Crowd-Pleaser: Everyone from kids to adults loves the mix of salty, sweet, and savory bites packed in each bag.
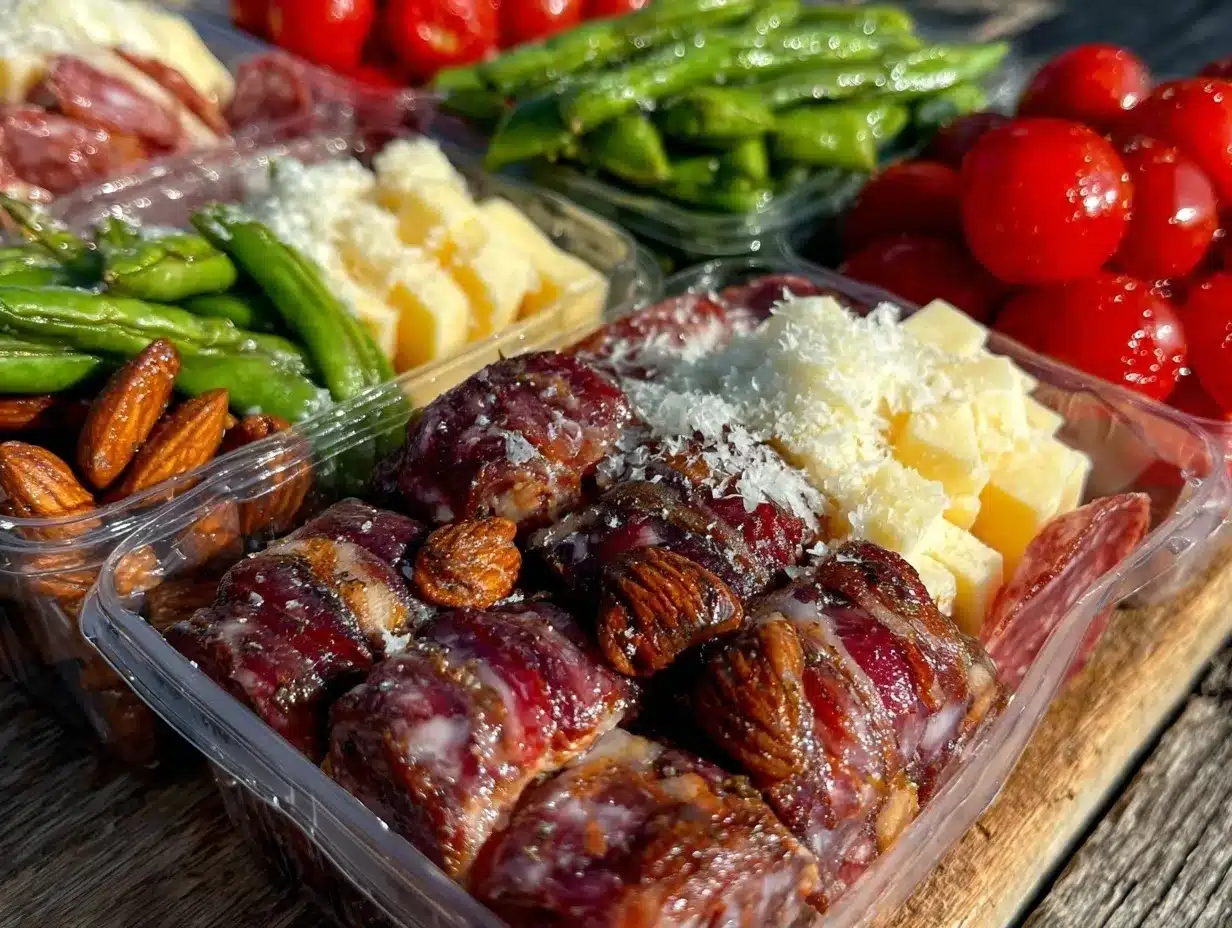
- Unbelievably Delicious: The combination of textures—from crunchy crackers to creamy cheese and juicy grapes—makes every bite satisfying.
- Unique Twist: Instead of fancy boards or bulky containers, these sealed bags lock in freshness and flavors without any extra fuss. Plus, you can customize each bag easily for picky eaters or special diets.
Honestly, it’s like having your favorite charcuterie spread but without the mess and stress. The best part? These snack bags let you enjoy your beach day without worrying about flies, sand, or melting cheese. Trust me, once you try this, you’ll wonder why you ever packed snacks any other way.
What Ingredients You Will Need
This recipe uses simple, wholesome ingredients to deliver bold flavor and satisfying texture without the fuss. Most are pantry staples or easy-to-find fresh items. Feel free to swap or adjust based on your preferences or what’s in season.
- For the Snack Bags:
- Assorted crackers (e.g., multigrain, water crackers, or your favorite sturdy brand like Triscuit) – about 1 cup (120g)
- Cubed cheese (cheddar, gouda, or mozzarella) – ¾ cup (110g), chilled
- Cured meats (sliced salami, pepperoni, or prosciutto) – ½ cup (50g), folded or rolled
- Seedless grapes or cherry tomatoes – ½ cup (75g), washed and dried
- Mixed nuts (almonds, cashews, or walnuts) – ¼ cup (35g), unsalted preferred
- Olives (green or black, pitted) – ¼ cup (40g), optional but adds great briny flavor
- Fresh herbs (like rosemary or thyme) – a few sprigs for aroma and a little pop of color
- Optional Extras:
- Honey or fig jam – a small container or a spoonful to drizzle on crackers
- Baby carrots or cucumber slices – for a fresh crunch option
- Mini pickles or cornichons – adds a tangy bite
Ingredient Tips: I personally prefer cubed aged cheddar from Tillamook for its sharpness and melt resistance in warm weather. For cured meats, go with nitrate-free options if possible for a cleaner taste. If you want a dairy-free twist, swap cheese cubes with marinated tofu or vegan cheese cubes available in most stores. In summer, fresh berries can replace grapes for a sweeter touch, and all these ingredients hold up well in sealed bags without wilting or sweating.
Equipment Needed
- Resealable plastic bags: Quart-sized (about 7 x 8 inches), sturdy with a reliable zipper seal. I prefer brands like Ziploc or Stasher for durability.
- Small cutting board and sharp knife: For cubing cheese and slicing meats.
- Measuring cups and spoons: To portion ingredients evenly, especially if making multiple bags.
- Snack-sized containers or small jars: Optional for jams or dips if you want to add a drizzle without mess.
- Cooler or insulated bag: To keep snack bags chilled until snack time. Ice packs help keep cheese fresh longer.
If you don’t have resealable bags, reusable silicone bags work wonderfully and are eco-friendly. Just make sure they seal tightly to keep sand and moisture out. Also, a small silicone spatula makes mixing easier if you’re combining ingredients before packing.
Preparation Method
- Gather all ingredients: Lay out your crackers, cheese, cured meats, grapes, nuts, and any extras on your clean counter. Having everything ready makes assembly quick and smooth. (Prep time: 5 minutes)
- Prepare fresh produce: Wash and dry grapes or cherry tomatoes thoroughly. Moisture is the enemy of crackers. If using baby carrots or cucumber, slice them into bite-sized sticks. (Prep time: 3 minutes)
- Cube and slice: Cut cheese into small cubes about ¾ inch (2 cm) each for easy snacking. Fold or roll cured meat slices so they fit nicely in the bags without tearing. (Prep time: 5 minutes)
- Portion ingredients: Using measuring cups, portion crackers, cheese, meats, grapes, nuts, and olives into each quart-sized resealable bag. Aim for a balanced mix—about 1 cup crackers, ¾ cup cheese, ½ cup meat, and the remaining ingredients divided evenly. (Prep time: 5 minutes)
- Add fresh herbs: Drop a small sprig of rosemary or thyme into each bag for a subtle aromatic touch. It’s a little extra that makes a big difference. (Prep time: 1 minute)
- Seal the bags: Press out as much air as possible before sealing. This helps keep ingredients fresh and prevents crushing crackers. (Prep time: 1 minute)
- Pack in cooler: Place snack bags flat in your cooler or insulated bag with ice packs to keep cool until snack time. (Prep time: immediate)
- Optional – add jam or honey: If you want to add a sweet element, pack a small container or mini jar with honey or fig jam separately. Drizzle over crackers right before eating to prevent sogginess. (Prep time: 2 minutes)
Pro tip: If you’re making these the night before, keep cheese and meats in one bag and crackers in another to avoid sogginess. Combine just before heading out or right before eating.
Watch for signs like crushed crackers or overly moist grapes, which means packing needs adjustment next time. I learned this the hard way after a windy beach day turned one bag into a crumbly mess!
Cooking Tips & Techniques
Though this recipe requires no actual cooking, some techniques will make your snack bags shine and stay fresh longer.
- Choosing the right crackers: Pick sturdy crackers with a firm texture to avoid sogginess. Thin or flaky crackers tend to crumble quickly, especially near juicy grapes or tomatoes.
- Dry is key: Make sure all fresh produce is dry before packing. Use paper towels to blot moisture from grapes or tomatoes to keep crackers crisp.
- Portion control: Dividing ingredients evenly prevents bags from bursting or ingredients from clumping. I like using measuring cups for consistency, especially when making multiple bags for a group.
- Seal tightly: Removing excess air from the bags helps maintain freshness and avoids crushed snacks. You can press the bag flat against a counter to push air out before sealing.
- Keep cool: Cheese and meats are best enjoyed chilled. Using an insulated cooler with ice packs will keep your snack bags fresh for hours, especially on hot beach days.
- Layering tricks: Place heavier items like nuts and meats at the bottom and delicate crackers on top to prevent crushing.
- Personal experience: One time, I forgot to dry the grapes well and ended up with soggy crackers. Lesson learned: a little extra drying goes a long way.
Variations & Adaptations
This recipe is versatile and easy to customize for your preferences, dietary needs, or the season.
- Gluten-Free: Swap regular crackers for gluten-free options like rice crackers or almond flour crackers. Ensure cured meats and cheeses are gluten-free certified.
- Vegan-Friendly: Replace cheese with vegan cheese cubes or marinated tofu bites, and swap cured meats for smoked tempeh or seasoned roasted chickpeas. Add fresh fruit like apple slices or berries for sweetness.
- Seasonal Twist: In fall, swap grapes with dried cranberries or apple wedges. Summer calls for fresh berries or watermelon cubes. Adjust nuts to seasonal favorites like pecans or pistachios.
- Spicy Kick: Add sliced pickled jalapeños or a sprinkle of chili flakes on the cheese cubes for a subtle heat that pairs surprisingly well with the sweet grapes.
- Personal Favorite: I once tried adding tiny mozzarella balls and fresh basil leaves with cherry tomatoes for a mini caprese-inspired bag. It was a hit with my friends and super refreshing on a hot day.
Serving & Storage Suggestions
These snack bags are best served chilled or at cool room temperature. Just grab a bag, unzip, and snack away without worrying about crumbs or sticky hands.
For presentation, you can set out small plates or napkins. The sealed bags also work great for picnics, hiking, or road trips, making it easy to tidy up afterward.
Storage: Keep the snack bags refrigerated until ready to go. They stay fresh up to 24 hours. If you need to prep ahead, it’s best to pack crackers separately and combine at the last minute to avoid sogginess.
Reheating: No reheating needed here—these are perfect cold snacks. If you want to switch things up, try warming cured meats briefly on a grill or pan while keeping other components cold.
Flavors meld nicely when resting together, especially when fresh herbs and cured meats mingle. Just be mindful of moisture buildup and pack accordingly.
Nutritional Information & Benefits
Each dump and seal charcuterie snack bag offers a balanced mix of macronutrients—protein from cheese and meats, healthy fats from nuts, and carbohydrates from crackers and fruit.
Approximate nutrition per bag (varies by exact ingredients):
| Calories | 350-400 kcal |
|---|---|
| Protein | 15-18 g |
| Fat | 20-25 g (mostly from nuts and cheese) |
| Carbohydrates | 25-30 g |
| Fiber | 3-5 g |
Key benefits include:
- High-quality protein supports energy and satiety for active beach days.
- Healthy fats from nuts promote brain function and heart health.
- Fresh fruit adds vitamins, antioxidants, and natural sweetness.
These snack bags can be adapted for gluten-free or vegan diets as needed, making them accessible for most dietary preferences. Just be mindful of potential allergens like nuts and dairy.
Conclusion
If you’re looking for an easy, no-mess snack solution perfect for beach trips or any outdoor adventure, these dump and seal charcuterie snack bags are a winner. They combine convenience, flavor, and portability in a way that makes snack time a breeze instead of a chore.
Personally, I love how customizable they are—I can toss in whatever I’m craving or have on hand, and they always turn out delicious. Plus, the minimal cleanup means more time enjoying the sunshine and less time worrying about sticky fingers or sandy cheese.
I’d love to hear how you make these your own! Drop a comment below with your favorite combos or tweaks, and don’t forget to share the recipe with your fellow beachgoers. Here’s to hassle-free snacking and sun-soaked good times!
Frequently Asked Questions
How long can I keep the dump and seal charcuterie snack bags fresh?
They’re best enjoyed within 24 hours when kept refrigerated. Packing crackers separately helps maintain crispness if you need to prep earlier.
Can I freeze these snack bags for later use?
Freezing isn’t recommended as fresh produce and crackers don’t freeze well. It’s best to prepare fresh the day of your outing.
Are there good alternatives to cured meats for a vegetarian version?
Yes! Try marinated tofu, smoked tempeh, or roasted chickpeas to add protein and texture.
What’s the best way to prevent crackers from getting soggy?
Make sure fresh fruits and veggies are dry before packing, and consider packing crackers in a separate bag to combine just before eating.
Can I make these snack bags kid-friendly?
Absolutely! Use mild cheeses, small bite-sized meats, and sweeter fruits like grapes or berries. You can also add fun extras like mini pretzels or fruit leather strips.
For more simple, portable snack ideas, you might enjoy my easy homemade trail mix or the no-bake energy bites recipe that are equally perfect for on-the-go munching.
Pin This Recipe!
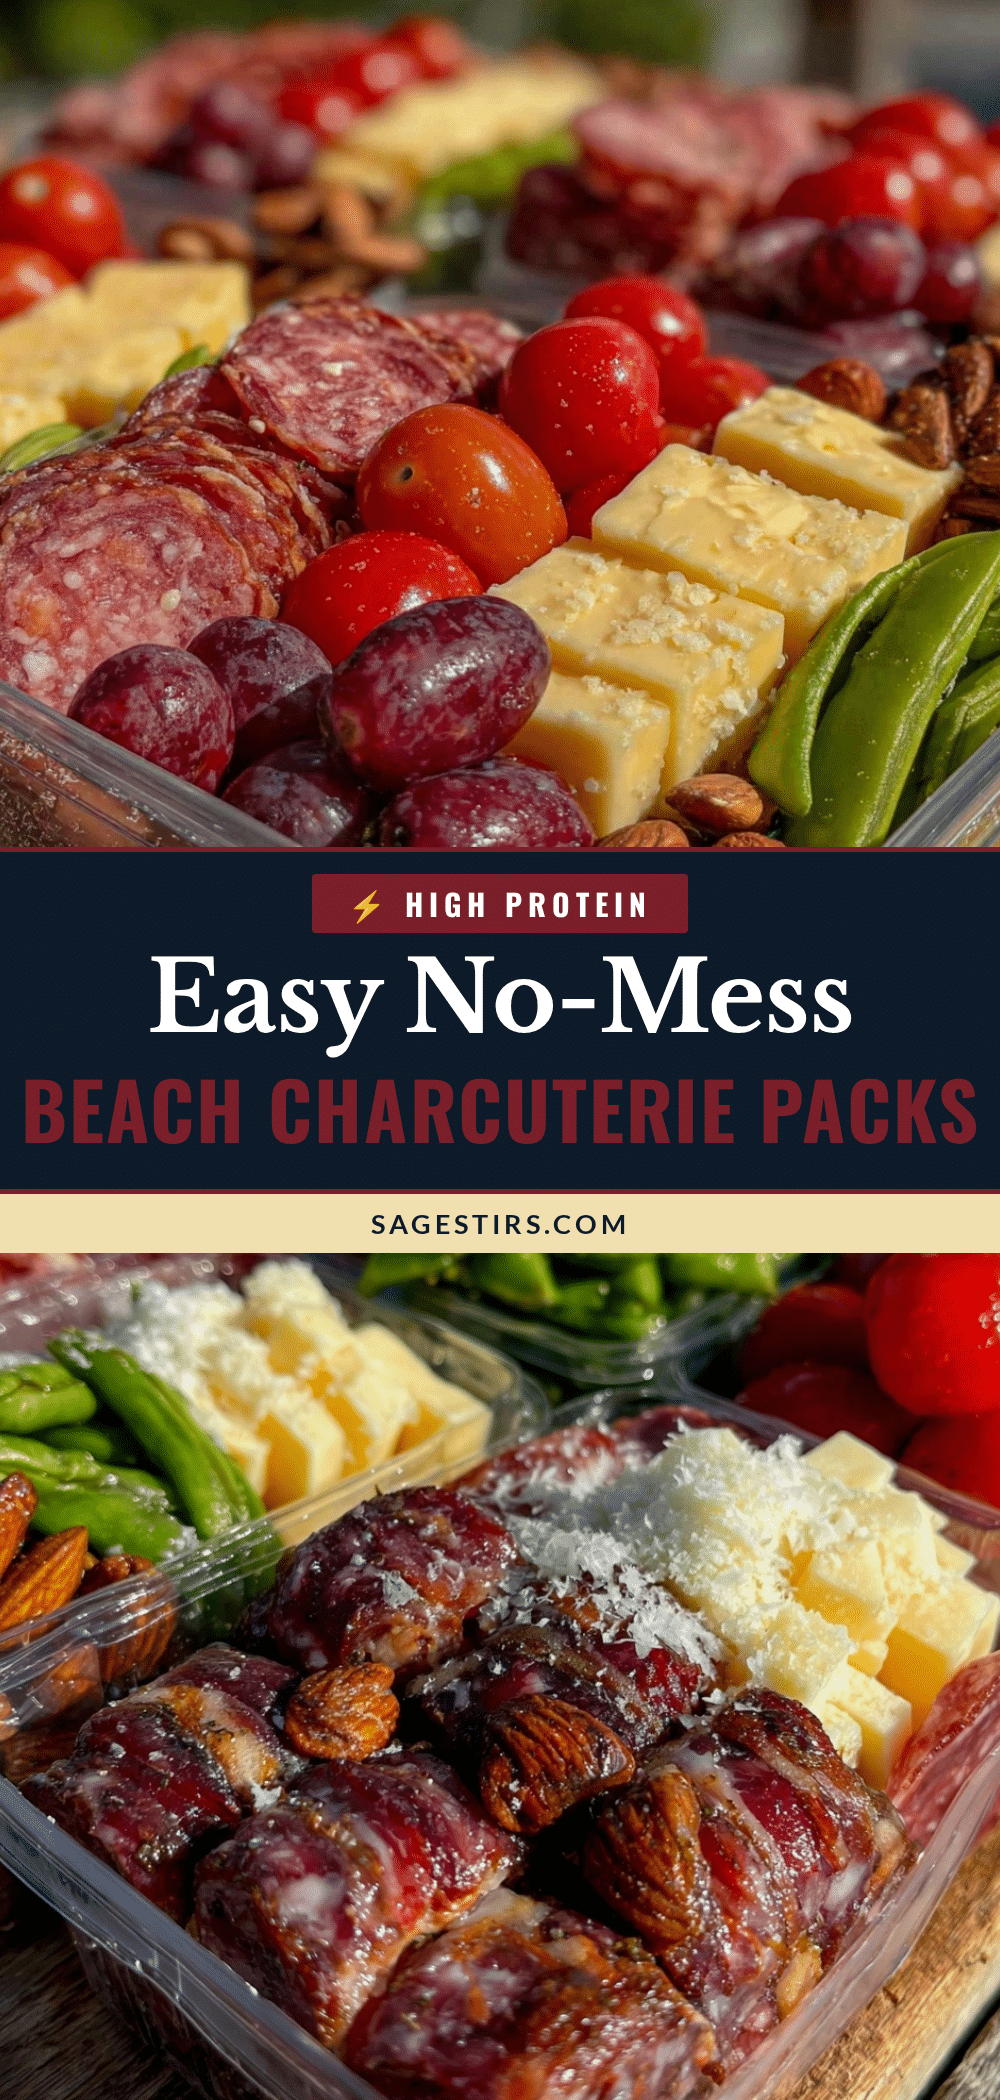
Easy No-Mess Dump and Seal Charcuterie Snack Bags Perfect for Beach Trips

These no-mess dump and seal charcuterie snack bags are quick to assemble, mess-free, and perfect for beach trips or picnics. They combine crunchy crackers, creamy cheese, savory meats, and fresh fruit in portable sealed bags.
- Prep Time: 20 minutes
- Cook Time: 0 minutes
- Total Time: 20 minutes
- Yield: 4 servings
- Category: Snack
- Cuisine: American
Ingredients
- Assorted crackers (e.g., multigrain, water crackers, or sturdy brand like Triscuit) – about 1 cup (120g)
- Cubed cheese (cheddar, gouda, or mozzarella) – ¾ cup (110g), chilled
- Cured meats (sliced salami, pepperoni, or prosciutto) – ½ cup (50g), folded or rolled
- Seedless grapes or cherry tomatoes – ½ cup (75g), washed and dried
- Mixed nuts (almonds, cashews, or walnuts) – ¼ cup (35g), unsalted preferred
- Olives (green or black, pitted) – ¼ cup (40g), optional
- Fresh herbs (like rosemary or thyme) – a few sprigs
- Optional extras: honey or fig jam for drizzling, baby carrots or cucumber slices, mini pickles or cornichons
Instructions
- Gather all ingredients and lay out crackers, cheese, cured meats, grapes, nuts, and any extras on a clean counter.
- Wash and dry grapes or cherry tomatoes thoroughly. Slice baby carrots or cucumber into bite-sized sticks if using.
- Cube cheese into small ¾ inch (2 cm) cubes. Fold or roll cured meat slices to fit nicely in bags.
- Portion crackers, cheese, meats, grapes, nuts, and olives evenly into quart-sized resealable bags.
- Add a small sprig of rosemary or thyme into each bag for aroma.
- Press out as much air as possible before sealing each bag to keep ingredients fresh and prevent crushing crackers.
- Place snack bags flat in a cooler or insulated bag with ice packs until snack time.
- Optional: Pack a small container or mini jar with honey or fig jam separately to drizzle over crackers before eating.
Notes
Keep fresh produce dry before packing to avoid soggy crackers. For best freshness, keep cheese and meats separate from crackers if prepping ahead. Seal bags tightly and keep chilled until serving. Customize ingredients for dietary needs or preferences.
Nutrition
- Serving Size: One snack bag
- Calories: 350400
- Fat: 2025
- Carbohydrates: 2530
- Fiber: 35
- Protein: 1518
Keywords: charcuterie, snack bags, beach snacks, no-mess, portable snacks, picnic food, easy snacks, cheese and meat, healthy snack