Love this? Save it for later!
Share the inspiration with your friends
“You know that moment when you open the fridge, hoping for a quick snack, and all you find are sad, soggy pickles?” I’ve been there more times than I care to admit. It was last summer, on a lazy Sunday afternoon, when I stumbled upon this Quick Crispy Garlic Dill Refrigerator Pickles recipe. Honestly, it came from the most unexpected place—a handwritten note tucked inside a jar of pickles I bought at a local farmers market. The vendor, an elderly man named Joe with a twinkle in his eye, told me, “These are my wife’s secret recipe. They’re fast, crunchy, and packed with garlic and dill.” Curiosity got the better of me, and I decided to try making them myself.
I wasn’t expecting much, especially since my previous pickle experiments often resulted in mushy disappointments. But this one? Let me tell you, the crunch was spot on, the garlic punch was just right, and that fresh dill made the flavor sing. Maybe you’ve been there too—craving that perfect homemade pickle but lacking the patience for a traditional canning process. These refrigerator pickles are a game changer, ready to eat in just a day or two and keeping that satisfying crispness you want.
What really hooked me was how simple and forgiving the recipe is. No fancy equipment, no long waits—just fresh ingredients and a little love. And yes, I did make a mess the first time (spilled brine everywhere, classic me), but it was worth every drop. Since then, these Quick Crispy Garlic Dill Refrigerator Pickles have become a staple snack in my kitchen, popping up alongside everything from sandwiches to grilled chicken. I keep a jar in the fridge pretty much all the time—it’s like having a little burst of summer in every bite.
Why You’ll Love This Recipe
After testing and tweaking this recipe several times, I can honestly say it ticks all the boxes for a quick and tasty snack. Here’s what makes these Quick Crispy Garlic Dill Refrigerator Pickles stand out:
- Quick & Easy: Ready in under 48 hours, perfect for those last-minute cravings or when you need a crunchy side in a flash.
- Simple Ingredients: Uses pantry staples like garlic, dill, and cucumbers—you probably have everything on hand already.
- Perfect for Snacking & Pairing: Great with sandwiches, burgers, or just on their own as a tangy, refreshing bite.
- Crowd-Pleaser: Friends and family always ask for the recipe, and it’s a hit at potlucks and BBQs.
- Unbelievably Delicious: The crisp texture combined with the bold garlic and fresh dill flavors really hits the spot.
This isn’t your typical soggy pickle recipe. The secret lies in the quick refrigeration method and the right balance of spices. I like to use Kirby cucumbers for that perfect crunch, and fresh dill sprigs from my garden add a brightness you can’t beat. The brine is perfectly seasoned—not too salty, not too sour—which makes these pickles addictive. Honestly, these pickles have saved me more than once when I needed a no-fuss snack or a quick side for a casual dinner. They’re comfort food with a fresh twist, and I think you’ll love having them in your fridge as much as I do.
What Ingredients You Will Need
This recipe uses simple, wholesome ingredients to deliver bold flavor and satisfying texture without the fuss. Most of them are pantry staples, and you can easily find fresh cucumbers and dill at your local market.
- Kirby cucumbers (about 1 pound / 450 grams, small to medium size, sliced into spears or rounds; these keep the crunch best)
- Garlic cloves (4-5 large, peeled and smashed for maximum flavor)
- Fresh dill sprigs (3-4 sprigs, or 2 tablespoons dried dill if fresh isn’t available; fresh is best for aromatic brightness)
- White vinegar (1 cup / 240 ml; I prefer Heinz for consistent acidity)
- Water (1 cup / 240 ml, filtered or distilled for clean taste)
- Pickling salt (1 tablespoon; if unavailable, kosher salt works, but avoid iodized table salt)
- Granulated sugar (1 teaspoon; balances acidity without making it sweet)
- Black peppercorns (1 teaspoon whole; adds subtle spice)
- Mustard seeds (1 teaspoon; optional but adds a nice tang)
- Red pepper flakes (a pinch or two, optional for a gentle heat kick)
If you want to switch things up, you can use apple cider vinegar instead of white vinegar for a milder tang or add a bay leaf for extra aroma. For a dairy-free, vegan-friendly version, this recipe is naturally suitable. I recommend using fresh, firm cucumbers and checking the freshness of your garlic and dill—those really make or break the flavor here.
Equipment Needed
- 1 quart-sized (about 1 liter) glass jar or any airtight container with lid — glass is best to avoid any metallic taste
- Sharp knife and cutting board for slicing cucumbers
- Measuring cups and spoons for precise brine ratio
- A small saucepan for heating the brine
- Tongs or fork to pack cucumbers into the jar without bruising
If you don’t have a glass jar, a BPA-free plastic container works in a pinch, but the flavor isn’t quite as clean. I’ve tried Mason jars, old pickle jars cleaned thoroughly, and even repurposed jam jars for small batches. Just make sure whatever you use seals well to keep the brine fresh. As a tip, keep your knives sharp—dull blades can squash the cucumbers, and nobody wants soggy pickles right from the start.
Preparation Method
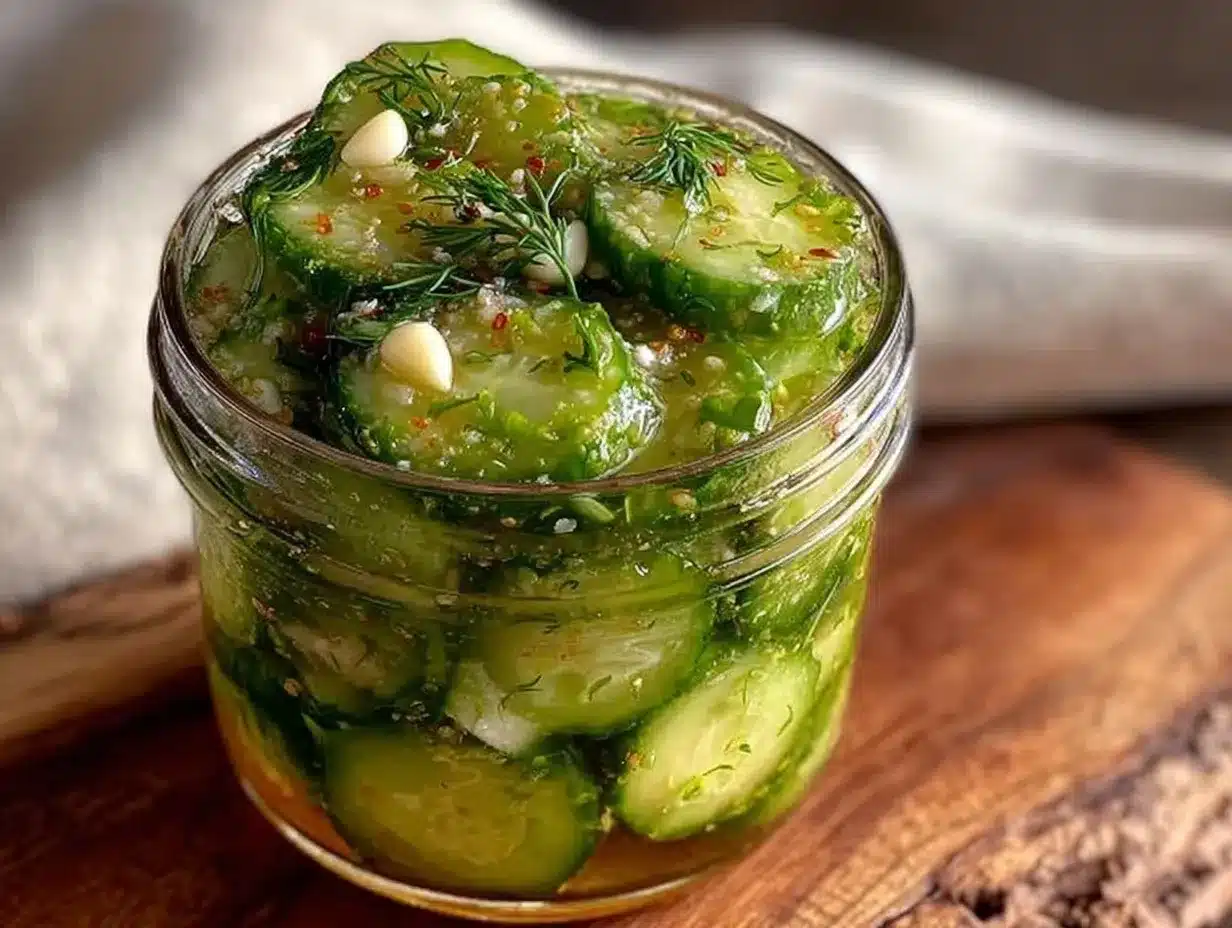
- Prep the cucumbers: Wash about 1 pound (450 grams) of Kirby cucumbers thoroughly. Slice them into spears about 3 inches (7.5 cm) long or into thick rounds, depending on your preference. Dry them lightly with a clean towel. This drying step helps the pickles stay crispy.
- Smash the garlic: Peel 4-5 large garlic cloves and give them a firm smash with the flat side of your knife. This releases the flavor without overpowering the brine.
- Make the brine: In a small saucepan, combine 1 cup (240 ml) white vinegar, 1 cup (240 ml) water, 1 tablespoon pickling salt, and 1 teaspoon granulated sugar. Add 1 teaspoon black peppercorns and 1 teaspoon mustard seeds. Bring to a boil, stirring to dissolve salt and sugar completely. Once boiling, remove from heat.
- Pack the jar: Place garlic cloves and 3-4 fresh dill sprigs (or dried dill) at the bottom of your clean quart-sized jar. Pack the cucumber slices tightly but gently to avoid bruising. If you want a little heat, sprinkle a pinch of red pepper flakes on top.
- Pour the hot brine: Carefully pour the hot brine over the cucumbers until they’re fully submerged. Use a clean utensil to nudge the cucumbers down if needed. Leave about half an inch (1.25 cm) of space at the top.
- Seal and cool: Put the lid on tightly, then let the jar cool to room temperature. Once cooled, place it in your refrigerator.
- Wait and enjoy: These pickles are ready to eat after 24 hours but get even better after 48. The real magic is the crisp garlic and dill flavor that develops quickly in the fridge.
Just a heads up: don’t skip the cooling step before refrigerating. Putting a hot jar directly in the fridge can cause condensation and sogginess. Also, remember to turn the jar occasionally to redistribute the brine and flavor. I usually make these on a Monday evening and have fresh pickles by Wednesday—perfect timing for midweek snacks.
Cooking Tips & Techniques
Getting that perfect crunch is the ultimate goal with Quick Crispy Garlic Dill Refrigerator Pickles. Here are some tips I’ve learned from trial and error:
- Use fresh, firm cucumbers: Avoid cucumbers that feel soft or have wrinkles. Kirby or pickling cucumbers are your best bet for that satisfying snap.
- Don’t skip the drying step: Pat your cucumbers dry before packing. Excess water dilutes the brine and softens the pickles.
- Hot brine is key: Bringing the brine to a boil fully dissolves salt and sugar, and helps infuse the spices.
- Keep them submerged: Cucumbers must stay covered with brine to prevent spoilage and keep that crispness intact.
- Refrigerate promptly: Quick refrigerator pickles don’t go through heat processing, so keeping them cold is essential for safety and texture.
- Don’t rush the wait: Even though they’re called “quick,” letting them rest for at least 24 hours makes a big difference.
One time, I tried skipping the vinegar heat step to save time, and the pickles came out bland and limp—lesson learned! Also, if you notice your pickles softening too fast, try adding a grape leaf or a pinch of calcium chloride (pickling crisp) next time. I usually juggle this pickle prep while prepping dinner; it’s a great multitasker since most of the work is hands-off.
Variations & Adaptations
Want to switch up these Quick Crispy Garlic Dill Refrigerator Pickles? Here are some tasty ideas:
- Spicy Kick: Add sliced jalapeños or increase red pepper flakes for a fiery twist that pairs great with burgers or tacos.
- Sweet & Tangy: Increase sugar to 2 tablespoons and add a cinnamon stick or star anise for a sweet-spiced pickle perfect for cheese boards.
- Low-Sodium: Reduce salt by half and add a splash of lemon juice to maintain brightness without overdoing sodium.
- Herb Swap: Experiment with fresh thyme, tarragon, or coriander seeds instead of dill for unique flavors.
- Vegan-Friendly Brine: The recipe is naturally vegan, but for an extra flavor boost, try adding a splash of coconut aminos instead of vinegar.
I once tried adding fresh turmeric slices for color and a subtle earthiness—it was surprisingly good and made for a beautiful jar! These pickles also hold up well if you halve the recipe or scale up for parties. If you prefer pickled rounds rather than spears, just adjust the brining time slightly for thinner slices.
Serving & Storage Suggestions
Serve these Quick Crispy Garlic Dill Refrigerator Pickles chilled straight from the jar. They make a fantastic sidekick to grilled meats, sandwiches, or even as a crunchy topping for salads and grain bowls. For a cozy snack, try them alongside a classic crispy garlic chicken recipe or with homemade burgers.
Store the pickles in the refrigerator for up to 2 weeks. Over time, the flavors deepen, but the cucumbers will slowly lose some crunch after about 10 days. For best texture, eat within the first week. When reheating dishes that include these pickles, add them fresh at the end rather than cooking them to keep that satisfying snap.
If you want to save leftovers longer, you can transfer some pickles and brine to smaller jars to prevent repeated exposure to air. Remember to always use clean utensils to avoid contamination.
Nutritional Information & Benefits
This Quick Crispy Garlic Dill Refrigerator Pickles recipe is low in calories and carbs, making it a guilt-free snack or side. Each serving (about 3 spears) contains approximately 10 calories, negligible fat, and 2 grams of carbohydrates.
Garlic provides natural antioxidants and supports immune health, while dill adds a touch of vitamins A and C. The vinegar in the brine aids digestion and offers a tangy probiotic-friendly boost if left to ferment slightly. Plus, these pickles are gluten-free and vegan, suitable for a variety of dietary needs.
I appreciate how this recipe lets me enjoy a flavorful, crunchy snack without added preservatives or artificial ingredients—perfect for mindful eating.
Conclusion
These Quick Crispy Garlic Dill Refrigerator Pickles have quickly become my go-to snack whenever I need something crunchy, flavorful, and fuss-free. Whether you’re new to pickling or just looking for a fast way to enjoy homemade pickles, this recipe has you covered.
Feel free to tweak the garlic, dill, or spice levels to suit your taste buds—after all, that’s part of the fun of homemade pickling! Personally, I love how versatile these pickles are, popping up in everything from sandwiches to salads. Plus, they save me from those sad, soggy store-bought jars.
If you give this recipe a try, I’d love to hear how you customize it or what pairings you enjoy. Leave a comment below or share your favorite pickle moments—I’m always on the lookout for new twists on this classic snack. Happy pickling!
Frequently Asked Questions
How long do Quick Crispy Garlic Dill Refrigerator Pickles last in the fridge?
They stay fresh and crunchy for about 1 to 2 weeks when stored properly in an airtight container in the refrigerator.
Can I use regular cucumbers instead of Kirby cucumbers?
You can, but Kirby cucumbers are preferred for their firm texture, which helps keep the pickles crispy.
Do I need to boil the brine?
Yes, boiling the brine dissolves the salt and sugar and helps infuse the flavors, ensuring a balanced taste.
Can I make these pickles without garlic?
Yes, but garlic is a key flavor in this recipe. You might want to add other spices like extra dill or peppercorns to compensate.
Are these pickles fermented?
No, these are quick refrigerator pickles, so they don’t ferment. They rely on vinegar to preserve and flavor the cucumbers.
Pin This Recipe!
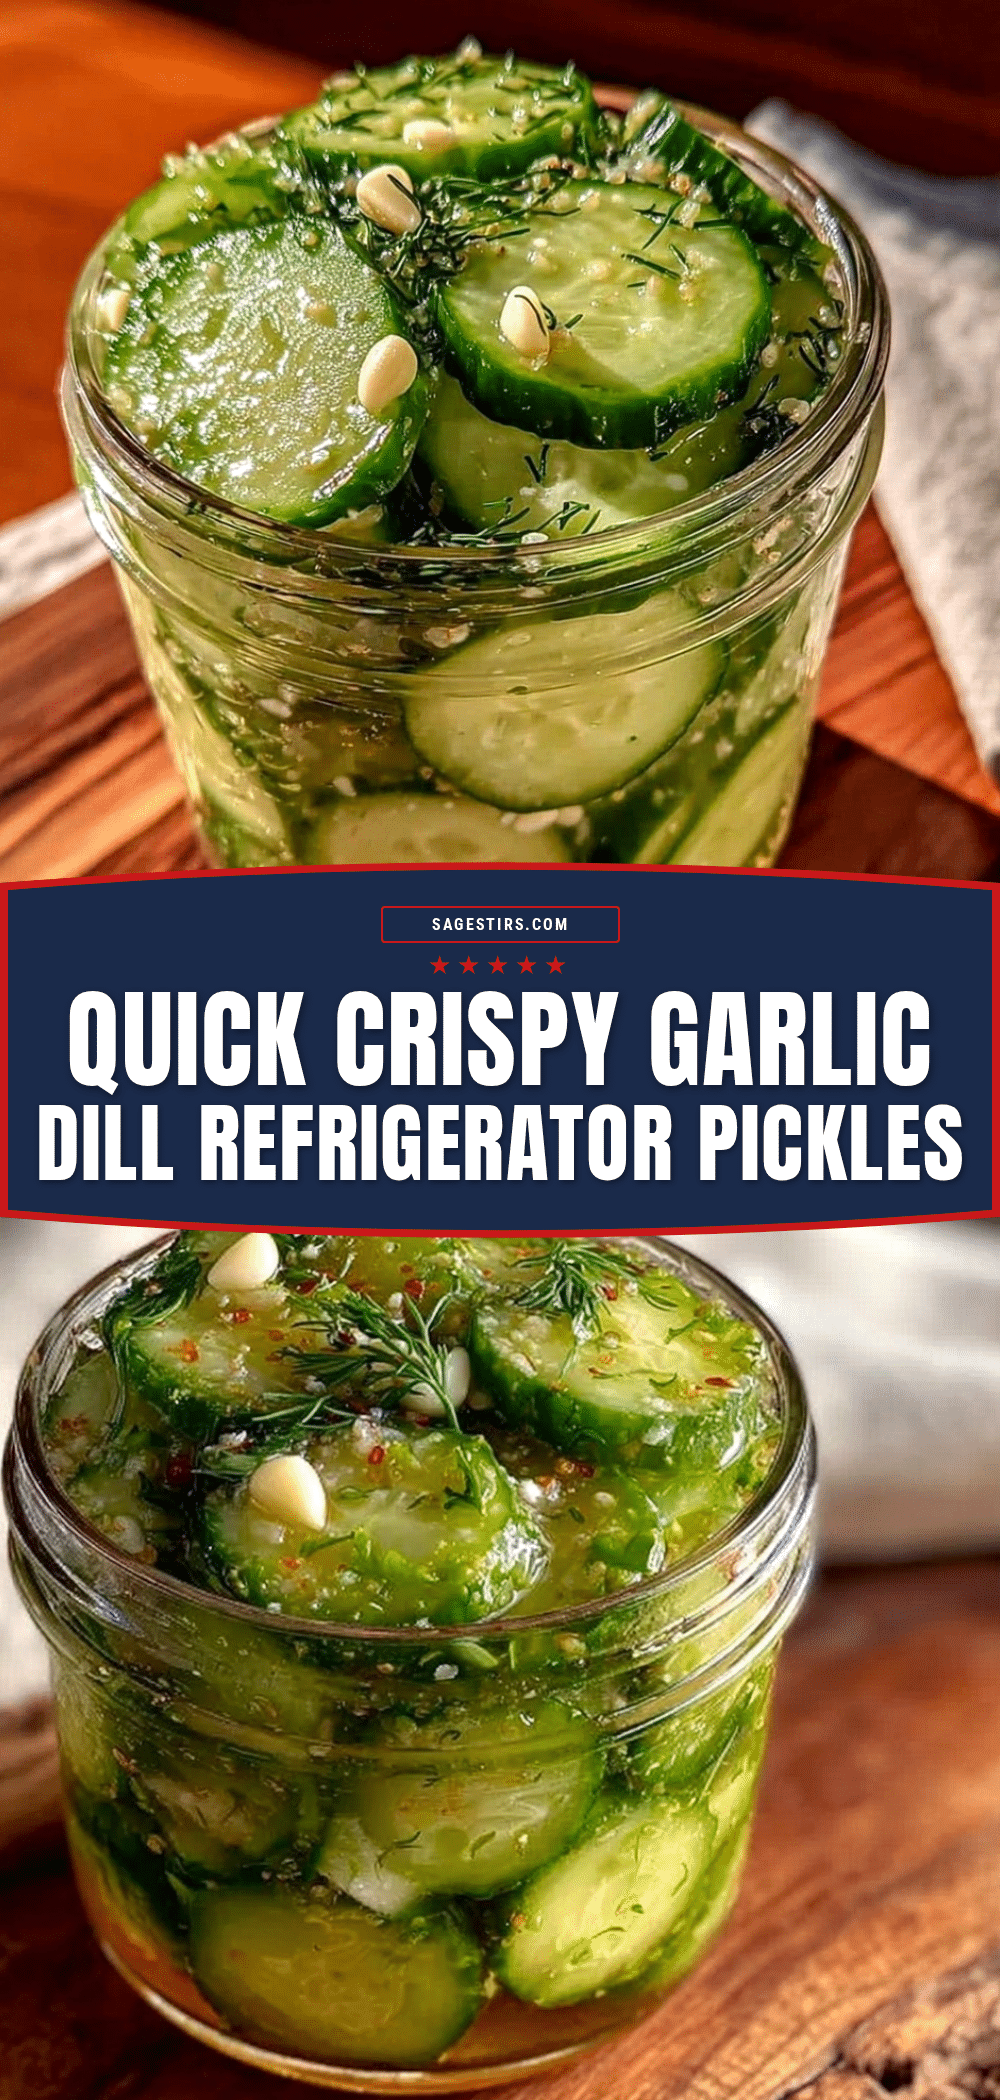
Quick Crispy Garlic Dill Refrigerator Pickles
A fast and easy homemade pickle recipe that delivers crunchy, flavorful garlic dill pickles ready in under 48 hours, perfect for snacking or pairing with meals.
- Prep Time: 15 minutes
- Cook Time: 10 minutes
- Total Time: 2 days
- Yield: About 4 servings 1x
- Category: Snack
- Cuisine: American
Ingredients
- 1 pound (450 grams) Kirby cucumbers, sliced into spears or rounds
- 4–5 large garlic cloves, peeled and smashed
- 3–4 fresh dill sprigs or 2 tablespoons dried dill
- 1 cup (240 ml) white vinegar
- 1 cup (240 ml) water, filtered or distilled
- 1 tablespoon pickling salt (kosher salt can be used, avoid iodized table salt)
- 1 teaspoon granulated sugar
- 1 teaspoon whole black peppercorns
- 1 teaspoon mustard seeds (optional)
- Pinch or two of red pepper flakes (optional)
Instructions
- Wash about 1 pound (450 grams) of Kirby cucumbers thoroughly. Slice into spears about 3 inches (7.5 cm) long or thick rounds. Dry lightly with a clean towel.
- Peel 4-5 large garlic cloves and smash them with the flat side of a knife.
- In a small saucepan, combine 1 cup white vinegar, 1 cup water, 1 tablespoon pickling salt, and 1 teaspoon granulated sugar. Add 1 teaspoon black peppercorns and 1 teaspoon mustard seeds. Bring to a boil, stirring to dissolve salt and sugar. Remove from heat once boiling.
- Place garlic cloves and 3-4 fresh dill sprigs (or dried dill) at the bottom of a clean quart-sized glass jar.
- Pack cucumber slices tightly but gently into the jar to avoid bruising. Sprinkle red pepper flakes on top if using.
- Pour the hot brine over the cucumbers until fully submerged, leaving about half an inch of space at the top.
- Seal the jar tightly and let it cool to room temperature.
- Place the jar in the refrigerator. Pickles are ready after 24 hours but taste best after 48 hours.
Notes
Do not skip drying cucumbers before packing to keep pickles crispy. Always cool the jar to room temperature before refrigerating to avoid condensation and sogginess. Turn the jar occasionally to redistribute brine and flavor. Use fresh, firm Kirby cucumbers for best crunch. Optional additions include jalapeños for spice or bay leaf for aroma.
Nutrition
- Serving Size: About 3 pickle spear
- Calories: 10
- Carbohydrates: 2
Keywords: quick pickles, refrigerator pickles, garlic dill pickles, homemade pickles, crispy pickles, easy snack, no canning pickles