Love this? Save it for later!
Share the inspiration with your friends
By the fourth time I made these cheese quesadilla dippers in a single week, I finally stopped pretending it was just a phase. My son’s lunchbox had become a graveyard of half-eaten sandwiches, sad little containers of crackers, and fruit that never made it past the first bite. Then, on a Tuesday morning when I was out of bread and patience, I grabbed two tortillas, a handful of shredded cheddar, and just went for it. I cut them into strips, tucked them into his thermos, and braced for the worst.
He came home with an empty container. Empty. That never happens. The next morning he asked for “the cheese sticks” again, and I realized I had accidentally stumbled onto something that actually works. Not just for him, either—his little sister started requesting them too, and suddenly I was making batches of these every other day. They’re not fancy. They’re not complicated. But they solve a real problem, and honestly, that matters more than any elaborate recipe I’ve ever tested.
These are the kind of lunchbox staples that make you feel like you’ve got your act together, even when the rest of the day is chaos. And really, isn’t that what we’re all after?
Why You’ll Love This Recipe
I’ve tested a lot of lunchbox ideas over the years, and most of them fall into one of two categories: too complicated to make on a school morning, or too boring to actually get eaten. These cheese quesadilla dippers hit the sweet spot. They’re quick enough for a rushed weekday, but they taste like something you actually put thought into.
- Quick & Easy: You can have these ready in under 10 minutes. Seriously, from fridge to lunchbox in the time it takes to pour a glass of milk.
- Simple Ingredients: You probably already have tortillas and cheese in your kitchen right now. No special trips to the store required.
- Perfect for Lunchboxes: They hold up well, don’t get soggy, and kids actually eat them. I’ve packed them for school lunches, picnics, and even road trips.
- Crowd-Pleaser: My kids eat these, their friends eat these, and I’ve caught myself sneaking a few strips more than once. They’re just that good.
- Unbelievably Customizable: You can switch up the cheese, add fillings, or dip them in just about anything. It’s the kind of recipe that adapts to whatever you have on hand.
What makes this version different from the basic quesadilla you’ve made a hundred times? It’s the cut. Cutting them into dipper-sized strips makes them fun to eat, and the smaller pieces cool faster—perfect for packing in a thermos or container. Plus, the ratio of crispy edge to cheesy center is just right. Every strip gets that perfect golden crunch on the outside and gooey melt on the inside. It’s simple, but it works.
What Ingredients You Will Need
This recipe uses the most basic ingredients you can imagine, and that’s kind of the point. You don’t need anything fancy to make a lunchbox-friendly meal that kids actually look forward to. Here’s what you’ll need:
- Flour tortillas (8-inch or 10-inch work best; I prefer medium-sized ones so the dippers aren’t too long or too short)
- Shredded cheddar cheese (mild or sharp, your choice; pre-shredded works fine, but freshly shredded melts more evenly)
- Shredded mozzarella cheese (adds that perfect stretchy pull when you bite into a dipper)
- Butter or cooking spray (a light coating helps achieve that golden, crispy exterior without making them greasy)
- Optional add-ins: A sprinkle of garlic powder, a pinch of salt, or even some finely chopped herbs if you’re feeling fancy
I usually stick with a 50/50 mix of cheddar and mozzarella because it gives the best flavor and texture. The cheddar brings the sharpness, and the mozzarella gives you that satisfying cheese pull that kids love. If you only have one type of cheese on hand, that works too—I’ve made these with just cheddar plenty of times, and they’re still great.
For the tortillas, I recommend standard flour tortillas for the best texture. Corn tortillas don’t fold as well and tend to crack, so save those for tacos. If you want a whole wheat option, go for it—they work fine and add a little extra fiber to the lunchbox. Just keep an eye on them while cooking because whole wheat tortillas can brown faster.
Equipment Needed
You don’t need any special equipment for this recipe, which is part of what makes it so great. Here’s what you’ll need:
- A non-stick skillet or griddle (8 to 10 inches works perfectly; if you’re making multiple batches, a larger griddle saves time)
- A spatula (a thin, flexible one works best for flipping without disturbing the cheese filling)
- A sharp knife or pizza cutter (for cutting the quesadillas into dipper-sized strips)
- A cutting board (for assembling and cutting)
- Optional: A pastry brush if you’re using butter instead of cooking spray
If you don’t have a non-stick skillet, a well-seasoned cast iron pan works just fine. Just make sure to use enough butter or oil to prevent sticking. I’ve made these on an electric griddle too, and they come out great—you can cook four quesadillas at once, which is perfect for meal prepping a whole week’s worth of lunchbox dippers.
Preparation Method
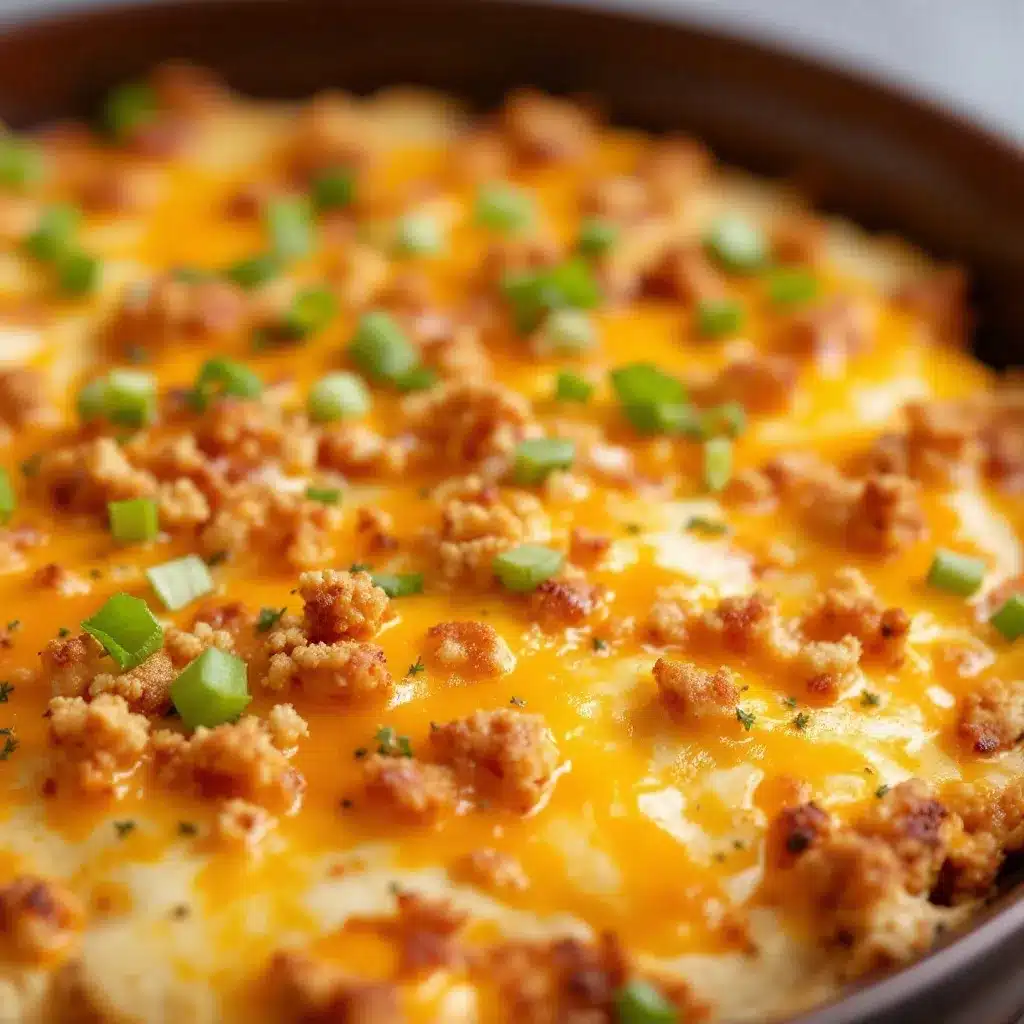
Making these cheese quesadilla dippers is as straightforward as it gets, but I’ll walk you through every step so you get perfect results every time.
- Heat your skillet over medium heat. You want it hot enough to crisp the tortilla but not so hot that the cheese burns before it melts. If you’re using butter, add about half a teaspoon to the pan and let it melt.
- Assemble the quesadilla on a cutting board. Lay one tortilla flat and sprinkle about 1/4 cup of the cheese mixture evenly over half of the tortilla. Be generous but don’t overstuff—you want the cheese to melt evenly without spilling out when you flip it.
- Fold the tortilla in half over the cheese, pressing down gently to help it stick together. This creates a half-moon shape that’s easy to flip in the pan.
- Place the quesadilla in the hot skillet. Cook for 2-3 minutes on the first side, until the bottom is golden brown and crispy. You’ll know it’s ready when you can see the cheese starting to melt through the edges.
- Flip carefully using your spatula. Cook for another 2-3 minutes on the second side, until both sides are evenly golden and the cheese is fully melted. The tortilla should feel firm but still have a little give when you press on it.
- Transfer to a cutting board and let it rest for about 30 seconds. This helps the cheese set slightly so it doesn’t all ooze out when you cut it.
- Cut into strips. Using a sharp knife or pizza cutter, slice the quesadilla into 4-5 strips, each about 1 to 1.5 inches wide. For younger kids, you can cut them into smaller bite-sized pieces.
- Let them cool completely before packing into a lunchbox. This is important—if you pack them while they’re still warm, they’ll steam and lose their crispiness. Spread them out on a plate or cooling rack for about 10 minutes.
If you’re making a batch for the week, just repeat these steps with the remaining tortillas. I usually make 4-6 quesadillas at a time, which gives me enough dippers for several days of lunches. They reheat beautifully too, so don’t worry about making too many.
Cooking Tips & Techniques
I’ve made these cheese quesadilla dippers more times than I can count, and I’ve learned a few things along the way. Here are my best tips for getting them just right:
Don’t rush the heat. Medium heat is your friend here. If the pan is too hot, the tortilla will brown before the cheese melts, leaving you with a burnt exterior and a cold center. If the heat is too low, the tortilla will dry out before it gets crispy. Medium heat gives you that perfect balance.
Use a lid for the first side. If you cover the pan for the first 2 minutes of cooking, the trapped heat helps the cheese melt faster and more evenly. Just remove the lid before flipping so the second side can crisp up properly.
Don’t overstuff. I know it’s tempting to pile on the cheese, but too much filling makes the quesadilla hard to flip and causes the cheese to spill out into the pan. Stick to about 1/4 cup of cheese per tortilla, and you’ll get clean, even melts every time.
Let them rest before cutting. This is the step I used to skip, and I always regretted it. If you cut into a hot quesadilla right away, the cheese oozes out and you end up with a mess. Thirty seconds of resting makes all the difference.
Make extra for yourself. I’m not kidding. These dippers are dangerously snackable, and you’ll want a few for yourself. I usually set aside a small container for my own lunch because they’re just as good cold as they are warm.
Variations & Adaptations
One of the best things about this recipe is how easy it is to change up. Here are some of my favorite variations:
- Protein-Packed Version: Add some shredded cooked chicken, ground beef, or black beans along with the cheese. This turns the dippers into a more substantial meal that’ll keep kids full through the afternoon. I’ve made these with leftover Crockpot Honey Garlic Chicken shredded inside, and they were a huge hit.
- Veggie-Packed Version: Finely chop some bell peppers, spinach, or mushrooms and mix them into the cheese before cooking. The key is to chop them very small so they blend in without making the quesadilla bulky or hard to fold.
- Spicy Version (for older kids or adults): Add a pinch of chili powder, cumin, or a few dashes of hot sauce to the cheese mixture. You can also use pepper jack cheese instead of cheddar for an extra kick.
- Different Cheese Combos: Try Monterey Jack, Colby, Gouda, or even a blend of Mexican cheeses. Each one gives a slightly different flavor and texture. My personal favorite is a mix of cheddar and pepper jack—it’s creamy with just a little heat.
- Gluten-Free Option: Use gluten-free tortillas and double-check that your cheese is gluten-free (most are, but it’s worth verifying). The cooking time stays the same.
I’ve also experimented with dipping sauces, and that’s where things get really fun. Salsa, sour cream, guacamole, ranch dressing, and even a simple tomato soup dip all work great. For a fun twist, try pairing these dippers with a side of Cozy Slow Cooker Tomato Basil Soup for dipping—it’s a match made in lunchbox heaven.
Serving & Storage Suggestions
These cheese quesadilla dippers are incredibly versatile when it comes to serving. Here’s how I pack them for different situations:
For lunchboxes: Let the dippers cool completely, then pack them in a small container or thermos. If you’re packing a dipping sauce, use a separate small container to keep everything from getting soggy. My kids love them with a side of salsa or ranch.
For after-school snacks: Serve them warm with a bowl of warm marinara sauce or queso for dipping. They’re perfect for that 3:30 PM hunger slump when everyone needs something quick and satisfying.
For parties or playdates: Arrange the dippers on a platter with several dipping sauces in the center. They’re always the first thing to disappear, and they’re way easier than making individual sandwiches or roll-ups.
Storage: Store leftover dippers in an airtight container in the refrigerator for up to 5 days. To reheat, pop them in a toaster oven or air fryer at 350°F for 3-4 minutes until they’re warm and crispy again. You can also reheat them in a dry skillet over medium heat for 1-2 minutes per side.
Freezing: These freeze beautifully. Arrange the cooled dippers in a single layer on a baking sheet and freeze until solid, then transfer to a freezer bag. They’ll keep for up to 3 months. To reheat from frozen, just add a couple of minutes to the reheating time.
I’ve found that the flavors actually get better after a day or two in the fridge. The cheese sets up nicely, and the tortillas stay surprisingly crisp. If you’re meal-prepping for the week, these are a fantastic option.
Nutritional Information & Benefits
Here’s a rough estimate of the nutritional breakdown for one serving of these cheese quesadilla dippers (about 4-5 strips, made with standard ingredients):
- Calories: Approximately 250-300 calories per serving
- Protein: 12-15 grams (thanks to the cheese blend)
- Carbohydrates: 20-25 grams (mostly from the tortilla)
- Fat: 14-18 grams (varies based on cheese and butter used)
- Calcium: A solid 20-25% of your daily needs from the cheese
These dippers are a good source of protein and calcium, which makes them a smart choice for growing kids. The cheese provides essential nutrients like calcium for strong bones and protein for sustained energy throughout the school day. If you use whole wheat tortillas, you’ll also get a nice boost of fiber.
For parents watching sodium intake, you can use low-sodium cheese or reduce the amount of added salt. The natural saltiness of the cheese is usually enough to make these taste great without any extra seasoning.
Conclusion
These cheese quesadilla dippers have become a staple in our house for a reason. They’re quick, they’re easy, and most importantly, they actually get eaten. No more coming home to a lunchbox full of untouched food. No more stressing about what to pack on busy mornings.
I love that this recipe is so forgiving. You can use whatever cheese you have, add whatever fillings you like, and they still turn out great. It’s the kind of recipe that makes you feel like you’ve got your act together, even on the craziest of mornings. And honestly, that feeling is priceless.
I’d love to hear how these turn out for you. Did your kids love them? Did you try any fun variations? Drop a comment below and let me know—I’m always looking for new ideas to try. And if you’re looking for more lunchbox-friendly recipes, check out our Creamy Peanut Butter Banana Overnight Oats or our High Protein No-Bake Peanut Butter Balls for more quick and easy options.
Happy cooking, and here’s to lunchboxes that come home empty!
Frequently Asked Questions
Can I use corn tortillas instead of flour?
I don’t recommend it. Corn tortillas are smaller and more fragile, so they tend to crack when you fold them. They also don’t crisp up as nicely as flour tortillas do. Stick with flour for the best results.
Can I make these ahead of time for the week?
Absolutely! I make a big batch on Sunday and pack them in individual containers for the week. They store well in the fridge for up to 5 days, and they reheat beautifully in a toaster oven or air fryer.
My cheese always spills out when I flip the quesadilla. What am I doing wrong?
This usually happens when you’re using too much cheese or when the pan isn’t hot enough. Try reducing the cheese to about 1/4 cup per tortilla, and make sure your pan is at a steady medium heat before you start cooking.
Can I freeze these cheese quesadilla dippers?
Yes! Freeze them in a single layer on a baking sheet, then transfer to a freezer bag. They’ll keep for up to 3 months. Reheat directly from frozen in a toaster oven or air fryer—no need to thaw first.
What dipping sauces go best with these?
My kids love them with salsa, ranch dressing, or warm marinara sauce. For something different, try them with sour cream, guacamole, or even a simple tomato soup dip. They’re also delicious on their own!
Pin This Recipe!

Easy Cheese Quesadilla Dippers: Best Kids Lunchbox Recipe

Quick and easy cheese quesadilla dippers that are perfect for lunchboxes. Made with simple ingredients like tortillas and cheese, these crispy strips are a kid-friendly favorite that can be customized with various fillings and dipping sauces.
- Prep Time: 5 minutes
- Cook Time: 6 minutes
- Total Time: 11 minutes
- Yield: 4 servings 1x
- Category: Lunch
- Cuisine: Mexican-American
Ingredients
- Flour tortillas (8-inch or 10-inch)
- 1/4 cup shredded cheddar cheese (mild or sharp)
- 1/4 cup shredded mozzarella cheese
- Butter or cooking spray
- Optional: garlic powder, salt, finely chopped herbs
Instructions
- Heat a non-stick skillet over medium heat. Add about half a teaspoon of butter if using.
- Lay one tortilla flat on a cutting board. Sprinkle about 1/4 cup of the cheese mixture evenly over half of the tortilla.
- Fold the tortilla in half over the cheese, pressing down gently.
- Place the quesadilla in the hot skillet. Cook for 2-3 minutes on the first side until golden brown.
- Flip carefully using a spatula. Cook for another 2-3 minutes on the second side until evenly golden and cheese is melted.
- Transfer to a cutting board and let rest for about 30 seconds.
- Using a sharp knife or pizza cutter, slice the quesadilla into 4-5 strips, each about 1 to 1.5 inches wide.
- Let the strips cool completely before packing into a lunchbox. Spread them out on a plate or cooling rack for about 10 minutes.
Notes
Medium heat is key to avoid burning the tortilla before the cheese melts. Cover the pan for the first 2 minutes to help cheese melt evenly. Do not overstuff with cheese; about 1/4 cup per tortilla works best. Let quesadillas rest for 30 seconds before cutting to prevent cheese from oozing out. For meal prep, make a batch and store in the refrigerator for up to 5 days. Reheat in a toaster oven or air fryer at 350°F for 3-4 minutes. Freeze for up to 3 months.
Nutrition
- Serving Size: 4-5 strips
- Calories: 275
- Sugar: 1
- Sodium: 450
- Fat: 16
- Saturated Fat: 9
- Carbohydrates: 22
- Fiber: 1
- Protein: 13
Keywords: cheese quesadilla dippers, kids lunchbox recipe, easy lunchbox ideas, quick kid-friendly meals, tortilla strips, cheese dippers



