Love this? Save it for later!
Share the inspiration with your friends
My roommate asked why I couldn’t just skip the food processor and mix everything by hand. I was in the middle of explaining why that would never work—something about texture and proper binding—when I stopped. Honestly, I had no good reason. I was just being stubborn.
It was a Tuesday night, and I was determined to make these high-protein snacks the “right” way. I had my recipe card out, my food processor ready, and a very specific vision. But my roommate, who is not exactly a kitchen person, just wanted a snack without the noise and hassle. She grabbed a bowl and started dumping ingredients together. I watched, convinced I’d be scraping a crumbly mess out of the bowl later.
You know that feeling when you’re proven spectacularly wrong? That was me, about ten minutes later, holding a perfectly formed, deliciously fudgy peanut butter ball. The texture was better than anything I’d ever made in the processor. It was smoother, more even, and somehow more satisfying. I had to admit it—sometimes the simplest approach is the best one.
These easy no-bake high-protein peanut butter balls have become a staple in my kitchen ever since that humbling Tuesday. They’re the kind of recipe that makes you wonder why you ever overcomplicated things. I mean, really—protein powder, peanut butter, a few pantry staples, and your hands. That’s it. No fancy equipment, no long ingredient list, and definitely no food processor required.
I keep making them because they solve a real problem: the afternoon slump. You know the one—where you need energy but don’t want a full meal or a sugar crash. These little bites hit that perfect spot between treat and fuel. And honestly, they remind me that sometimes the best lessons come from being wrong.
Why You’ll Love This Recipe
Let me tell you why these no-bake peanut butter balls have earned a permanent spot in my weekly meal prep. I’ve tested this recipe more times than I can count, tweaking ratios and swapping ingredients until I got it just right. The result? A snack that’s genuinely foolproof.
- Quick & Easy: Comes together in under 15 minutes. No baking, no waiting, no complicated steps. Perfect for those days when you need a snack now.
- Simple Ingredients: You probably have everything in your pantry already. Peanut butter, oats, protein powder, honey—basic stuff that doesn’t require a special trip to the store.
- Perfect for Meal Prep: Make a batch on Sunday, and you’ve got high-protein snacks ready for the whole week. Great for post-workout refueling or that 3 PM energy dip.
- Crowd-Pleaser: I’ve brought these to potlucks, office gatherings, and family events. They disappear fast. Kids love them, adults love them—no one guesses they’re packed with protein.
- Unbelievably Delicious: The texture is what gets me every time. Fudgy, slightly chewy, with that perfect peanut butter richness. It’s like eating cookie dough, but actually good for you.
What makes this recipe different from the dozens of others out there? It’s the ratio. I spent weeks testing the perfect balance of wet to dry ingredients so you get balls that hold together without being dry or crumbly. No dry protein powder taste, no greasy texture—just pure, satisfying peanut butter goodness.
This isn’t just another energy ball recipe. It’s the one that makes you close your eyes after the first bite. It’s comfort food reimagined—healthier, faster, and packed with protein, but with the same soul-soothing satisfaction as your favorite childhood treat.
What Ingredients You Will Need
This recipe uses simple, wholesome ingredients to deliver bold flavor and satisfying texture without the fuss. Most of these are pantry staples, which makes this recipe perfect for spontaneous snack cravings.
For the Peanut Butter Balls
- 1 cup creamy peanut butter (natural or regular works; I prefer Skippy or Jif for consistent texture)
- 1/2 cup honey (or maple syrup for a vegan option—adds natural sweetness)
- 1 1/2 cups old-fashioned rolled oats (not instant oats—they give better texture)
- 1/2 cup vanilla or chocolate protein powder (I recommend Orgain or Vital Proteins for clean flavor)
- 1/4 cup ground flaxseed (adds fiber and helps bind the mixture)
- 1/4 cup mini chocolate chips (optional, but highly recommended for extra indulgence)
- Pinch of sea salt (enhances the peanut butter flavor)
Ingredient Selection Tips
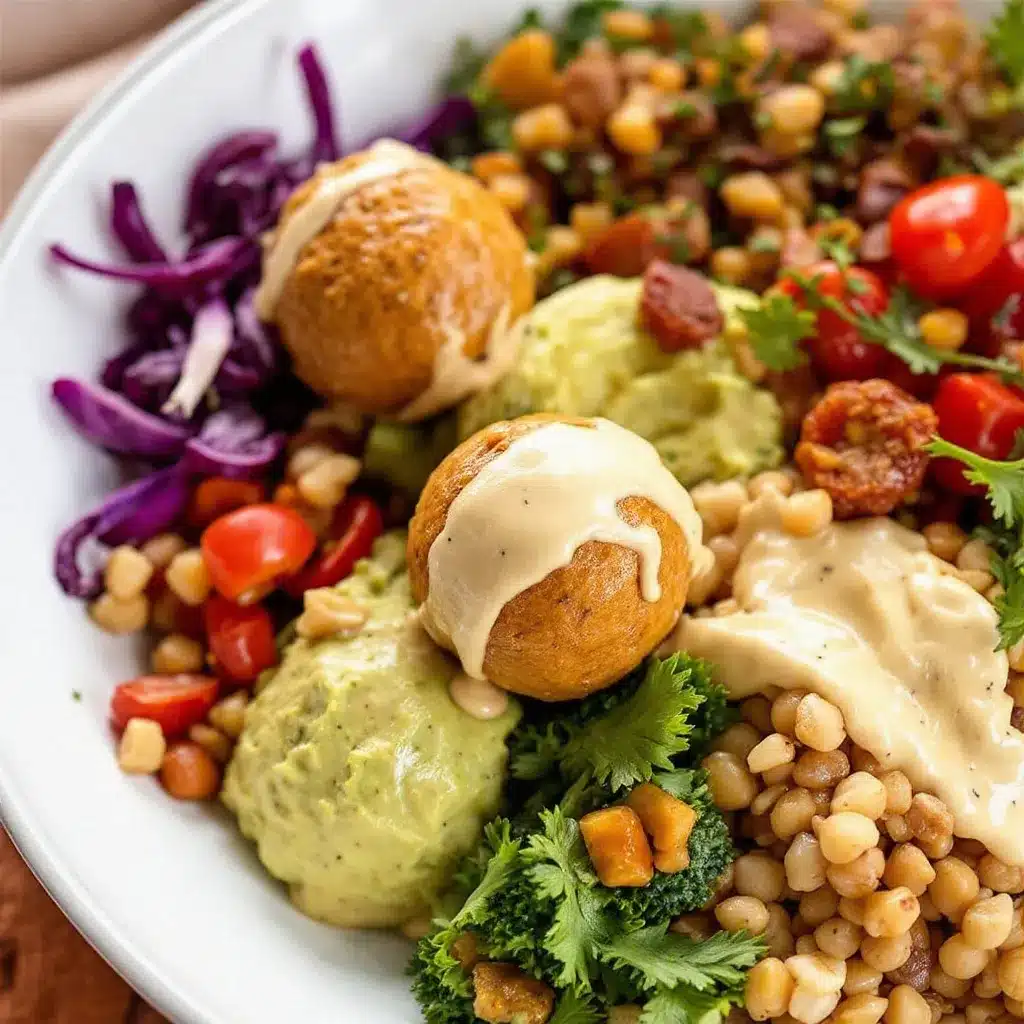
For the best texture, use a protein powder that you actually enjoy the taste of—trust me, it makes a difference. Vanilla works great for a neutral base, while chocolate adds extra richness. If your protein powder is on the drier side, you might need an extra tablespoon of honey to keep the mixture moist.
When it comes to peanut butter, avoid the natural ones that separate too much. You want a creamy, well-emulsified peanut butter for the best binding. If you only have crunchy, go for it—just know the texture will be a little different.
For a gluten-free option, make sure your oats are certified gluten-free. And if you’re watching your sugar intake, you can use a sugar-free honey substitute or monk fruit sweetener instead.
Equipment Needed
One of the best things about this recipe is how little equipment you need. Seriously, you could make these in a dorm room kitchen.
- Large mixing bowl (any bowl works, but a wider one is easier for mixing)
- Measuring cups and spoons (for accuracy—eyeballing can lead to dry balls)
- Rubber spatula or wooden spoon (for initial mixing)
- Your hands (the most important tool—for rolling the balls)
- Baking sheet or plate (to hold the rolled balls while they chill)
- Parchment paper (optional, but makes cleanup easier)
- Food processor (optional—I told you, I don’t use it anymore, but some people prefer it)
If you don’t have a food processor, don’t worry. I’ve made these dozens of times with just a bowl and my hands. The key is getting in there and really mixing—use your hands to squish everything together until it forms a cohesive dough. It’s actually kind of therapeutic.
For storage, an airtight container is essential. I use a glass meal prep container, but any container with a tight-fitting lid works fine. Pro tip: layer parchment paper between stacked balls to prevent sticking.
Preparation Method
Let me walk you through this step by step. It’s simpler than you think, and I’ll share all the little tricks I’ve learned along the way.
-
Combine the wet ingredients. In a large mixing bowl, add 1 cup creamy peanut butter and 1/2 cup honey. Stir them together with a rubber spatula until well combined. The mixture should look smooth and glossy. If your peanut butter is cold, microwave it for 10-15 seconds to soften it—this makes mixing much easier.
-
Add the dry ingredients. To the same bowl, add 1 1/2 cups rolled oats, 1/2 cup protein powder, 1/4 cup ground flaxseed, and a pinch of sea salt. If you’re using chocolate chips, add those too. Stir everything together with your spatula until it starts to come together. It will look a bit shaggy at first—that’s normal.
-
Get your hands in there. This is the step that makes all the difference. Once the mixture is partially combined, use your hands to squish and knead it together. Really get in there—squeeze it, fold it, press it. You want the mixture to hold together when pressed. If it feels too dry, add a tablespoon of honey or a splash of milk. If it’s too sticky, add a tablespoon of oats. Trust your hands—they know.
-
Test the consistency. Take a small amount of the mixture and roll it into a ball. It should hold its shape without cracking. If it falls apart, the mixture needs more moisture. If it’s too sticky to roll, add a bit more oats or protein powder. This is where experience comes in—I’ve had batches that needed a little adjustment, and that’s totally fine.
-
Roll into balls. Using your palms, roll the mixture into 1-inch balls. I usually get about 20-24 balls from this recipe. Place them on a baking sheet lined with parchment paper as you go. Don’t worry about making them perfect—slightly imperfect balls have more character anyway.
-
Chill for 30 minutes. Pop the baking sheet into the refrigerator for at least 30 minutes. This helps the balls firm up and hold their shape. If you’re in a hurry, 15 minutes in the freezer works too. The texture improves as they chill—they get fudgier and more satisfying.
-
Store and enjoy. Once chilled, transfer the peanut butter balls to an airtight container. They’ll keep in the refrigerator for up to two weeks—if they last that long. I usually stash a few in the freezer for emergency snacks.
Cooking Tips & Techniques
After making these no-bake peanut butter balls more times than I can count, I’ve collected a few tips that make a real difference.
Don’t overmix. I know it sounds counterintuitive, but once the ingredients are combined, stop mixing. Overworking the mixture can make the balls dense and tough. You want them tender and fudgy, not like hockey pucks.
Wet your hands slightly. If the mixture sticks to your hands while rolling, lightly dampen your palms with water. This trick changed my life—no more sticky fingers, and the balls come out perfectly smooth.
Chill before eating. I know it’s tempting to eat one right away, but trust me on this. The texture improves dramatically after chilling. The flavors meld together, and the balls become perfectly fudgy. Patience pays off.
Adjust for humidity. This is something I learned the hard way. On humid days, the mixture might be stickier. On dry days, it might be crumbly. Adjust accordingly—a little extra oats or a splash of milk fixes most issues.
Use a cookie scoop. For uniform balls, use a small cookie scoop or melon baller. It makes the process faster and ensures even sizing. Plus, it’s less messy than scooping with a spoon.
One of my biggest failures? I once used a protein powder that was super chalky and dry. The balls turned out like dry, crumbly disasters. I learned to taste my protein powder first—if it’s not good on its own, it won’t be good in the recipe.
Variations & Adaptations
This recipe is incredibly versatile. Here are some of my favorite variations:
- Chocolate Peanut Butter: Use chocolate protein powder and add 2 tablespoons of cocoa powder. The chocolate-peanut butter combo is classic for a reason.
- Almond Butter Swap: Replace peanut butter with almond butter for a different flavor profile. You might need a bit more honey since almond butter is less sweet.
- Vegan Version: Use maple syrup instead of honey and a plant-based protein powder. They turn out just as delicious—I’ve tested this myself.
- Nut-Free Option: Substitute peanut butter with sunflower seed butter. The color will be a bit different, but the taste is still amazing.
- Add-Ins: Try shredded coconut, chopped nuts, dried fruit, or even a pinch of cinnamon. Each addition creates a new flavor experience.
- Protein Boost: Add an extra scoop of protein powder and increase the honey by a tablespoon. Perfect for post-workout recovery.
My personal favorite variation? I add a tablespoon of chia seeds and a dash of vanilla extract. It gives the balls a little extra texture and a warm, comforting flavor. My roommate calls them “cookie dough bites” and she’s not wrong.
Serving & Storage Suggestions
These peanut butter balls are best served chilled, straight from the refrigerator. The cold temperature gives them that perfect fudgy texture that makes them so addictive. I like to serve them on a small plate, maybe with a few fresh berries on the side for a pop of color.
For a fun presentation, roll the balls in different coatings before chilling. Cocoa powder, shredded coconut, crushed nuts, or even a drizzle of melted chocolate turn them into something special. I once rolled half a batch in crushed freeze-dried strawberries—the pink coating was gorgeous and the flavor was incredible.
Storage is simple: keep them in an airtight container in the refrigerator for up to two weeks. I use a glass container with a tight lid, and I layer parchment paper between stacked balls to prevent sticking. They also freeze beautifully—just place them in a freezer-safe bag or container, and they’ll keep for up to three months.
When you’re ready to eat frozen balls, let them thaw in the refrigerator for about 10 minutes. Or eat them straight from the freezer—they’re like little protein-packed ice cream bites. The texture is different but still delicious.
I’ve noticed that the flavors actually develop over time. Day-old balls taste better than fresh ones. The oats absorb the moisture, and the flavors meld together. So don’t be afraid to make a big batch—they only get better.
Nutritional Information & Benefits
Here’s the nutritional breakdown per ball (based on 22 balls per batch):
- Calories: Approximately 140-160
- Protein: 7-9 grams
- Carbohydrates: 14-16 grams
- Fat: 8-10 grams
- Fiber: 2-3 grams
- Sugar: 8-10 grams
These numbers will vary slightly depending on your specific ingredients. The protein content is the star here—each ball packs a serious protein punch, making them perfect for post-workout recovery or a filling snack between meals.
The health benefits go beyond just protein. Peanut butter provides healthy monounsaturated fats that support heart health. Oats are rich in beta-glucan, a type of fiber that helps lower cholesterol. Flaxseed adds omega-3 fatty acids and additional fiber for digestive health.
This recipe is naturally gluten-free if you use certified gluten-free oats. It’s also dairy-free and can be made vegan with a simple swap. The only potential allergen is peanuts, but as I mentioned, you can easily substitute with almond or sunflower seed butter.
From a wellness perspective, I love that these balls give me sustained energy without the crash. They’re not a sugar bomb disguised as health food—they’re genuinely nutritious and satisfying. I feel good eating them, and that matters.
Conclusion
These easy no-bake high-protein peanut butter balls are proof that you don’t need complicated techniques or fancy equipment to eat well. They’re simple, honest, and genuinely delicious. Every time I make a batch, I’m reminded that sometimes the best recipes come from letting go of perfection and trusting your instincts—and your roommate’s suggestions.
I encourage you to make this recipe your own. Play with the add-ins, adjust the sweetness, try different nut butters. The beauty of this recipe is its flexibility. It’s a starting point, not a strict rulebook. And honestly, that’s what makes cooking fun.
I’d love to hear how your batch turns out. Did you add something unexpected? Did your family devour them in one sitting? Share your experience in the comments below—your twist might inspire someone else. And if you loved this recipe, please share it with a friend who needs a simple, healthy snack in their life.
Happy rolling, friends. You’ve got this.
Frequently Asked Questions
Can I use quick oats instead of rolled oats?
You can, but the texture will be different. Quick oats are more finely processed and will create a denser, less textured ball. Rolled oats give a better chew and more satisfying texture. If you only have quick oats, go ahead and use them—just know the result will be slightly different.
How long do these peanut butter balls stay fresh?
Stored in an airtight container in the refrigerator, they’ll stay fresh for up to two weeks. In the freezer, they last up to three months. I’ve never had a batch last that long because they get eaten too quickly, but theoretically, they’ll keep just fine.
Can I make these without protein powder?
Absolutely. Just replace the protein powder with an equal amount of oat flour or additional rolled oats. The texture will be a bit different—less dense and more oat-forward—but still delicious. You’ll lose some of the protein content, but they’ll still be a healthy snack.
My mixture is too dry. What should I do?
Add moisture gradually. Start with an extra tablespoon of honey or maple syrup. If that’s not enough, add a splash of milk (dairy or plant-based). Mix well after each addition until the mixture holds together when pressed. Don’t add too much at once—you can always add more, but you can’t take it out.
Can I double this recipe?
Yes, and I often do. The recipe scales perfectly. Just double all the ingredients and mix in a larger bowl. The only thing to watch is the consistency—sometimes doubling can throw off the moisture balance slightly, so be prepared to adjust with a little extra honey or oats if needed.
Pin This Recipe!
Best High-Protein No-Bake Peanut Butter Balls – Easy Recipe

These easy no-bake high-protein peanut butter balls are proof that you don’t need complicated techniques or fancy equipment to eat well. They’re simple, honest, and genuinely delicious.
- Prep Time: 15 minutes
- Cook Time: 0 minutes
- Total Time: 45 minutes
- Yield: 20-24 balls 1x
- Category: Snack
- Cuisine: American
Ingredients
- 1 cup creamy peanut butter
- 1/2 cup honey
- 1 1/2 cups old-fashioned rolled oats
- 1/2 cup vanilla or chocolate protein powder
- 1/4 cup ground flaxseed
- 1/4 cup mini chocolate chips (optional)
- Pinch of sea salt
Instructions
- Combine the wet ingredients: In a large mixing bowl, add 1 cup creamy peanut butter and 1/2 cup honey. Stir them together with a rubber spatula until well combined. The mixture should look smooth and glossy. If your peanut butter is cold, microwave it for 10-15 seconds to soften it.
- Add the dry ingredients: To the same bowl, add 1 1/2 cups rolled oats, 1/2 cup protein powder, 1/4 cup ground flaxseed, and a pinch of sea salt. If you’re using chocolate chips, add those too. Stir everything together with your spatula until it starts to come together.
- Get your hands in there: Once the mixture is partially combined, use your hands to squish and knead it together. Squeeze it, fold it, press it. You want the mixture to hold together when pressed. If it feels too dry, add a tablespoon of honey or a splash of milk. If it’s too sticky, add a tablespoon of oats.
- Test the consistency: Take a small amount of the mixture and roll it into a ball. It should hold its shape without cracking. If it falls apart, the mixture needs more moisture. If it’s too sticky to roll, add a bit more oats or protein powder.
- Roll into balls: Using your palms, roll the mixture into 1-inch balls. You should get about 20-24 balls. Place them on a baking sheet lined with parchment paper.
- Chill for 30 minutes: Pop the baking sheet into the refrigerator for at least 30 minutes. This helps the balls firm up and hold their shape. If you’re in a hurry, 15 minutes in the freezer works too.
- Store and enjoy: Once chilled, transfer the peanut butter balls to an airtight container. They’ll keep in the refrigerator for up to two weeks.
Notes
For the best texture, use a protein powder that you actually enjoy the taste of. Vanilla works great for a neutral base, while chocolate adds extra richness. If your protein powder is on the drier side, you might need an extra tablespoon of honey to keep the mixture moist. When it comes to peanut butter, avoid the natural ones that separate too much. You want a creamy, well-emulsified peanut butter for the best binding. For a gluten-free option, make sure your oats are certified gluten-free. And if you’re watching your sugar intake, you can use a sugar-free honey substitute or monk fruit sweetener instead.
Nutrition
- Serving Size: 1 ball
- Calories: 140160
- Sugar: 810
- Sodium: 50100
- Fat: 810
- Saturated Fat: 23
- Carbohydrates: 1416
- Fiber: 23
- Protein: 79
Keywords: high-protein, no-bake, peanut butter balls, energy balls, healthy snack, gluten-free, dairy-free, meal prep



