Love this? Save it for later!
Share the inspiration with your friends
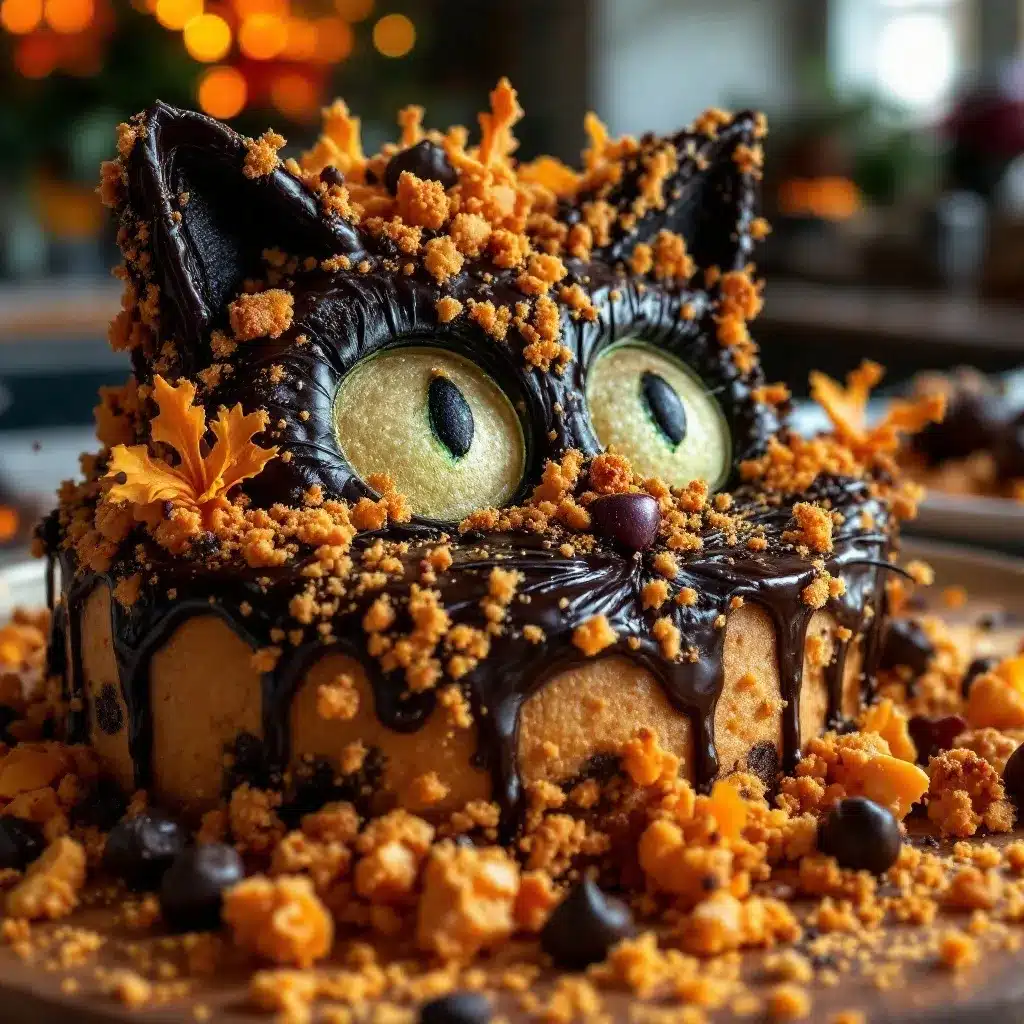
Third time in as many days and I still couldn’t stop staring at it before slicing in. The dark cocoa surface catching the kitchen light, those little pointed ears holding their shape perfectly, the way the powdered sugar whiskers blurred just slightly when I breathed too close. I had set out to make something cute for Halloween, something the kids could help decorate. What I ended up with was a giant, fudgy black cat staring up at me from a baking sheet, and honestly, I felt a little bit like a mad scientist. The obsession wasn’t planned, but there I was, tweaking the dough temperature, adjusting the chill time, trying to get the tail to stay attached without snapping off. By the third batch, I had it figured out. This black cat isn’t just a cookie, it’s a statement piece for your Halloween dessert table that actually tastes as good as it looks. It’s rich, it’s chocolatey, and it’s got just the right amount of crunch on the edges with a soft, almost brownie-like center. You don’t need a special cutter or a steady hand, just a little patience and a love for all things spooky.
Why You’ll Love This Recipe
This isn’t your average Halloween cookie. It’s a giant cookie cake shaped like a black cat, which means you get the fun of decorating without the hassle of rolling and cutting dozens of individual cookies. I’ve tested this dough more times than I care to admit, and I can tell you with confidence that the texture is spot on. It holds its shape during baking, spreads just the right amount, and stays soft for days.
- No Special Cutter Needed : You shape the cat by hand using a simple template or freehand technique. It’s way easier than it sounds.
- Rich, Deep Chocolate Flavor : We’re using a combination of cocoa powder and melted chocolate for that intense, fudgy taste that pairs perfectly with a cold glass of milk.
- Perfect for Halloween Parties : This cookie cake is a showstopper. It’s great for classroom parties, spooky movie nights, or just a fun weekend baking project.
- Kid-Friendly Decorating : Let the little ones go wild with the frosting and candy eyes. The imperfections make it charming, honestly.
- Better Than a Regular Cake : It’s a cookie, so it’s less fussy than a layer cake, but it feels just as special. No slicing stress, just grab a piece and go.
This recipe came from a place of wanting something visually impressive but totally doable on a Tuesday night. You know those moments when you want to surprise your family with something fun but don’t want to spend hours in the kitchen? This is that recipe. It’s the kind of dessert that makes people say, “Wait, you made that?” and you get to shrug and say, “It was actually pretty simple.”
What Ingredients You Will Need
This recipe uses simple, pantry-friendly ingredients to create a deeply chocolatey and tender cookie cake. The magic is in how they come together, so let’s talk about each one.
- Unsalted Butter (1 cup, 2 sticks, softened) : I always use unsalted butter so I can control the salt level. Make sure it’s truly softened to room temperature, not melted. Softened butter creams properly with the sugar, giving the cookie a tender crumb. If you’re in a pinch, you can cut the butter into small cubes and let it sit for 15 minutes.
- Granulated Sugar (1 cup, 200g) : Standard white sugar adds sweetness and helps with spreading and browning. It also creates those slightly crispy edges we all love.
- Light Brown Sugar (1/2 cup, 100g, packed) : This adds moisture and a hint of molasses flavor that deepens the chocolate. Don’t skip it. The brown sugar is what gives the cookie that chewy, soft center.
- Large Eggs (2, room temperature) : Eggs bind everything together and add richness. I recommend bringing them to room temperature by placing them in a bowl of warm water for 5 minutes if you forgot to take them out earlier.
- Vanilla Extract (2 teaspoons) : Pure vanilla extract is worth it here. It enhances the chocolate flavor without overpowering it.
- All-Purpose Flour (2 1/4 cups, 280g) : Standard all-purpose flour works best. I’ve tested this with bread flour and it was too tough. Spoon and level your flour into the measuring cup, don’t scoop directly from the bag or you might end up with a dry cookie.
- Unsweetened Cocoa Powder (1/2 cup, 45g) : Use a good quality natural cocoa powder, not Dutch-processed. I prefer Ghirardelli or Hershey’s Special Dark for a richer color. The cocoa powder is what gives the cat its deep black color.
- Baking Soda (1 teaspoon) : This helps the cookie spread slightly and gives it a nice lift. Make sure it’s fresh or your cookie might be dense.
- Salt (1/2 teaspoon) : Salt balances the sweetness and brings out the chocolate flavor. I use fine sea salt.
- Semi-Sweet Chocolate Chips (1 cup, 175g, melted and cooled slightly) : This is my secret ingredient. Melting chocolate chips into the dough adds an extra layer of fudgy richness that cocoa powder alone can’t achieve. Let them cool for a few minutes so they don’t cook the eggs.
- For Decorating : You’ll need a simple powdered sugar glaze (1 cup powdered sugar + 2-3 tablespoons milk), candy eyes, and a small amount of black frosting or gel for the details. I also like to use a few black licorice strings for the whiskers, but you can pipe them with black frosting too.
Equipment Needed
You don’t need a lot of fancy tools for this recipe, which is part of its charm. Here’s what you’ll need:
- Large Baking Sheet : A half-sheet pan (18×13 inches) works perfectly. Line it with parchment paper for easy cleanup.
- Parchment Paper : Essential for preventing sticking and making the transfer to a cooling rack simple.
- Stand Mixer or Hand Mixer : A stand mixer with the paddle attachment makes creaming the butter and sugar a breeze, but a hand mixer works just as well. You can even do it by hand with a wooden spoon if you’re feeling strong.
- Large Mixing Bowls : One for the wet ingredients and one for the dry.
- Whisk : For combining the dry ingredients evenly.
- Spatula : A rubber spatula is perfect for scraping down the bowl and folding in the chocolate chips.
- Sharp Knife or Bench Scraper : For shaping the cat’s ears and tail on the dough.
- Cooling Rack : Allows air to circulate under the cookie so it cools evenly without getting soggy.
- Piping Bags or Ziploc Bags : For the glaze and frosting details. A small zip-top bag with the corner snipped off works perfectly.
Preparation Method
Let’s get into the step-by-step process. I’ll walk you through it like we’re in the kitchen together.
- Cream the Butter and Sugars : In the bowl of your stand mixer fitted with the paddle attachment, beat the softened butter, granulated sugar, and brown sugar together on medium speed for about 2-3 minutes. You want it light and fluffy, but don’t overdo it. Scrape down the sides of the bowl with your spatula.
- Add the Eggs and Vanilla : Add the eggs one at a time, beating well after each addition. Then add the vanilla extract and beat until combined. The mixture might look a little curdled at this point, that’s totally normal.
- Add the Melted Chocolate : Pour in the cooled melted chocolate chips and beat on low until just incorporated. The dough will turn a beautiful dark brown. Scrape the bowl again.
- Combine the Dry Ingredients : In a separate medium bowl, whisk together the flour, cocoa powder, baking soda, and salt. This ensures the baking soda and salt are evenly distributed.
- Mix the Dry into the Wet : With the mixer on low speed, gradually add the dry ingredients to the wet ingredients. Mix until just combined. You don’t want to overmix here, or the cookie will be tough. A few streaks of flour are okay. Fold in the remaining chocolate chips (the ones you didn’t melt) with your spatula if you want extra chocolate chunks in the cookie.
- Chill the Dough : This step is crucial. Cover the bowl with plastic wrap and refrigerate the dough for at least 30 minutes, or up to 2 days. Chilling the dough prevents it from spreading too much in the oven and helps the cat shape hold its form. If you skip this, you’ll end up with a puddle instead of a cat.
- Preheat and Prepare : When you’re ready to bake, preheat your oven to 350°F (175°C). Line your baking sheet with parchment paper.
- Shape the Cat : Turn the chilled dough out onto the prepared baking sheet. Don’t flour your hands, just use them to pat the dough into a rough cat shape. Think of a rounded oval for the body, a smaller circle for the head, and two triangles for the ears. You can also draw a simple cat template on a piece of parchment paper and place it under your baking parchment as a guide. The dough should be about 1/2 inch thick. Pinch the ears to make them pointy. Shape a small tail and attach it to the side of the body, pressing gently to seal. Don’t worry if it looks a little rough, baking will smooth it out.
- Bake : Bake for 18-22 minutes. The edges should be set and the center should look slightly underdone and puffed. It will continue to bake on the hot pan as it cools. I usually start checking at 18 minutes. For a softer, more fudgy cookie, pull it at 18 minutes. For a crisper cookie, go to 22 minutes.
- Cool Completely : Let the cookie cake cool on the baking sheet for 10 minutes. Then, carefully transfer it to a cooling rack (using the parchment paper to lift it) and let it cool completely before decorating. This is very important. If you decorate while it’s warm, the glaze will melt and run off.
Cooking Tips & Techniques
I’ve made a few mistakes with this recipe so you don’t have to. Here are the things I learned the hard way.
Don’t skip the chill time. I know it’s tempting to rush, but the first time I made this, I skipped the chilling step and the cat turned into a giant amorphous blob. It still tasted good, but it looked more like a bear than a cat. The cold dough holds its shape beautifully.
Watch the bake time carefully. Ovens vary wildly. My old oven would have burned this at 20 minutes, but my current one takes the full 22. Start checking at 18 minutes. The edges should be firm, and the center should look a little soft and puffy. It will set as it cools.
Use a template for the shape. If you’re nervous about freehanding the cat, take a piece of parchment paper and draw a simple cat shape on it. Flip it over and place it under your baking parchment. You can see the outline through the paper and use it as a guide. This is a trick I use for all my shaped cookies, including my spiderweb cookies.
Handle the dough gently. Overworking the dough will make the cookie tough. When you’re shaping the cat, just pat it into place. Don’t knead it or press it too hard. Think gentle encouragement, not aggressive sculpting.
Let it cool completely. I cannot stress this enough. If you try to add the glaze and candy eyes while the cookie is even slightly warm, the glaze will become a sticky mess and the eyes will slide right off. Patience is a virtue, especially in baking.
Variations & Adaptations
One of the best things about this recipe is how easy it is to change up. Here are a few ways you can make it your own.
- Gluten-Free Version : Swap the all-purpose flour for a 1:1 gluten-free baking flour blend that contains xanthan gum. I’ve had good luck with King Arthur’s Measure for Measure. The texture will be slightly more delicate, but it still works great.
- White Chocolate Cat : For a completely different look, skip the cocoa powder and melted dark chocolate. Use 2 3/4 cups of flour and add 1 cup of white chocolate chips to the dough. Shape and bake as directed. Decorate with dark chocolate glaze for a ghostly white cat.
- Pumpkin Spice Cat : Reduce the flour to 2 cups and add 1/2 cup of pumpkin puree and 2 teaspoons of pumpkin pie spice. You’ll need to increase the chill time to at least 1 hour because the pumpkin adds moisture. This version pairs perfectly with the fall flavors in my pumpkin cream cheese muffins.
- Peanut Butter Swirl : Before shaping the cat, drop small spoonfuls of creamy peanut butter onto the dough and gently swirl it in with a knife. It creates a marbled effect and adds a salty, nutty flavor that’s incredible with the chocolate.
- Double Chocolate Chunk : Use dark chocolate chunks instead of semi-sweet chips in the dough. It makes for an even richer, more decadent cookie cake. This is my husband’s favorite version.
Serving & Storage Suggestions
This cookie cake is best served at room temperature. It’s soft, chewy, and the glaze has firmed up nicely. I like to cut it into wedges, like a pizza, so everyone gets a piece of the tail or an ear.
Serving Ideas : Serve it with a scoop of vanilla ice cream for an extra special treat. A drizzle of warm caramel sauce on top is also amazing. For a Halloween party, place it on a black cake stand with some fake spiderwebs and plastic spiders around it for a spooky display.
Storage : Store any leftovers in an airtight container at room temperature for up to 3 days. The cookie will stay soft and chewy. Do not refrigerate it, as the fridge will dry it out.
Freezing : You can freeze the baked, undecorated cookie cake. Let it cool completely, then wrap it tightly in plastic wrap and then in foil. Freeze for up to 2 months. When you’re ready to serve, thaw it at room temperature, then decorate. You can also freeze the raw dough for up to 3 months. Just shape it into a disc, wrap it well, and thaw it in the fridge overnight before shaping and baking.
Reheating : If you want that just-baked warmth, pop a slice in the microwave for 10-15 seconds. It will be soft and gooey. You can also reheat it in a 300°F oven for about 5 minutes.
Nutritional Information & Benefits
Let’s be real, this is a dessert. It’s a treat, and it’s meant to be enjoyed. But I do think it’s worth noting that this recipe uses real, whole ingredients. There’s no artificial flavors or preservatives here.
Per serving (based on 8 servings):
- Calories: 485
- Fat: 24g
- Carbohydrates: 64g
- Protein: 7g
- Fiber: 3g
- Sugar: 38g
Health Benefits : Dark chocolate and cocoa powder are rich in antioxidants called flavonoids, which can be good for heart health. The eggs provide protein, and the butter, well, the butter makes it taste amazing. This recipe also contains no high-fructose corn syrup or hydrogenated oils, which is a win in my book.
Dietary Considerations : This recipe contains gluten, dairy, and eggs. For a dairy-free version, use a high-quality vegan butter stick and dairy-free chocolate chips. For an egg-free version, you can try using a flax egg (1 tablespoon ground flaxseed + 3 tablespoons water per egg), but I haven’t tested it with this specific recipe, so results may vary.
Conclusion
This Best Black Cat Halloween Cookie Cake is more than just a dessert, it’s a memory in the making. It’s the kind of recipe that gets everyone in the kitchen, from the little ones eager to place the candy eyes to the adults who secretly enjoy piping the whiskers. It’s forgiving, it’s fun, and it tastes incredible. I love that it looks like you spent hours on it when really, it comes together with the same effort as a batch of regular cookies. It’s a little bit spooky, a whole lot of delicious, and it’s guaranteed to be the star of your Halloween spread. So go ahead, preheat that oven, chill that dough, and make a black cat that’s way too cute to be scary. I promise you, the first bite will make it all worth it.
I’d love to see your creations! Tag me when you make this, and let me know in the comments if you added any fun twists. Did you go with the pumpkin spice version or keep it classic? Happy Halloween, and happy baking!
Frequently Asked Questions
Can I make this cookie cake ahead of time?
Absolutely. You can bake the cookie cake up to 2 days in advance. Just store it in an airtight container at room temperature and decorate it on the day you plan to serve it. You can also make the dough up to 2 days ahead and keep it in the fridge.
My dough is too sticky to shape. What should I do?
If your dough is too sticky, it likely needs more chill time. Pop it back in the fridge for another 30 minutes. You can also lightly dampen your hands with cold water before shaping to prevent sticking.
Can I use Dutch-processed cocoa powder instead of natural?
I don’t recommend it for this recipe. Natural cocoa powder is more acidic and reacts with the baking soda to help the cookie spread and rise. Dutch-processed cocoa is neutral and won’t react the same way, which could result in a denser, flatter cookie.
How do I get the cat shape to look perfect?
Don’t stress about perfection! The charm of this cookie is that it looks handmade. If you want a more precise shape, use a paper template as a guide. If the ears spread during baking, you can carefully reshape them with a knife while the cookie is still warm.
Can I use this dough to make regular cookies?
Yes, you can! Simply scoop the chilled dough into 2-tablespoon balls and bake for 10-12 minutes. You’ll get about 24 regular-sized cookies. They’re perfect for a quick batch of chocolate chip cookies with a Halloween twist.
Pin This Recipe!
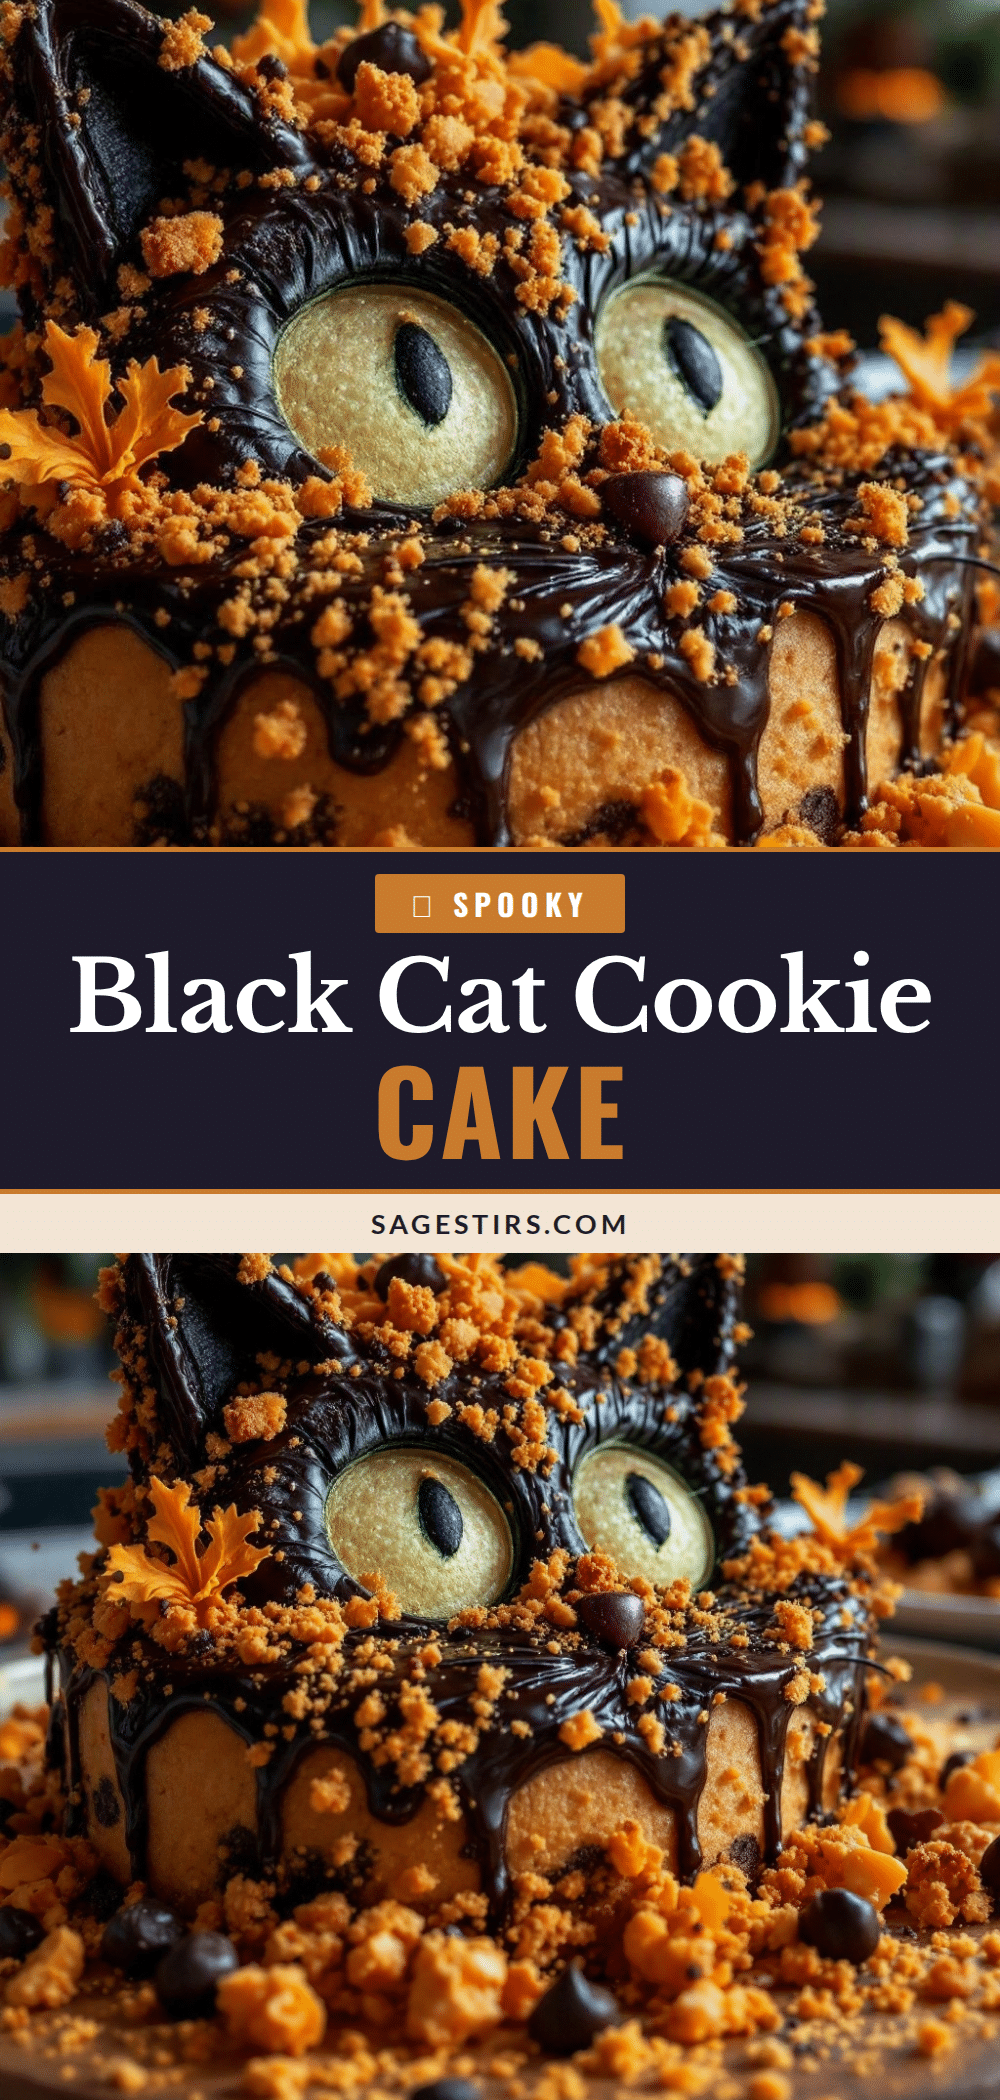
Best Black Cat Halloween Cookie Cake Recipe

A giant, fudgy black cat cookie cake that’s perfect for Halloween. It’s rich, chocolatey, and has just the right amount of crunch on the edges with a soft, almost brownie-like center.
- Prep Time: 15 minutes
- Cook Time: 20 minutes
- Total Time: 1 hour 5 minutes (includes 30 minutes chilling)
- Yield: 8 servings 1x
- Category: Dessert
- Cuisine: American
Ingredients
- 1 cup (2 sticks) unsalted butter, softened
- 1 cup (200g) granulated sugar
- 1/2 cup (100g) light brown sugar, packed
- 2 large eggs, room temperature
- 2 teaspoons vanilla extract
- 2 1/4 cups (280g) all-purpose flour
- 1/2 cup (45g) unsweetened cocoa powder
- 1 teaspoon baking soda
- 1/2 teaspoon salt
- 1 cup (175g) semi-sweet chocolate chips, melted and cooled slightly
- For decorating: 1 cup powdered sugar, 2-3 tablespoons milk, candy eyes, black frosting or gel, black licorice strings (optional)
Instructions
- Cream the butter and sugars: In a stand mixer with paddle attachment, beat softened butter, granulated sugar, and brown sugar on medium speed for 2-3 minutes until light and fluffy. Scrape down sides.
- Add the eggs and vanilla: Add eggs one at a time, beating well after each. Add vanilla extract and beat until combined.
- Add the melted chocolate: Pour in cooled melted chocolate chips and beat on low until just incorporated. Scrape bowl.
- Combine dry ingredients: In a separate bowl, whisk together flour, cocoa powder, baking soda, and salt.
- Mix dry into wet: With mixer on low, gradually add dry ingredients to wet until just combined. Do not overmix. Fold in remaining chocolate chips if desired.
- Chill the dough: Cover bowl with plastic wrap and refrigerate for at least 30 minutes, up to 2 days.
- Preheat and prepare: Preheat oven to 350°F (175°C). Line baking sheet with parchment paper.
- Shape the cat: Turn chilled dough onto prepared sheet. Pat into a rough cat shape (rounded oval body, smaller circle head, two triangles for ears, small tail attached to side). Dough should be about 1/2 inch thick.
- Bake: Bake for 18-22 minutes. Edges should be set, center slightly underdone and puffed. Start checking at 18 minutes.
- Cool completely: Let cool on baking sheet for 10 minutes, then transfer to cooling rack. Cool completely before decorating.
- Decorate: Mix powdered sugar and milk to make glaze. Pipe or spread glaze for whiskers and details. Add candy eyes and black frosting details.
Notes
Don’t skip chilling the dough; it prevents spreading. Use a paper template for the cat shape if needed. Let cookie cool completely before decorating. For a softer cookie, bake 18 minutes; for crisper, 22 minutes.
Nutrition
- Serving Size: 1 wedge (1/8 of cook
- Calories: 485
- Sugar: 38
- Sodium: 320
- Fat: 24
- Saturated Fat: 14
- Carbohydrates: 64
- Fiber: 3
- Protein: 7
Keywords: Halloween cookie cake, black cat cookie, giant cookie, chocolate cookie, Halloween dessert, fudgy cookie, no special cutter