Love this? Save it for later!
Share the inspiration with your friends
“You made ghosts out of egg whites?” My neighbor peered over the fence, a plastic cauldron of candy corn dangling from her wrist. I held up a baking sheet, and the afternoon sun caught the meringues just right—they practically glowed. She laughed, shook her head, and said, “That’s the most ridiculous and brilliant thing I’ve seen all October.” And honestly? She wasn’t wrong.
I hadn’t planned on making ghost meringue cookies that day. I was supposed to be testing a batch of brown butter pumpkin snickerdoodles for a fall bake sale, but I ran out of butter. Staring into my pantry, I spotted a half-full bag of sugar and a carton of egg whites I’d saved from making custard. A lightbulb flickered. Meringue. Ghosts. Three ingredients. It was one of those accidents that turns into a tradition.
These little guys are crisp on the outside, airy on the inside, and they melt on your tongue like a sugary cloud. They’re the kind of cookie that makes kids gasp and adults grin. No complicated piping bags, no fancy equipment—just a whisk, a baking sheet, and a little imagination. If you can fold a napkin, you can pipe a ghost. Trust me on this one.
Why You’ll Love This Recipe
Let me tell you why these ghost meringue cookies have become my most-requested Halloween treat. It’s not just because they’re adorable—though, let’s face it, they are.
- Only 3 Ingredients: Egg whites, sugar, and vanilla extract. That’s it. You probably have all three right now.
- Naturally Gluten-Free & Low-Fat: Meringues are naturally free of flour and butter, making them a lighter option for the candy-heavy Halloween season.
- No Special Equipment: No piping tips, no cookie cutters, no food coloring required. A zip-top bag with a snipped corner works perfectly.
- Kid-Friendly: This is the perfect recipe for little hands. Piping ghosts is forgiving—if they look wonky, they just look more ghost-like.
- Make-Ahead Magic: These cookies keep for weeks in an airtight container. You can bake them a month before Halloween and they’ll still be perfect.
I’ve tested this recipe six times to get the texture just right—crisp enough to hold their shape, but delicate enough to shatter when you bite into them. The first batch I made was too chewy. The second batch cracked. But by batch three, I found the sweet spot: a low, slow bake at 200°F that dries them out without browning them. These ghosts stay ghostly white, just like they should.
What Ingredients You Will Need
This recipe uses the simplest ingredients to create something truly magical. Here’s what you’ll need and why each one matters.
- 3 large egg whites (room temperature) – The foundation of your meringue. Room-temperature egg whites whip up higher and hold more air than cold ones. Separate your eggs carefully—any yolk will prevent the whites from reaching stiff peaks. I recommend separating them while the eggs are still cold, then letting the whites sit on the counter for 30 minutes.
- ¾ cup (150g) granulated white sugar – Regular white sugar is your best bet here. It dissolves cleanly and creates that signature crisp texture. Avoid powdered sugar—it contains cornstarch, which can make your meringues gritty. I’ve tried superfine sugar too, and it works beautifully if you have it on hand.
- 1 teaspoon vanilla extract (or clear vanilla if you want pure white ghosts) – Vanilla adds warmth and rounds out the sweetness. For Halloween, I sometimes use clear vanilla extract to keep the ghosts stark white, but regular vanilla gives them a faint, creamy tint that I actually prefer. It looks more like a vintage ghost that way.
- Optional: ¼ teaspoon cream of tartar – Not required, but highly recommended. This acidic powder stabilizes the egg whites and helps them hold their shape. If you don’t have it, a squeeze of lemon juice works too. I’ve made these without it, and they still work—they’re just a little more fragile.
- Optional: Mini chocolate chips or black gel food coloring – For making faces on your ghosts. I usually stick with chocolate chips because they’re easier and taste better. Black gel coloring works if you want to paint on eyes and mouths, but it’s messier.
That’s really all you need. No butter, no flour, no complicated extracts. It’s the kind of recipe that makes you feel like a kitchen wizard—pulling a tray of adorable ghosts out of the oven with almost no effort.
Equipment Needed
You don’t need a pastry degree to make these ghost meringue cookies. Here’s what you’ll want to have on hand:
- Electric hand mixer or stand mixer – You can whisk by hand, but your arm will hate you. A stand mixer with the whisk attachment makes this recipe almost too easy. I’ve used my trusty hand mixer for years, and it works perfectly.
- Large mixing bowl – Make sure it’s completely clean and dry. Any grease or moisture will ruin your meringue. Glass or metal bowls work best—plastic can retain oils.
- Baking sheet – A standard half-sheet pan works great. Line it with parchment paper or a silicone baking mat. Do NOT use wax paper—your ghosts will stick and break.
- Piping bag or zip-top bag – A gallon-sized zip-top bag with a small corner snipped off works beautifully. If you have a piping bag with a round tip, even better. But honestly, the bag method is easier to clean.
- Cooling rack – Meringues need to cool completely before you move them. A wire rack helps air circulate so they don’t trap moisture.
Pro tip: If you don’t have a piping bag, you can also use a small spoon to drop dollops of meringue onto the baking sheet. They won’t look as ghost-shaped, but they’ll still taste amazing. I’ve done this when I was traveling and forgot my gear—they turned out like chubby little cloud ghosts.
Preparation Method
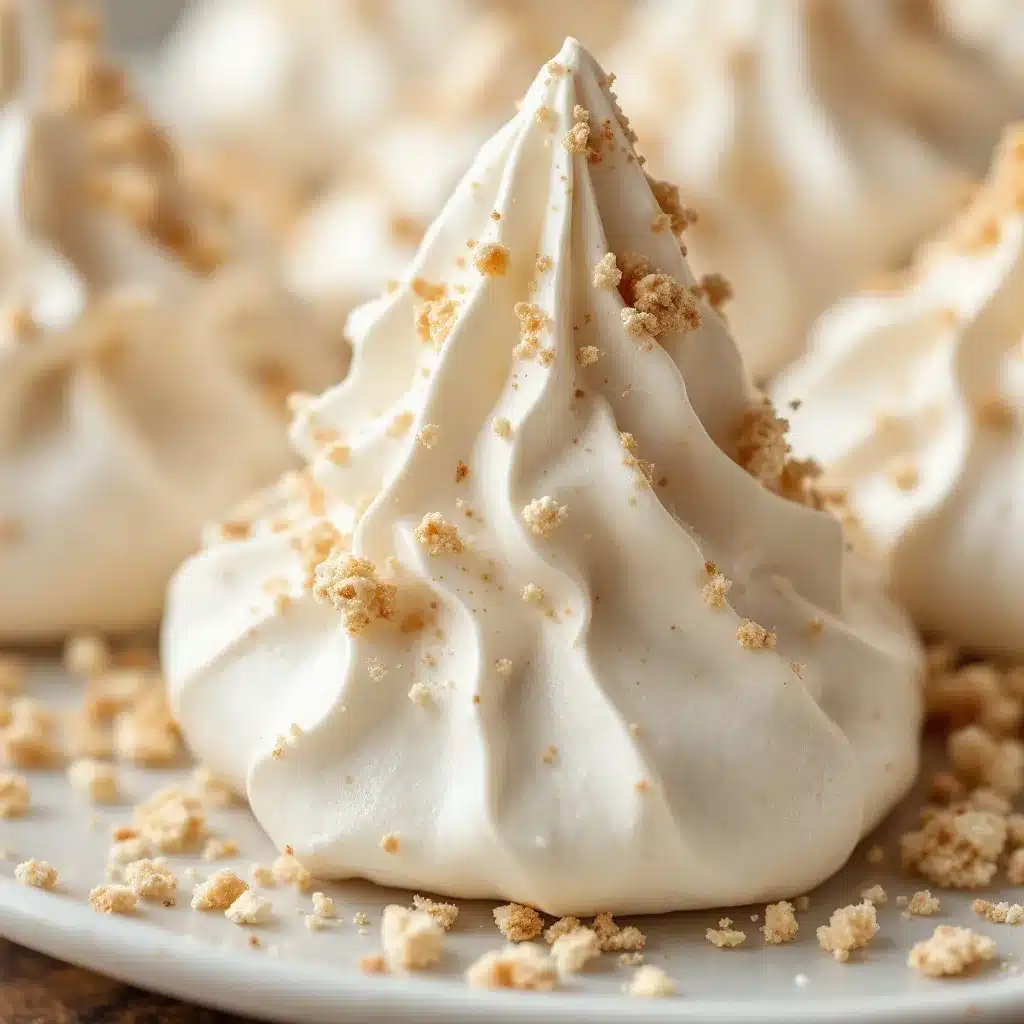
Making these ghost meringue cookies is surprisingly straightforward. Follow these steps, and you’ll have a tray of adorable ghosts before you know it.
- Preheat your oven to 200°F (93°C). Yes, this is very low. We’re drying the meringues, not baking them. Line a large baking sheet with parchment paper and set it aside.
- Prepare your egg whites. Make sure your bowl and whisk attachment are spotless. Even a tiny bit of grease can prevent your whites from whipping. Separate your eggs carefully—no yolk allowed. Let the whites sit at room temperature for 30 minutes. This step matters more than you think. Cold egg whites take forever to whip and never reach their full volume.
- Start whipping. Beat the egg whites on medium speed until they become frothy and bubbly—about 1 minute. If you’re using cream of tartar, add it now. The bubbles should be small and uniform, not large and soapy.
- Add the sugar slowly. With the mixer running on medium-high, add the sugar one tablespoon at a time. This is the most important step. If you dump all the sugar in at once, your meringue will deflate and become grainy. I learned this the hard way with my first batch—it was a sad, flat mess. Take your time. The whole process should take about 2-3 minutes.
- Whip to stiff peaks. Once all the sugar is added, increase the speed to high and whip for 5-7 minutes. You’re looking for stiff, glossy peaks that hold their shape when you lift the whisk. The mixture should feel smooth between your fingers—if it feels gritty, keep whipping. Add the vanilla extract in the last minute of whipping.
- Test your meringue. Rub a small amount between your thumb and forefinger. If it feels smooth, you’re done. If it’s grainy, the sugar hasn’t dissolved completely, and your meringues will weep sugar syrup during baking. Keep whipping until it’s silky.
- Transfer to your piping bag. Spoon the meringue into your piping bag or zip-top bag. If using a zip-top bag, snip off about ¼ inch from one corner. Don’t cut too much—you want a small opening for precise control.
- Pipe your ghosts. Hold the bag perpendicular to the baking sheet. Pipe a small mound of meringue, about 1½ inches wide. Then, pull the bag straight up to create a tall peak. Gently wiggle the bag to create a slightly wavy shape—it makes them look more ghost-like. Leave about 1 inch between each ghost. They don’t spread much, but they need room for air circulation.
- Add faces (optional). If you’re using mini chocolate chips, gently press two for eyes and one for a mouth into each ghost. If you’re using black gel food coloring, wait until the ghosts are baked and cooled—the heat can make the gel run.
- Bake low and slow. Place the baking sheet in the preheated oven and bake for 1½ to 2 hours. The exact time depends on the size of your ghosts and your oven. They’re done when they feel dry and firm to the touch and lift easily off the parchment paper. They should be white or very lightly cream-colored—not brown.
- Cool completely. Turn off the oven and leave the meringues inside with the door slightly ajar for another 30 minutes. This prevents cracking from sudden temperature changes. Then transfer them to a wire rack to cool completely.
- Store properly. Once completely cool, store your ghost meringue cookies in an airtight container at room temperature. Do not refrigerate—the moisture will make them sticky and chewy.
One thing I’ve learned: don’t try to rush these. I once cranked the oven to 250°F, thinking I’d save time. My ghosts came out tan and cracked like little zombie ghosts. They still tasted good, but they lost their spooky charm. Low and slow is the only way.
Cooking Tips & Techniques
After making these ghost meringue cookies more times than I can count, I’ve picked up a few tricks that make the process smoother and the results more reliable.
Humidity is your enemy. Meringues are hygroscopic—they absorb moisture from the air. If it’s a rainy or humid day, your meringues may turn out chewy instead of crisp. Wait for a dry day, or run your air conditioner to lower the humidity in your kitchen. I learned this the hard way during a thunderstorm in July. My ghosts looked like sad, sticky blobs.
Don’t over-whip. It’s possible to whip egg whites too long. If your meringue starts looking grainy and separates into liquid and foam, you’ve gone too far. The whites will look dry and curdled. At this point, there’s no saving them—start over with fresh egg whites. I’ve done this exactly once, and it was heartbreaking.
Use a thermometer. Oven temperatures vary wildly. I use an inexpensive oven thermometer to make sure my oven is actually at 200°F. My first oven ran 25 degrees hot, and I couldn’t figure out why my meringues kept browning. A $10 thermometer solved the mystery.
Pipe in batches. If you’re making a large batch, pipe your ghosts in groups and bake them one sheet at a time. Meringue sitting at room temperature can start to deflate and weep. Work quickly, and keep the unused meringue covered with a damp paper towel.
Test for doneness. When you think they’re done, lift one off the parchment paper. If it comes off cleanly and feels dry, it’s ready. If it sticks or feels soft, give it more time. I always bake mine for the full 2 hours to be safe.
Variations & Adaptations
These ghost meringue cookies are endlessly adaptable. Here are some of my favorite variations:
- Chocolate Ghosts: Swap 2 tablespoons of sugar for 2 tablespoons of unsweetened cocoa powder. Sift it with the sugar before adding to the egg whites. The ghosts turn a pale brown, which looks like chocolate—or like ghosts that have been playing in mud.
- Peppermint Ghosts: Replace the vanilla extract with ½ teaspoon of peppermint extract. Add a drop of pink food coloring for a blush of color. These are perfect for Christmas, not just Halloween.
- Lemon Ghosts: Use 1 teaspoon of lemon extract instead of vanilla. The citrus flavor cuts through the sweetness beautifully. I made these for a spring party, and they disappeared in minutes.
- Vegan Version: Use aquafaba (the liquid from a can of chickpeas) instead of egg whites. Whip ¾ cup of aquafaba with ½ teaspoon of cream of tartar until frothy, then add the sugar. The texture is slightly less crisp, but the taste is surprisingly similar.
- Spiced Ghosts: Add ½ teaspoon of pumpkin pie spice or cinnamon to the sugar before whipping. This pairs perfectly with fall flavors—try serving them alongside a slice of pumpkin sourdough bread for a cozy autumn treat.
- Colorful Ghosts: Add a drop of gel food coloring to the meringue just before it reaches stiff peaks. Swirl it gently—don’t overmix. You’ll get marbled ghosts in orange, purple, or green. Perfect for a Halloween party platter.
I once tried a lavender variation with dried culinary lavender buds folded in at the end. The texture was lovely, but the flavor was a bit too floral for my taste. Stick with the classics unless you’re feeling adventurous.
Serving & Storage Suggestions
These ghost meringue cookies are as versatile as they are adorable. Here’s how to serve and store them for maximum enjoyment.
Serving: Serve these ghosts at room temperature on a platter. They’re perfect for Halloween parties, school bake sales, or just a fun afternoon treat. Arrange them on a bed of crushed chocolate cookies to look like dirt, or stick them upright in a bowl of frosting for a graveyard effect. I’ve also threaded them onto skewers for a spooky cake pop alternative.
Pairings: These cookies pair beautifully with a cup of hot cocoa, a pumpkin spice latte, or a glass of cold milk. For an adult twist, serve them alongside a dark coffee or a dessert wine. The sweetness of the meringue balances the bitterness of coffee perfectly.
Storage: Store your ghost meringue cookies in an airtight container at room temperature. They’ll stay crisp for up to 2 weeks. If you live in a humid climate, add a silica gel packet or a piece of dry bread to the container to absorb excess moisture. Do not refrigerate—the moisture will ruin them. You can freeze them for up to 3 months in a freezer-safe container. Thaw at room temperature for 10 minutes before serving.
Make-Ahead Tip: These cookies are perfect for make-ahead baking. I often make a double batch in September and store them in my pantry for Halloween. They keep their shape and flavor beautifully. Just make sure they’re completely cool before storing—any residual heat will create condensation and make them sticky.
Nutritional Information & Benefits
While these ghost meringue cookies are definitely a treat, they have some surprising nutritional advantages over traditional cookies.
| Nutrient | Per Cookie (approx.) |
|---|---|
| Calories | 25-30 |
| Total Fat | 0g |
| Saturated Fat | 0g |
| Cholesterol | 0mg |
| Sodium | 10mg |
| Total Carbohydrates | 6g |
| Sugars | 6g |
| Protein | 1g |
These cookies are naturally fat-free, cholesterol-free, and gluten-free. They’re a lighter option for Halloween, especially compared to candy bars and butter-laden cookies. The egg whites provide a small amount of protein, and the sugar gives you a quick energy boost. If you’re watching your sugar intake, you can reduce the sugar by 2 tablespoons—the texture will be slightly less crisp, but they’ll still work.
Allergen Note: These cookies contain eggs. They are naturally gluten-free, dairy-free, and nut-free. If you’re making the vegan version with aquafaba, they become egg-free as well. Always check your vanilla extract for gluten if you have celiac disease—most are gluten-free, but some brands may contain traces.
Conclusion
These 3-ingredient ghost meringue cookies have become a Halloween staple in my house, and I have a feeling they’ll become one in yours too. They’re ridiculously easy to make, endlessly customizable, and guaranteed to bring smiles to faces of all ages. There’s something magical about turning simple egg whites and sugar into something that looks like it floated straight out of a haunted house.
I love that this recipe doesn’t require any special skills or equipment. You don’t need to be a pastry chef to pipe a ghost. You don’t need fancy ingredients or expensive tools. All you need is a little patience and a willingness to embrace imperfection—because honestly, the wonky ghosts are always the most charming.
So go ahead and give these a try. Make them with your kids, make them for a party, or make them just because you want something sweet and spooky. And when you do, I’d love to hear how they turned out. Drop a comment below and tell me about your ghost-making adventures. Did you add faces? Did you try a flavor variation? Did your ghosts look like ghosts or like something else entirely? Share your photos, your stories, and your questions. Happy haunting, and happy baking!
Frequently Asked Questions
Can I make these ghost meringue cookies without a mixer?
Yes, you can whisk the egg whites by hand, but it will take 10-15 minutes of constant whisking. Your arm will get tired, but it’s doable. Use a large balloon whisk and a copper or glass bowl for best results. If you’re making a small batch, hand-whisking is actually a great arm workout.
Why did my meringues turn brown?
Your oven was too hot or you baked them too long. Meringues should be baked at 200°F (93°C) for 1½ to 2 hours. If your oven runs hot, use an oven thermometer to check the temperature. You can also prop the oven door open slightly with a wooden spoon to lower the temperature.
Can I use liquid egg whites from a carton?
I don’t recommend it. Carton egg whites are pasteurized at high temperatures, which denatures the proteins and makes them difficult to whip to stiff peaks. If you must use them, look for “ultra-pasteurized” egg whites and add ½ teaspoon of cream of tartar to help stabilize them. The texture won’t be as crisp, but they’ll still work in a pinch.
How do I fix grainy meringue?
Grainy meringue means the sugar hasn’t dissolved completely. This usually happens when you add the sugar too quickly. To fix it, continue whipping on high speed for another 2-3 minutes. If it’s still grainy, you can try warming the bowl slightly by placing it over a pot of simmering water for 30 seconds while whisking. If that doesn’t work, start over with fresh egg whites.
Can I double this recipe?
Absolutely. This recipe doubles beautifully. Just make sure your mixer bowl is large enough to hold the increased volume—meringue expands significantly. I’ve made quadruple batches for Halloween parties without any issues. The baking time may increase slightly if you’re baking multiple sheets at once, so rotate the pans halfway through.
Pin This Recipe!
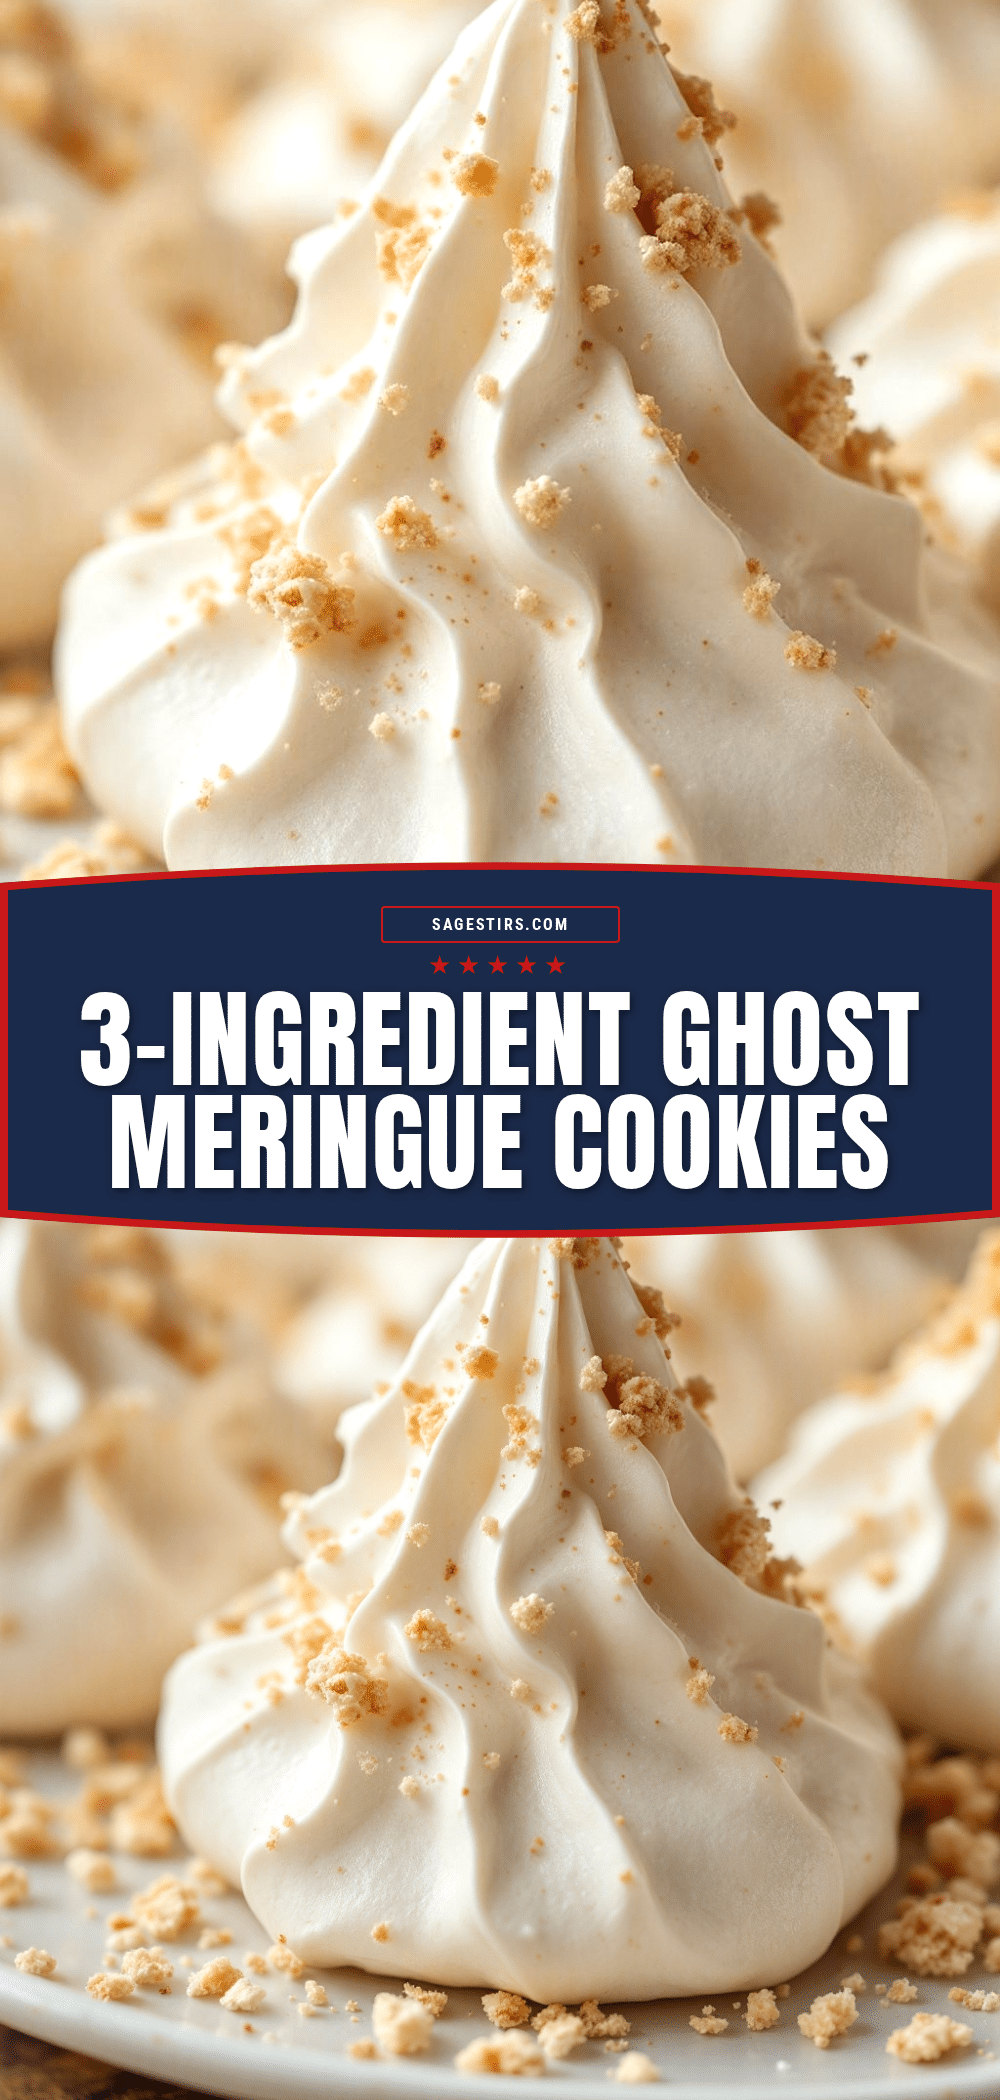
3-Ingredient Easy Ghost Meringue Cookies Recipe
These adorable ghost meringue cookies are crisp on the outside, airy on the inside, and melt on your tongue like a sugary cloud. Made with just 3 ingredients, they’re naturally gluten-free and low-fat, perfect for Halloween treats.
- Prep Time: 15 minutes
- Cook Time: 1 hour 30 minutes to 2 hours
- Total Time: 2 hours 15 minutes to 2 hours 45 minutes
- Yield: 24 cookies 1x
- Category: Dessert
- Cuisine: American
Ingredients
- 3 large egg whites (room temperature)
- ¾ cup (150g) granulated white sugar
- 1 teaspoon vanilla extract (or clear vanilla for pure white ghosts)
- ¼ teaspoon cream of tartar (optional, but recommended)
- Mini chocolate chips or black gel food coloring (optional, for faces)
Instructions
- Preheat your oven to 200°F (93°C). Line a large baking sheet with parchment paper and set aside.
- Make sure your bowl and whisk attachment are spotless. Separate your eggs carefully—no yolk allowed. Let the whites sit at room temperature for 30 minutes.
- Beat the egg whites on medium speed until they become frothy and bubbly—about 1 minute. If using cream of tartar, add it now.
- With the mixer running on medium-high, add the sugar one tablespoon at a time over 2-3 minutes.
- Once all the sugar is added, increase the speed to high and whip for 5-7 minutes until stiff, glossy peaks form. Add the vanilla extract in the last minute of whipping.
- Test your meringue by rubbing a small amount between your thumb and forefinger. If it feels smooth, you’re done. If it’s grainy, keep whipping.
- Spoon the meringue into a piping bag or zip-top bag. If using a zip-top bag, snip off about ¼ inch from one corner.
- Pipe your ghosts: Hold the bag perpendicular to the baking sheet. Pipe a small mound of meringue, about 1½ inches wide. Pull the bag straight up to create a tall peak. Gently wiggle the bag to create a slightly wavy shape. Leave about 1 inch between each ghost.
- If using mini chocolate chips, gently press two for eyes and one for a mouth into each ghost. If using black gel food coloring, wait until the ghosts are baked and cooled.
- Bake for 1½ to 2 hours. They’re done when they feel dry and firm to the touch and lift easily off the parchment paper.
- Turn off the oven and leave the meringues inside with the door slightly ajar for another 30 minutes. Then transfer them to a wire rack to cool completely.
- Store in an airtight container at room temperature. Do not refrigerate.
Notes
Humidity is your enemy—wait for a dry day to make meringues. Don’t over-whip the egg whites; if they look grainy and separate, start over. Use an oven thermometer to ensure accurate temperature. Pipe in batches to prevent deflation. Test for doneness by lifting one off the parchment—if it comes off cleanly and feels dry, it’s ready.
Nutrition
- Serving Size: 1 cookie
- Calories: 2530
- Sugar: 6
- Sodium: 10
- Carbohydrates: 6
- Protein: 1
Keywords: ghost meringue cookies, Halloween cookies, 3-ingredient cookies, gluten-free cookies, low-fat cookies, meringue ghosts, easy Halloween treat



