Love this? Save it for later!
Share the inspiration with your friends
That warm, nutty perfume of toasted walnuts and brown sugar — the kind that curls through the kitchen before you even pull the pan from the oven — still takes me straight to my grandmother’s tiny galley kitchen on a rainy Sunday afternoon. She wasn’t one for measuring cups or fussy techniques. She’d mash the bananas with a fork until they were lumpy, toss everything into the same stained ceramic bowl, and stir until it looked “right.” No electric mixer. No sifting. Just a wooden spoon, a worn loaf pan, and that quiet, patient rhythm that only comes from making the same thing for forty years. I remember standing on a step stool, watching her fold in the walnuts by hand, her knuckles dusted with flour. She never called it “moist one-bowl banana walnut bread” — she just called it “banana bread” like it was the only one that mattered. And honestly? For me, it still is. That first bite, still warm from the oven, with a pat of butter melting into the crumb… it was the kind of simple that feels like a hug. This recipe is my attempt to bottle that exact feeling — the ease, the warmth, the imperfection — and share it with you.
Why You’ll Love This Recipe
I’ve tested this one-bowl banana walnut bread more times than I care to admit. Some batches were too dry. Others were too dense. One particularly tragic loaf collapsed in the middle like a sinkhole. But this version? This is the one. It’s the Goldilocks of banana breads — perfectly moist, tender, and packed with nutty crunch in every slice. Here’s why I think you’ll fall for it too:
- Truly One-Bowl: No creaming butter and sugar. No separate bowl for dry ingredients. Just one bowl, a fork, and a spatula. Less dishes means more time to actually enjoy the bread.
- No Stand Mixer Required: This is a hand-mixing recipe through and through. It’s forgiving, almost meditative. Perfect for a lazy weekend morning.
- Pantry-Friendly Ingredients: You probably have everything on hand right now — ripe bananas, flour, sugar, eggs, butter, and walnuts. No fancy substitutions or trips to a specialty store.
- Incredibly Moist: The secret is using very ripe, almost black bananas and melted butter. They work together to create a crumb that stays soft for days.
- Walnuts Add the Perfect Crunch: Toasted walnuts aren’t just a garnish here. They add a savory, buttery contrast that makes every bite interesting.
- Foolproof for Beginners: If you’ve never baked bread from scratch, start here. The method is simple, the margin for error is wide, and the result is always impressive.
This isn’t just another banana bread recipe. It’s the one I bring to potlucks where people ask for the recipe before they’ve finished their slice. It’s the one that makes your kitchen smell like a bakery without the stress. And it’s the kind of bread that makes you close your eyes after that first warm, buttery bite.
What Ingredients You Will Need
This recipe relies on simple, everyday ingredients to build deep flavor and a tender texture. No obscure extracts or hard-to-find flours here. Just honest baking staples that work together beautifully.
- Ripe Bananas (3 medium, about 1 ½ cups mashed): The riper, the better. Look for bananas with plenty of brown spots — almost black is ideal. They’re sweeter and mash more easily, which adds both moisture and natural sugar to the batter. If your bananas aren’t ripe enough, you can speed things up by roasting them in a 300°F oven for 15-20 minutes until the skins darken.
- All-Purpose Flour (1 ¾ cups, 210g): Standard all-purpose flour gives this bread the perfect structure — tender but sturdy enough to hold the walnuts. Spoon and level your flour for the most accurate measurement. Scooping directly from the bag can pack in too much flour and make the bread dry.
- Granulated Sugar (½ cup, 100g): Just enough sweetness to complement the bananas without overpowering them. If you prefer a less sweet bread, you can reduce this to ⅓ cup.
- Light Brown Sugar (½ cup, 100g, packed): Brown sugar adds moisture and a subtle molasses flavor that pairs beautifully with the walnuts. I like using light brown sugar here — dark brown can overwhelm the banana flavor.
- Unsalted Butter (½ cup, 113g, melted and slightly cooled): Melted butter is the key to that one-bowl simplicity. It mixes right in without needing to be creamed. I use unsalted to control the salt level, but you can use salted butter and just reduce the added salt to ¼ teaspoon.
- Large Eggs (2, room temperature): Eggs bind the batter and add richness. Room temperature eggs blend more evenly into the melted butter, preventing the batter from seizing up. If you forgot to take them out of the fridge, place them in a bowl of warm water for 5 minutes.
- Vanilla Extract (1 teaspoon): Pure vanilla extract rounds out the flavors and makes the banana taste even fruitier. Imitation vanilla works in a pinch, but pure is worth the splurge here.
- Baking Soda (1 teaspoon): This is the only leavening agent you need. Baking soda reacts with the acidity in the bananas and brown sugar to help the bread rise. Make sure yours is fresh — test it by dropping a pinch into vinegar; it should fizz immediately.
- Salt (½ teaspoon): Salt doesn’t just season the bread; it balances the sweetness and enhances the nutty flavor of the walnuts. Don’t skip it.
- Ground Cinnamon (1 teaspoon): Optional, but highly recommended. Cinnamon and banana are a classic pairing, and it adds a warm, cozy note that makes this bread feel like fall year-round.
- Walnuts (1 cup, 120g, roughly chopped and toasted): Toasting the walnuts before adding them to the batter is a game-changer. It deepens their flavor and keeps them crunchy inside the bread. Spread them on a baking sheet and toast at 350°F for 5-7 minutes, shaking the pan halfway through. Let them cool completely before folding them in.
Equipment Needed
You don’t need a fancy kitchen to make this bread. Here’s what you’ll actually use:
- Large Mixing Bowl: A standard 4-quart bowl is perfect for mashing and mixing everything together.
- 9×5-Inch Loaf Pan: This is the classic size for banana bread. If you only have an 8×4-inch pan, the bread will take a few minutes longer to bake and will have a taller, more domed top.
- Fork or Potato Masher: For mashing the bananas. A fork gives you a chunkier texture; a potato masher makes it smoother. Both work great.
- Wooden Spoon or Rubber Spatula: For mixing the batter. A spatula is great for scraping down the sides of the bowl.
- Parchment Paper: Lining the loaf pan with parchment paper makes lifting the bread out effortless. Leave a 2-inch overhang on the long sides for easy handles.
- Cooling Rack: Essential for cooling the bread evenly. If you let it cool in the pan, the bottom can get soggy.
- Baking Sheet (optional, for toasting walnuts): A small rimmed baking sheet works perfectly.
If you don’t have a loaf pan, you can bake this batter in a 9-inch square cake pan. Just reduce the baking time to 30-35 minutes and check for doneness with a toothpick.
Preparation Method
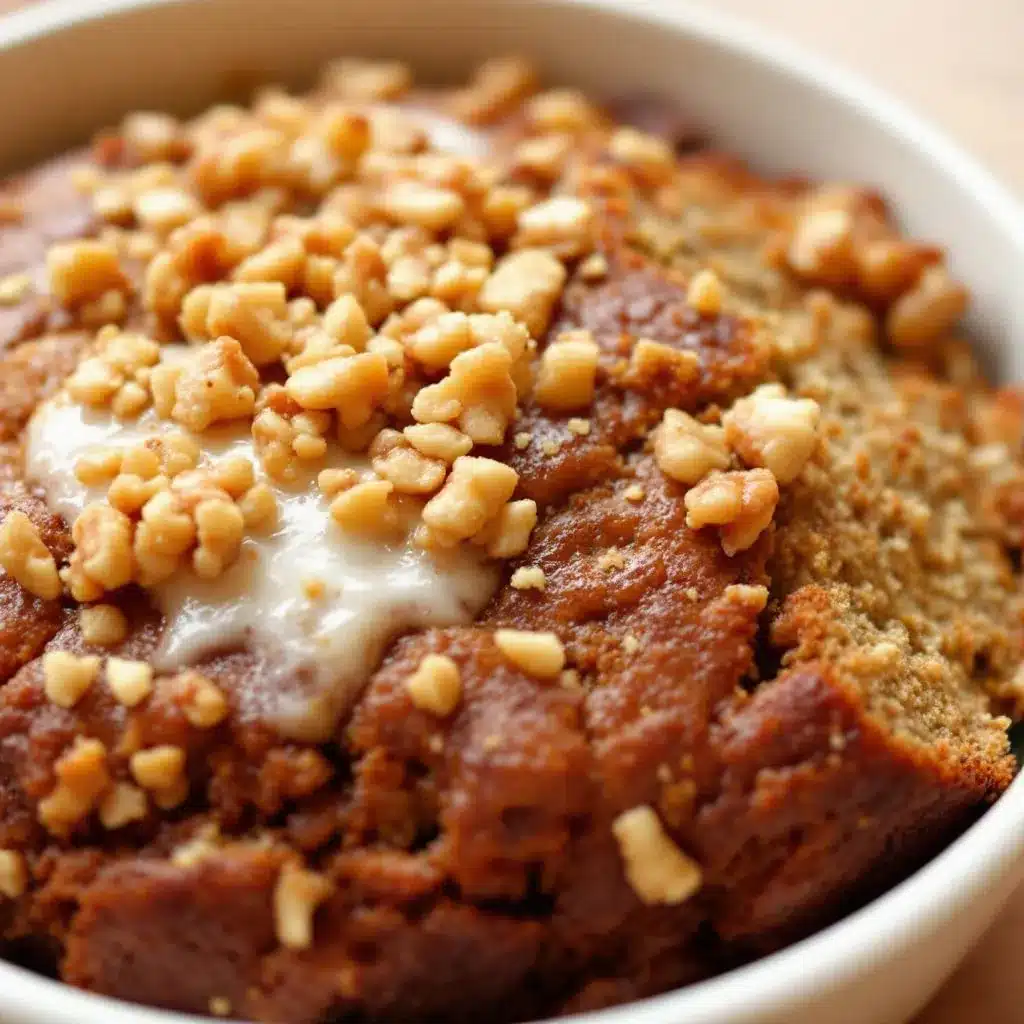
This is where the magic happens. The method is simple, but I’ve included little tips and sensory cues at each step so you know exactly what to look for.
- Preheat and Prep: Preheat your oven to 350°F (175°C). Grease a 9×5-inch loaf pan with butter or non-stick spray, then line it with a strip of parchment paper, leaving an overhang on the two long sides. This makes lifting the finished bread out a breeze. Set the pan aside.
- Toast the Walnuts: Spread the chopped walnuts on a baking sheet in a single layer. Toast them in the preheated oven for 5-7 minutes, shaking the pan halfway through. You’ll know they’re done when they smell deeply nutty and look a shade darker. Let them cool completely on the baking sheet while you prepare the batter. Pro tip: Toasted walnuts are more fragile, so fold them in gently to keep them from breaking into dust.
- Mash the Bananas: In your large mixing bowl, add the three ripe bananas. Mash them with a fork or potato masher until they’re mostly smooth with a few small lumps remaining. You want about 1 ½ cups of mashed banana. The texture should look like a thick, chunky puree — not watery.
- Add the Wet Ingredients: To the mashed bananas, add the melted butter (make sure it’s slightly cooled, not hot), both sugars (granulated and brown), eggs, and vanilla extract. Whisk everything together with your fork or spatula until the mixture is smooth and well combined. The batter will look a little thin at this point — that’s normal. It should be a pale tan color with a glossy sheen from the butter.
- Add the Dry Ingredients: Sprinkle the flour, baking soda, salt, and cinnamon over the wet mixture. Stir gently with your spatula or wooden spoon until just combined. This is the most important step: stop mixing as soon as you no longer see streaks of flour. Over-mixing develops gluten, which will make your bread tough and dense. A few small lumps are perfectly fine. The final batter should be thick, slightly shaggy, and drop from the spoon in soft dollops.
- Fold in the Walnuts: Add the cooled, toasted walnuts to the batter. Use a rubber spatula to fold them in with 4-5 gentle strokes. You want the walnuts evenly distributed, but don’t overwork the batter. Scrape the bottom of the bowl to make sure no flour is hiding there.
- Fill the Pan: Pour the batter into the prepared loaf pan. Use your spatula to spread it into an even layer. The pan will be about ⅔ to ¾ full. Tap the pan gently on the counter 2-3 times to release any air bubbles.
- Bake: Place the pan in the center of the preheated oven. Bake for 55-65 minutes, or until a toothpick inserted into the center comes out clean or with just a few moist crumbs attached. Sensory cue: The bread is done when the top is a deep golden brown, cracked beautifully down the center, and the edges have pulled away slightly from the pan. You should be able to smell that intoxicating banana-walnut aroma filling your kitchen. If the top is browning too quickly after 40 minutes, tent the pan loosely with aluminum foil.
- Cool: Remove the pan from the oven and place it on a cooling rack. Let the bread cool in the pan for 15 minutes. Then, using the parchment paper handles, lift the bread out of the pan and transfer it directly to the cooling rack. Let it cool completely before slicing — about 1 to 1 ½ hours. I know it’s hard to wait, but slicing it warm will result in crumbly, gummy slices. Patience pays off here.
Cooking Tips & Techniques
I’ve made this one-bowl banana walnut bread more times than I can count, and I’ve learned a few things the hard way. Here are my best tips for getting it perfect every time.
Use Overripe Bananas: This isn’t just a suggestion — it’s the most important rule. Green or yellow bananas lack the sweetness and moisture needed for a tender loaf. Wait until your bananas are heavily spotted or even black. They should feel soft to the touch and smell intensely banana-like. If you’re in a hurry, you can microwave unpeeled bananas for 30-second intervals until they’re soft, but the flavor won’t be as deep.
Don’t Over-mix: I’ve ruined plenty of quick breads by being too aggressive with the mixing. Once you add the flour, switch to a gentle hand. Stir until the flour just disappears. A few streaks are fine. Over-mixing develops gluten, and gluten makes banana bread tough instead of tender. Think of it like folding whipped cream — gentle, slow, and deliberate.
Toast Your Walnuts: This is a non-negotiable step in my kitchen. Raw walnuts can taste slightly bitter and a little flat. Toasting them brings out their natural oils and adds a rich, almost buttery flavor. It takes just 5 minutes and makes a world of difference. Just watch them closely — they can go from toasted to burnt in seconds.
Check for Doneness Early: Ovens vary wildly. Start checking your bread at the 50-minute mark, even if the recipe says 55-65. Insert a toothpick into the center; if it comes out clean or with a few moist crumbs, it’s done. If it’s still wet, give it another 5 minutes and check again. A good trick is to also check the internal temperature — it should read around 200-205°F (93-96°C) when fully baked.
Let It Cool Completely: I know the temptation to cut into a warm loaf is almost unbearable. But slicing too early will give you a gummy, crumbly mess. The bread needs time to set its structure. Let it cool in the pan for 15 minutes, then transfer to a wire rack and wait at least another hour. Your patience will be rewarded with clean, perfect slices.
Variations & Adaptations
This recipe is wonderfully flexible. Here are a few ways to make it your own:
- Chocolate Chip Banana Walnut Bread: Fold in ½ cup of semi-sweet or dark chocolate chips along with the walnuts. The combination of chocolate and banana is a classic for good reason. I’ve also used white chocolate chips for a sweeter, creamier twist.
- Gluten-Free Version: Substitute the all-purpose flour with a 1:1 gluten-free baking flour blend (one that contains xanthan gum). I’ve tested this with Bob’s Red Mill 1:1 Baking Flour and it works beautifully. The texture is slightly more delicate, so handle the batter gently.
- Dairy-Free Version: Swap the melted butter for an equal amount of melted coconut oil or a neutral-flavored vegetable oil. Coconut oil adds a faint tropical note that pairs surprisingly well with banana. Use room temperature eggs to keep the batter from solidifying the oil.
- Add a Streusel Topping: Mix ¼ cup flour, ¼ cup brown sugar, 2 tablespoons cold butter, and ½ teaspoon cinnamon together until crumbly. Sprinkle it over the batter before baking for a crunchy, sweet crust. This is my go-to when I want to impress guests.
- Spiced Banana Bread: Add ½ teaspoon of ground nutmeg, ¼ teaspoon of ground ginger, and a pinch of ground cloves along with the cinnamon. This creates a warm, chai-like flavor profile that’s perfect for fall baking. For another fall-inspired twist, you might also enjoy this moist pumpkin banana walnut bread that combines two seasonal favorites.
Serving & Storage Suggestions
This banana walnut bread is wonderful on its own, but here are my favorite ways to serve and store it.
How to Serve: Serve slices at room temperature for the best texture. For an extra indulgence, toast a slice lightly and spread it with salted butter, cream cheese, or a drizzle of honey. It’s also fantastic sliced thick and used for French toast — just dip in a simple egg-milk mixture and pan-fry until golden. Pair a slice with a hot cup of coffee or a cold glass of milk for the perfect snack or breakfast.
Storage: Store the completely cooled bread tightly wrapped in plastic wrap or aluminum foil at room temperature for up to 4 days. The moisture from the bananas keeps it soft, but the walnuts can lose their crunch over time. To keep the walnuts crispier, store the bread in an airtight container with a paper towel in the bottom to absorb excess moisture.
Freezing: This bread freezes beautifully. Wrap the cooled loaf (or individual slices) tightly in plastic wrap, then in a layer of aluminum foil. Place in a freezer-safe bag and freeze for up to 3 months. To thaw, leave the wrapped bread at room temperature for a few hours or overnight. For a quick treat, microwave a frozen slice for 20-30 seconds.
Flavor Development: Here’s a little secret — this bread actually tastes better on the second day. The flavors meld together and the banana flavor becomes more pronounced. So if you can resist eating it all on day one, you’re in for a real treat on day two.
Nutritional Information & Benefits
While I’d never call banana bread a health food, it does offer some redeeming qualities. Here’s a rough estimate per slice (based on 10 slices):
- Calories: ~320
- Fat: 16g
- Carbohydrates: 42g
- Fiber: 2g
- Sugar: 22g
- Protein: 5g
Health Benefits: Bananas are packed with potassium, vitamin B6, and vitamin C. They also contain resistant starch, especially when they’re slightly underripe, which acts as a prebiotic for gut health. Walnuts are an excellent source of omega-3 fatty acids, which support heart and brain health. The combination of fiber from the bananas and walnuts helps keep you full and satisfied.
Dietary Considerations: This recipe is vegetarian. It can be made dairy-free with the swap mentioned above. It is not gluten-free as written, but the gluten-free adaptation works well. Please note that this recipe contains tree nuts (walnuts) and gluten (wheat flour).
I believe in enjoying treats in moderation. A slice of this bread with a cup of tea is a small, joyful moment that nourishes more than just the body — it feeds the soul too.
Frequently Asked Questions
Can I use frozen bananas?
Yes, absolutely! Frozen bananas are perfect for baking. Thaw them completely at room temperature or in the microwave, then drain off any excess liquid before mashing. They’ll be very soft and almost syrupy, which makes them ideal for a moist loaf.
Why did my banana bread sink in the middle?
This usually happens for one of three reasons: the batter was over-mixed (developing too much gluten), the bread was underbaked, or the oven door was opened too early. Make sure your oven is fully preheated, avoid opening the door for the first 40 minutes, and always test for doneness with a toothpick.
Can I make this into muffins instead?
Definitely! Divide the batter evenly among a 12-cup muffin tin lined with paper liners. Bake at 350°F (175°C) for 18-22 minutes, or until a toothpick inserted in the center of a muffin comes out clean. This recipe makes about 12 standard muffins.
How do I keep the walnuts from sinking to the bottom?
Toss the toasted walnuts in a tablespoon of flour before folding them into the batter. The flour coating helps suspend them in the batter so they stay evenly distributed throughout the bread instead of settling at the bottom.
Can I reduce the sugar in this recipe?
You can reduce the total sugar to ¾ cup (combined) without significantly affecting the texture. The bananas already provide plenty of natural sweetness. If you reduce it further, the bread may be less tender and slightly drier. For a naturally sweetened version, try using ½ cup of maple syrup or honey, but reduce the melted butter by 2 tablespoons to compensate for the extra liquid.
Conclusion
This moist one-bowl banana walnut bread is more than just a recipe — it’s a reminder that the best things in life are often the simplest. It’s the bread I bake when I need comfort, when I want to fill my home with a warm, inviting smell, or when I have a bunch of spotty bananas staring at me from the counter. It’s forgiving, it’s foolproof, and it always, always delivers.
I hope you give this recipe a try and make it your own. Maybe you’ll add chocolate chips, or a streusel topping, or maybe you’ll keep it exactly as written — with those crunchy, toasted walnuts stealing the show. Either way, I’d love to hear how it turns out. Drop a comment below and let me know if you tried any variations, or tag me in your photos. Happy baking, friend. Your kitchen is about to smell amazing.
Pin This Recipe!
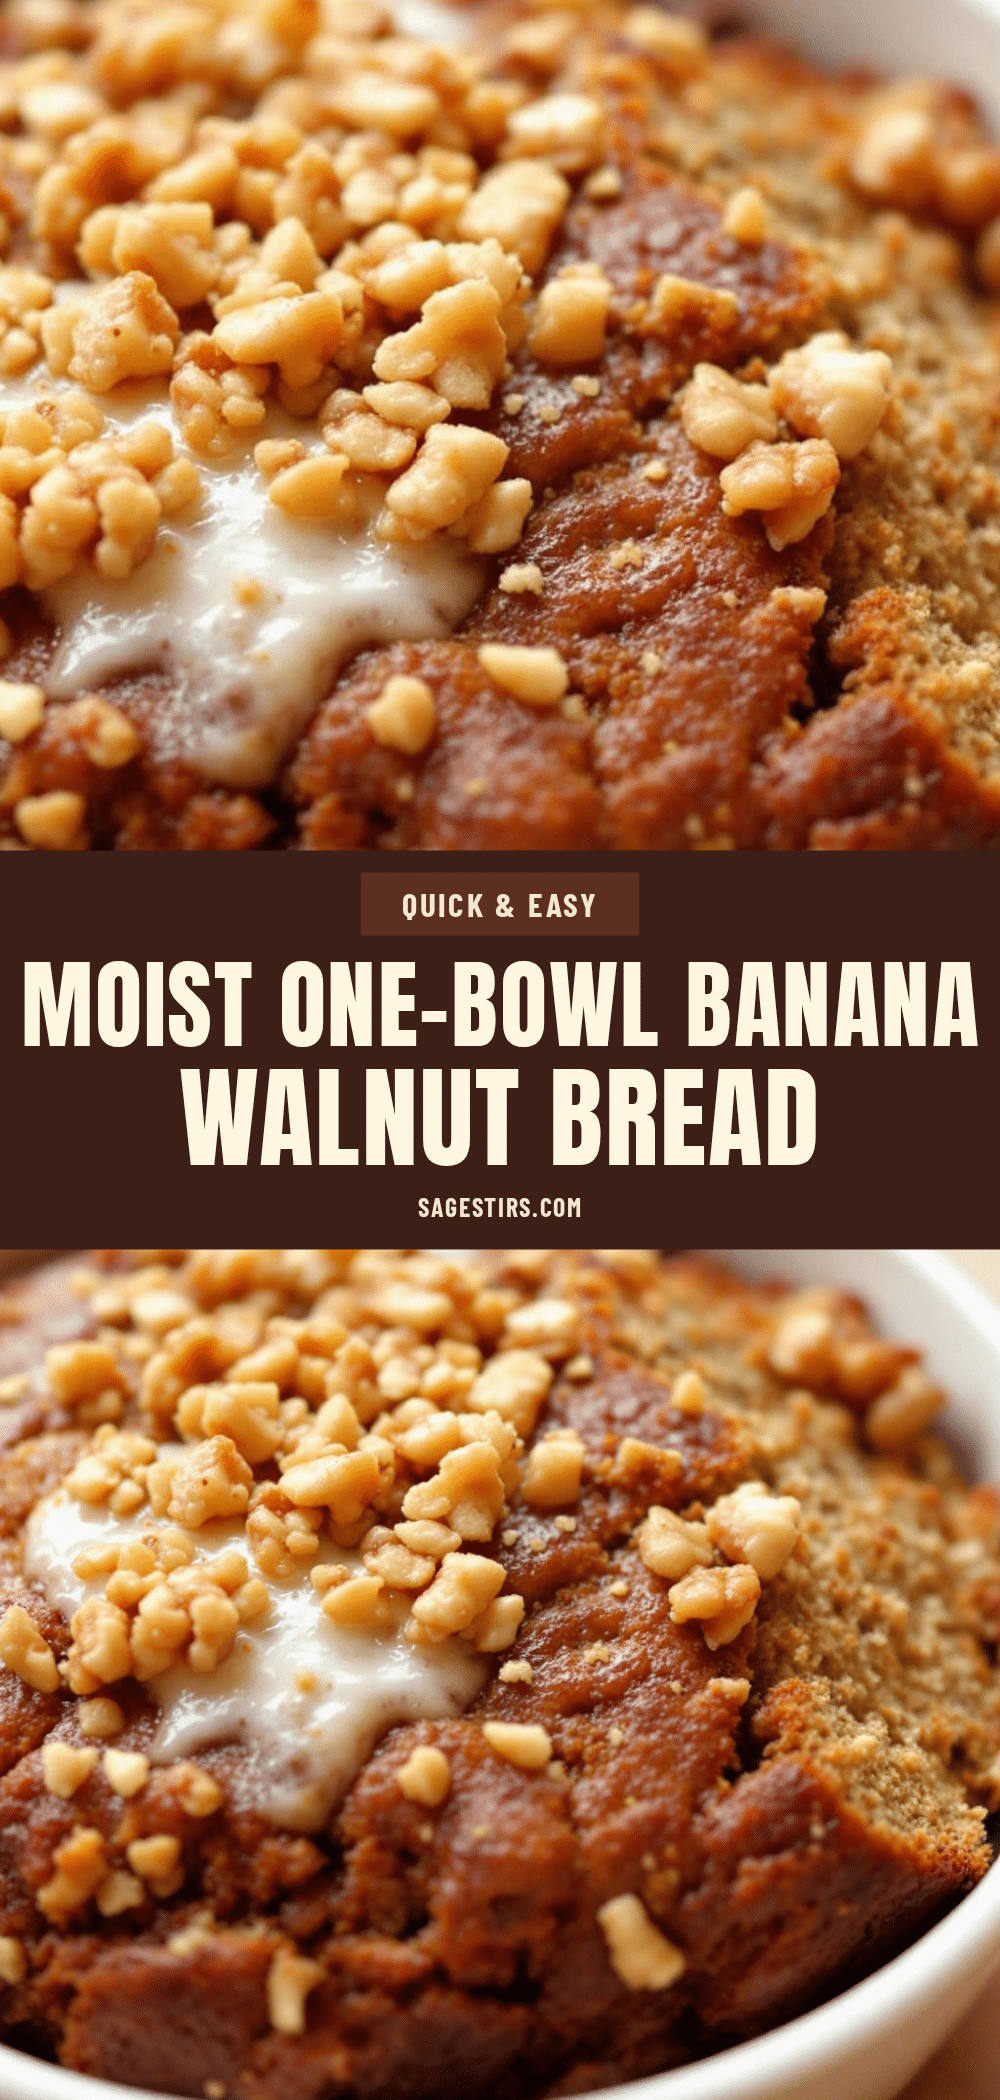
Moist One-Bowl Banana Walnut Bread
This moist one-bowl banana walnut bread is the perfect easy homemade recipe. Made with ripe bananas, toasted walnuts, and simple pantry ingredients, it delivers a tender, nutty loaf that tastes like a warm hug.
- Prep Time: 15 minutes
- Cook Time: 55-65 minutes
- Total Time: 1 hour 10 minutes to 1 hour 20 minutes
- Yield: 10 servings 1x
- Category: Dessert
- Cuisine: American
Ingredients
- 3 medium ripe bananas (about 1 ½ cups mashed)
- 1 ¾ cups all-purpose flour (210g)
- ½ cup granulated sugar (100g)
- ½ cup light brown sugar (100g, packed)
- ½ cup unsalted butter (113g, melted and slightly cooled)
- 2 large eggs (room temperature)
- 1 teaspoon vanilla extract
- 1 teaspoon baking soda
- ½ teaspoon salt
- 1 teaspoon ground cinnamon (optional)
- 1 cup walnuts (120g, roughly chopped and toasted)
Instructions
- Preheat your oven to 350°F (175°C). Grease a 9×5-inch loaf pan with butter or non-stick spray, then line it with a strip of parchment paper, leaving an overhang on the two long sides. Set aside.
- Spread the chopped walnuts on a baking sheet in a single layer. Toast in the preheated oven for 5-7 minutes, shaking the pan halfway through, until fragrant and slightly darker. Let cool completely.
- In a large mixing bowl, mash the bananas with a fork or potato masher until mostly smooth with a few small lumps (about 1 ½ cups).
- Add the melted butter, granulated sugar, brown sugar, eggs, and vanilla extract to the mashed bananas. Whisk until smooth and well combined.
- Sprinkle the flour, baking soda, salt, and cinnamon over the wet mixture. Stir gently with a spatula or wooden spoon until just combined—do not over-mix. A few small lumps are fine.
- Fold in the cooled toasted walnuts with 4-5 gentle strokes until evenly distributed.
- Pour the batter into the prepared loaf pan and spread into an even layer. Tap the pan gently on the counter 2-3 times to release air bubbles.
- Bake for 55-65 minutes, or until a toothpick inserted into the center comes out clean or with a few moist crumbs. If the top browns too quickly after 40 minutes, tent loosely with aluminum foil.
- Remove from the oven and place the pan on a cooling rack. Cool in the pan for 15 minutes, then lift the bread out using the parchment handles and transfer to the rack to cool completely (about 1 to 1 ½ hours) before slicing.
Notes
Use overripe bananas (heavily spotted or black) for best sweetness and moisture. Do not over-mix the batter once flour is added to avoid a tough loaf. Toasting the walnuts is essential for flavor. Let the bread cool completely before slicing to prevent a gummy texture. The bread tastes even better on the second day as flavors meld.
Nutrition
- Serving Size: 1 slice
- Calories: 320
- Sugar: 22
- Sodium: 220
- Fat: 16
- Saturated Fat: 7
- Carbohydrates: 42
- Fiber: 2
- Protein: 5
Keywords: banana bread, banana walnut bread, one-bowl banana bread, easy banana bread, moist banana bread, homemade banana bread



