Love this? Save it for later!
Share the inspiration with your friends
By the fourth time I roasted pumpkin seeds this week, I finally understood why I keep coming back to the air fryer. It isn’t just about the crunch, though that is the main draw. It is about the sheer efficiency of not having to watch a baking sheet like a hawk for forty-five minutes. I started with a large sugar pumpkin from the local farm stand, intending to make a simple pie. Instead, I ended up with a mountain of slimy, stringy seeds and a deep, stubborn obsession with turning them into the perfect snack.
The first batch was a disaster. I forgot to scrub off the fibrous pulp, so the seeds stuck together in a soggy, bitter clump that tasted like wet cardboard. I was ready to throw them out, but something in my head wouldn’t let go. I spent the next two days scrubbing, drying, and re-roasting until my kitchen smelled like toasted earth and salt. Honestly, it became a bit of a compulsion. I would wake up, check the seeds, and feel a strange sense of calm when they finally came out golden and crisp.
There is a specific moment, right after the air fryer beeps, where the seeds are still hot and trembling with heat. That is when the magic happens. You toss them with a little oil and sea salt, and they transform from kitchen waste into something addictive. It feels like cheating, really. You are taking something that usually gets composted and turning it into a protein-packed, savory treat that beats any bag of chips from the store. I know I sound a bit dramatic about a handful of seeds, but trust me, once you try this method, you will never buy roasted pumpkin seeds again.
Why You’ll Love This Recipe
This recipe isn’t just about saving time; it is about mastering a technique that feels like a secret weapon in your culinary arsenal. Having tested dozens of methods over the years, from oven-roasting to stovetop frying, I can tell you that the air fryer method yields the most consistent results with the least amount of effort. The circulating hot air creates an even crispiness that prevents the common problem of burnt edges and soft centers. It is a game-changer for anyone who wants a healthy snack without the hassle.
- Quick & Easy: From cleaning to crunch, this process takes less than 30 minutes. It is perfect for busy weeknights or when you need a last-minute addition to your charcuterie board.
- Simple Ingredients: You likely already have everything you need in your kitchen. Just pumpkin seeds, oil, and salt. No fancy grocery trips or obscure spices required.
- Perfect for Game Day: These are the ultimate finger food. Serve them alongside crispy loaded bacon cheddar potato skins for a snack attack that will clear the table in minutes.
- Crowd-Pleaser: Kids and adults alike love the satisfying crunch. They are much healthier than processed snacks, so you can eat them without the guilt.
- Unbelievably Delicious: The texture is next-level. Each seed pops with flavor, offering a savory, nutty bite that keeps you reaching for more.
What makes this version different is the emphasis on thorough drying. Most people skip this step, leading to steamed, soft seeds. By letting them air dry or patting them aggressively before roasting, you ensure that maximum crispiness. It is a small detail that makes a huge difference. This recipe isn’t just good; it is the kind of snack that makes you close your eyes after the first bite. It is comfort food reimagined—healthier, faster, but with the same soul-soothing satisfaction.
What Ingredients You Will Need
This recipe relies on the humble pumpkin seed, transformed by simple pantry staples into something extraordinary. The key to success lies in the quality of the seeds and the right amount of fat to conduct the heat. You want ingredients that complement the natural nuttiness of the seed without overpowering it. Here is what you will need to get started.
- Pumpkin Seeds (Pepitas): Freshly extracted from a sugar pumpkin or pie pumpkin. Fresh seeds have a higher moisture content, which you must remove. If using store-bought raw seeds, ensure they are unsalted and unhulled for the best texture. I prefer fresh seeds because you get to choose the size and quality yourself.
- Neutral Oil: Avocado oil or light olive oil works best. You need a high smoke point oil to help the seeds brown evenly without burning. Coconut oil is also a great option if you want a slight sweetness, but keep in mind it solidifies when cool. Use about 1 to 2 tablespoons for every cup of seeds.
- Sea Salt: Fine sea salt or kosher salt. I recommend flaky sea salt for finishing because it adds a nice visual contrast and bursts of salty flavor. Regular table salt works, but it can be too intense and clumps easily.
- Optional Seasonings: While sea salt is classic, you can add garlic powder, smoked paprika, or chili powder for a kick. If you want something sweet, a mix of cinnamon and maple syrup is delicious. For a savory twist, try adding some grated parmesan cheese right at the end.
When selecting your pumpkin, look for one that feels heavy for its size. This indicates plenty of flesh and, more importantly, plenty of seeds. If you buy a pre-packaged bag of seeds, check the expiration date to ensure they are fresh. Old seeds can go rancid and taste bitter. For the best results, use the seeds immediately after extraction. If you must store them, keep them in an airtight container in the fridge for up to a week before roasting.
How Do I Get the Seeds Out of the Pumpkin?
Use a sturdy metal spoon to scrape the insides. Work in sections to get all the fibrous strings off. This step is crucial for even roasting.
Can I Use Store-Bought Raw Seeds?
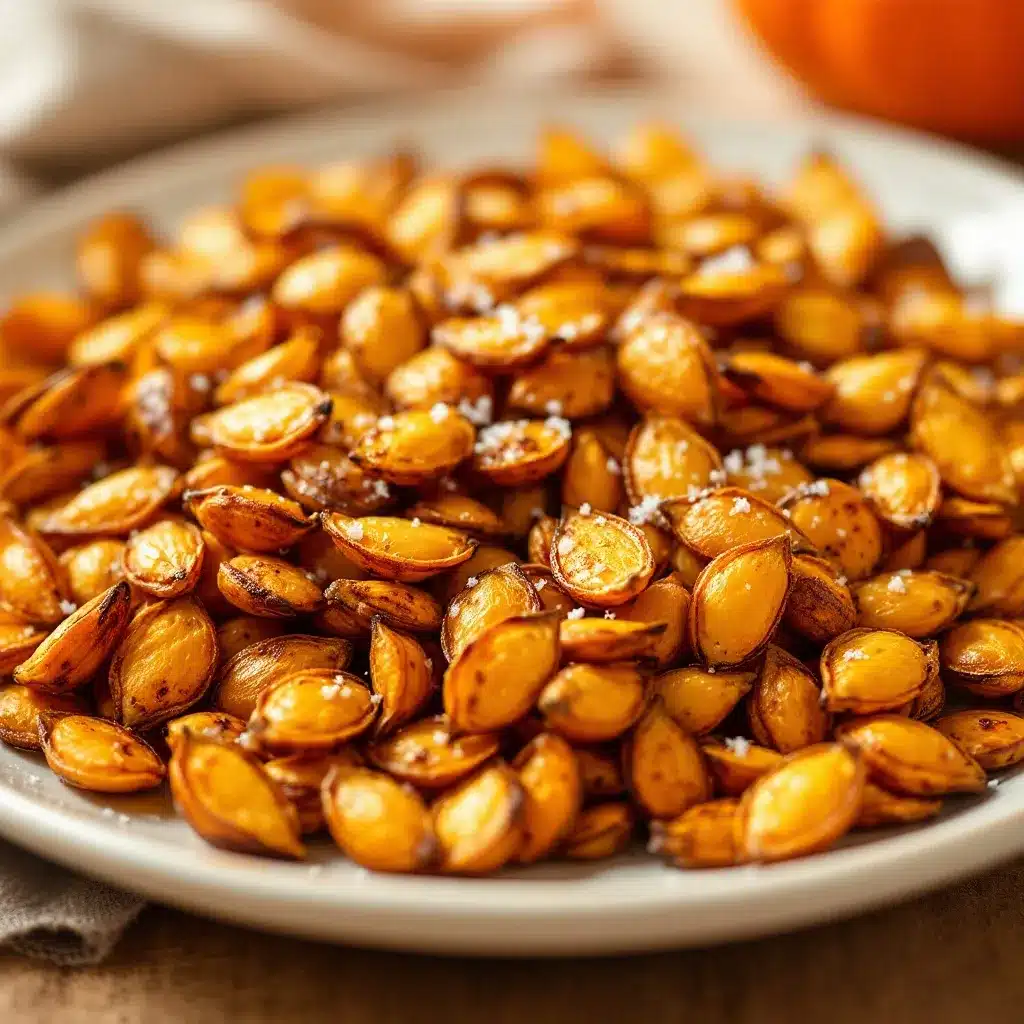
Yes, absolutely. Just rinse them to remove any debris and pat them very dry before adding the oil. The cooking time may be slightly shorter since they are already dry.
What Kind of Oil Is Best?
Avocado oil is my top choice because of its high smoke point and neutral flavor. Olive oil works well too, but extra virgin can sometimes burn if the air fryer runs hot. Stick to light olive oil or avocado oil for the crispiest results.
Do I Need to Soak the Seeds?
No, soaking is not necessary for this recipe. In fact, soaking adds moisture that you have to work hard to remove. We want the seeds dry before they hit the heat for maximum crunch.
How Do I Prevent Burning?
Shake the basket frequently. Air fryers have hot spots, and constant movement ensures even cooking. If your seeds are browning too fast, lower the temperature by 10 degrees.
Equipment Needed
You don’t need a lot of fancy gadgets to make these seeds, but having the right tools makes the process much smoother. The most important piece of equipment is, of course, your air fryer. Any standard basket-style air fryer will work perfectly. If you have a smaller model, you may need to roast the seeds in two batches to avoid overcrowding. Overcrowding is the enemy of crispiness because it traps steam.
You will also need a large bowl for mixing. A wide, shallow bowl is ideal because it allows you to toss the seeds thoroughly with the oil and salt. A whisk or a silicone spatula helps distribute the oil evenly. I also recommend having a few paper towels or clean kitchen cloths ready for the drying process. Moisture is the enemy of crunch, so the drier your seeds are before they go into the basket, the better they will turn out.
If you prefer not to use an air fryer, a conventional oven and a baking sheet work fine, but you will need to watch them more closely. A wire rack on the baking sheet can help improve air circulation if you choose to bake them. For storage, an airtight glass jar or a resealable plastic bag is best to keep the seeds fresh and crunchy for up to a week.
Preparation Method
Getting these seeds ready requires a bit of patience, but the steps are straightforward. The goal is to remove all moisture and fibrous material to ensure a uniform roast. Follow these steps carefully for the best results.
- Extract the Seeds: Cut your pumpkin in half and scoop out the seeds and stringy pulp. Place them in a large bowl. Use your fingers or a spoon to separate the seeds from the strings. This can take a few minutes, but it is worth the effort. Discard the strings or compost them.
- Rinse Thoroughly: Place the seeds in a colander and rinse them under cold water. Rub them gently with your hands to remove any remaining pulp. You want the seeds to feel smooth, not slimy. This step usually takes about two minutes.
- Drain and Dry: Spread the rinsed seeds out on a clean kitchen towel or several layers of paper towels. Pat them dry gently. Let them sit for at least 15-20 minutes to air dry. The drier they are, the crunchier they will be. If you are in a hurry, you can use a hair dryer on a cool setting to speed this up, but be careful not to blow them away.
- Season and Coat: Transfer the dried seeds to a large bowl. Add your oil and any dry seasonings. Toss everything together until every seed is lightly coated. You want a thin layer of oil, not a pool of it. If the seeds look too dry, add a little more oil. If they look greasy, add a few more seeds or a pinch of flour to absorb the excess.
- Preheat the Air Fryer: Set your air fryer to 325°F (160°C). Let it preheat for about 3 minutes. This ensures the seeds start cooking immediately and don’t just steam.
- Roast the Seeds: Place the seeds in the air fryer basket in a single layer. Do not overcrowd the basket. Roast for 10-12 minutes, shaking the basket every 3-4 minutes. You want to hear a gentle rattling sound as they cook. This shaking is crucial for even browning.
- Check for Doneness: The seeds are done when they are golden brown and sound hollow when tapped together. Be careful not to overcook them, as they can burn quickly in the last few minutes. They will continue to crisp up as they cool.
- Season Again: While the seeds are still hot, sprinkle them with sea salt. The heat helps the salt adhere to the seeds. Toss them gently to distribute the salt evenly.
- Cool Completely: Let the seeds cool on a wire rack or a plate. They will become crispier as they cool down. Do not store them while they are still warm, as the trapped steam will make them soggy.
How Do I Know When They Are Done?
They should be golden brown and make a clicking sound when you shake the basket. If they are still soft, roast for another 2-3 minutes. Remember, they crisp up more as they cool.
Can I Make Them in a Batch?
Yes, but cook them in small batches. Overcrowding the basket will result in uneven cooking and soggy seeds. Cook one layer at a time for the best texture.
Why Are My Seeds Still Chewy?
This usually happens if the seeds weren’t dried thoroughly before roasting. Make sure to pat them dry and let them air dry for at least 15 minutes before adding the oil.
What Temperature Should I Use?
325°F (160°C) is the sweet spot. Higher temperatures can burn the outside before the inside is cooked. Lower temperatures take too long and can dry out the seeds unevenly.
How Long Do They Last?
Stored in an airtight container at room temperature, they will stay crunchy for up to one week. If you live in a humid climate, store them in the fridge to maintain crispiness.
Cooking Tips & Techniques
There are a few tricks I have learned over the years that make all the difference in the final texture. The biggest mistake people make is not drying the seeds enough. Moisture is the enemy of crunch. If your seeds feel even slightly damp after rinsing, let them air dry for longer. I often spread them out on a counter and let them sit for an hour before roasting. It is an extra step, but it guarantees a superior crunch.
Another tip is to shake the basket frequently. Air fryers work by circulating hot air, and if the seeds are sitting still in one spot, they will cook unevenly. Shaking them every few minutes ensures that all sides get exposed to the heat. This also prevents sticking and burning. I usually set a timer on my phone to remind me to shake the basket.
Do not be afraid to taste a seed while it is still hot. They will cool down and become crispier, so what tastes soft might actually be done. If you are unsure, roast them for an extra minute and check again. It is better to undercook slightly than to burn them, as burnt seeds have a bitter, acrid taste that is hard to fix.
Finally, season immediately after roasting. The residual heat helps the salt and spices stick to the seeds. If you wait until they are completely cool, the seasoning will fall off. I also recommend using flaky sea salt for the final touch. It adds a nice visual appeal and a burst of salty flavor that enhances the nutty taste of the pumpkin seeds.
What If I Don’t Have an Air Fryer?
You can roast them in a conventional oven at 300°F (150°C) for 20-25 minutes. Spread them on a baking sheet lined with parchment paper. Stir them every 5 minutes to ensure even cooking. The texture will be similar, but it takes longer and requires more attention.
Can I Add Sugar to the Seeds?
Yes, you can make sweet pumpkin seeds. Add a tablespoon of maple syrup or honey and a pinch of cinnamon to the oil mixture. Roast them at a slightly lower temperature, 300°F (150°C), to prevent the sugar from burning. They make a great dessert snack.
How Do I Store Leftover Seeds?
Store them in an airtight container at room temperature for up to a week. If you live in a humid area, store them in the refrigerator to keep them crisp. Avoid storing them in the freezer, as they can become chewy when thawed.
Why Do My Seeds Stick Together?
This happens if there is too much oil or if the seeds are not dried properly. Make sure to use just enough oil to coat the seeds lightly. Also, ensure they are completely dry before roasting to prevent them from clumping.
Can I Use Different Spices?
Absolutely. Try garlic powder, smoked paprika, chili powder, or curry powder. Get creative with your seasonings to match your mood or the occasion. Just make sure the spices are fine enough to stick to the seeds.
Variations & Adaptations
While the classic sea salt version is my favorite, there are many ways to customize these seeds to suit different tastes. Here are a few variations I have tried that work wonderfully.
- Spicy Chipotle: Add a teaspoon of chili powder and a half teaspoon of smoked paprika to the oil mixture. This gives the seeds a smoky, spicy kick that is perfect for game day snacking.
- Sweet Cinnamon Sugar: Mix a tablespoon of maple syrup with a teaspoon of cinnamon. Toss the seeds in this mixture before roasting. They become a sweet, crunchy treat that pairs well with coffee or tea.
- Garlic Parmesan: After roasting, toss the hot seeds with a tablespoon of grated parmesan cheese and a half teaspoon of garlic powder. The cheese melts slightly and creates a savory, umami-rich coating.
- Herb Blend: Use dried rosemary, thyme, and oregano mixed with the oil. This herbal version is great for adding to salads or soups as a crunchy topping.
For dietary restrictions, these seeds are naturally gluten-free and vegan. They are also high in protein and healthy fats, making them a nutritious snack option. If you are watching your sodium intake, simply reduce the amount of salt or omit it entirely. The seeds will still be delicious with just the oil and spices.
Can I Use Different Pumpkins?
Yes, any pumpkin or squash will work. Sugar pumpkins and pie pumpkins have the best seeds, but butternut squash seeds also roast up nicely. Just adjust the roasting time as larger seeds may take longer to cook.
How Do I Make Them Nut-Free?
Pumpkin seeds are naturally nut-free, so this recipe is safe for nut allergies. Just ensure that your oil and seasonings are also nut-free to avoid cross-contamination.
Can I Use Coconut Oil?
Yes, coconut oil adds a subtle sweetness that pairs well with cinnamon or chili powder. Keep in mind that coconut oil solidifies when cool, so the seeds may feel slightly firmer after roasting.
What If I Want a Lower Fat Option?
You can reduce the amount of oil to just a teaspoon, or use a cooking spray to coat the seeds lightly. They will still roast, but the texture may be slightly less rich. Adding a little water to the seasoning mix can help the spices stick without extra fat.
Can I Make Them in a Dehydrator?
Yes, dehydrating is a great low-heat option. Spread the dried seeds on dehydrator trays and dry at 150°F (65°C) for 6-8 hours. They will be very crisp and have a longer shelf life. Add seasonings after dehydrating.
Serving & Storage Suggestions
These roasted pumpkin seeds are incredibly versatile. They make a great standalone snack, but they also add a nice crunch to other dishes. I love sprinkling them over salads, soups, or yogurt for extra texture. They are also perfect for charcuterie boards, especially when paired with sharp cheeses and cured meats. Try serving them alongside cozy Oktoberfest beer cheese soup for a hearty autumn meal.
For storage, keep the seeds in an airtight container at room temperature. They will stay crunchy for up to a week. If you live in a humid climate, store them in the refrigerator to prevent them from going stale. Avoid storing them in the freezer, as the moisture can make them chewy.
When reheating, spread the seeds on a baking sheet and warm them in a 300°F (150°C) oven for 5 minutes. This will restore their crispiness. Do not microwave them, as this will make them soft and chewy.
How Do I Serve Them for a Party?
Serve them in small bowls or cups for easy grabbing. You can also pack them in small bags as party favors. They are a healthy alternative to chips and crackers.
Can I Freeze the Seeds?
Yes, you can freeze them for up to three months. Let them cool completely before placing them in a freezer-safe bag. Thaw them at room temperature before eating. They may lose a little crispiness but will still be good.
What Drinks Pair Well With These?
These seeds pair well with beer, wine, or coffee. The salty flavor complements hoppy beers and red wines. For a non-alcoholic option, try them with hot chocolate or spiced apple cider.
How Do I Prevent Them From Going Stale?
Ensure they are completely cool before storing. Any residual heat will create moisture in the container, leading to staleness. Use an airtight container to protect them from humidity.
Can I Add Chocolate to the Seeds?
Yes, melt some dark chocolate and dip the cooled seeds. Let them set on parchment paper. This creates a sweet and salty treat that is perfect for holidays.
Nutritional Information & Benefits
Pumpkin seeds are a nutritional powerhouse. They are rich in protein, fiber, magnesium, and zinc. A one-ounce serving contains about 150 calories, making them a calorie-dense but nutritious snack. They are also a good source of healthy fats, including omega-3 and omega-6 fatty acids.
These seeds support heart health and may help improve sleep quality due to their high magnesium content. They are also great for immune system support thanks to their zinc content. Unlike processed snacks, these seeds provide sustained energy without a sugar crash.
For those following a gluten-free or vegan diet, these seeds are an excellent option. They are naturally free from common allergens and provide a satisfying crunch that mimics the texture of croutons or nuts. Including them in your diet is a simple way to boost your nutrient intake.
Are Pumpkin Seeds High in Calories?
Yes, they are calorie-dense, so portion control is important. A small handful is a satisfying snack, but eating too many can lead to excessive calorie intake.
Do They Help With Sleep?
Yes, pumpkin seeds are high in magnesium and tryptophan, which can help improve sleep quality. Eating a small handful before bed may help you relax.
Are They Good for Heart Health?
Yes, they contain healthy fats, magnesium, and antioxidants that support heart health. Regular consumption may help lower blood pressure and improve cholesterol levels.
Can I Eat the Shells?
If you are using hulled seeds, you are eating the meat only. If you are using unhulled seeds, you can eat the shells, but they are harder to digest. Hulled seeds are generally preferred for roasting.
How Much Protein Do They Have?
A one-ounce serving contains about 7 grams of protein. This makes them a great snack for post-workout recovery or as a plant-based protein source.
Conclusion
Making crispy air fryer pumpkin seeds is easier than you think, and the results are worth the effort. These seeds are crunchy, savory, and packed with nutrients. They are a perfect snack for any time of day, and they are so much better than store-bought options. I hope you try this recipe and enjoy the satisfaction of making your own healthy treats.
Feel free to experiment with different seasonings to find your favorite flavor. Whether you like them spicy, sweet, or classic, these seeds are a versatile addition to your pantry. Share your creations with me in the comments below, and let me know how you like to season your pumpkin seeds.
Happy roasting! I can’t wait to hear what you think of these crunchy delights.
How Do I Store Leftover Seeds?
Store them in an airtight container at room temperature for up to a week. If you live in a humid area, store them in the refrigerator to keep them crisp.
Can I Make Them in Advance?
Yes, you can make them up to a week in advance. Just ensure they are completely cool before storing to maintain their crunch.
Why Are My Seeds Not Crunchy?
This usually happens if they were not dried thoroughly before roasting. Make sure to pat them dry and let them air dry for at least 15 minutes.
Can I Use a Microwave?
No, microwaving will not give you the same crispy texture. The air fryer or oven is best for even cooking and crispiness.
What Is the Best Way to Eat Them?
Eat them plain for a salty snack, or sprinkle them over salads and soups for added texture. They are versatile and delicious in many ways.
Pin This Recipe!
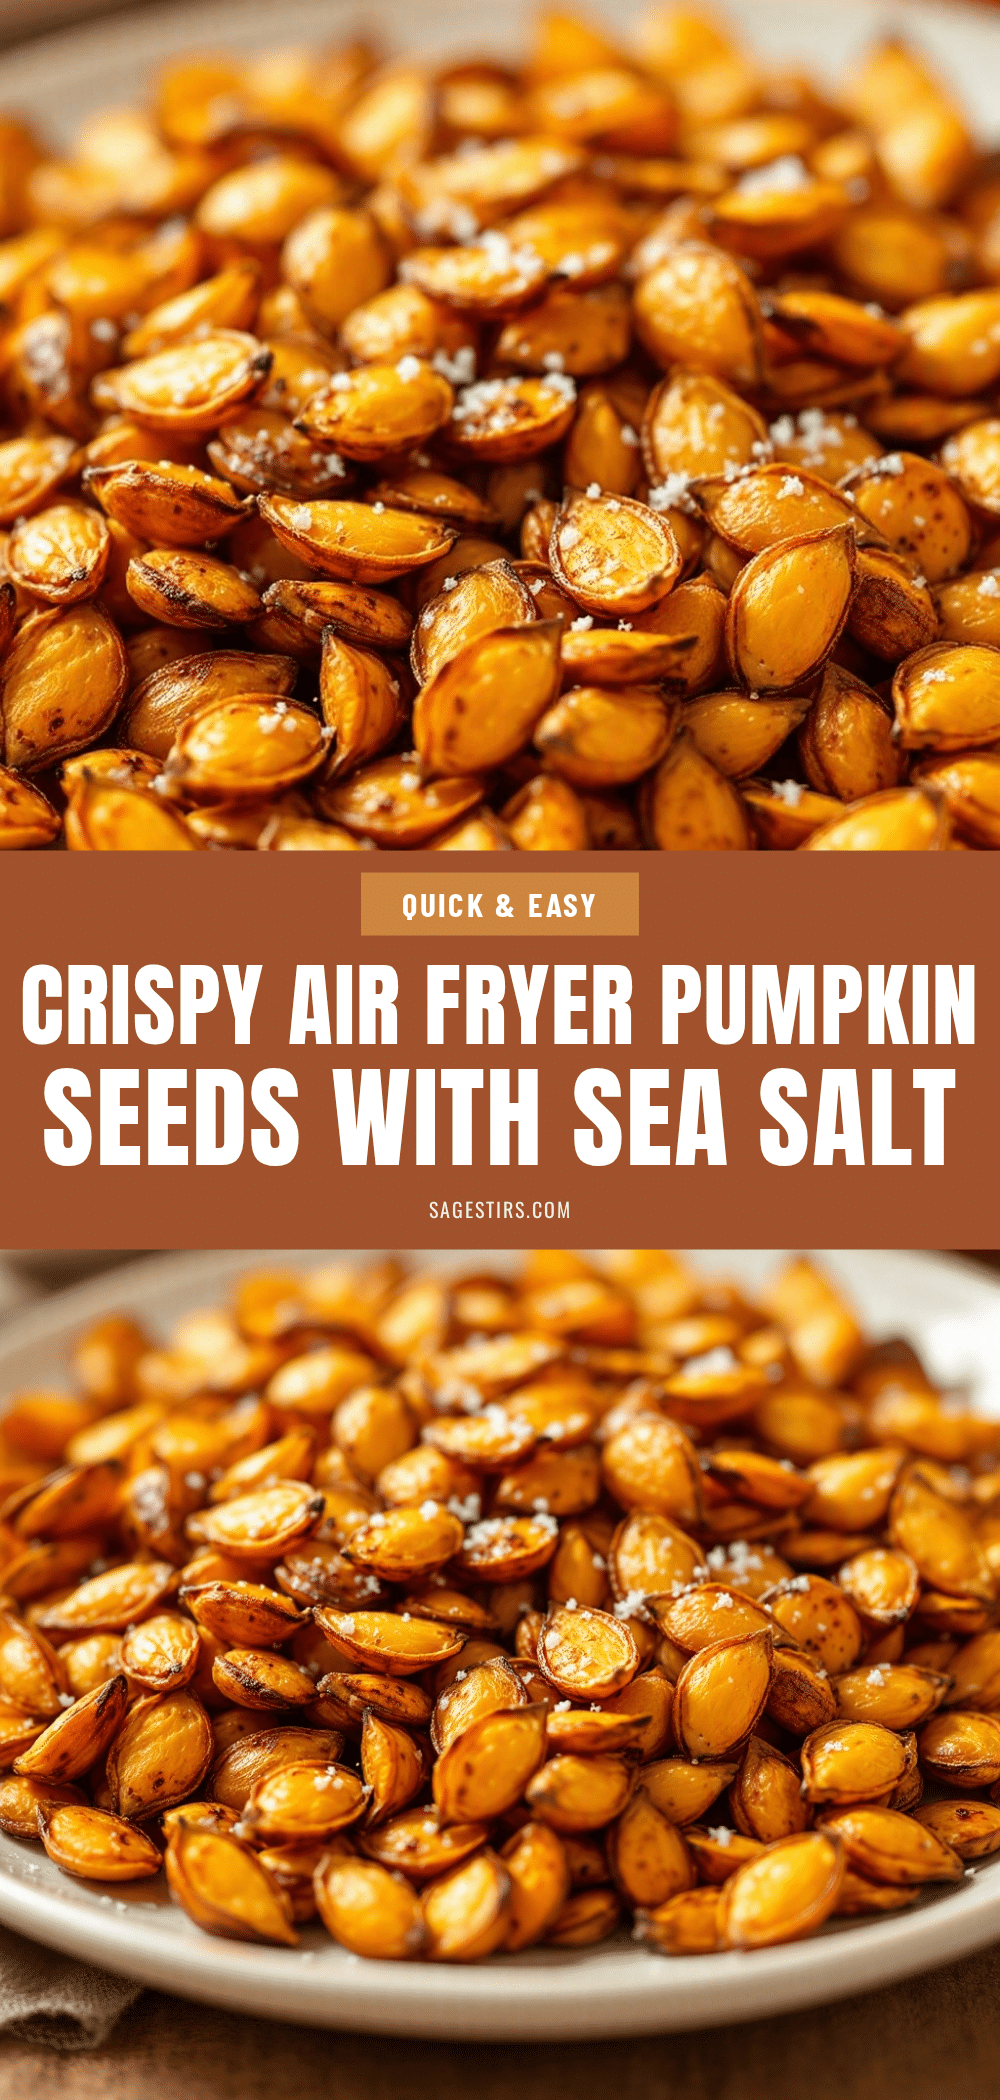
Crispy Air Fryer Pumpkin Seeds: 3-Step Easy Roast
Transform pumpkin seeds into a crunchy, protein-packed snack using an air fryer. This simple recipe requires just seeds, oil, and salt for a healthy, homemade treat that beats store-bought chips.
- Prep Time: 20 minutes
- Cook Time: 12 minutes
- Total Time: 32 minutes
- Yield: 4 servings
- Category: Snack
- Cuisine: American
Ingredients
- Pumpkin seeds (freshly extracted from a sugar or pie pumpkin, or store-bought raw unsalted unhulled seeds)
- Neutral oil (avocado oil, light olive oil, or coconut oil) – 1 to 2 tablespoons per cup of seeds
- Sea salt (fine, kosher, or flaky for finishing)
- Optional seasonings: garlic powder, smoked paprika, chili powder, cinnamon, maple syrup, or grated parmesan cheese
Instructions
- Extract the seeds from the pumpkin and separate them from the fibrous strings.
- Rinse the seeds thoroughly under cold water in a colander, rubbing gently to remove remaining pulp.
- Drain and dry the seeds on a clean kitchen towel or paper towels. Let them air dry for at least 15-20 minutes to ensure maximum crispiness.
- Transfer the dried seeds to a large bowl and toss with oil and any desired dry seasonings until lightly coated.
- Preheat the air fryer to 325°F (160°C) for about 3 minutes.
- Place the seeds in the air fryer basket in a single layer, ensuring not to overcrowd.
- Roast for 10-12 minutes, shaking the basket every 3-4 minutes to ensure even browning.
- Check for doneness: seeds should be golden brown and sound hollow when tapped. Remove before they burn.
- While still hot, sprinkle with sea salt and toss gently to distribute.
- Let the seeds cool completely on a wire rack or plate before storing to allow them to crisp up fully.
Notes
Thorough drying is crucial for crispiness; do not skip the air-drying step. Shake the basket frequently to prevent burning and ensure even cooking. Seeds will continue to crisp as they cool. Store in an airtight container at room temperature for up to one week.
Nutrition
- Serving Size: 1 ounce (approx. 1/4
- Calories: 150
- Fat: 13
- Saturated Fat: 2
- Carbohydrates: 2
- Fiber: 2
- Protein: 7
Keywords: air fryer pumpkin seeds, roasted pumpkin seeds, pepitas, healthy snack, gluten-free snack, vegan snack, game day snacks, crispy seeds



