Love this? Save it for later!
Share the inspiration with your friends
The clock on the oven read 11:42 PM when I realized I had absolutely no black cocoa powder left. Not a single gram. Just an empty jar sitting next to a bag of flour that had somehow spilled onto the counter, creating a gray dust storm that matched the exhaustion in my bones. It was October 31st, and the “trick” part of Halloween was looming large because I had promised the neighborhood kids these specific ghost cupcakes by 8 AM the next day. Panic, cold and sharp, hit me right in the chest.
I tore through the pantry like a raccoon searching for scraps. Vanilla extract? Check. Butter? Check. But the dark, almost midnight cocoa that gives these treats their signature spooky look was nowhere to be found. I considered giving up, maybe baking some pumpkin chocolate chip cookies instead since they were forgiving and always a hit. But something stubborn kept me there. I refused to let a lack of specialty ingredient win on Halloween night.
Then, I remembered a tip from a culinary school professor years ago: mix regular unsweetened cocoa with a teaspoon of activated charcoal or even dark food gel to mimic that deep, black hue. It wasn’t the traditional way, but desperation breeds innovation. I grabbed the charcoal powder I kept for emergency baking experiments and whisked it into the batter. The mixture turned a shade so dark it looked like liquid night.
I spent the next three hours piping buttercream ghosts onto the dark cakes, my hands trembling slightly from caffeine and adrenaline. When I finally stepped back, the kitchen was a mess, my apron was stained, but the counter was lined with perfect, spooky little ghosts. They looked eerie, delicious, and completely authentic. That night taught me that the best recipes aren’t always about having the perfect ingredients; they’re about the willingness to improvise when everything goes wrong.
Why You’ll Love This Recipe
Honestly, there is something deeply satisfying about baking with black cocoa. It’s not just about the spooky factor, though let’s be real, the visual impact is undeniable. It’s about the flavor profile that regular cocoa just can’t touch. Black cocoa is Dutch-processed to an extreme degree, which gives it that jet-black color and a flavor that is less sweet and more earthy, almost like dark chocolate or Oreo cookies. When you pair that intense bitterness with sweet, fluffy vanilla buttercream, you get a balance that is seriously addictive.
Here is why this recipe has become a staple in my kitchen, especially during the fall season:
- Instant Spooky Vibes: The deep black color of the cupcakes makes them look professional and eerie without needing hours of decoration. They are the centerpiece of any Halloween table.
- Rich, Fudgy Texture: Because black cocoa is highly alkalized, it creates a denser, moister crumb than standard cocoa powder. These cupcakes stay soft for days, which is perfect for meal prep.
- Simple Flavor Profile: You don’t need complex spices or fillings. The contrast between the dark cake and the white frosting is the star. It’s minimalist in design but maximalist in taste.
- Family Approved: My kids love the “fun size” aspect of eating a ghost. It turns dessert into a game, making it easier to get them to eat their sweets without complaining.
- Make-Ahead Friendly: Unlike delicate meringues or custards, these cupcakes hold up well in the fridge. You can bake the cakes a day ahead and pipe the ghosts right before serving.
This isn’t just another chocolate cupcake. It’s a technique-driven dessert that relies on the specific properties of black cocoa to deliver a unique experience. If you’ve ever tried to make Oreos at home, you know how hard it is to get that dark color and flavor. This recipe simplifies that process into an easy-to-follow guide that yields bakery-quality results every time.
What Ingredients You Will Need
Baking with black cocoa requires a bit of precision because this ingredient behaves differently than regular cocoa. It is more acidic in reaction to leavening agents and absorbs liquid differently. To get that tender crumb and the right rise, we need to balance the chemistry carefully. You don’t need a trip to a specialty store for everything; most of these items are pantry staples.
Here is what you will need to make the best black cocoa ghost cupcakes:
For the Black Cocoa Cupcakes
- Black Cocoa Powder: 3/4 cup (75g). This is the star. I recommend Dahlia Bakery Black Cocoa or Cocoa Noir for the best color and flavor. If you can’t find it, you can substitute with a mix of Dutch-process cocoa and a tiny bit of activated charcoal, but the color won’t be as intense.
- All-Purpose Flour: 1 1/2 cups (190g). Use the spoon-and-level method to avoid dense cakes.
- Baking Soda: 1 1/2 teaspoons. Black cocoa is alkaline, so it needs a strong leavener like baking soda to rise properly.
- Baking Powder: 1/2 teaspoon. A little boost to ensure the cupcakes stay fluffy.
- Salt: 1/2 teaspoon. To balance the sweetness and enhance the chocolate flavor.
- Unsalted Butter: 1/2 cup (113g), softened. Room temperature butter creams better with sugar.
- Granulated Sugar: 1 cup (200g). Provides structure and sweetness.
- Eggs: 2 large, room temperature. Cold eggs can cause the batter to curdle.
- Vanilla Extract: 2 teaspoons. Pure vanilla, not imitation.
- Buttermilk: 1 cup (240ml). Adds tang and tenderness. You can make your own by adding 1 tablespoon of vinegar or lemon juice to milk and letting it sit for 5 minutes.
- Hot Water: 1/2 cup (120ml). Blooms the cocoa powder and deepens the flavor.
For the Vanilla Buttercream
- Unsalted Butter: 1 cup (226g), softened to room temperature. This is crucial for a smooth frosting.
- Powdered Sugar: 3 to 4 cups (360g-480g). Sifted to remove lumps.
- Heavy Cream: 2-3 tablespoons. To adjust consistency.
- Vanilla Extract: 1 tablespoon. For that classic ghost flavor.
- Salt: 1/4 teaspoon. Cuts the sweetness.
For Decoration
- White Food Gel: Gel paste is better than liquid drops because it won’t thin out the frosting.
- Black Food Gel or Edible Marker: For drawing the eyes and mouths.
Equipment Needed
You don’t need a fancy kitchen to make these, but having the right tools makes the process smoother.
- 24-Cup Muffin Tin: Standard size works best. If you want mini ghosts, use a mini muffin tin.
- Liner Papers: White or black liners. White liners show off the ghost shape better, while black liners hide the dark cake color.
- Stand Mixer or Hand Mixer: Essential for creaming the butter and sugar, and for whipping the buttercream. Doing this by hand is possible but requires significant arm strength.
- Baking Spatula: A flexible silicone spatula is best for folding in the flour and scraping the bowl.
- Piping Bags and Tips: I recommend a large star tip (like Wilton 1M) or a round tip (Wilton 1A) for the ghosts. Star tips create ridges that look like classic ghost sheets; round tips create a smoother, more modern ghost shape.
- Cooling Rack: To prevent the cakes from steaming and getting soggy.
Preparation Method
Step 1: Prep Your Station
Preheat your oven to 350°F (175°C). Line your muffin tin with cupcake liners. If you are using black liners, you might want to place them on a white sheet pan for stability. Take your butter and eggs out of the fridge now so they reach room temperature. This ensures a smooth emulsion in the batter.
Step 2: Mix Dry Ingredients
In a medium bowl, whisk together the black cocoa powder, flour, baking soda, baking powder, and salt. Sifting the cocoa powder is highly recommended because it tends to clump. You want a fine, uniform dust. Whisk for about 30 seconds to ensure the leavening agents are evenly distributed.
Step 3: Cream Butter and Sugar
In the bowl of your stand mixer fitted with the paddle attachment, beat the softened butter and granulated sugar on medium-high speed for 3-4 minutes. The mixture should look pale and fluffy. This step incorporates air, which helps the cupcakes rise. Scrape down the sides of the bowl with a spatula.
Step 4: Add Eggs and Vanilla
Add the eggs one at a time, beating well after each addition. Mix in the vanilla extract. The mixture might look slightly curdled at this point, which is normal. Don’t worry; it will come together.
Step 5: Combine Wet and Dry Ingredients
Reduce the mixer speed to low. Add the dry ingredients in three additions, alternating with the buttermilk in two additions. Start and end with the dry ingredients. Mix only until just combined. Overmixing develops gluten and leads to tough cupcakes.
Step 6: Bloom the Cocoa
Stir in the hot water by hand. The batter will become thin and liquidy. This is expected. The hot water “blooms” the cocoa powder, intensifying its flavor and color. The batter should look like dark liquid chocolate.
Step 7: Bake
Divide the batter evenly among the cupcake liners, filling them about 2/3 full. Bake for 18-20 minutes, or until a toothpick inserted into the center comes out clean or with a few moist crumbs. Do not overbake, or the cupcakes will dry out.
Step 8: Cool Completely
Let the cupcakes cool in the pan for 5 minutes, then transfer them to a wire rack to cool completely. This is critical. If you frost warm cupcakes, the buttercream will melt and slide off.
Step 9: Make the Buttercream
While the cakes cool, make the frosting. Beat the softened butter on medium-high speed for 5 minutes until it is very pale and creamy. Add powdered sugar one cup at a time, then add the vanilla, salt, and heavy cream. Beat on high for 3 more minutes until fluffy. If the frosting is too thick, add more cream. If it’s too thin, add more sugar.
Step 10: Pipe the Ghosts
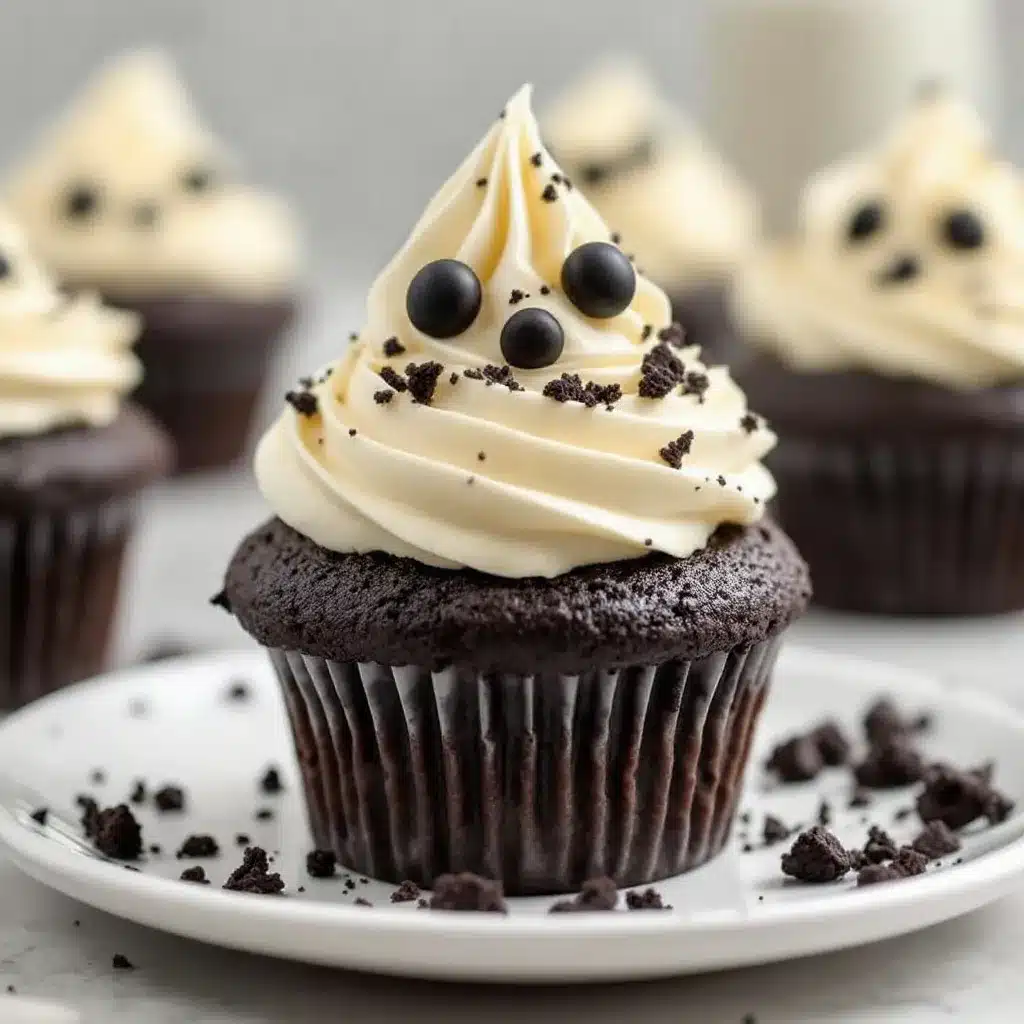
Scoop the frosting into a piping bag fitted with your chosen tip. Pipe a tall mound onto each cooled cupcake. For a classic ghost shape, pipe a round base and then drag a wet finger or a damp spatula down the sides to smooth it out, leaving a pointed top.
Step 11: Decorate
Use black food gel or an edible marker to draw two eyes and a small mouth. Add tiny dots for pupils if you want a cute look, or leave them as blank spaces for a creepy vibe.
Cooking Tips & Techniques
Baking with black cocoa can be tricky because it behaves differently than regular cocoa. Here are some tips to ensure success.
- Room Temperature Ingredients: Never skip this. Cold ingredients break the emulsion of the butter and sugar, leading to a grainy batter. If you forgot to take them out, microwave the butter in 5-second bursts or soak the eggs in warm water.
- Don’t Overmix: Once you add the flour, mix until you no longer see dry streaks. Overmixing makes the cupcakes dense and chewy instead of tender and crumbly.
- The Hot Water Step: Do not skip the hot water. It is essential for blooming the cocoa powder. Without it, the flavor will be flat and the color less vibrant. The batter will be thin, so be careful when piping.
- Buttercream Consistency: The consistency of your buttercream depends on your climate. In humid weather, you might need more powdered sugar. In dry weather, you might need more cream. Adjust as needed.
- Stabilizing the Frosting: If you are decorating in a warm kitchen, chill the piped ghosts in the fridge for 15 minutes before adding the faces. This hardens the frosting and prevents smudging.
Variations & Adaptations
You can customize these cupcakes to suit different dietary needs or flavor preferences.
- Gluten-Free Option: Substitute the all-purpose flour with a 1:1 gluten-free flour blend. Add 1/4 teaspoon of xanthan gum if your blend doesn’t include it.
- Dairy-Free: Use dairy-free butter sticks (not tub margarine) and almond milk or oat milk for the buttermilk substitute. The flavor will be slightly different but still delicious.
- Chocolate Ghosts: Instead of vanilla buttercream, use a chocolate ganache or chocolate buttercream. Pipe it into ghost shapes and add white chocolate eyes for a different look.
- Mini Cupcakes: Reduce the baking time to 10-12 minutes. These are perfect for party platters and easy for kids to handle.
- Spiced Version: Add 1/2 teaspoon of cinnamon and 1/4 teaspoon of nutmeg to the dry ingredients for a subtle fall spice flavor.
Serving & Storage Suggestions
These cupcakes are best served at room temperature. If you store them in the fridge, let them sit out for 30 minutes before eating to allow the flavors to fully develop.
- Storage: Store unfrosted cupcakes in an airtight container at room temperature for up to 2 days. Frosted cupcakes should be stored in the refrigerator for up to 5 days. Let them come to room temperature before serving.
- Freezing: You can freeze unfrosted cupcakes for up to 3 months. Wrap them tightly in plastic wrap and then in aluminum foil. Thaw overnight in the fridge before frosting.
- Pairing: Serve these with a warm cup of spiced apple cider for a perfect Halloween treat. The warmth of the cider complements the cool, creamy frosting.
- Presentation: Arrange the ghosts on a platter with some candy corn or black licorice for a festive display.
Nutritional Information & Benefits
While these are definitely a treat, black cocoa offers some interesting nutritional properties. It is high in antioxidants, specifically flavonoids, which have been linked to heart health and reduced inflammation. However, due to the high sugar and butter content, these cupcakes should be enjoyed in moderation.
Each cupcake contains approximately 250-300 calories, depending on the size of the frosting. They are a good source of carbohydrates for energy, which is nice for a busy Halloween night. For those with dietary restrictions, the gluten-free and dairy-free adaptations make them accessible to more people. Remember, baking is about balance and enjoyment.
Conclusion
Making black cocoa ghost cupcakes is a fun, creative way to celebrate Halloween. The process is straightforward, and the results are impressive. I hope you try this recipe and enjoy the spooky, delicious outcome. Don’t be afraid to experiment with different ghost faces or add your own twist to the recipe.
If you make these, I’d love to see them! Please share your creations on social media and tag me. Leave a comment below with your thoughts or any variations you tried. Happy baking, and have a spooktacular Halloween!
Frequently Asked Questions
Can I use regular cocoa powder instead of black cocoa?
You can, but the color will be dark brown, not black. The flavor will also be less intense and more acidic. To approximate the black cocoa, you can mix regular cocoa with a small amount of activated charcoal or dark food gel, but the texture may be slightly different.
Why is my cupcake batter so thin?
This is normal when using black cocoa and hot water. The hot water blooms the cocoa and thins the batter. It should look like liquid chocolate. Do not add more flour; this will make the cupcakes dense.
How do I keep the buttercream from melting?
Ensure your buttercream is properly whipped and stiff. If it’s too warm, chill it in the fridge for 10-15 minutes before piping. Also, make sure your cupcakes are completely cool before frosting.
Can I make these cupcakes ahead of time?
Yes! Bake the cupcakes a day ahead and store them unfrosted in an airtight container. Pipe the ghosts the day of serving to keep them looking fresh and sharp.
What kind of food coloring should I use?
Use gel food coloring, not liquid. Liquid coloring can thin out the frosting and affect the consistency. Gel paste provides intense color without altering the texture.
Pin This Recipe!
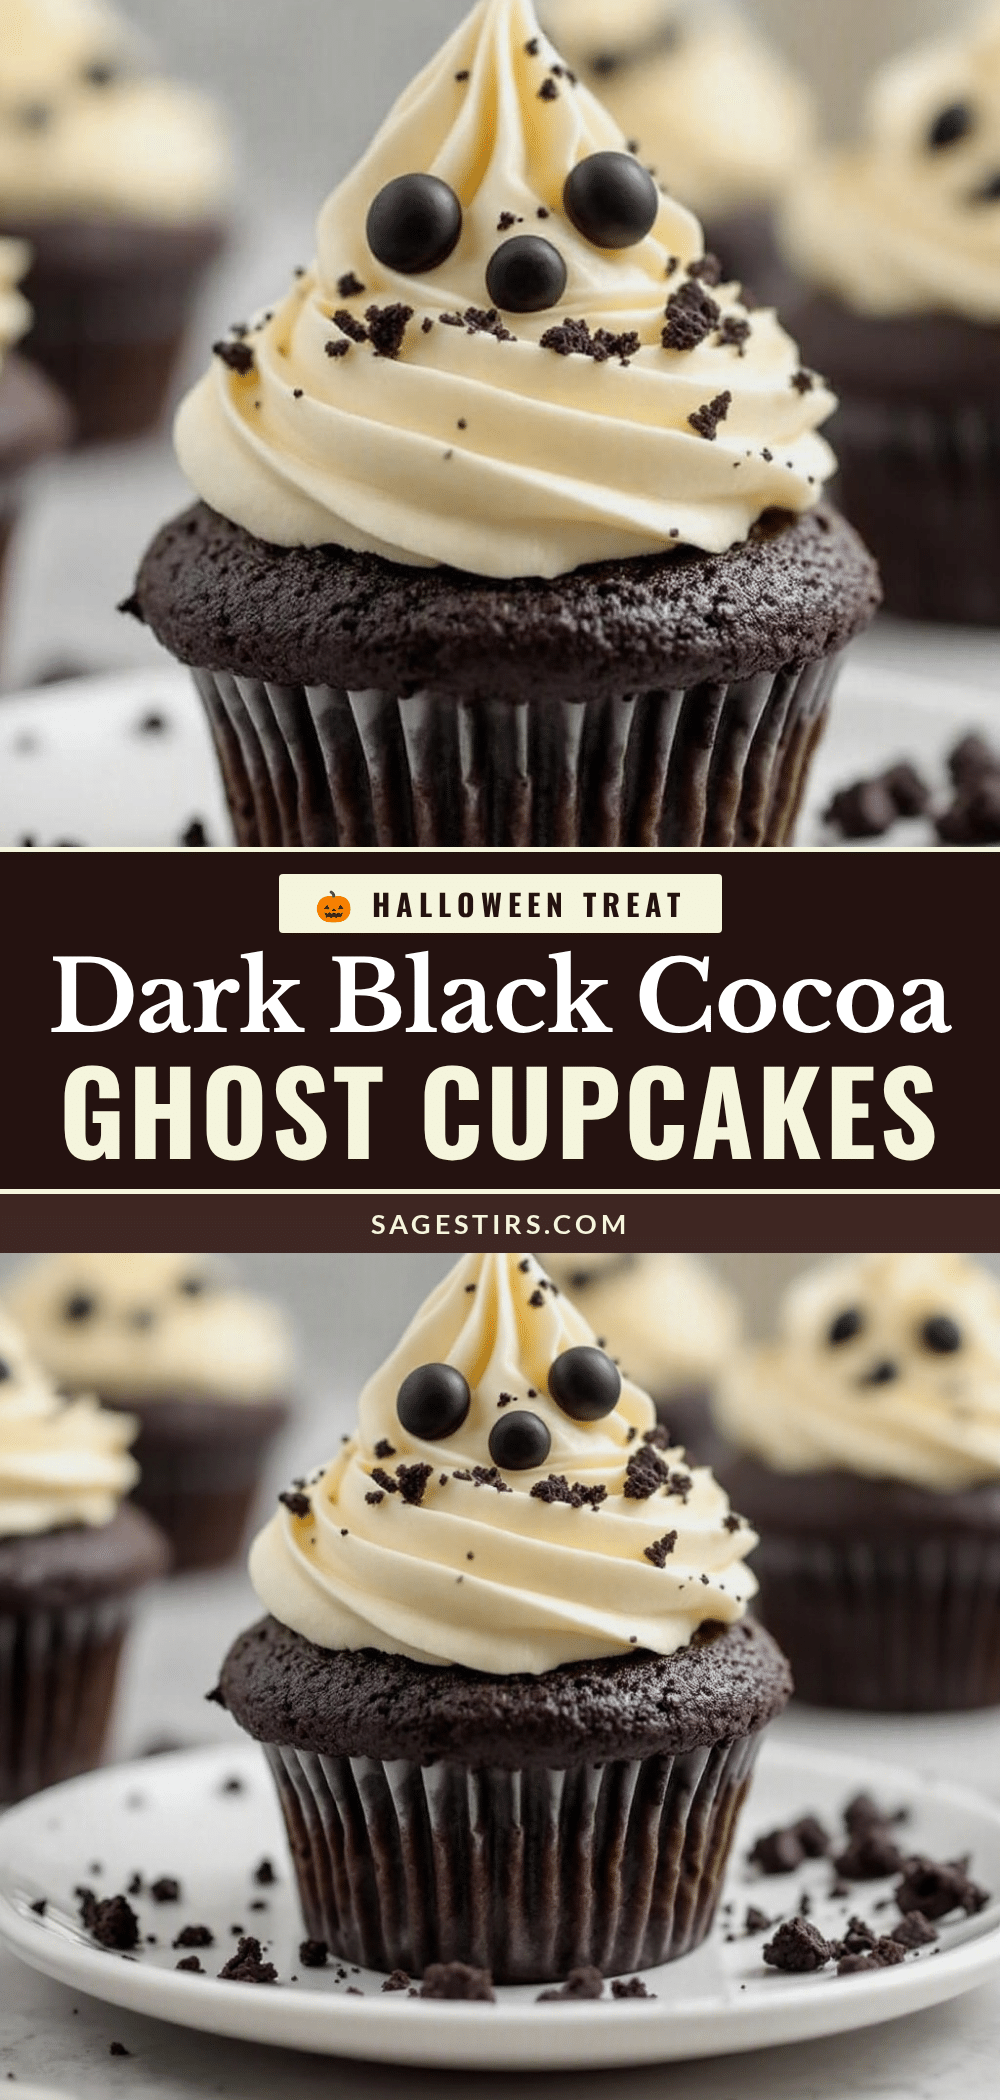
Best Black Cocoa Ghost Cupcakes: Easy Halloween Recipe
These spooky Black Cocoa Ghost Cupcakes feature a dense, fudgy dark chocolate cake topped with fluffy vanilla buttercream piped into ghost shapes. Perfect for Halloween, they offer a unique earthy flavor and professional-looking presentation.
- Prep Time: 30 minutes
- Cook Time: 20 minutes
- Total Time: 50 minutes
- Yield: 24 servings 1x
- Category: Dessert
- Cuisine: American
Ingredients
- 3/4 cup (75g) Black Cocoa Powder
- 1 1/2 cups (190g) All-Purpose Flour
- 1 1/2 teaspoons Baking Soda
- 1/2 teaspoon Baking Powder
- 1/2 teaspoon Salt
- 1/2 cup (113g) Unsalted Butter, softened
- 1 cup (200g) Granulated Sugar
- 2 large Eggs, room temperature
- 2 teaspoons Vanilla Extract
- 1 cup (240ml) Buttermilk
- 1/2 cup (120ml) Hot Water
- 1 cup (226g) Unsalted Butter, softened (for frosting)
- 3 to 4 cups (360g-480g) Powdered Sugar, sifted (for frosting)
- 2–3 tablespoons Heavy Cream (for frosting)
- 1 tablespoon Vanilla Extract (for frosting)
- 1/4 teaspoon Salt (for frosting)
- White Food Gel (for decoration)
- Black Food Gel or Edible Marker (for decoration)
Instructions
- Preheat oven to 350°F (175°C). Line a 24-cup muffin tin with cupcake liners.
- In a medium bowl, whisk together black cocoa powder, flour, baking soda, baking powder, and salt. Sift cocoa if necessary to remove clumps.
- In a stand mixer fitted with the paddle attachment, beat softened butter and granulated sugar on medium-high speed for 3-4 minutes until pale and fluffy.
- Add eggs one at a time, beating well after each addition. Mix in vanilla extract.
- Reduce mixer speed to low. Add dry ingredients in three additions, alternating with buttermilk in two additions, starting and ending with dry ingredients. Mix until just combined.
- Stir in hot water by hand until the batter is smooth and liquidy.
- Divide batter evenly among liners, filling them about 2/3 full.
- Bake for 18-20 minutes or until a toothpick inserted into the center comes out clean.
- Let cupcakes cool in the pan for 5 minutes, then transfer to a wire rack to cool completely.
- While cakes cool, beat softened butter for 5 minutes until pale and creamy. Add powdered sugar one cup at a time, then vanilla, salt, and heavy cream. Beat on high for 3 minutes until fluffy.
- Scoop frosting into a piping bag fitted with a star or round tip.
- Pipe a tall mound onto each cooled cupcake. Smooth the sides with a wet finger or damp spatula to create a ghost shape.
- Use black food gel or an edible marker to draw eyes and a mouth.
Notes
Black cocoa is highly alkalized and creates a denser crumb. Do not overmix the batter to avoid tough cupcakes. The batter will be thin due to the hot water; this is normal. Ensure cupcakes are completely cool before frosting to prevent the buttercream from melting. For gluten-free, use a 1:1 GF flour blend. For dairy-free, use dairy-free butter and almond/oat milk.
Nutrition
- Serving Size: 1 Cupcake
- Calories: 275
- Sugar: 28
- Sodium: 180
- Fat: 14
- Saturated Fat: 8
- Carbohydrates: 38
- Fiber: 2
- Protein: 3
Keywords: Halloween, Black Cocoa, Ghost Cupcakes, Chocolate Cupcakes, Halloween Dessert, Easy Baking, Spooky Treats



