Love this? Save it for later!
Share the inspiration with your friends
I had a butternut squash staring at me from the counter for three days. It was one of those impulse buys at the farmers market—you know, the ones where you get caught up in the autumn vibes and suddenly you’re carrying home a vegetable that weighs almost as much as your cat. And I had no plan for it.
It sat there, all gourd-like and judgmental, while I made my usual sheet pan sausage and peppers on Tuesday and a quick ground beef and rice skillet on Wednesday. But Thursday rolled around, and I was craving something crispy. Something salty. Something that felt a little bit naughty but was technically just a vegetable in disguise.
So I grabbed that squash, peeled it (which honestly is the hardest part of this whole recipe), and started cutting it into fry shapes. I tossed them with olive oil, garlic powder, salt, and a generous shower of Parmesan cheese. The kind of generous where you pretend you didn’t use that much. Twenty-five minutes later, I was standing over the baking sheet, burning my fingers because I couldn’t wait for them to cool. And honestly? Best decision I made all week.
These crispy Parmesan butternut squash fries are the kind of side dish that steals the show. They’re crunchy on the outside, tender on the inside, and that salty, cheesy crust is just—well, let me tell you, it’s dangerous. I’ve made them four times since that first attempt, tweaking the temperature and the cheese ratio until they were absolutely perfect. And now I’m sharing that version with you.
Why You’ll Love This Recipe
Let’s be real for a second. Getting vegetables into your diet can feel like a chore sometimes. But these fries? They don’t feel like a chore at all. They feel like a treat. And I’ve tested this recipe enough times to know exactly what works and what doesn’t—including one batch that came out so soggy I almost cried. So you’re getting the good stuff here.
- Perfectly Crispy Without Frying: These get golden and crunchy in the oven, so you don’t have to deal with a greasy stovetop or a deep fryer. Just a baking sheet and some patience.
- Simple Ingredients You Probably Have: Butternut squash, Parmesan cheese, olive oil, salt, pepper, garlic powder. That’s it. No weird specialty items or trips to three different stores.
- Ready in Under 30 Minutes: From cutting board to table in about 25 minutes. That’s faster than delivery and way more satisfying.
- Packed with Flavor: The Parmesan creates this incredible savory crust that makes you forget you’re eating a vegetable. Honestly, my kids devour these.
- Great for Meal Prep: They reheat beautifully (I’ll tell you how later), so you can make a big batch and enjoy them all week.
These aren’t just another roasted vegetable recipe. The technique here matters—how you cut them, how you coat them, and most importantly, how you space them on the pan. Get those three things right, and you’ll have the best butternut squash fries of your life.
What Ingredients You Will Need
This recipe keeps things simple, but every ingredient plays a specific role. Here’s what you need and why each one matters.
- Butternut Squash (1 medium, about 2-3 pounds): Look for one that feels heavy for its size with firm, unblemished skin. The neck portion is your best friend here—it’s straight and even, which means more consistent fry shapes. The bulbous bottom part has the seeds, so you’ll use less of that section.
- Grated Parmesan Cheese (1/2 cup, finely grated): Please, please use the good stuff here. Not the green can. You want finely grated Parmesan that’s almost powdery—it sticks better and creates a more even crust. I prefer Parmigiano-Reggiano when I can find it, but a good quality domestic Parmesan works too.
- Olive Oil (2 tablespoons): You need enough to coat the fries without drowning them. Extra virgin gives more flavor, but regular olive oil works fine. Don’t use coconut oil here—the flavor doesn’t play well with the Parmesan.
- Garlic Powder (1 teaspoon): Not garlic salt. We’re controlling the salt separately, so stick with powder. It distributes more evenly than fresh garlic and won’t burn in the oven.
- Salt (1/2 teaspoon, plus more for finishing): I use fine sea salt for coating and a pinch of flaky salt at the end. The Parmesan is already salty, so don’t go overboard.
- Black Pepper (1/4 teaspoon, freshly ground): Adds a little warmth and cuts through the richness of the cheese.
- Optional: Smoked Paprika (1/2 teaspoon): This isn’t traditional, but I love adding it. It gives the fries a subtle smoky depth that’s absolutely addictive.
A quick note on substitutions: If you’re dairy-free, you can try nutritional yeast instead of Parmesan, but the texture won’t be quite the same. The fries will still be good—just not as crispy on the outside. And if you can’t find butternut squash, sweet potatoes work beautifully with this same method. Just adjust the cooking time slightly since sweet potatoes tend to cook a bit faster.
Equipment Needed
You don’t need much for this recipe, which is part of why I love it. Here’s what you’ll want to have on hand:
- Baking Sheet (large, rimmed): A half-sheet pan is perfect. The rim keeps any oil from dripping, and the large surface area lets you spread the fries out without crowding.
- Parchment Paper or Silicone Baking Mat: This is non-negotiable for crispy fries. Without it, the Parmesan will stick to the pan and you’ll be scraping instead of eating. I prefer parchment for easy cleanup.
- Sharp Chef’s Knife: Butternut squash is dense. A dull knife is dangerous here—it can slip. Use a sharp one and take your time.
- Vegetable Peeler: A good Y-peeler makes quick work of the tough skin. I’ve tried using a knife, and it’s just not worth the effort.
- Large Mixing Bowl: For tossing the fries with oil and seasonings. You want enough room to mix without breaking the fries.
- Measuring Spoons: Precision matters with the seasonings, especially the salt and Parmesan.
If you don’t have a silicone mat, parchment paper is your next best option. Avoid using aluminum foil—the fries tend to stick and the cheese can burn onto it.
Preparation Method
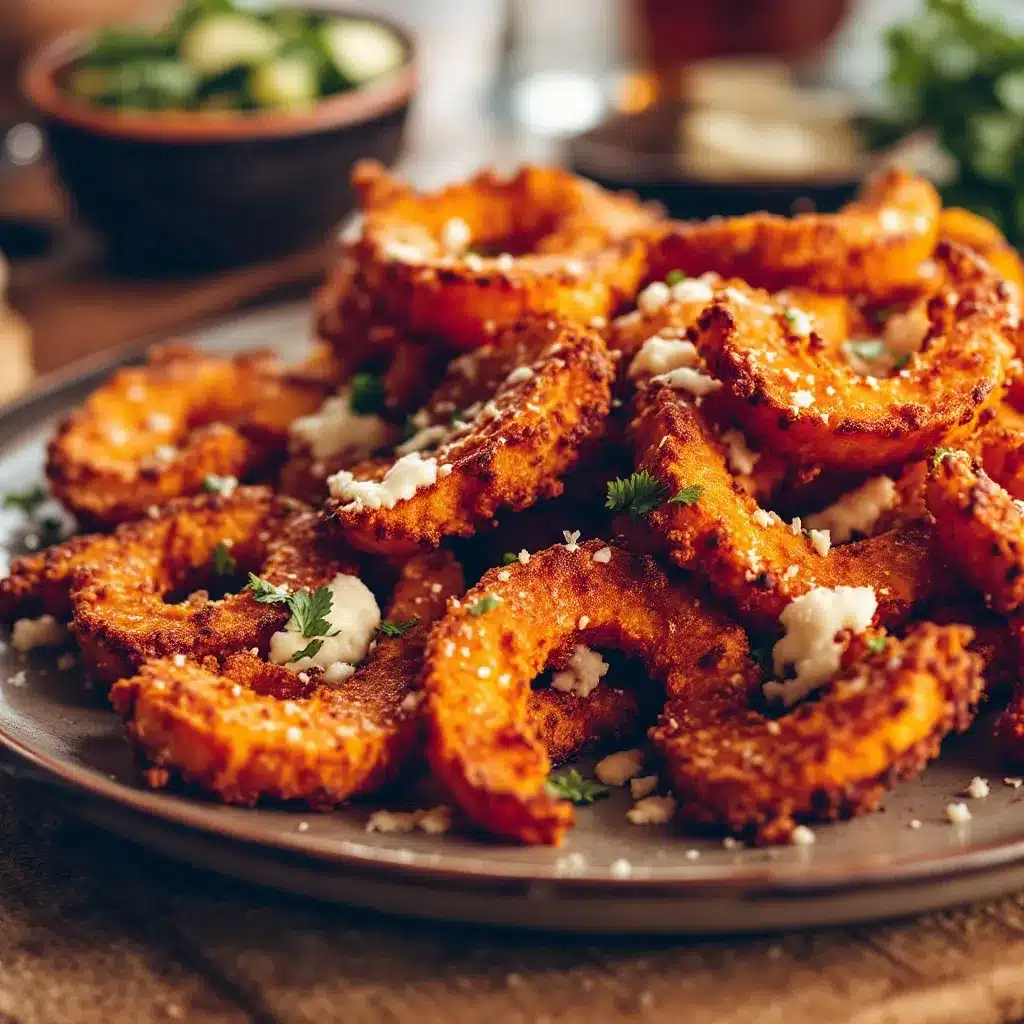
Alright, let’s get cooking. Follow these steps carefully, and you’ll have the crispiest butternut squash fries of your life.
- Preheat your oven to 425°F (218°C). This high heat is crucial for getting that crispy exterior. While it’s heating, line your baking sheet with parchment paper or a silicone mat.
- Peel the butternut squash. Use a sharp vegetable peeler and remove all the tough outer skin. Don’t skip any spots—the skin gets tough when roasted. If you hit a particularly stubborn area, use your knife to trim it off.
- Cut off the stem end and the bottom. Then slice the squash in half where the narrow neck meets the bulbous bottom. You’ll work with these two sections separately.
- Cut the neck into planks. Slice it lengthwise into 1/2-inch thick slabs. Then cut those slabs into 1/2-inch wide sticks. This is the straightest, easiest part of the squash to work with.
- Handle the bulbous section. Cut it in half lengthwise and scoop out the seeds with a spoon. Then cut each half into 1/2-inch thick slices, and those slices into fry-shaped pieces. They won’t be as uniform as the neck pieces, and that’s okay.
- Toss with oil and seasonings. Place all your cut fries in a large bowl. Drizzle with the olive oil and toss gently to coat. Add the garlic powder, salt, pepper, and smoked paprika if using. Toss again. Then sprinkle the grated Parmesan over the top and toss one more time. The cheese should stick to the oil-coated fries.
- Arrange on the baking sheet. This step matters more than you think. Place the fries in a single layer with space between each one. If they’re touching, they’ll steam instead of crisp. You might need to use two baking sheets or work in batches. Crowding is the number one reason these fries fail.
- Bake for 12 minutes. Set a timer. Don’t open the oven door during this time.
- Flip the fries. After 12 minutes, remove the pan and carefully flip each fry using tongs or a spatula. They should be golden on the bottom. If they’re not, give them another 2 minutes before flipping.
- Bake for another 10-13 minutes. The second side needs time to get crispy too. Start checking at the 10-minute mark. You’re looking for deep golden brown edges and a firm exterior. The fries should feel slightly firm when you pick them up, not floppy.
- Cool for 2 minutes on the pan. This allows the Parmesan crust to set. If you try to move them immediately, the cheese might stick to the parchment. Trust me, I’ve learned this the hard way.
- Transfer to a serving platter. Sprinkle with a tiny pinch of flaky salt if you’re feeling fancy. Serve immediately while they’re still hot and crispy.
A few sensory cues to watch for: The smell of toasted Parmesan and roasted squash will fill your kitchen around minute 15. The edges should look dark golden, almost brown in spots—that’s where the flavor lives. And when you pick one up, it should have a slight give but not bend completely in half. That’s the sweet spot between crispy outside and tender inside.
Cooking Tips & Techniques
I’ve made this recipe about a dozen times now, and I’ve learned a few things the hard way. Here’s what I wish someone had told me before my first attempt:
Cut them evenly. I know, I know—it’s tedious. But fries that are different sizes cook at different rates. The thin ones burn while the thick ones stay soft. Take the extra two minutes to make them uniform. Your future self will thank you.
Don’t skip the flipping. I tried to be lazy once and just let them bake without flipping. The bottoms got beautifully crispy, but the tops stayed pale and soft. Flip them halfway through. It’s worth the extra step.
Watch the cheese. Parmesan can go from perfectly golden to burnt in about 30 seconds. Keep an eye on the fries during the last few minutes of baking. If you see dark brown spots forming on the cheese, pull them out immediately.
Use room temperature squash. If your squash has been sitting in the fridge, let it come to room temperature for about 15 minutes before cutting. Cold squash is harder to cut and takes longer to cook evenly.
Pat them dry if needed. Butternut squash can be a little damp after peeling and cutting. If your fries feel wet, pat them gently with a paper towel before tossing with oil. Excess moisture is the enemy of crispiness.
One of my biggest failures? I tried making these on a rainy day without adjusting anything. The humidity in the air affected how crispy they got. On humid days, try baking them at 450°F for a slightly shorter time—the higher heat helps combat the moisture in the air.
Variations & Adaptations
This recipe is incredibly versatile. Here are some ways to switch it up depending on your mood, your diet, or what’s in your pantry.
Spicy Chipotle Version: Add 1/2 teaspoon of chipotle powder along with the other seasonings. The smoky heat pairs beautifully with the sweet squash and salty Parmesan. I made this version for a game day spread alongside a football charcuterie board, and it disappeared in minutes.
Herb & Garlic: Skip the garlic powder and toss the hot fries with minced fresh garlic and chopped parsley right after they come out of the oven. The residual heat cooks the garlic just enough to mellow it out while keeping that fresh punch.
Dairy-Free Option: Use nutritional yeast instead of Parmesan. The texture won’t be quite as crispy, but you’ll still get that savory, cheesy flavor. Add a tablespoon of cornstarch to the coating to help with crispiness.
Air Fryer Method: If you have an air fryer, this recipe works beautifully in it. Cook at 375°F for about 10-12 minutes, shaking the basket halfway through. You’ll need to work in batches since overcrowding is even more of an issue in an air fryer.
Sweet & Savory: Add a tablespoon of maple syrup to the olive oil before tossing. The sweetness caramelizes in the oven and creates the most incredible sticky-savory crust. It’s a little unexpected, but honestly, it’s my favorite variation.
Serving & Storage Suggestions
These fries are best served immediately while they’re still hot and crispy. But let’s be real—sometimes you make a big batch and need to save some for later. Here’s how to handle both situations.
Serving Ideas: Pile them on a platter with a side of warm marinara sauce for dipping. Or serve them alongside a creamy garlic Parmesan pasta salad for a complete meal that feels fancy but takes minimal effort. They’re also fantastic as a side for grilled chicken, steak, or fish. And honestly? I’ve eaten them straight off the baking sheet more times than I care to admit.
Dipping Sauce Suggestions: Besides marinara, try them with ranch dressing, chipotle mayo, garlic aioli, or even a simple balsamic glaze. The salty, savory fries pair well with just about anything creamy or tangy.
Storage: If you have leftovers, let them cool completely before storing in an airtight container. They’ll keep in the refrigerator for up to 3 days. The texture will soften, but they’re still delicious.
Reheating: The oven is your best friend here. Spread them on a baking sheet and reheat at 400°F for 5-7 minutes. They’ll crisp back up nicely. Avoid the microwave—it turns them into sad, soggy squash sticks.
Freezing: These don’t freeze well. The texture changes too much during thawing. If you need to prep ahead, cut the squash and store the raw fries in the fridge for up to 2 days, then bake them fresh.
Nutritional Information & Benefits
Let’s talk about what’s actually in these fries besides deliciousness. Per serving (about one cup of fries), here’s the approximate breakdown:
- Calories: 180-200
- Protein: 7g
- Fat: 10g
- Carbohydrates: 20g
- Fiber: 4g
- Sugar: 4g (natural)
- Sodium: 350mg
Butternut squash is packed with vitamin A—one serving gives you over 100% of your daily needs. It’s also a great source of vitamin C, potassium, and magnesium. The Parmesan adds calcium and protein, making these fries more filling than regular potato fries.
If you’re watching your carb intake, these are a fantastic alternative to traditional fries. They’re naturally gluten-free and can be made dairy-free with the nutritional yeast substitution I mentioned earlier. Just be mindful of the sodium if you’re on a low-salt diet—the Parmesan and added salt can add up.
Conclusion
These crispy Parmesan butternut squash fries have become a staple in my kitchen for good reason. They’re simple enough for a Tuesday night side dish but impressive enough to serve to guests. The combination of sweet squash, salty Parmesan, and that perfect crispy exterior is just—well, it’s magic.
I love that this recipe proves you don’t need complicated techniques or fancy equipment to make something truly delicious. Just good ingredients, a hot oven, and a little patience. And honestly, that’s the kind of cooking I live for.
If you try these, I’d love to hear how they turned out. Did you stick with the original or try one of the variations? Did you discover a new dipping sauce that blew your mind? Drop a comment below and let me know. And if you share them on social media, tag me—I want to see your crispy, cheesy creations.
Now go preheat that oven. Your squash is waiting.
Frequently Asked Questions
Can I use pre-cut butternut squash from the store?
Absolutely. Just look for pieces that are firm and fresh, not mushy or dried out. You’ll want to cut them into even fry shapes yourself since pre-cut chunks are usually irregular. It saves you the peeling step, which is honestly the most annoying part.
Why did my fries come out soggy?
There are three main culprits: overcrowding the pan, not drying the squash before coating, or not using a high enough oven temperature. Make sure your fries have space between them, pat them dry if they feel damp, and always preheat to at least 425°F.
Can I make these ahead of time for a party?
You can, but they’re best fresh. If you need to prep ahead, cut the squash and store the raw fries in the fridge up to 2 days. Then bake them right before serving. If you have leftovers, reheat them in the oven at 400°F for 5-7 minutes to bring back the crispiness.
What’s the best way to cut butternut squash safely?
Use a sharp knife and a stable cutting board. Cut a thin slice off one side of the squash to create a flat surface so it doesn’t roll. Then cut crosswise to separate the neck from the bulb. Work slowly and keep your fingers curled under. If the squash is very hard, microwave it for 2-3 minutes to soften it slightly before cutting.
Can I use other types of squash for this recipe?
Definitely. Acorn squash works but has a milder flavor. Kabocha squash is sweeter and creamier. And delicata squash doesn’t even need to be peeled—the skin is thin and edible. Just adjust cooking times since different squash have different densities. Sweet potatoes are also an excellent substitute with this same method.
Pin This Recipe!
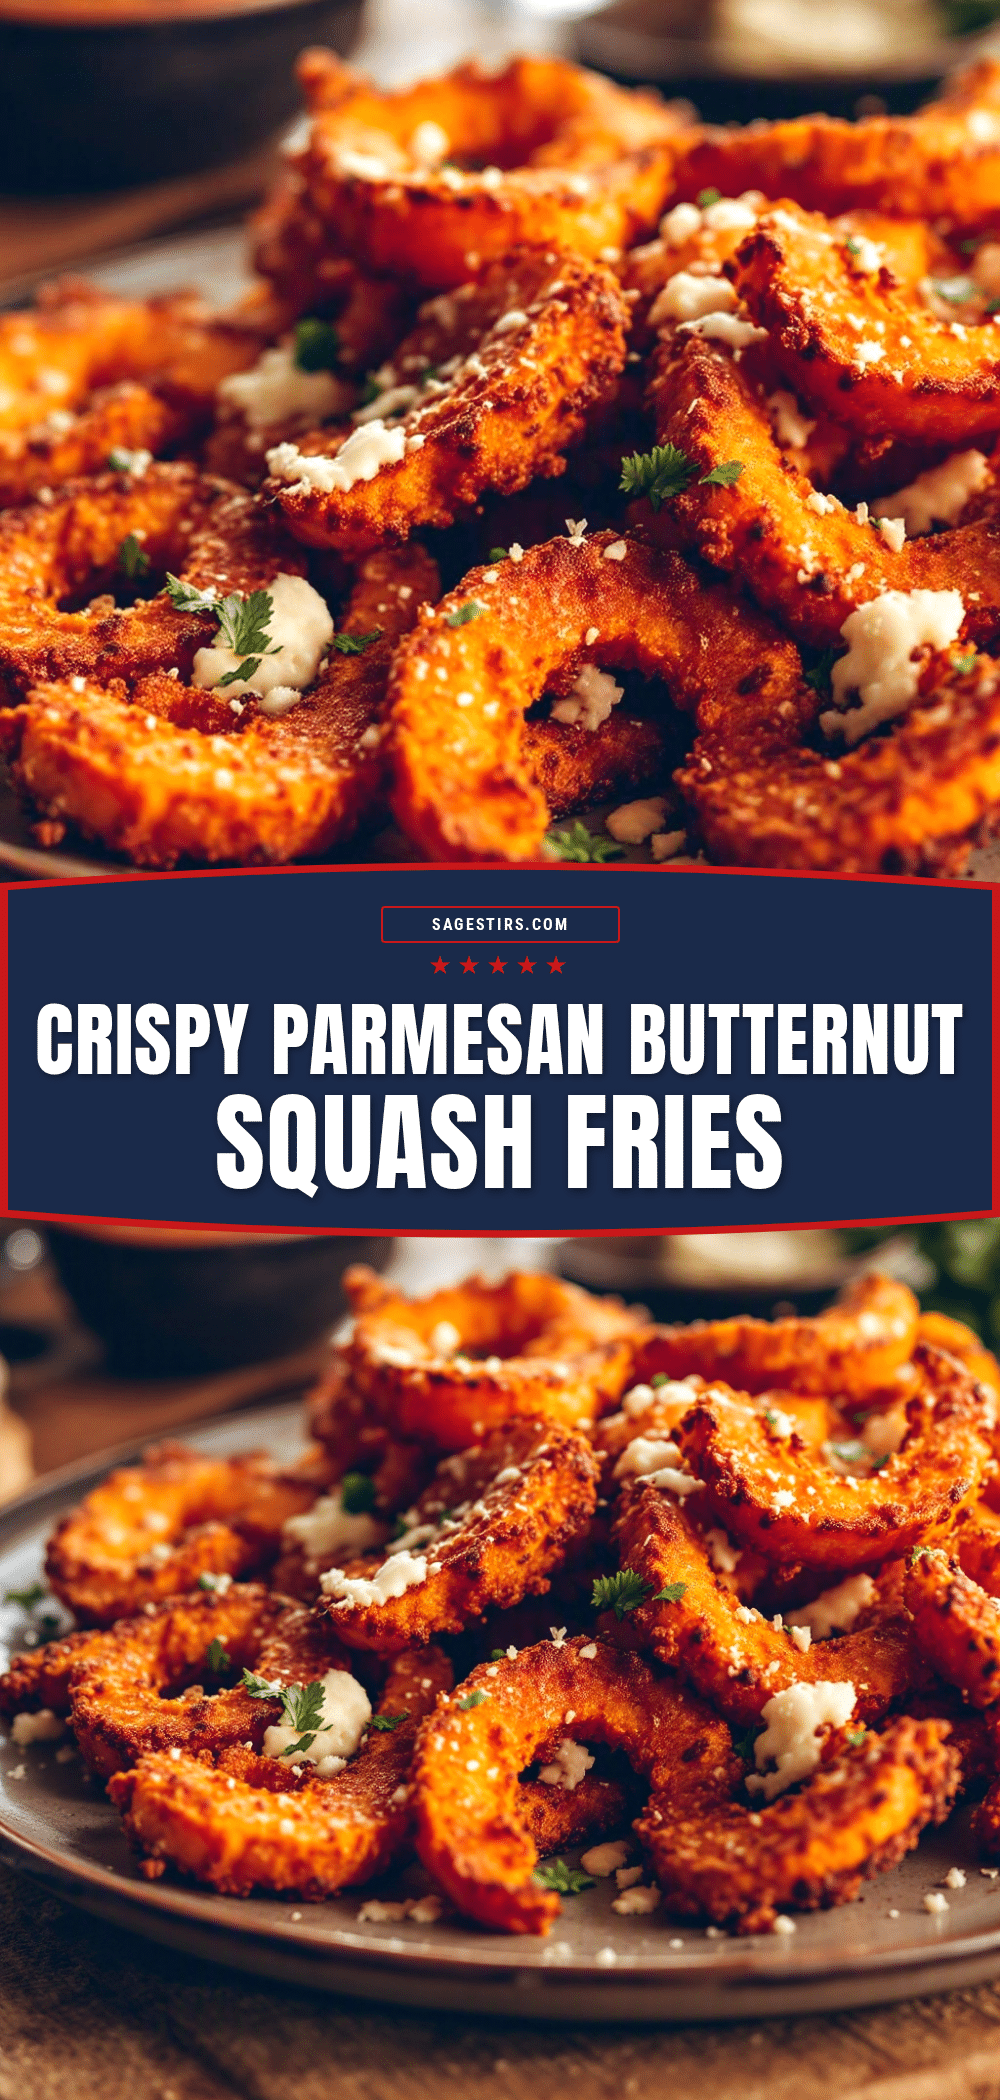
Crispy Parmesan Butternut Squash Fries

These crispy Parmesan butternut squash fries are crunchy on the outside, tender on the inside, and coated in a salty, cheesy crust. Ready in under 30 minutes, they’re a delicious and healthy alternative to traditional fries.
- Prep Time: 15 minutes
- Cook Time: 22-25 minutes
- Total Time: 37-40 minutes
- Yield: 4 servings 1x
- Category: Side Dish
- Cuisine: American
Ingredients
- 1 medium butternut squash (about 2–3 pounds)
- 1/2 cup finely grated Parmesan cheese
- 2 tablespoons olive oil
- 1 teaspoon garlic powder
- 1/2 teaspoon fine sea salt (plus more for finishing)
- 1/4 teaspoon freshly ground black pepper
- 1/2 teaspoon smoked paprika (optional)
Instructions
- Preheat your oven to 425°F (218°C). Line a large rimmed baking sheet with parchment paper or a silicone baking mat.
- Peel the butternut squash using a sharp vegetable peeler, removing all the tough outer skin.
- Cut off the stem end and the bottom. Slice the squash in half where the narrow neck meets the bulbous bottom.
- Cut the neck into 1/2-inch thick planks, then into 1/2-inch wide sticks.
- Cut the bulbous section in half lengthwise, scoop out the seeds, then cut into 1/2-inch thick slices and then into fry-shaped pieces.
- Place all the cut fries in a large bowl. Drizzle with olive oil and toss gently to coat. Add garlic powder, salt, pepper, and smoked paprika (if using). Toss again. Sprinkle the grated Parmesan over the top and toss one more time.
- Arrange the fries in a single layer on the prepared baking sheet, leaving space between each one to ensure crispiness.
- Bake for 12 minutes. Do not open the oven door during this time.
- Remove the pan from the oven and carefully flip each fry using tongs or a spatula.
- Bake for another 10-13 minutes, until the fries are deep golden brown and firm to the touch.
- Let the fries cool on the pan for 2 minutes to allow the Parmesan crust to set.
- Transfer to a serving platter, sprinkle with a pinch of flaky salt if desired, and serve immediately.
Notes
For best results, cut fries evenly to ensure uniform cooking. Do not overcrowd the pan; use two baking sheets if needed. On humid days, bake at 450°F for a slightly shorter time. Leftovers can be reheated in the oven at 400°F for 5-7 minutes to restore crispiness. Avoid freezing as texture changes upon thawing.
Nutrition
- Serving Size: 1 cup
- Calories: 190
- Sugar: 4
- Sodium: 350
- Fat: 10
- Saturated Fat: 3
- Carbohydrates: 20
- Fiber: 4
- Protein: 7
Keywords: butternut squash fries, crispy parmesan fries, healthy fries, baked fries, butternut squash recipe, vegetarian, gluten-free



