Love this? Save it for later!
Share the inspiration with your friends
For years, I just accepted that pumpkin donuts were a thing you had to get at a bakery or, you know, settle for the overly sweet, greasy version from a box. That was the trade-off: convenience for that heavy, oil-logged feeling that made you wonder if the fleeting moment of joy was worth the stomachache. I wanted a baked pumpkin donut that actually tasted like a real donut—tender, fluffy, and coated in that crackly cinnamon sugar—but without the deep fryer or the complicated yeast routine. It seemed like a simple enough request, but finding a recipe that delivered on both texture and flavor without a laundry list of specialty ingredients felt like a small, quiet quest.
Then, one particularly crisp October morning when the kitchen smelled like damp leaves and coffee, I just started mixing. I pulled out a can of pumpkin, some warm spices, and my standard donut pan, and I decided to stop looking for the perfect recipe and just figure it out myself. I wanted that soft, cakey crumb you get from a good old-fashioned donut, but with the unmistakable taste of fall. After a few batches that were either too dense or too dry, I finally nailed it. These easy baked pumpkin donuts aren’t a compromise—they’re the real deal. They’re the kind of treat that makes you close your eyes after the first bite, and they come together in less than 30 minutes from start to finish.
Why You’ll Love These Easy Baked Pumpkin Donuts
This isn’t just another pumpkin recipe. This is the one you’ll come back to all season long, the one that makes you look like a baking hero with almost zero effort. Here’s why these donuts are a total game-changer:
- Quick and Easy: From mixing bowl to your plate in under 30 minutes. No yeast, no rising time, no deep-frying mess. Perfect for a lazy weekend morning or a last-minute fall dessert.
- Simple Ingredients: You probably have most of these in your pantry right now. No weird flours or hard-to-find extracts. Just real, wholesome ingredients that come together beautifully.
- Perfect for Fall Mornings: These aren’t just for breakfast. They’re for cozying up with a hot cup of coffee, sharing at a pumpkin carving party, or surprising your coworkers on a Friday. They fit every autumn occasion.
- Crowd-Pleaser: I’ve served these to kids, adults, and picky eaters, and they vanish every single time. The warm cinnamon sugar coating is dangerously addictive.
- Unbelievably Delicious: The texture is the star here. They’re incredibly moist and tender on the inside with a slightly crisp, sugary crust on the outside. It’s the perfect combination of soft and crunchy.
What makes these different from every other pumpkin donut recipe out there? It’s the technique. We’re using melted butter and a touch of oil to ensure they stay soft for days, not just for the first hour. The blend of pumpkin puree and a little bit of applesauce adds moisture without making them taste like pumpkin bread. This is my best version—tested, tweaked, and perfected so you don’t have to guess.
What Ingredients You Will Need
This recipe uses simple, wholesome ingredients to deliver that bold pumpkin flavor and satisfying donut texture without any fuss. Most of these are pantry staples, which makes this recipe even more appealing.
- All-Purpose Flour (1 ½ cups / 180g): This gives the donuts their structure. Spoon and level your flour for the most accurate measurement. Too much flour will make them dense.
- Granulated Sugar (½ cup / 100g): Adds sweetness and helps create a tender crumb. You can reduce this slightly if you prefer a less sweet donut, but the coating adds most of the sugar.
- Light Brown Sugar (¼ cup / 50g, packed): This is the secret to a moist donut. The molasses in brown sugar adds depth of flavor and incredible moisture. I use light brown, but dark brown works beautifully for a richer taste.
- Baking Powder (1 ½ teaspoons): Our leavening agent. Make sure it’s fresh for the best rise. If you’re unsure, test it by dropping a little into hot water—it should fizz immediately.
- Baking Soda (½ teaspoon): Works with the acidity in the pumpkin and buttermilk to create a light, fluffy texture.
- Pumpkin Pie Spice (1 ½ teaspoons): The heart of the flavor. You can use a store-bought blend or make your own with cinnamon, nutmeg, ginger, and cloves. I prefer using a higher-quality blend for a more vibrant taste.
- Ground Cinnamon (1 teaspoon): Enhances the pumpkin spice and is essential for the coating. I recommend a good brand like McCormick or Simply Organic.
- Salt (½ teaspoon): Balances the sweetness and brightens all the other flavors. Don’t skip it!
- Pumpkin Puree (¾ cup / 170g): Not pumpkin pie filling. Make sure you get 100% pure pumpkin puree. Libby’s is a reliable choice. Blot it with a paper towel if it seems very watery to avoid a soggy donut.
- Large Egg (1): Binds everything together and adds richness. Let it come to room temperature for a smoother batter.
- Melted Unsalted Butter (3 tablespoons / 42g): Adds that classic buttery flavor that makes these taste bakery-bought. If you only have salted butter, just reduce the added salt to ¼ teaspoon.
- Vegetable Oil (2 tablespoons / 30ml): This is my trick for keeping the donuts soft and moist even the next day. It prevents the butter from making them too firm.
- Buttermilk (¼ cup / 60ml): Adds a subtle tang and reacts with the baking soda for a tender crumb. No buttermilk? No problem. Add 1 teaspoon of lemon juice or white vinegar to regular milk and let it sit for 5 minutes.
- Vanilla Extract (1 teaspoon): Rounds out all the flavors. Pure vanilla is best, but imitation works in a pinch.
For the Cinnamon Sugar Coating:
- Granulated Sugar (½ cup / 100g): The base of our coating.
- Ground Cinnamon (1 ½ tablespoons): Don’t be shy here. This is the star of the show.
- Melted Unsalted Butter (¼ cup / 57g): This helps the sugar stick and adds another layer of buttery goodness.
Equipment Needed
You don’t need a fancy bakery setup to make these. Here’s what you’ll need:
- Donut Pan: A standard 6-cavity donut pan is perfect. I’ve used both silicone and metal pans. Metal pans give a slightly crispier edge, but silicone is easier to release. Both work great. If you only have a mini donut pan, just adjust the baking time down to 6-8 minutes.
- Mixing Bowls: One large bowl for the wet ingredients and one medium bowl for the dry.
- Whisk: For combining the dry ingredients and smoothing out the batter. A wooden spoon works too.
- Piping Bag or Ziploc Bag: This is the easiest way to get the batter into the donut pan without making a mess. Snip the corner off a Ziploc bag if you don’t have a piping bag.
- Cooling Rack: Essential for letting the donuts cool properly after they come out of the oven. It prevents the bottoms from getting soggy.
- Pastry Brush: For brushing the melted butter onto the warm donuts. You can also dip them directly into the butter, but a brush is more precise and less messy.
- Shallow Bowl: For mixing the cinnamon sugar and rolling the donuts.
I’ve tried making these in a muffin tin as donut holes, and it works! Just bake for 8-10 minutes instead. A good non-stick donut pan is a worthwhile investment if you love making these, but honestly, a standard one from a kitchen supply store will do the trick.
Preparation Method
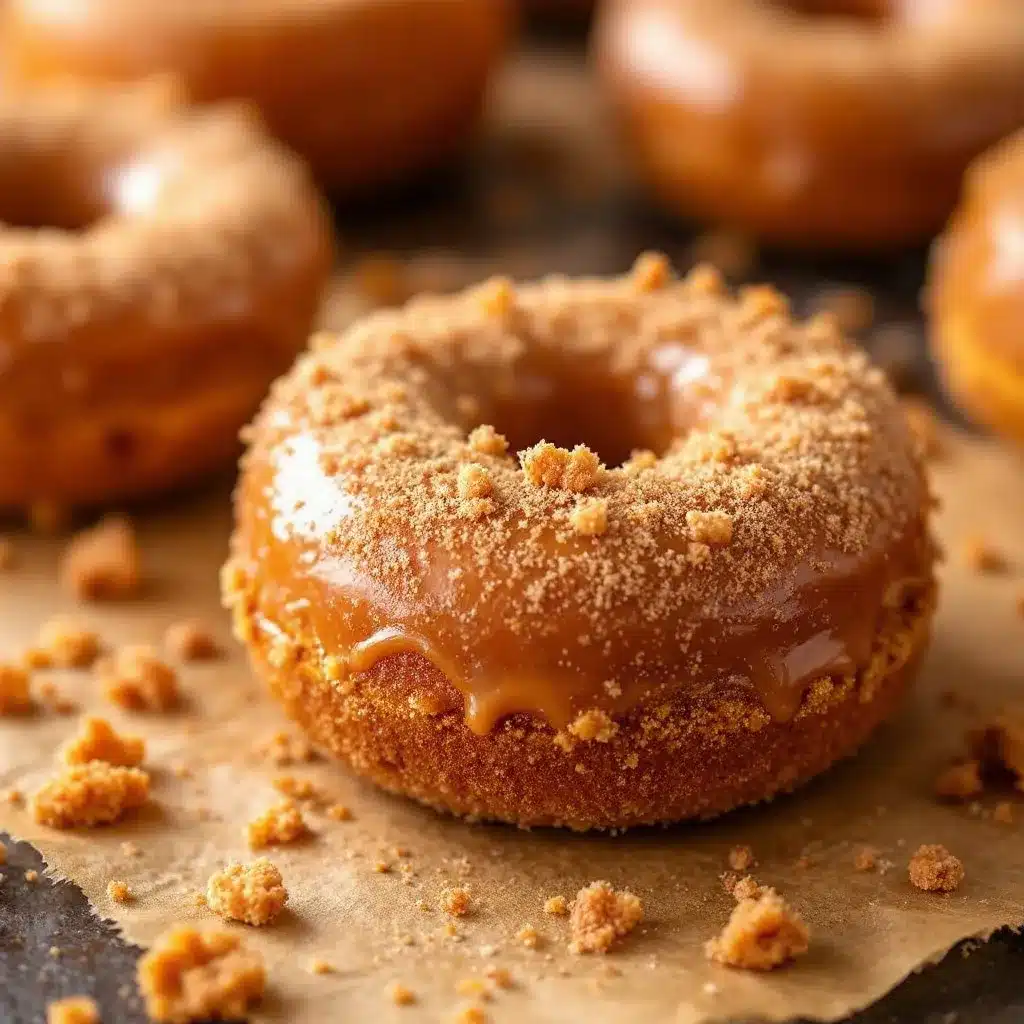
Ready to make the best pumpkin donuts of your life? Let’s get started. This process is incredibly straightforward, so don’t overthink it.
- Preheat and Prep: Preheat your oven to 350°F (175°C). Grease your donut pan thoroughly with non-stick spray or a little melted butter. Don’t skip this step, even with a non-stick pan. A light greasing ensures they pop right out.
- Mix the Dry Ingredients: In a medium bowl, whisk together the all-purpose flour, granulated sugar, brown sugar, baking powder, baking soda, pumpkin pie spice, ground cinnamon, and salt. Whisk until everything is evenly distributed. This ensures you don’t get a pocket of baking soda in one donut.
- Mix the Wet Ingredients: In a large bowl, whisk together the pumpkin puree, egg, melted butter, vegetable oil, buttermilk, and vanilla extract. Whisk until the mixture is smooth and well combined. It will look a little thick, which is good.
- Combine Wet and Dry: Pour the dry ingredients into the wet ingredients. Using a spatula or a wooden spoon, gently fold the mixture together. Do not overmix! Stir just until you see the last streak of flour disappear. A few small lumps are totally fine. Overmixing will develop the gluten and make your donuts tough.
- Fill the Donut Pan: Transfer the batter to your piping bag or Ziploc bag. Snip off the tip (about ½ inch wide). Pipe the batter evenly into the prepared donut pan, filling each cavity about ⅔ to ¾ full. Don’t overfill, or you won’t get a hole in the middle. Tap the pan gently on the counter to release any air bubbles.
- Bake: Bake for 10-12 minutes, or until the donuts are puffed up and a toothpick inserted into the thickest part comes out clean or with a few moist crumbs. The edges should be lightly golden. For mini donuts, check at 6 minutes.
- Cool in the Pan: Let the donuts cool in the pan for 5 minutes. This is a crucial step. They need that time to set, or they might fall apart when you try to remove them.
- Prepare the Coating: While the donuts are cooling, melt the ¼ cup of butter for the coating in a small bowl. In a separate shallow bowl, whisk together the ½ cup of granulated sugar and 1 ½ tablespoons of cinnamon.
- Coat the Donuts: After 5 minutes, turn the donuts out onto a cooling rack. Let them cool for another 2-3 minutes—just enough so they’re warm but not scorching hot. While they’re still warm, use a pastry brush to coat each donut generously with the melted butter. Immediately roll the buttered donut in the cinnamon sugar mixture, pressing gently so the coating sticks. The warmth of the donut will help the sugar adhere perfectly.
- Serve: Place the coated donuts back on the cooling rack. They’re best enjoyed warm, but they’re also fantastic at room temperature. The coating will stay nice and crunchy for a few hours.
Cooking Tips & Techniques
I’ve made these donuts more times than I can count, and I’ve learned a few things along the way. Here are my best tips for perfect results every single time.
- Don’t Overmix the Batter: This is the number one mistake. Mix until just combined. A few lumps are your friend. Overmixing makes the donuts tough and rubbery instead of light and tender.
- Room Temperature Ingredients: For the best texture, let your egg and buttermilk come to room temperature before mixing. Cold ingredients can cause the melted butter to seize up and create a lumpy batter. Just set them on the counter 20 minutes before you start.
- The Warm Butter Trick: Don’t let the donuts cool completely before you coat them. The warmth of the donut is what makes the butter melt into the surface and the sugar stick. If they’re too cool, the sugar will just fall off. I usually wait about 2-3 minutes after they come out of the pan.
- Use a Pastry Brush for Butter: Dipping the donuts directly into the melted butter works, but it can make them a little greasy and soggy. A pastry brush gives you a lighter, more even coating that lets the donut texture shine through.
- Double Coat for Extra Crunch: If you like a really thick, crunchy layer of cinnamon sugar, do a double dip. Brush with butter, roll in sugar, then brush with butter again and roll in sugar a second time. It’s decadent but amazing.
I once forgot to add the baking powder to a batch, and I ended up with dense, flat little hockey pucks. It was a good reminder that this simple recipe relies on that chemical reaction. Always double-check your leaveners!
Variations & Adaptations
One of the best things about this recipe is how easily it adapts. Here are a few ways to make it your own.
- Gluten-Free: Swap the all-purpose flour for a good 1:1 gluten-free baking flour blend (like Bob’s Red Mill or King Arthur). The texture will be slightly more delicate, but they’re still delicious. Do not overmix the gluten-free batter.
- Spiced Maple Glaze: Skip the cinnamon sugar coating and make a simple maple glaze instead. Whisk together 1 cup of powdered sugar, 2 tablespoons of maple syrup, and 1 tablespoon of milk until smooth. Drizzle over the cooled donuts and top with a pinch of flaky sea salt. It’s a whole different vibe.
- Chocolate Pumpkin Donuts: Add ¼ cup of unsweetened cocoa powder to the dry ingredients. Reduce the flour by 2 tablespoons. The chocolate and pumpkin are a surprisingly wonderful combination. I love these with a simple chocolate glaze.
- Vegan Option: Use a flax egg (1 tablespoon ground flaxseed + 3 tablespoons water), melted coconut oil or vegan butter instead of regular butter, and your favorite plant-based milk mixed with a teaspoon of apple cider vinegar for the buttermilk. They won’t be quite as fluffy, but they’re still incredibly tasty.
- Pumpkin Cream Cheese Filling: For a real treat, use a piping tip to inject a little cream cheese filling into the center of each donut after they’ve cooled. Beat together 4 oz of cream cheese, 2 tablespoons of powdered sugar, and a splash of vanilla. It’s like a pumpkin roll in donut form.
My personal favorite variation is adding a handful of mini chocolate chips to the batter before baking. The little pockets of melted chocolate against the warm pumpkin and cinnamon are just heavenly. If you love a good pumpkin chocolate combo, you should also check out these fluffy brown butter pumpkin chocolate chip cookies for another fall favorite.
Serving & Storage Suggestions
These donuts are incredibly versatile when it comes to serving. Here’s how to enjoy them best.
Serving: Serve them warm for the ultimate experience. The cinnamon sugar coating is perfectly crunchy, and the interior is soft and tender. They’re fantastic with a hot cup of coffee, a chai latte, or a glass of cold milk. For a fun brunch spread, arrange them on a platter with some fresh apple slices and a bowl of creamy cinnamon sugar pumpkin bread for a complete fall-themed table.
Storage: Store leftover donuts in an airtight container at room temperature for up to 2 days. The coating will soften over time, but they’ll still taste amazing. If you want to keep the coating crunchier, store them in a single layer with the lid slightly ajar to allow a little airflow.
Freezing: These donuts freeze beautifully. Place the uncoated, cooled donuts on a baking sheet and freeze until solid (about 1 hour). Transfer them to a freezer-safe bag or container. They’ll keep for up to 3 months. To serve, thaw at room temperature, then reheat in a 300°F (150°C) oven for 5 minutes. Brush with melted butter and roll in the cinnamon sugar right before serving for that fresh-from-the-oven taste.
Reheating: The best way to reheat a single donut is in the microwave for about 10-15 seconds. This will soften it and make it taste freshly baked. For a larger batch, warm them in a 300°F (150°C) oven for 5-7 minutes.
Nutritional Information & Benefits
While these are definitely a treat, they’re made with some wholesome ingredients that offer a few benefits.
- Estimated Nutrition (per donut, based on 6 servings): Calories: 290, Fat: 12g, Carbohydrates: 44g, Fiber: 2g, Sugar: 28g, Protein: 4g.
- Pumpkin Power: Pumpkin is packed with Vitamin A (beta-carotene), which is great for eye health and immunity. It also adds moisture and fiber without a ton of calories.
- Warm Spices: Cinnamon is known for its anti-inflammatory properties and can help regulate blood sugar. It’s not just for flavor—it’s actually good for you!
- Dietary Considerations: This recipe can easily be made gluten-free and dairy-free (see variations above). It is nut-free as written.
- Potential Allergens: Contains wheat (gluten), dairy, and eggs.
I love that I can feel a little better about serving these to my family compared to a fried donut. They’re baked, so they’re lighter, and the pumpkin adds a little nutritional boost. It’s a small win for a delicious treat.
Conclusion
These easy baked pumpkin donuts with cinnamon sugar coating are the kind of recipe that makes you feel like a hero in the kitchen. They’re simple enough for a beginner baker but impressive enough to bring to any gathering. The combination of tender, spiced pumpkin cake and that crackly, buttery cinnamon sugar is just pure comfort. I’ve made them for everything from quiet Sunday mornings to Halloween parties, and they never fail to disappear. I honestly love how forgiving this recipe is—it’s hard to mess up, and the results are always rewarding.
I encourage you to make these your own. Try the maple glaze, throw in some chocolate chips, or just stick with the classic coating. Whatever you do, don’t skip the step of coating them while they’re warm. That’s the secret to the magic. If you love this recipe, I think you’ll also really enjoy these flaky maple cinnamon pumpkin scones for another easy fall breakfast idea.
Have you tried these donuts? I’d love to hear how they turned out for you! Leave a comment below and let me know what variations you tried. And don’t forget to share this recipe with a friend who needs a little fall baking in their life. Happy baking!
Frequently Asked Questions
Can I use pumpkin pie filling instead of pumpkin puree?
No, you should not use pumpkin pie filling. It is pre-sweetened and spiced, which will throw off the sugar and spice balance in this recipe. Always use 100% pure pumpkin puree for the best results.
Why did my donuts stick to the pan?
This usually happens if the pan wasn’t greased well enough. Even with a non-stick pan, you need to grease it thoroughly with non-stick spray or butter. Also, make sure you let the donuts cool in the pan for the full 5 minutes before trying to remove them.
Can I make these donuts without a donut pan?
Yes! You can bake the batter in a greased mini muffin tin to make donut holes. Just adjust the baking time to 8-10 minutes. You can also pipe the batter into a greased 9-inch cake pan and bake for 20-25 minutes for a pumpkin cake. The coating works great on all of them.
How do I keep the cinnamon sugar from falling off?
The key is to coat the donuts while they are still warm. The warmth helps the melted butter absorb into the surface, creating a sticky base for the sugar. Don’t let them cool completely before you brush on the butter and roll them in the sugar.
Can I make the batter ahead of time?
I recommend baking the donuts right away. The batter contains baking powder and baking soda, which start reacting as soon as they get wet. If you let the batter sit, the leavening power will weaken, and your donuts won’t rise as well. You can bake them and then store them (uncoated) for a day before coating and serving.
Pin This Recipe!
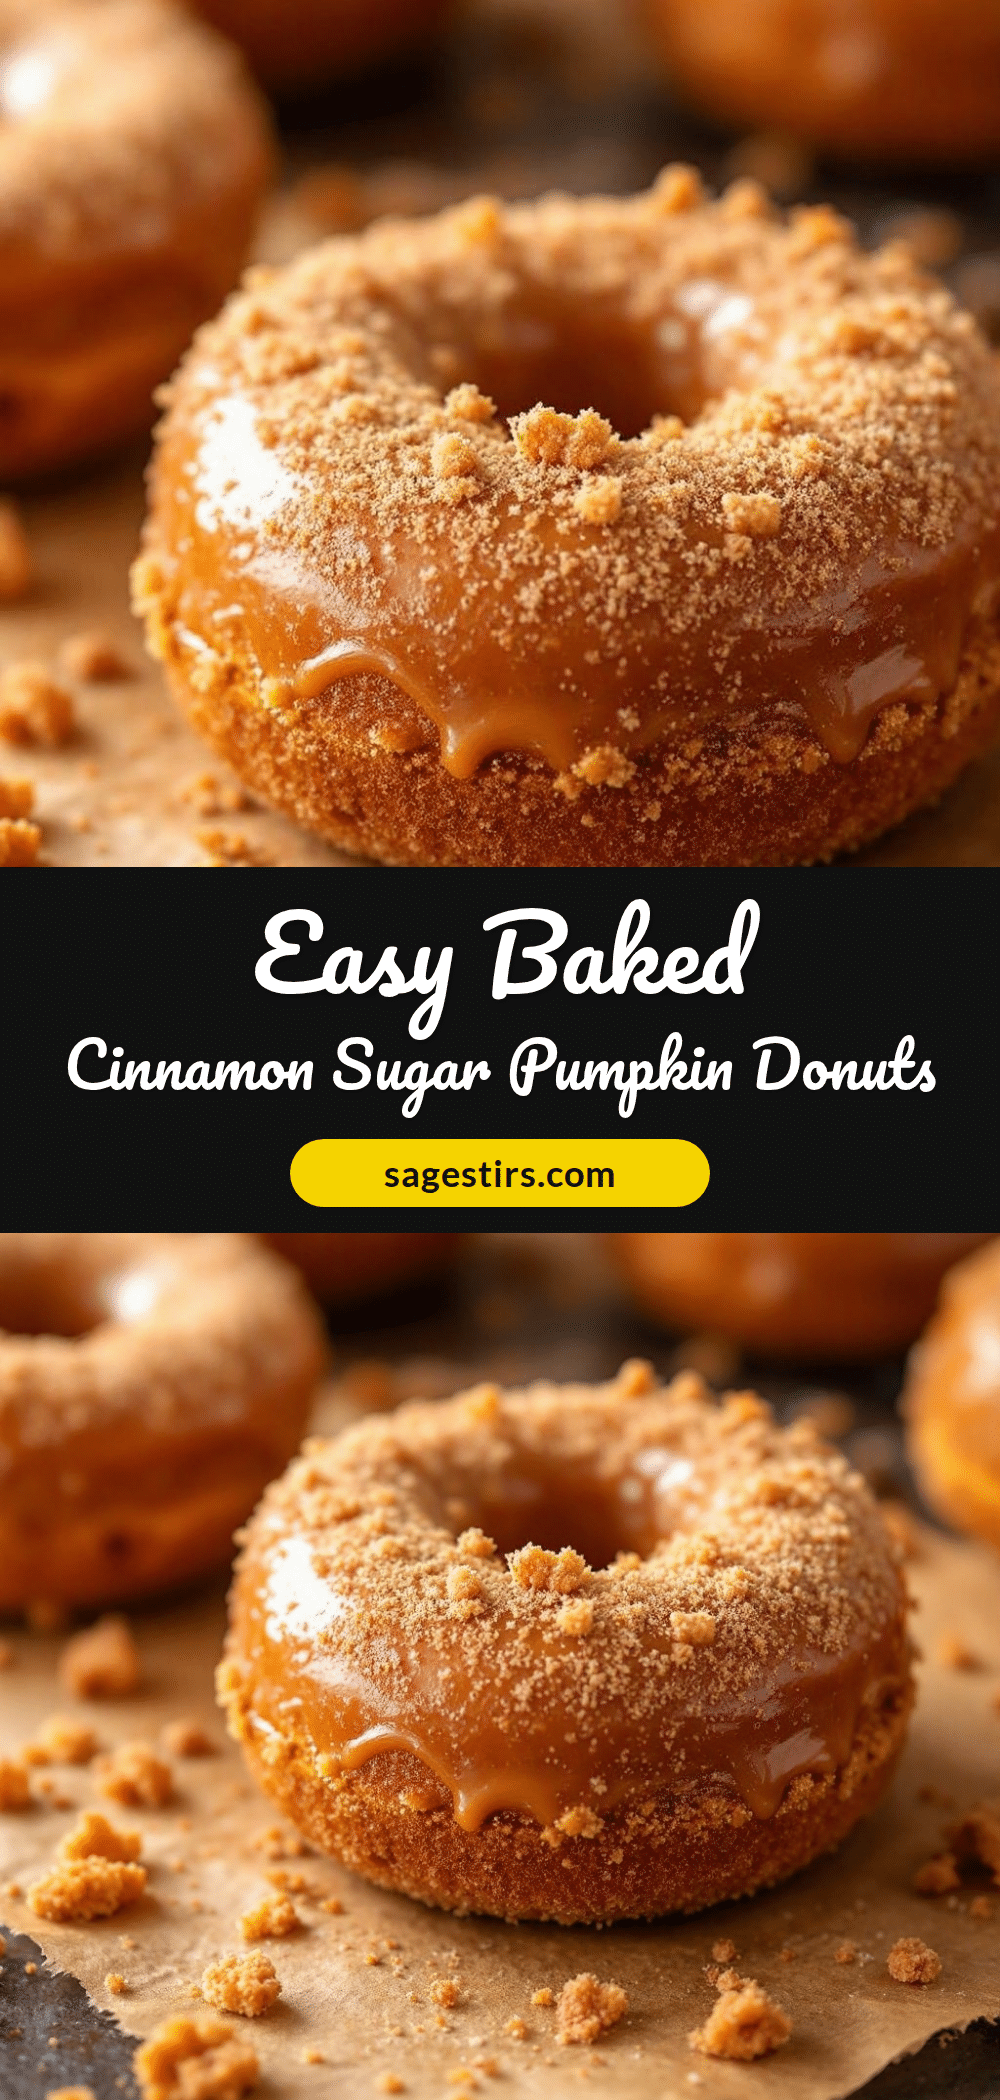
Easy Baked Pumpkin Donuts With Cinnamon Sugar Coating
These easy baked pumpkin donuts are tender, fluffy, and coated in a crackly cinnamon sugar coating. Made without yeast or deep-frying, they come together in under 30 minutes and are perfect for fall mornings or any autumn occasion.
- Prep Time: 15 minutes
- Cook Time: 12 minutes
- Total Time: 27 minutes
- Yield: 6 servings 1x
- Category: Dessert
- Cuisine: American
Ingredients
- 1 ½ cups (180g) all-purpose flour
- ½ cup (100g) granulated sugar
- ¼ cup (50g) light brown sugar, packed
- 1 ½ teaspoons baking powder
- ½ teaspoon baking soda
- 1 ½ teaspoons pumpkin pie spice
- 1 teaspoon ground cinnamon
- ½ teaspoon salt
- ¾ cup (170g) pumpkin puree (not pumpkin pie filling)
- 1 large egg, room temperature
- 3 tablespoons (42g) unsalted butter, melted
- 2 tablespoons (30ml) vegetable oil
- ¼ cup (60ml) buttermilk, room temperature
- 1 teaspoon vanilla extract
- For the Cinnamon Sugar Coating:
- ½ cup (100g) granulated sugar
- 1 ½ tablespoons ground cinnamon
- ¼ cup (57g) unsalted butter, melted
Instructions
- Preheat your oven to 350°F (175°C). Grease a standard 6-cavity donut pan thoroughly with non-stick spray or melted butter.
- In a medium bowl, whisk together the all-purpose flour, granulated sugar, brown sugar, baking powder, baking soda, pumpkin pie spice, ground cinnamon, and salt until evenly distributed.
- In a large bowl, whisk together the pumpkin puree, egg, melted butter, vegetable oil, buttermilk, and vanilla extract until smooth and well combined.
- Pour the dry ingredients into the wet ingredients. Gently fold with a spatula or wooden spoon until just combined. Do not overmix; a few small lumps are fine.
- Transfer the batter to a piping bag or a Ziploc bag with the corner snipped off (about ½ inch wide). Pipe the batter evenly into the prepared donut pan, filling each cavity about ⅔ to ¾ full. Tap the pan gently on the counter to release air bubbles.
- Bake for 10-12 minutes, or until the donuts are puffed and a toothpick inserted into the thickest part comes out clean or with a few moist crumbs. For mini donuts, check at 6 minutes.
- Let the donuts cool in the pan for 5 minutes. This is crucial for them to set.
- While the donuts cool, melt the ¼ cup of butter for the coating in a small bowl. In a separate shallow bowl, whisk together the ½ cup of granulated sugar and 1 ½ tablespoons of cinnamon.
- After 5 minutes, turn the donuts out onto a cooling rack. Let them cool for another 2-3 minutes until warm but not scorching hot. While still warm, use a pastry brush to coat each donut generously with the melted butter. Immediately roll the buttered donut in the cinnamon sugar mixture, pressing gently so the coating sticks.
- Place the coated donuts back on the cooling rack. Serve warm or at room temperature. The coating will stay crunchy for a few hours.
Notes
For best results, use room temperature egg and buttermilk. Coat donuts while warm to ensure the cinnamon sugar sticks. For a double coating, brush with butter, roll in sugar, then brush with butter again and roll in sugar a second time. Store leftovers in an airtight container at room temperature for up to 2 days. Freeze uncoated donuts for up to 3 months.
Nutrition
- Serving Size: 1 donut
- Calories: 290
- Sugar: 28
- Sodium: 320
- Fat: 12
- Saturated Fat: 7
- Carbohydrates: 44
- Fiber: 2
- Protein: 4
Keywords: baked pumpkin donuts, cinnamon sugar donuts, easy pumpkin donuts, fall donuts, pumpkin spice donuts