Love this? Save it for later!
Share the inspiration with your friends
Bag of candy eyes split open across the counter, popcorn kernels bouncing off the floor, and the microwave beeping like some kind of kitchen alarm clock. That was the scene last October when I realized I’d forgotten — again — to bring something for the classroom Halloween party. My kid was looking at me with that face, you know the one, and I had maybe twenty minutes before we had to walk out the door. I grabbed the bag of popped popcorn from the pantry, spotted the melting wafers I’d stashed for a rainy day, and just started throwing things together. Honestly, I wasn’t trying to be creative. I was trying not to panic.
The first batch came out lopsided and a little burnt on the edges. But the kids? They went absolutely silent for a solid thirty seconds, which if you’ve ever been around a room full of sugared-up six-year-olds, you know that’s basically a miracle. One of the moms asked for the recipe before I even had a chance to brush the chocolate off my shirt. So I made it again the next week for our neighborhood movie night, and again for a Halloween playdate, and somewhere around the third batch I realized I’d accidentally stumbled onto something worth keeping. This Easy Halloween Popcorn Bark with Candy Eyes isn’t fancy. It’s not complicated. It’s the kind of recipe that saves you when you’re out of time and ideas, and somehow it ends up being the thing everyone asks for year after year.
Why You’ll Love This Recipe
Let me tell you why this one sticks around in my kitchen. First off, it’s ridiculously quick. We’re talking fifteen minutes from start to finish, which is less time than it takes to argue with your kid about wearing a costume. You don’t need any special baking skills either — if you can melt chocolate and dump things on a pan, you’ve got this handled.
- Quick & Easy: Comes together in under 15 minutes, perfect for last-minute party prep or Halloween movie nights when the craving hits out of nowhere.
- Simple Ingredients: Popcorn, candy melts, and a few fun toppings. No weird specialty items or trips to three different stores.
- Perfect for Halloween: Works for classroom parties, trunk-or-treat events, spooky movie marathons, or just a fun afternoon snack with the kids.
- Crowd-Pleaser: Kids love the candy eyes and sprinkles. Adults love that it’s not overly sweet. Everyone reaches for seconds.
- Unbelievably Delicious: The combination of salty popcorn with smooth chocolate and crunchy candy bits is honestly addictive. I’ve caught myself picking at the crumbs more times than I’d like to admit.
What makes this different from other popcorn recipes? It’s the texture. Most popcorn bark I’ve tried ends up either too hard to bite through or falls apart the second you pick it up. This version hits that sweet spot — the chocolate sets firm enough to hold everything together but cracks clean when you break it into pieces. Plus, the candy eyes give it that creepy-cute factor that just screams Halloween. It’s the kind of treat that makes people smile before they even taste it.
What Ingredients You Will Need
This recipe uses simple, mostly pantry-friendly ingredients to create something that looks way more impressive than the effort you put in. Here’s what you’ll need to grab:
For the Base
- 8 cups popped popcorn (plain or lightly salted — I use air-popped or a bag of plain microwave popcorn, just skip the buttered kind or it gets greasy)
- 12 ounces vanilla candy melts or white chocolate chips (I prefer Ghirardelli white chocolate for smoother melting, but any brand works — just avoid white chocolate morsels that don’t melt well)
- 1 tablespoon coconut oil or vegetable shortening (optional, but helps thin the chocolate for better coating — trust me on this one)
For the Toppings
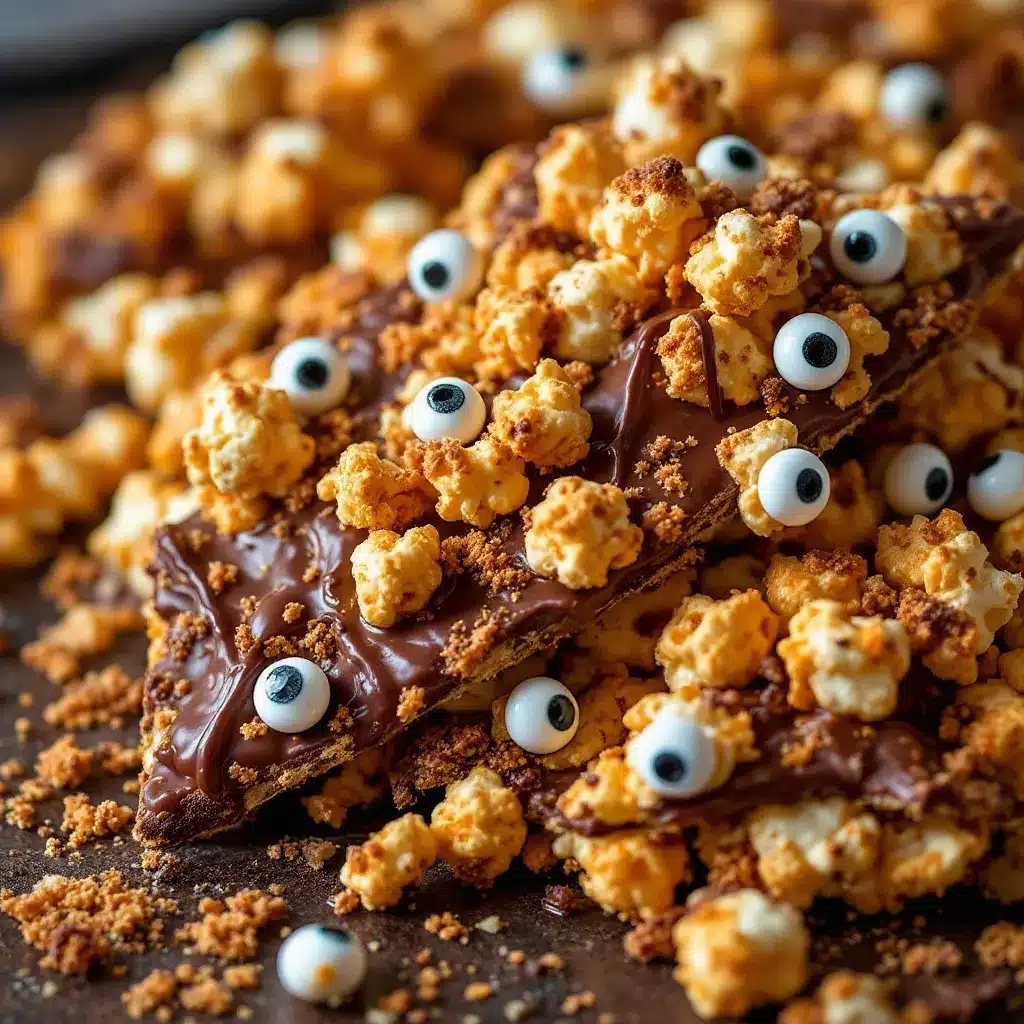
- 1/2 cup candy eyes (the edible kind from the baking aisle — I like the Wilton brand for consistent size)
- 1/4 cup orange and black sprinkles (jimmies work best, nonpareils tend to roll off)
- 1/4 cup chopped pretzels (adds that salty crunch contrast — I use mini pretzel twists and crush them slightly)
- 2 tablespoons orange and black sanding sugar (optional, for extra sparkle — kids go wild for this)
Ingredient Tips
For the best results, use popcorn that’s been sitting out for a few hours. Freshly popped popcorn releases steam, which can make your chocolate seize up and turn grainy. I learned that the hard way — my first batch looked like lumpy concrete. If you’re in a rush, spread the popcorn on a baking sheet and let it cool completely while you prep everything else.
The candy eyes are non-negotiable for the Halloween vibe, but if you can’t find them, M&M’s or candy corn work great too. I’ve also used pumpkin spice snickerdoodle cookies crushed on top for a fall twist — that was an accidental discovery when I had leftover cookies from another batch.
Equipment Needed
- Large baking sheet (half-sheet size works best — 18×13 inches)
- Parchment paper or silicone baking mat (don’t skip this or you’ll be scraping chocolate off your pan for days)
- Large mixing bowl (for tossing popcorn with chocolate)
- Microwave-safe bowl (for melting the candy melts)
- Spatula or wooden spoon (for stirring and spreading)
- Measuring cups and spoons
- Small offset spatula (optional, but makes spreading the chocolate much easier)
If you don’t have a microwave, you can melt the candy melts in a double boiler on the stovetop. Just be careful not to get any water in the chocolate — a single drop will ruin the whole batch. I use a cheap silicone spatula for spreading because it doesn’t scratch the pan and cleans up easily. Budget tip: dollar store baking sheets work fine for this recipe, just make sure they’re flat and not warped.
Preparation Method
- Prep your pan. Line a large baking sheet with parchment paper or a silicone baking mat. Make sure it extends slightly up the sides — this catches any chocolate that tries to escape.
- Pop and cool your popcorn. Pop 8 cups of popcorn using your preferred method. Remove any unpopped kernels (nobody wants to crack a tooth on Halloween). Spread the popcorn in a single layer on the prepared baking sheet. Let it sit for 5-10 minutes to cool completely and release any steam.
- Melt the candy melts. Place 12 ounces of vanilla candy melts or white chocolate chips in a microwave-safe bowl. Add 1 tablespoon of coconut oil if using. Microwave in 30-second intervals, stirring well after each interval, until completely smooth. This usually takes about 90 seconds total. Don’t rush this step — burnt chocolate is bitter and unusable.
- Coat the popcorn. Pour the melted chocolate over the popcorn on the baking sheet. Use a spatula to gently fold and toss until every kernel is coated. Work quickly here — the chocolate starts setting fast. You want an even coating but don’t overmix or the popcorn will break into tiny pieces.
- Spread it out. Use your spatula to spread the coated popcorn into an even layer, about 1/2 to 3/4 inch thick. Press down gently to create a flat surface. Don’t worry if it looks messy — the toppings will cover any imperfections.
- Add toppings. While the chocolate is still wet, sprinkle on the candy eyes, sprinkles, chopped pretzels, and sanding sugar. Press them in gently with your fingers so they stick. Work in sections if the chocolate starts to set — you can rewarm it slightly with a hair dryer on low heat (yes, I’ve done this).
- Set the bark. Let the bark set at room temperature for about 30 minutes, or pop it in the refrigerator for 15 minutes if you’re impatient like me. The chocolate should be firm and no longer shiny when it’s ready.
- Break into pieces. Once completely set, lift the parchment paper off the baking sheet. Use your hands to break the bark into irregular pieces — some big, some small, all delicious. Don’t use a knife, it creates straight edges that look too perfect. The rustic, jagged pieces are part of the charm.
One thing I always tell people: the popcorn will look like a lot less after you coat it. That’s normal. The chocolate fills in all the air gaps and compresses everything down. If you want a thicker bark, use 10 cups of popcorn instead of 8. If you want more chocolate coverage, reduce to 6 cups. Play around with it — that’s half the fun.
Cooking Tips & Techniques
Here’s what I’ve learned from making this recipe about a dozen times. First, temperature matters more than you think. If your kitchen is warm and humid, the chocolate will take forever to set and might get sticky. Pop the baking sheet in the fridge for 10 minutes to speed things up. If your kitchen is cold, the chocolate might seize before you finish spreading it — keep a warm bowl of water nearby to reheat your spatula.
The biggest mistake people make is using buttered popcorn. The butter creates a barrier that prevents the chocolate from sticking, so everything slides off in a greasy mess. Stick with plain or lightly salted popcorn. If all you have is buttered popcorn, spread it on a paper towel for 10 minutes to absorb some of the oil before using it.
I ruined my first three batches before figuring out the candy eye placement. You want to press them in firmly but not so hard that they sink into the chocolate and disappear. Think of it like setting a button on a coat — just enough pressure to hold it in place. If you’re making this with kids, let them handle the sprinkles and eyes. It keeps them busy and they feel proud of the finished product.
For consistent results, work in small batches if you’re scaling up. Doubling the recipe in one pan leads to uneven coating and soggy spots. Make two separate batches instead. And here’s a pro tip I picked up from a pastry chef friend: warm your popcorn slightly (like 20 seconds in the microwave) before adding the chocolate. The gentle heat helps the chocolate spread more evenly without seizing.
Variations & Adaptations
One of the best things about this recipe is how easy it is to change up. Here are some variations I’ve tried and loved:
Dark Chocolate Halloween Bark
Swap the vanilla candy melts for dark chocolate (60-70% cacao works best). The bitterness balances the sweetness of the toppings beautifully. Add a pinch of sea salt flakes on top for that salted caramel vibe. This version is less sweet and feels a bit more grown-up — perfect for adult Halloween parties.
Monster Mash Rainbow Bark
Use purple and green candy melts instead of white. Swirl in some orange food coloring for a tie-dye effect. Top with gummy worms, candy corn, and those little skeleton bone candies. This one looks absolutely wild and kids lose their minds over it. I made this for a Halloween playdate and the moms were taking pictures before anyone even tasted it.
Gluten-Free Friendly Version
This recipe is naturally gluten-free if you use certified gluten-free popcorn and check your candy melts. Some brands use wheat-based additives. I’ve used Enjoy Life brand chocolate chips with great results. Skip the pretzels or replace them with gluten-free pretzel sticks. This version works perfectly for friends with dietary restrictions — I’ve brought it to several gatherings and nobody even noticed the difference.
Peanut Butter Drizzle
Melt 1/4 cup peanut butter with 1 tablespoon coconut oil and drizzle it over the finished bark. The salty peanut flavor pairs amazingly with the sweet chocolate. Just make sure to check for peanut allergies if you’re bringing this to a school event. I’ve used sunflower seed butter as a substitute and it worked surprisingly well.
If you’re looking for another easy Halloween treat, check out these brown butter pumpkin snickerdoodle cookies — they’re the perfect companion to this popcorn bark for a Halloween dessert spread.
Serving & Storage Suggestions
Serve this popcorn bark at room temperature — the chocolate has the best snap and the popcorn stays perfectly crunchy. Arrange the pieces on a platter or in a big bowl for a party. For individual servings, pop pieces into small paper treat bags tied with orange ribbon. That’s what I did for my kid’s classroom party and the teacher said they were the first thing to disappear.
For storage, place the bark in an airtight container at room temperature. Layer pieces between sheets of parchment paper so they don’t stick together. It stays fresh for up to 5 days, though honestly it never lasts that long in my house. Don’t refrigerate it unless your kitchen is really warm — the moisture from the fridge can make the popcorn chewy and sad.
If you’re making this ahead for a party, you can prep everything up to 2 days in advance. Just keep it in an airtight container away from heat and sunlight. The flavors actually meld together nicely after a day — the chocolate absorbs a tiny bit of salt from the popcorn and pretzels, creating this perfect sweet-salty balance.
For reheating if the bark gets soft, spread it on a baking sheet and warm it in a 250°F oven for 3-4 minutes. Let it cool completely before serving again. This trick has saved me more than once when I left the container out overnight by accident.
This bark pairs beautifully with warm apple cider or a homemade pumpkin spice latte for a cozy fall afternoon treat.
Nutritional Information & Benefits
Here’s an approximate nutritional breakdown per serving (about 1 cup of finished bark):
| Nutrient | Amount |
|---|---|
| Calories | 220 |
| Total Fat | 12g |
| Saturated Fat | 7g |
| Carbohydrates | 28g |
| Sugar | 18g |
| Protein | 3g |
| Fiber | 1g |
| Sodium | 180mg |
Popcorn is a whole grain, which means it provides fiber and antioxidants called polyphenols. The white chocolate adds calcium and a little bit of protein, while the pretzels contribute a small amount of iron. This isn’t health food by any stretch, but it’s a fun treat that uses real ingredients without artificial preservatives. If you’re watching your sugar intake, use dark chocolate and cut back on the sprinkles. For a lower-calorie version, reduce the chocolate coating by using only 8 ounces instead of 12.
Potential allergens include dairy (white chocolate), gluten (pretzels), and soy (some candy melts). Always check labels if you’re serving guests with food sensitivities. The candy eyes are typically made from sugar and cornstarch, but verify the brand if allergies are a concern.
Conclusion
This Easy Halloween Popcorn Bark with Candy Eyes has become a staple in my kitchen for one simple reason: it works. It works when you’re short on time, when you’re low on energy, when you need something that looks like you tried even though you really didn’t. The combination of crunchy popcorn, smooth chocolate, and those creepy little eyes staring up at you is just too fun to resist.
I love this recipe because it brings people together. Every time I make it, someone asks for the recipe. Every time I bring it to a party, the bowl empties first. It’s the kind of treat that makes Halloween feel special without requiring a complicated baking project. Whether you’re making it with your kids, bringing it to a class party, or just treating yourself during a scary movie marathon, this popcorn bark delivers every single time.
Go ahead and customize it however you want. Use different colored candy melts, swap the toppings, add your favorite Halloween candies. The recipe is forgiving and flexible, just like it should be. If you make this, drop a comment below and tell me what variations you tried. I’m always looking for new ideas, and honestly, I love hearing about your kitchen adventures. Happy Halloween, friends!
Frequently Asked Questions
Can I use microwave popcorn for this recipe?
Absolutely. Just make sure you use plain or lightly salted microwave popcorn, not the buttered kind. The butter prevents the chocolate from sticking properly. If all you have is buttered popcorn, spread it on paper towels for 10 minutes to absorb some of the oil before using it.
How do I keep the candy eyes from falling off?
Press them gently into the chocolate while it’s still wet, and make sure the chocolate layer is thick enough to hold them. If the chocolate starts to set before you finish adding the eyes, warm the area slightly with a hair dryer on low heat for a few seconds.
Can I make this recipe vegan?
Yes! Use dairy-free dark chocolate or vegan white chocolate chips. Check that your candy melts don’t contain milk solids. Many brands like Enjoy Life make vegan-friendly options. The rest of the ingredients are naturally vegan as long as you skip any honey-based sprinkles.
How far in advance can I make this popcorn bark?
You can make it up to 5 days ahead if stored properly in an airtight container at room temperature. Layer pieces between parchment paper so they don’t stick together. Don’t refrigerate it, as moisture can make the popcorn chewy.
My chocolate seized and turned grainy — what went wrong?
This usually happens when a tiny bit of water gets into the chocolate, or if you overheated it in the microwave. Always use completely dry bowls and utensils. Microwave in short 30-second bursts and stir thoroughly between each one. If your chocolate does seize, you can try stirring in a teaspoon of coconut oil to smooth it out, but sometimes it’s better to start fresh.
Pin This Recipe!
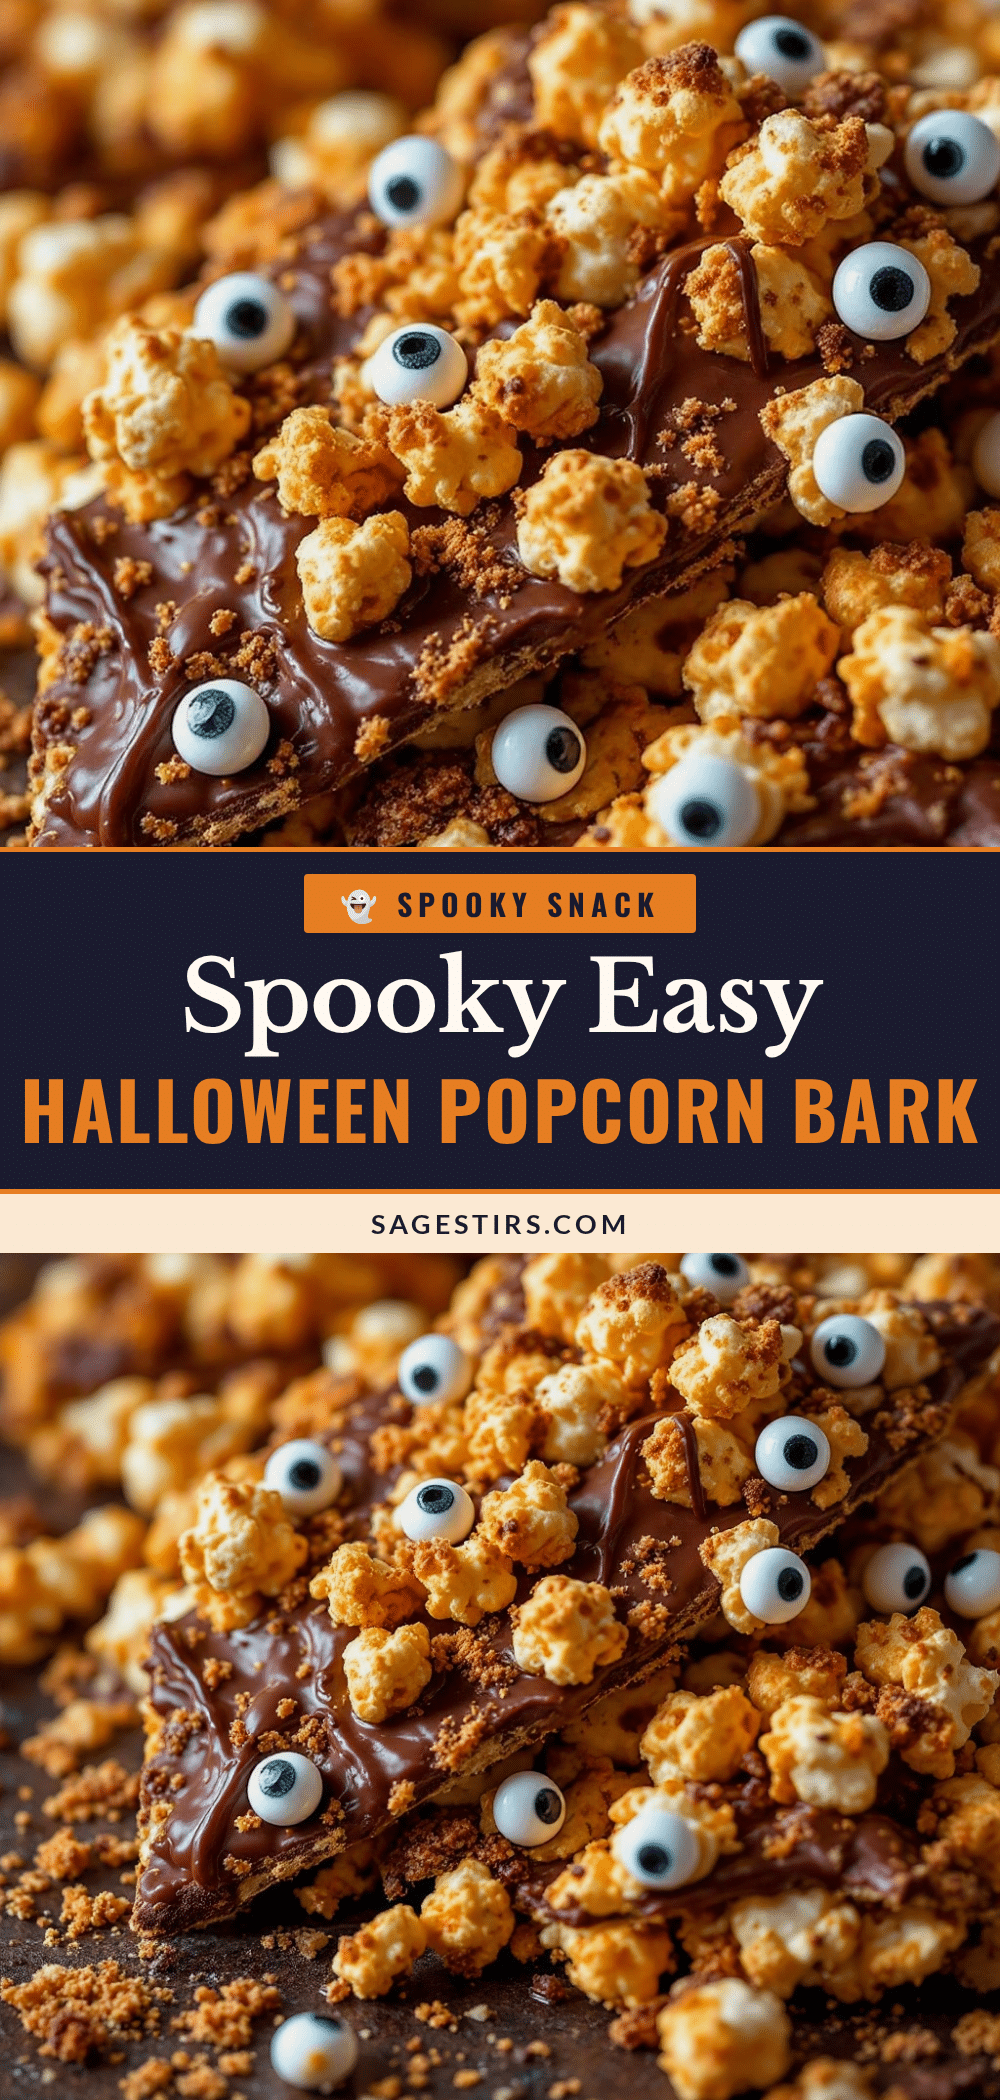
Easy Halloween Popcorn Bark with Candy Eyes

A quick and easy Halloween treat made with popcorn, white chocolate, and creepy candy eyes. Perfect for last-minute parties, classroom events, or spooky movie nights, this sweet and salty bark comes together in under 15 minutes.
- Prep Time: 10 minutes
- Cook Time: 5 minutes
- Total Time: 15 minutes
- Yield: 8 servings 1x
- Category: Dessert
- Cuisine: American
Ingredients
- 8 cups popped popcorn (plain or lightly salted)
- 12 ounces vanilla candy melts or white chocolate chips
- 1 tablespoon coconut oil or vegetable shortening (optional)
- 1/2 cup candy eyes (edible, from baking aisle)
- 1/4 cup orange and black sprinkles (jimmies work best)
- 1/4 cup chopped pretzels (mini pretzel twists, slightly crushed)
- 2 tablespoons orange and black sanding sugar (optional)
Instructions
- Line a large baking sheet with parchment paper or a silicone baking mat, extending slightly up the sides.
- Pop 8 cups of popcorn and remove any unpopped kernels. Spread in a single layer on the prepared baking sheet and let cool completely for 5-10 minutes.
- Place 12 ounces of vanilla candy melts or white chocolate chips in a microwave-safe bowl. Add 1 tablespoon of coconut oil if using. Microwave in 30-second intervals, stirring well after each, until completely smooth (about 90 seconds total).
- Pour the melted chocolate over the popcorn on the baking sheet. Use a spatula to gently fold and toss until every kernel is evenly coated.
- Spread the coated popcorn into an even layer about 1/2 to 3/4 inch thick. Press down gently to create a flat surface.
- While the chocolate is still wet, sprinkle on candy eyes, sprinkles, chopped pretzels, and sanding sugar. Press them in gently with your fingers so they stick.
- Let the bark set at room temperature for about 30 minutes, or refrigerate for 15 minutes until firm and no longer shiny.
- Once completely set, lift the parchment paper off the baking sheet. Break the bark into irregular pieces with your hands.
Notes
Use plain or lightly salted popcorn, not buttered, as butter prevents chocolate from sticking. If using buttered popcorn, spread on paper towels for 10 minutes to absorb oil. For best results, let popcorn cool completely before adding chocolate to prevent seizing. If chocolate starts to set before adding toppings, warm slightly with a hair dryer on low heat. Store in an airtight container at room temperature for up to 5 days. Do not refrigerate as moisture can make popcorn chewy.
Nutrition
- Serving Size: 1 cup of finished ba
- Calories: 220
- Sugar: 18
- Sodium: 180
- Fat: 12
- Saturated Fat: 7
- Carbohydrates: 28
- Fiber: 1
- Protein: 3
Keywords: Halloween popcorn bark, candy eyes, easy Halloween treat, white chocolate popcorn, spooky snack, quick dessert, popcorn bark recipe



