Love this? Save it for later!
Share the inspiration with your friends
I burned the hot dogs the first three times I made these mummy hot dogs. Not the crescent dough—that part was always golden and perfect. The hot dogs themselves. I’d pull the pan out of the oven, all proud of how the little dough strips looked like bandages, and then someone would bite into one and practically yelp because the hot dog was scorching lava on the inside while the outside looked totally innocent. It took me an embarrassingly long time to figure out the problem wasn’t the recipe. It was my impatience. I wanted them done fast, so I’d crank the heat, and the dough would brown before the center had a chance to warm through. That’s the thing nobody tells you about these cute little guys—they’re a timing game, not a temperature game. Once I figured that out, they became my go-to for Halloween parties, classroom treats, and honestly, random Tuesday nights when I need something fun that takes fifteen minutes. These are the recipe that taught me to slow down, even when I’m in a hurry.
Why You’ll Love This Recipe
Let me tell you why these mummy hot dogs have earned a permanent spot in my rotation. First off, they’re ridiculously easy. We’re talking ten minutes of prep, maybe less if you’ve got a kid helping you wrap the dough strips. The crescent dough does all the heavy lifting—you just slice it, wrap it, bake it. No complicated techniques, no special equipment, nothing that’ll stress you out.
Here’s what makes them stand out:
- Quick & Easy: From fridge to table in under 20 minutes. Seriously, that’s faster than ordering pizza.
- Simple Ingredients: You need exactly three things—hot dogs, crescent dough, and mustard for the eyes. That’s it. You probably already have all of them.
- Perfect for Halloween: These are the star of any spooky spread. Kids go nuts for them, adults sneak them when nobody’s looking.
- Crowd-Pleaser: I’ve brought these to potlucks, classroom parties, and game day gatherings. They disappear every single time.
- Unbelievably Fun: There’s something about food that looks like little mummies that makes people smile. Even grumpy teenagers crack a grin.
What makes this version different from all the other mummy hot dog recipes out there? It’s the method. I learned to pre-cook the hot dogs just slightly before wrapping them, so the inside is perfectly warm without the dough burning. It’s a tiny tweak, but it makes a huge difference. Plus, I use a specific brand of crescent dough that holds its shape better than others—more on that in a minute.
This recipe is the kind that makes you feel like a kitchen hero without actually doing much work. It’s comfort food with a Halloween twist, and honestly, it’s the easiest way to impress people at a party. You’ll look like you spent hours on something that took you fifteen minutes. I’m not complaining.
What Ingredients You Will Need
This recipe uses simple, everyday ingredients to create something that feels special. No fancy trips to specialty stores, no obscure spices—just basic stuff you probably already have in your kitchen.
- Hot dogs (8 standard-size, or 16 if using mini hot dogs): I prefer beef hot dogs for flavor, but any variety works. Look for ones that aren’t too thick—they cook more evenly. Personal preference: I like Hebrew National or Applegate Farms for the best texture.
- Crescent dough (1 can, 8-count): This is the backbone of the recipe. I’ve tested several brands, and Pillsbury Original Crescent Rolls hold their shape the best during baking. The store-brand versions tend to tear more easily when you’re cutting the strips. Stick with the original—not the flaky layers version, which separates too much.
- Yellow mustard (for the eyes): This is purely decorative, but it makes the mummies look alive. You can also use ketchup, sriracha, or even tiny dots of cream cheese if you want a milder flavor. Just make sure whatever you use is thick enough to stay put.
- Optional: Cooking spray or butter (for greasing the baking sheet): I use parchment paper instead, which eliminates the need for any grease and makes cleanup a breeze.
- Optional: Sesame seeds or poppy seeds (for texture): Not traditional, but I sometimes sprinkle a few on the dough before baking for a little crunch. Totally optional, totally delicious.
- Optional: Cheese slices (cut into small strips for extra wrapping): Some folks like to add a strip of cheddar under the dough for a cheesy surprise inside. I’ve done it, and it’s good, but it adds a step. Keep it simple your first time.
That’s it. Three main ingredients, a couple of optional extras, and you’re ready to go. The beauty of this recipe is that it doesn’t require a lot of thought—just grab what you have and start wrapping.
Equipment Needed
You don’t need a lot of fancy tools for this recipe, which is part of why I love it. Here’s what you’ll want to have on hand:
- Baking sheet (standard half-sheet size): Any rimmed baking sheet works. I use a light-colored metal one because it bakes more evenly than dark pans, which can over-brown the dough.
- Parchment paper (or silicone baking mat): This is non-negotiable for me. It prevents sticking and makes cleanup take about five seconds. If you don’t have parchment, lightly grease the pan with cooking spray.
- Sharp knife or pizza cutter: You’ll be cutting the crescent dough into thin strips, and a dull knife will just squish the dough. A pizza cutter works beautifully here—one clean roll and you’re done.
- Small bowl (for mustard dipping when decorating): You don’t need anything fancy. I use a ramekin or a small custard cup.
- Toothpick (for applying mustard dots): This is my secret weapon. Dip the tip of a toothpick into the mustard, then dot it onto the dough for the eyes. It gives you perfect little circles every time.
- Cooling rack (optional but helpful): Letting the mummies cool on a rack keeps the bottoms from getting soggy. If you don’t have one, just transfer them to a plate after a couple of minutes.
Budget-friendly tip: If you don’t have a pizza cutter, a sharp chef’s knife works just fine. And if you don’t have a cooling rack, a clean cutting board or even a paper towel-lined plate will do the job.
Preparation Method
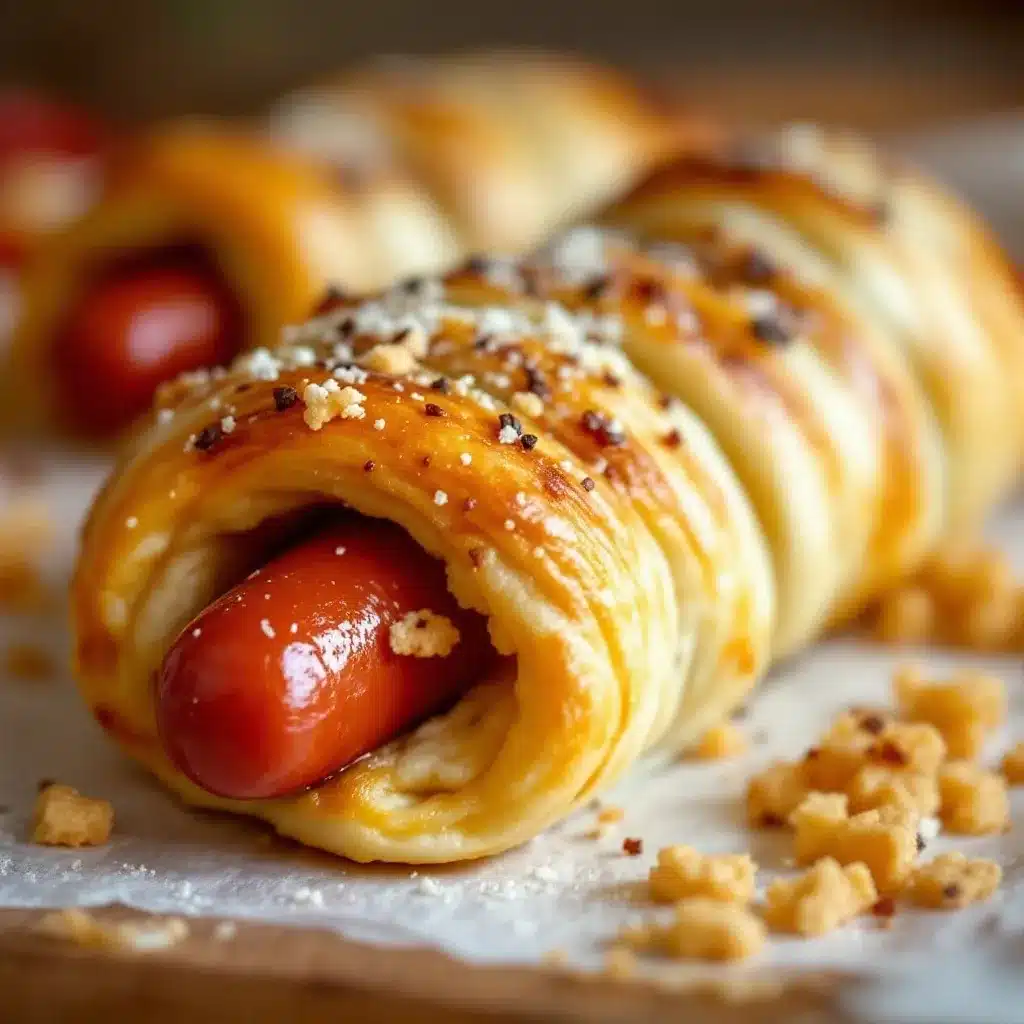
Alright, let’s get into the actual making of these things. I’ve tested this method about a dozen times, and this sequence gives you the best results every single time.
- Preheat your oven to 375°F (190°C). Line a baking sheet with parchment paper or a silicone mat. Don’t skip this step—trust me, you don’t want to scrape melted dough off a bare pan.
- Prep the hot dogs. If you’re using standard-size hot dogs, leave them whole. If you’re using mini hot dogs or cocktail sausages, keep them as is. Here’s the trick I learned the hard way: microwave the hot dogs for 30 seconds before wrapping them. This warms them through so the dough doesn’t have to work as hard to heat the center. Pat them dry with a paper towel afterward—excess moisture will make the dough soggy.
- Open the crescent dough. Unroll the can carefully—it tends to pop open dramatically. Separate the dough along the perforated lines so you have 8 triangles. Press the seams together gently to seal any gaps.
- Cut the dough into strips. Using a sharp knife or pizza cutter, slice each triangle lengthwise into 3-4 thin strips. The strips should be about 1/4-inch wide. Don’t stress about perfection—mummies are supposed to look a little messy. I usually aim for 3 strips per triangle, but if some break, just patch them together.
- Wrap the hot dogs. Take one hot dog and start wrapping a dough strip around it, slightly overlapping as you go. Leave a small gap near the top for the face—about 1/2 inch should show. The dough will puff up during baking, so you don’t need to wrap tightly. Just let it drape naturally. Repeat with the remaining hot dogs and dough strips. You’ll have about 8 mummies total.
- Place on the baking sheet. Arrange the wrapped hot dogs about 2 inches apart on the prepared sheet. They won’t spread much, but they need a little breathing room for even browning.
- Bake for 12-15 minutes. Start checking at 12 minutes. The dough should be golden brown and puffed. The hot dogs should be heated through—if you’re unsure, cut one open to check. Remember my earlier mistake? Don’t overbake trying to get the hot dogs hot. The pre-warming step takes care of that.
- Cool slightly. Let the mummies rest on the baking sheet for 2-3 minutes. They’re very hot straight out of the oven—the filling stays molten longer than you’d expect.
- Add the eyes. Dip the tip of a toothpick into yellow mustard and dot two small eyes onto the exposed hot dog at the top of each mummy. If the mustard is too thick, thin it with a drop of water. You can also use ketchup or sriracha for red eyes—creepier for Halloween.
- Serve warm. Transfer to a platter and watch them disappear. These are best eaten within 30 minutes of baking, but they’re still good at room temperature for a couple of hours.
Cooking Tips & Techniques
I’ve made enough mistakes with these mummy hot dogs to fill a small notebook. Here’s what I’ve learned so you don’t have to repeat my errors.
Don’t skip the pre-warming step. This is the single biggest factor in getting perfectly cooked mummies. Cold hot dogs straight from the fridge take too long to heat through, and by the time they’re warm, the dough is overbaked. Thirty seconds in the microwave changes everything. If you’re making a big batch, warm them in batches so they don’t cool off again.
Cut the dough strips thin enough. I used to cut them too thick, thinking it would look more like bandages. Instead, I got puffy, doughy mummies that overwhelmed the hot dog. Thin strips—about 1/4 inch—give you that delicate, crispy texture that makes these so good. If the strips break, don’t panic. Just overlap them slightly and press gently to seal.
Watch the oven like a hawk. Crescent dough goes from pale to burnt in about 90 seconds. Set a timer for 12 minutes and check them. If they’re not golden enough, give them another minute and check again. Every oven runs differently—mine runs hot, so I usually pull them at 12 minutes on the dot.
Let them rest before serving. I know it’s tempting to dive in immediately, but the filling is dangerously hot right out of the oven. Give them 2-3 minutes on the baking sheet. This also helps the dough set so it doesn’t fall apart when you pick it up.
Multitasking tip: While the first batch bakes, prep the second batch on a separate piece of parchment paper. When the first batch comes out, slide the new parchment right onto the baking sheet and pop it in the oven. This keeps the assembly line moving smoothly.
Variations & Adaptations
These mummy hot dogs are surprisingly versatile. Here are some ways I’ve adapted them over the years:
Cheesy mummies: Before wrapping the hot dog, lay a thin strip of cheddar or mozzarella cheese along its length. Wrap the dough over the cheese. The cheese melts into the hot dog and creates a gooey surprise inside. Just be careful—the cheese gets extremely hot.
Spicy mummies: Use spicy Italian sausages or chorizo instead of regular hot dogs. Brush the dough with a little hot honey or sriracha before baking for an extra kick. My husband loves these—he says they’re “adult mummies.”
Veggie mummies: Swap the hot dogs for vegetarian sausages or even thick carrot sticks (parboiled first for tenderness). The cooking time stays the same. I’ve made these for vegetarian friends and they were a hit.
Breakfast mummies: Use breakfast sausages instead of hot dogs and serve them with maple syrup for dipping. I made these for a Halloween morning breakfast and my kids still talk about it.
Gluten-free option: Use gluten-free crescent dough if you can find it. I’ve tested this with one brand and it worked, though the dough was a bit more fragile. Handle it gently and don’t overwork it.
Air fryer method: Cook at 350°F (175°C) for 8-10 minutes, flipping halfway through. The air fryer gives them an extra-crispy exterior. Just don’t overcrowd the basket—work in batches if needed.
Serving & Storage Suggestions
These mummy hot dogs are best served warm, right after the eyes go on. The contrast between the warm, flaky dough and the juicy hot dog is at its peak in the first 15 minutes. I like to arrange them on a platter with a bowl of ketchup and mustard for dipping—the kids love dunking the bandaged ends.
For a Halloween party spread, pair them with buffalo chicken dip with tortilla chips for a savory contrast. The creamy, spicy dip balances the salty hot dogs perfectly. If you’re going for a full spooky menu, add some pumpkin cream cheese muffins for dessert—the sweetness rounds out the meal.
For storage, let any leftovers cool completely, then place them in an airtight container in the refrigerator. They’ll keep for up to 3 days. To reheat, pop them in a 350°F oven for 5-7 minutes, or in the air fryer at 350°F for 3-4 minutes. The microwave works in a pinch, but the dough gets soft and loses its crispness. I don’t recommend freezing these—the dough gets gummy when thawed.
One thing I’ve noticed: the flavors actually meld a bit overnight. The mustard eyes soak into the hot dog slightly, and the dough softens. Some people prefer them this way. I’m a fresh-from-the-oven purist, but to each their own.
Nutritional Information & Benefits
Let’s be real—these are not health food. But they’re a fun treat, and sometimes that’s exactly what you need. Here’s the approximate nutritional breakdown for one mummy hot dog (using standard ingredients):
- Calories: 180-220
- Protein: 7-9 grams
- Fat: 12-15 grams
- Carbohydrates: 14-17 grams
- Sodium: 500-600 mg
The hot dogs provide a decent amount of protein, which helps keep you full. The crescent dough offers quick energy from carbohydrates. If you’re watching your sodium intake, look for low-sodium hot dogs or turkey dogs, which can cut the salt by about 30%.
For a slightly healthier twist, use chicken or turkey hot dogs instead of beef. They’re lower in saturated fat and still taste great. You can also use reduced-fat crescent dough, though the texture won’t be quite as flaky.
Potential allergens: These contain wheat (from the crescent dough) and may contain dairy (check your hot dog ingredients). If you’re serving a crowd with allergies, label them clearly or offer a gluten-free version separately.
My personal take: These are a once-in-a-while treat, not an everyday meal. And honestly, the joy they bring—especially to kids—is worth the occasional indulgence.
Conclusion
These easy mummy hot dogs are proof that Halloween food doesn’t have to be complicated to be memorable. With just three ingredients and about 20 minutes, you can create something that looks impressive, tastes great, and makes people smile. That’s a win in my book.
I love how customizable they are—you can make them spicy, cheesy, vegetarian, or breakfast-style depending on your mood. They’ve become a tradition in my house, and I hope they become one in yours too. The first time my nephew saw them, he shouted “Mummies!” and refused to eat anything else at the party. That’s the kind of reaction that makes cooking worth it.
Now I want to hear from you. Have you made mummy hot dogs before? What’s your favorite Halloween treat? Drop a comment below and tell me about your spooky food traditions. And if you try this recipe, let me know how it turned out—especially if your kids loved them as much as mine do. Happy Halloween, and happy cooking!
Frequently Asked Questions
Can I make these ahead of time for a party?
Yes! Assemble the mummies up to 24 hours in advance and keep them covered in the refrigerator. Bake them just before serving for the best texture. If you need to reheat, use the oven or air fryer to restore crispness.
Why did my crescent dough tear when I tried to wrap it?
The dough is delicate when cold. Let it sit at room temperature for 5 minutes before cutting and wrapping. If it still tears, just patch the pieces together—mummies are supposed to look imperfect anyway.
Can I use puff pastry instead of crescent dough?
Absolutely. Cut the puff pastry into thin strips and wrap the same way. The baking time may increase by 2-3 minutes. Puff pastry gives a flakier, more buttery result, but crescent dough is easier to work with.
How do I keep the mustard eyes from sliding off?
Apply the mustard after baking, when the hot dog surface is dry. If the hot dog is still steamy, the mustard might slide. Let the mummies cool for 2-3 minutes first. You can also use a toothpick to press the mustard gently into the hot dog surface.
What’s the best way to serve these to a crowd?
Arrange them on a large platter with small bowls of ketchup, mustard, and ranch dressing for dipping. If you’re making a big batch, keep them warm in a 200°F oven on a baking sheet while you finish the rest. They’ll stay good for about an hour this way.
Pin This Recipe!
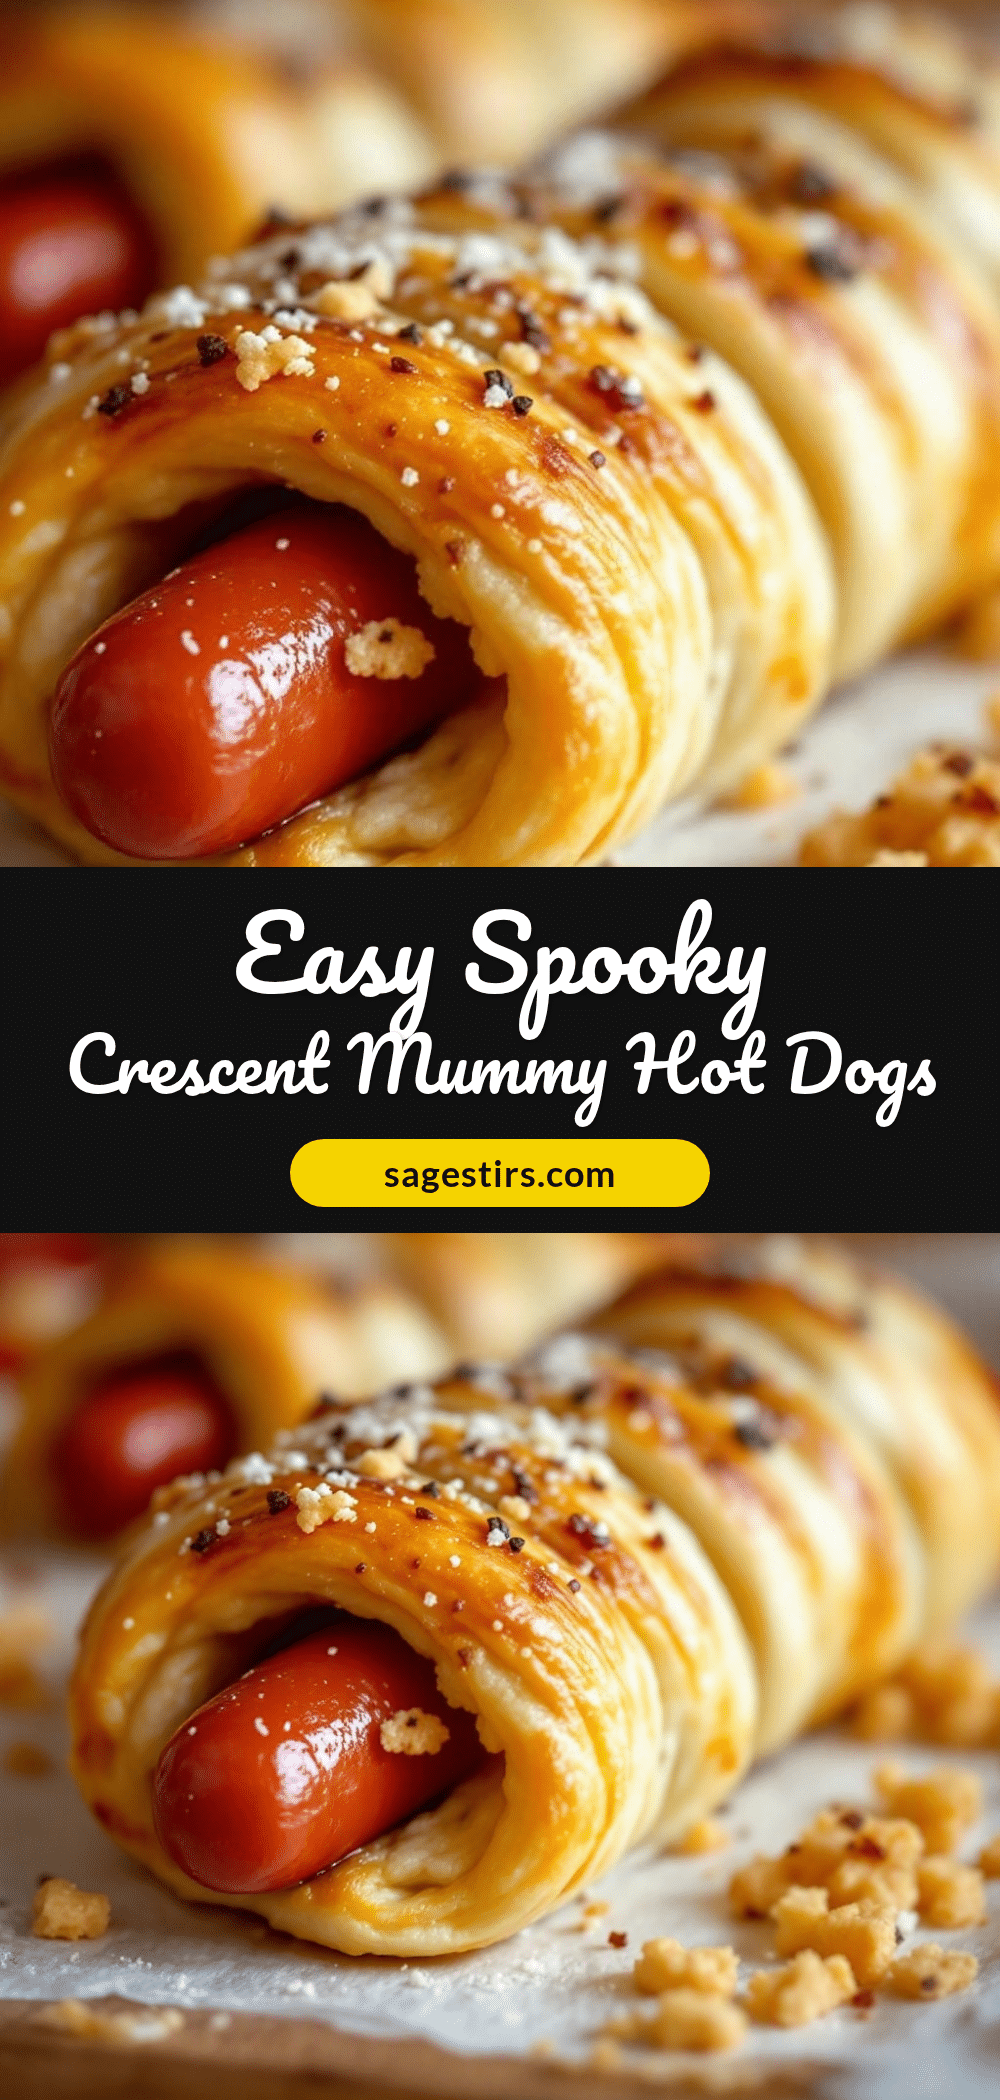
Easy Mummy Hot Dogs: Best Halloween Crescent Recipe

These easy mummy hot dogs are a fun and quick Halloween treat made with just three ingredients: hot dogs, crescent dough, and mustard for eyes. Perfect for parties, classroom treats, or a fun weeknight dinner, they come together in under 20 minutes.
- Prep Time: 10 minutes
- Cook Time: 12-15 minutes
- Total Time: 20-25 minutes
- Yield: 8 servings 1x
- Category: Appetizer
- Cuisine: American
Ingredients
- 8 standard-size hot dogs (or 16 mini hot dogs)
- 1 can (8-count) crescent dough (Pillsbury Original recommended)
- Yellow mustard (for eyes)
- Optional: cooking spray or butter for greasing
- Optional: sesame seeds or poppy seeds for texture
- Optional: cheese slices (cut into strips for extra wrapping)
Instructions
- Preheat oven to 375°F (190°C). Line a baking sheet with parchment paper or a silicone mat.
- Microwave hot dogs for 30 seconds to warm them through, then pat dry with a paper towel.
- Unroll crescent dough and separate into 8 triangles. Press seams together gently.
- Using a sharp knife or pizza cutter, slice each triangle lengthwise into 3-4 thin strips (about 1/4-inch wide).
- Wrap a dough strip around each hot dog, slightly overlapping, leaving about 1/2 inch exposed at the top for the face. Repeat for all hot dogs.
- Place wrapped hot dogs about 2 inches apart on the prepared baking sheet.
- Bake for 12-15 minutes, until dough is golden brown and puffed. Start checking at 12 minutes.
- Let mummies rest on the baking sheet for 2-3 minutes.
- Dip the tip of a toothpick into yellow mustard and dot two small eyes onto the exposed hot dog at the top of each mummy.
- Serve warm. Best eaten within 30 minutes of baking.
Notes
Pre-warming the hot dogs is key to avoid burning the dough. Cut dough strips thin (1/4 inch) for best texture. Watch the oven closely as crescent dough browns quickly. Let mummies rest before serving to avoid burns from hot filling.
Nutrition
- Serving Size: 1 mummy hot dog
- Calories: 200
- Sugar: 3
- Sodium: 550
- Fat: 13.5
- Saturated Fat: 4.5
- Carbohydrates: 15.5
- Protein: 8
Keywords: mummy hot dogs, Halloween recipe, crescent dough, easy appetizer, kid-friendly, spooky food



