Love this? Save it for later!
Share the inspiration with your friends
I was standing in the checkout line at the hardware store, of all places, holding a bag of lightbulbs and a new garden hose, when the woman behind me—a complete stranger with flour dusted on her sleeve—started talking about how her thermos leaked all over her kid’s backpack the day before. I nodded sympathetically, thinking about my own struggles with soggy pasta and lukewarm lunches. But then she said something that made me pause. “You know,” she said, shaking her head, “my mother-in-law used to make the best mac and cheese for school lunches. She had this trick for keeping it hot and creamy, even hours later.” I forgot all about my lightbulbs. I just stood there, listening to a woman I’d never met describe a recipe that sounded like pure magic.
Honestly, I was skeptical at first. I mean, mac and cheese in a thermos? I’d tried it before, and let me tell you, the results were sad. Gluey pasta. Cold cheese. A sad, congealed mess that my kid would push around with a fork before trading it for a bag of chips. But this woman—her name was Carol, I later learned—insisted there was a method. She scribbled notes on the back of a receipt while her husband waited in the car. “Heat the thermos first,” she said, underlining it twice. “That’s the secret.” I thanked her, paid for my stuff, and drove home with a new mission.
That conversation changed my lunch-packing life. I tweaked Carol’s method, tested it on my own kids (and my husband, who is the pickiest eater I know), and eventually landed on this easy thermos mac and cheese recipe. It’s the one I make every single week now. Maybe you’ve been there—staring at a sad, cold lunchbox, wondering if there’s a better way. There is. And it starts with a hot thermos and a whole lot of cheese.
Why You’ll Love This Recipe
Let me tell you why this thermos mac and cheese is a total game-changer. I’ve tested this recipe more times than I can count, and it’s the only version that stays perfectly creamy, cheesy, and hot until lunchtime. No more cold pasta or sad, dried-out noodles.
- Quick & Easy: This comes together in under 30 minutes. I’m talking from stove to thermos in the time it takes to pack the rest of the lunch. Perfect for busy mornings when you’re running on coffee and chaos.
- Simple Ingredients: You probably have everything in your kitchen right now. Butter, milk, cheese, pasta, and a little mustard powder for that secret tang. No fancy grocery store trips required.
- Perfect for School Lunches: This is the ultimate lunchbox win. It stays warm for hours, which means your kid gets a hot, comforting meal at noon. No cafeteria microwave needed.
- Crowd-Pleaser: I’ve packed this for my kids, their friends, and even my husband’s lunch. Every single person has asked for the recipe. It’s that good.
- Unbelievably Delicious: The texture is the real star here. Creamy, velvety cheese sauce that clings to every piece of pasta. It’s comfort food at its finest, but with a practical twist that makes it work for real life.
What makes this recipe different from every other mac and cheese you’ve tried? It’s the technique. Most recipes make the sauce too thin, so it turns watery in the thermos. Or they use too much cheese, which gets greasy as it sits. This version uses a precise ratio of butter, flour, and milk to create a sauce that stays stable and smooth. I learned that trick after a few disastrous batches—one where the cheese separated into a greasy mess, and another where the pasta turned into a brick. This is the Goldilocks version. Just right.
This recipe isn’t just good—it’s the kind that makes you close your eyes after the first bite. It’s comfort food reimagined for real-world practicality. Perfect for making your kid the envy of the lunch table without spending your whole morning in the kitchen.
What Ingredients You Will Need
This recipe uses simple, everyday ingredients to create a cheese sauce that stays creamy and delicious even after hours in a thermos. Most of these are pantry staples, which makes this perfect for last-minute lunch packing.
- Elbow macaroni (2 cups, dry) – I prefer De Cecco or Barilla for the best texture. They hold up well without getting mushy.
- Unsalted butter (3 tablespoons) – Use unsalted so you can control the salt level. Salted butter can make the sauce too salty as it sits.
- All-purpose flour (3 tablespoons) – This is the base for your roux. It thickens the sauce and keeps it stable in the thermos.
- Whole milk (2 cups) – Whole milk gives the creamiest results. Low-fat milk works, but the sauce will be thinner. Don’t use skim—trust me on this one.
- Sharp cheddar cheese (2 cups, freshly shredded) – Pre-shredded cheese has anti-caking agents that make the sauce grainy. Buy a block and shred it yourself. It melts so much better.
- Mozzarella cheese (½ cup, freshly shredded) – This adds extra creaminess and that perfect stretchy texture. (Adds richness and prevents the sauce from becoming greasy.)
- Dijon mustard (1 teaspoon) – Don’t skip this! It doesn’t make the mac and cheese taste like mustard. It just enhances the cheese flavor and adds a subtle tang.
- Salt (½ teaspoon) – Adjust to taste. I find this amount is perfect for a well-seasoned sauce.
- Black pepper (¼ teaspoon, freshly ground) – A little goes a long way. Freshly ground adds more flavor than pre-ground.
- Garlic powder (¼ teaspoon) – Optional, but I love the subtle depth it adds. It’s not enough to taste garlicky, just enough to make the cheese pop.
Ingredient Tips: I recommend using sharp cheddar for the most flavor. Mild cheddar works, but the sauce won’t have that bold, cheesy punch. For the best texture, look for a block of cheddar that feels firm and looks fresh. If you want to sneak in some extra nutrition, you can stir in ¼ cup of plain Greek yogurt at the end—it adds creaminess and protein without changing the taste.
Substitution Guidance: For a gluten-free version, use gluten-free pasta and a gluten-free all-purpose flour blend. The roux will be slightly thinner, so cook it an extra minute. For a dairy-free option, use plant-based butter, oat milk, and your favorite dairy-free cheddar shreds. The texture won’t be quite as creamy, but it’s still delicious.
Equipment Needed
You don’t need fancy equipment for this recipe, which is part of why I love it. Here’s what you’ll need:
- Large pot (4-5 quart) – For boiling the pasta. Make sure it’s big enough so the pasta has room to move around.
- Medium saucepan (2-3 quart) – For making the cheese sauce. A heavy-bottomed pan works best to prevent scorching.
- Whisk – Essential for a smooth, lump-free roux. A silicone whisk is my favorite because it won’t scratch your pans.
- Wooden spoon or silicone spatula – For stirring the pasta and scraping the sauce.
- Box grater or microplane – For shredding your cheese. Pre-shredded cheese just doesn’t melt the same way.
- Measuring cups and spoons – Accuracy matters, especially with the flour and milk ratios.
- Thermos (16-20 ounce capacity) – This is the star of the show. I use a Stanley or Thermos brand, but any well-insulated thermos works. Make sure it’s wide-mouthed for easy filling and eating.
- Kitchen timer – To keep track of your pasta cooking time. Nobody wants mushy mac and cheese.
Budget-Friendly Options: Don’t have a thermos yet? Check thrift stores or garage sales. I found my favorite thermos for $3 at a yard sale. Just make sure the seal is tight and the insulation is intact. For the pots, any basic set from the grocery store will work—you don’t need expensive cookware.
Maintenance Tip: After using your thermos, wash it with warm soapy water and a bottle brush. Let it air dry completely with the lid off to prevent any musty smells. A little baking soda and warm water once a month helps remove any lingering odors.
Preparation Method
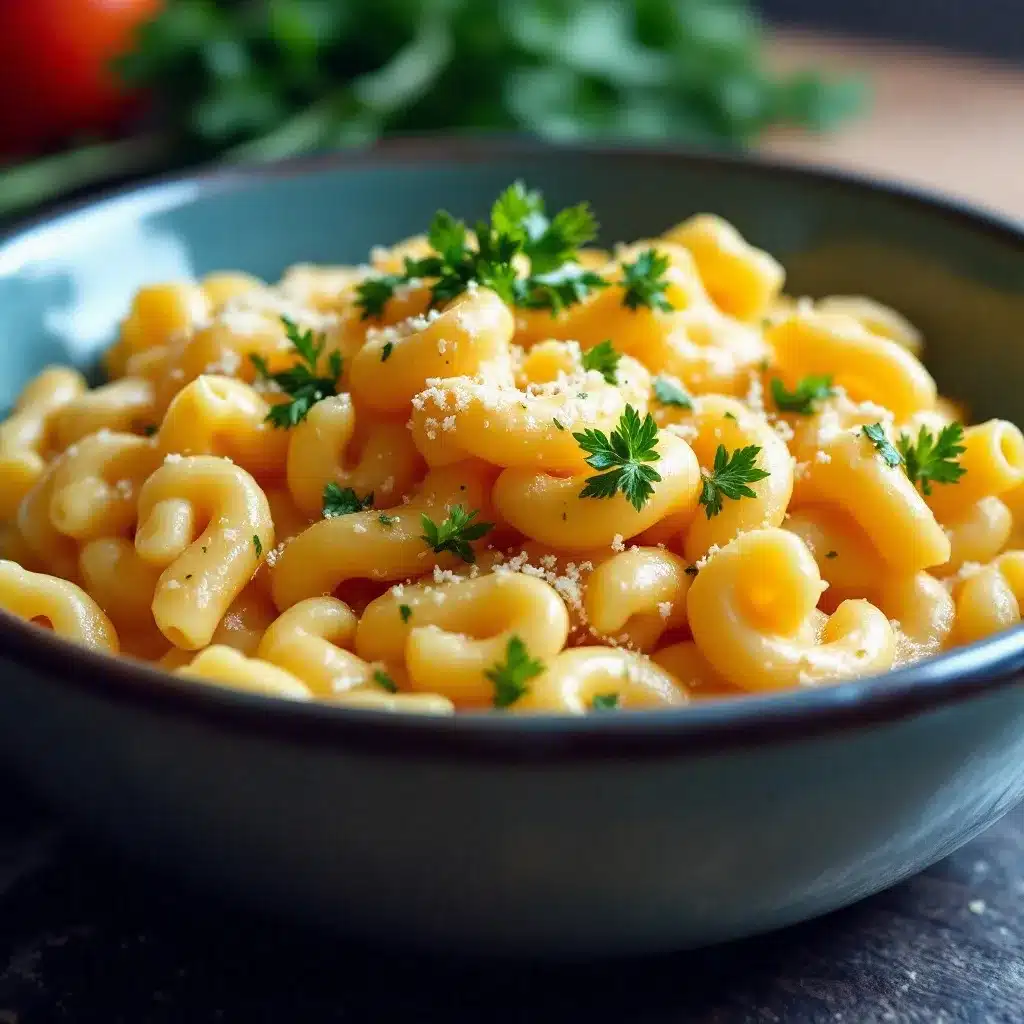
Follow these steps carefully, and you’ll have perfect thermos mac and cheese every single time. I’ve included timing cues and visual checkpoints so you know exactly what to look for.
- Preheat your thermos. Fill your thermos with boiling water and let it sit while you cook. This is the most important step. A cold thermos will suck the heat right out of your mac and cheese. (Set a timer for 5 minutes.) While it’s heating, move on to step 2.
- Boil the pasta. Fill your large pot with water, add a generous pinch of salt (about 1 tablespoon), and bring it to a rolling boil. Add the elbow macaroni and cook according to package directions, but subtract 1 minute from the recommended time. You want the pasta al dente—firm to the bite. It will continue cooking slightly in the thermos. Drain the pasta in a colander, but do not rinse it. The starch on the surface helps the sauce stick.
- Start the roux. While the pasta cooks, melt the butter in your medium saucepan over medium heat. Once it’s fully melted and starting to bubble, add the flour. Whisk constantly for 1-2 minutes until the mixture turns a pale golden color and smells slightly nutty. This cooks out the raw flour taste. (Don’t walk away—burnt roux ruins the whole dish.)
- Add the milk slowly. With the saucepan still over medium heat, pour in the milk in a slow, steady stream while whisking vigorously. Keep whisking until the mixture is smooth and starts to thicken, about 3-4 minutes. You’ll know it’s ready when it coats the back of a spoon and leaves a clear trail when you run your finger through it. The sauce should be thick but still pourable.
- Melt the cheese. Reduce the heat to low. Add the shredded cheddar and mozzarella cheese one handful at a time, stirring constantly until each addition is fully melted before adding the next. This gradual method prevents the sauce from becoming grainy. Once all the cheese is in, stir in the Dijon mustard, salt, pepper, and garlic powder. Taste the sauce and adjust seasoning if needed. It should be rich, creamy, and well-balanced.
- Combine pasta and sauce. Add the drained pasta to the cheese sauce and stir gently until every piece is coated. The sauce will look a little looser than you might expect—that’s okay. It will thicken as it sits in the thermos. Don’t be tempted to add more cheese or cook it longer.
- Fill the thermos. Empty the hot water from your thermos. Use a spoon or spatula to fill it with the mac and cheese, packing it in gently but firmly. Leave about ½ inch of space at the top to create a heat seal. Close the lid tightly immediately.
- Wrap for extra insulation (optional). If you want to be extra sure the lunch stays hot, wrap the thermos in a clean kitchen towel or place it in an insulated lunch bag. This helps retain heat even longer.
Troubleshooting Tip: If your sauce looks separated or greasy, you might have added the cheese too quickly or used pre-shredded cheese. Next time, shred your own and add it slowly over low heat. If the pasta seems dry when you open the thermos, stir in a tablespoon of warm milk before serving.
Cooking Tips & Techniques
I’ve made this recipe more times than I can count, and I’ve learned a few things the hard way. Here are my best tips for thermos mac and cheese success.
The preheat trick is non-negotiable. I once skipped it because I was running late, and my kid’s lunch was lukewarm by noon. The thermos acts like a heat sink—if it’s cold, it steals warmth from the food. Pouring in boiling water for 5 minutes makes a huge difference. I even do this when I’m packing soup or chili.
Don’t overcook the pasta. I know it’s tempting to cook it until it’s soft, especially if your kid prefers tender pasta. But remember, it will keep cooking in the thermos. If you start with perfectly cooked pasta, you’ll end up with mushy pasta. Subtract that 1 minute from the package time. Trust me on this. I learned this lesson after opening a thermos to find what looked like pasta soup.
Shred your own cheese. I know, I know—it’s an extra step. But pre-shredded cheese is coated with cellulose and other anti-caking agents that prevent it from melting smoothly. Your sauce will be grainy and less creamy. Spend the 2 minutes shredding a block of cheddar. Your taste buds will thank you.
Use a heavy-bottomed saucepan. Thin pans can cause hot spots that scorch the milk. I use a stainless steel saucepan with a thick base, and it distributes heat evenly. If you only have a thin pot, stir constantly and keep the heat on the lower side of medium.
Let the sauce rest before serving. If you’re eating this right away (not packing it for later), let it sit for 2-3 minutes after combining the pasta and sauce. This allows the sauce to thicken and cling to the pasta perfectly. For thermos packing, fill it immediately while everything is piping hot.
Multitasking strategy: Start the water boiling while you shred the cheese. While the pasta cooks, make the roux. By the time the pasta is drained, your sauce should be ready to go. This whole process takes about 20 minutes from start to finish.
Variations & Adaptations
This thermos mac and cheese is incredibly versatile. Here are some of my favorite ways to change it up, depending on what I have in the fridge or what my kids are in the mood for.
Broccoli & Cheddar Version: Steam 1 cup of small broccoli florets until tender-crisp, about 3 minutes. Stir them into the mac and cheese right before filling the thermos. The broccoli adds color, texture, and a serving of vegetables. My kids actually eat this without complaining, which feels like a parenting win.
Protein-Packed Version: Add 1 cup of shredded rotisserie chicken or cooked, crumbled bacon to the mac and cheese before packing. This turns it into a complete meal that keeps everyone full until after-school activities. I’ve also used leftover taco meat for a southwest twist.
Spicy Jalapeño Version: Stir in 2 tablespoons of pickled jalapeños (diced) and a splash of the pickling liquid. The heat is mild but noticeable, and the acidity cuts through the richness of the cheese. My husband loves this version in his work lunch.
Dairy-Free Adaptation: Use plant-based butter, oat milk, and dairy-free cheddar shreds. I’ve tested this with Violife and Miyoko’s brands, and both work well. The sauce will be slightly thinner, so cook the roux an extra minute. Add 1 tablespoon of nutritional yeast for a cheesier flavor.
Gluten-Free Version: Substitute gluten-free elbow pasta (I like Jovial or Barilla gluten-free) and a gluten-free all-purpose flour blend for the roux. Cook the pasta 1 minute less than the package directions, as gluten-free pasta can get mushy faster. The roux will be a bit thinner, so whisk it for an extra minute to help it thicken.
My Personal Favorite: I love adding a pinch of smoked paprika and a dash of hot sauce to the cheese sauce. It adds a subtle smokiness and a little kick that makes the mac and cheese feel grown-up. I pack this version for myself when I’m meal-prepping my lunches for the week.
Serving & Storage Suggestions
This mac and cheese is designed to be eaten warm, straight from the thermos. But here’s how to make the experience even better.
Serving Temperature: The mac and cheese should be piping hot when you fill the thermos. By lunchtime, it will be warm but not scalding—perfect for little mouths. If your child prefers it extra hot, wrap the thermos in an insulated lunch bag with a small hot pack.
Presentation: For school lunches, I pack the thermos with a small side of apple slices, baby carrots, or a fruit pouch. The contrast of cold, crunchy fruit with warm, creamy pasta is a hit. I also include a spoon that’s long enough to reach the bottom of the thermos.
Complementary Dishes: This mac and cheese pairs beautifully with roasted vegetables, a simple green salad, or some steamed edamame. For a fun lunch, I sometimes pack it with mini turkey meatballs or a hard-boiled egg for extra protein.
Storage Instructions: If you have leftovers (unlikely, but possible), let the mac and cheese cool completely, then transfer it to an airtight container. It will keep in the refrigerator for up to 4 days. To reheat, add a splash of milk and microwave in 30-second bursts, stirring between each, until warmed through. You can also reheat it in a saucepan over low heat with a little milk.
Freezer Instructions: This mac and cheese freezes surprisingly well. Portion it into freezer-safe containers, leaving a little room for expansion. It will keep for up to 3 months. Thaw overnight in the refrigerator, then reheat with a splash of milk. The texture won’t be quite as creamy as fresh, but it’s still delicious.
Flavor Development: Honestly, this mac and cheese tastes even better the next day. The flavors meld together, and the sauce becomes even more cohesive. If you’re meal-prepping, make it the night before and reheat it in the morning before packing the thermos. Just add an extra tablespoon of milk when reheating to restore the creaminess.
Nutritional Information & Benefits
Here’s a rough estimate of the nutritional content per serving (about 1 cup of mac and cheese). Keep in mind that this can vary based on the specific brands and ingredients you use.
| Nutrient | Amount Per Serving |
|---|---|
| Calories | 420 |
| Total Fat | 22g |
| Saturated Fat | 13g |
| Cholesterol | 65mg |
| Sodium | 520mg |
| Total Carbohydrates | 38g |
| Dietary Fiber | 2g |
| Sugars | 5g |
| Protein | 18g |
| Calcium | 350mg |
| Iron | 2mg |
Health Benefits: This mac and cheese provides a good source of calcium from the cheese and milk, which is essential for growing bones. The protein from the dairy and pasta helps keep kids full and focused throughout the school day. If you add broccoli or chicken, you’ll boost the fiber and protein content even more.
Dietary Considerations: This recipe is vegetarian as written. It can be made gluten-free or dairy-free with the substitutions mentioned above. It contains dairy and gluten, so it’s not suitable for those with allergies to those ingredients. The sodium content is moderate, so if you’re watching your salt intake, use low-sodium cheese or reduce the added salt.
Personal Wellness Perspective: I love that this mac and cheese feels indulgent but is made with real, whole ingredients. There’s nothing processed or artificial in it—just butter, milk, cheese, and pasta. It’s comfort food I can feel good about packing for my family.
Frequently Asked Questions
How long does mac and cheese stay hot in a thermos?
When you preheat the thermos and fill it with piping hot mac and cheese, it will stay warm for about 4-5 hours. By lunchtime (usually 4 hours after packing), it will be warm but not scalding. For best results, wrap the thermos in an insulated lunch bag.
Can I use pre-shredded cheese for this recipe?
You can, but I really don’t recommend it. Pre-shredded cheese contains anti-caking agents that prevent it from melting smoothly, resulting in a grainy sauce. Shredding your own cheese from a block takes just 2 minutes and makes a huge difference in texture.
Why did my mac and cheese turn out dry in the thermos?
This usually happens if the sauce was too thick when you filled the thermos, or if the pasta absorbed too much liquid. Make sure your sauce is slightly looser than you think it should be—it will thicken as it sits. Also, don’t overcook the pasta, as overcooked pasta absorbs more sauce.
Can I make this recipe ahead of time?
Absolutely! You can make the mac and cheese the night before and store it in the refrigerator. In the morning, reheat it in a saucepan over medium-low heat with a splash of milk, stirring until it’s piping hot. Then fill your preheated thermos as usual. The flavor is even better the next day.
What kind of thermos works best for mac and cheese?
A wide-mouthed, vacuum-insulated thermos works best. I recommend brands like Stanley, Thermos, or Hydro Flask. The wide mouth makes it easy to fill and eat from, and the vacuum insulation keeps the food hot for hours. Avoid cheap thermoses that claim to be insulated but lose heat quickly.
Conclusion
This easy thermos mac and cheese has honestly changed the way I pack school lunches. No more cold, sad pasta or last-minute panic over what to send. It’s reliable, delicious, and my kids actually look forward to opening their lunchboxes. I love that it’s made with simple ingredients I always have on hand, and that I can customize it based on what’s in my fridge or what my kids are craving.
I hope you give this recipe a try. Maybe you’ll tweak it with your family’s favorite add-ins or discover a new variation that becomes a household staple. That’s the beauty of a good recipe—it’s a starting point, not a rulebook. Play around with it, make it your own, and don’t be afraid to experiment.
If you make this thermos mac and cheese, I’d love to hear how it turned out! Drop a comment below and let me know what variations you tried. Did your kids love it? Did you add bacon or broccoli? Share your wins and your lessons learned—we’re all in this lunch-packing journey together. Happy cooking, and here’s to warm lunches and happy kids!
Pin This Recipe!
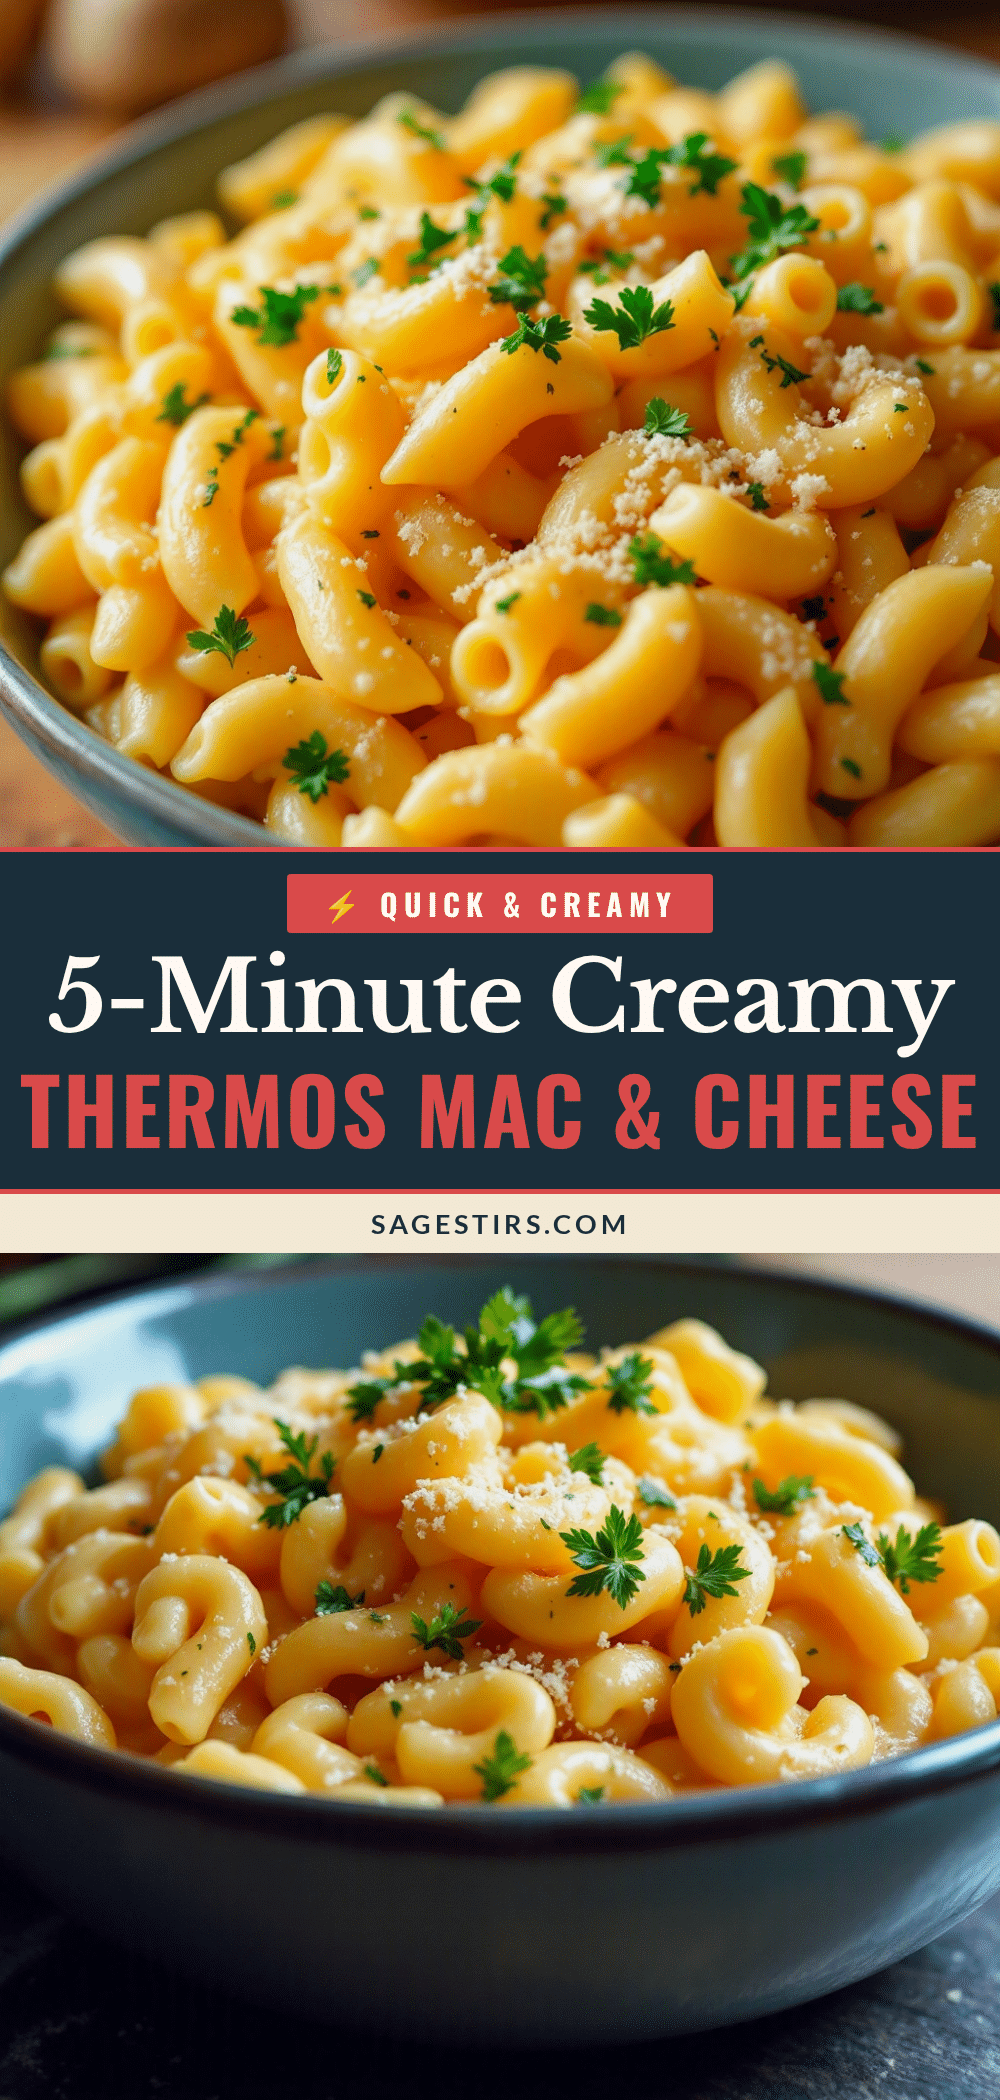
Easy Thermos Mac and Cheese: The Best School Lunch

This thermos mac and cheese stays perfectly creamy, cheesy, and hot until lunchtime. Made with simple ingredients and a special technique, it’s the ultimate lunchbox win.
- Prep Time: 10 minutes
- Cook Time: 20 minutes
- Total Time: 30 minutes
- Yield: 4 servings 1x
- Category: Main Course
- Cuisine: American
Ingredients
- 2 cups elbow macaroni, dry
- 3 tablespoons unsalted butter
- 3 tablespoons all-purpose flour
- 2 cups whole milk
- 2 cups sharp cheddar cheese, freshly shredded
- ½ cup mozzarella cheese, freshly shredded
- 1 teaspoon Dijon mustard
- ½ teaspoon salt
- ¼ teaspoon black pepper, freshly ground
- ¼ teaspoon garlic powder (optional)
Instructions
- Preheat your thermos: Fill your thermos with boiling water and let it sit for 5 minutes while you cook.
- Boil the pasta: Fill a large pot with water, add 1 tablespoon salt, and bring to a rolling boil. Add elbow macaroni and cook according to package directions, subtracting 1 minute from the recommended time. Drain in a colander (do not rinse).
- Start the roux: In a medium saucepan over medium heat, melt the butter. Add the flour and whisk constantly for 1-2 minutes until pale golden and nutty.
- Add the milk slowly: Pour in the milk in a slow, steady stream while whisking vigorously. Continue whisking until the mixture thickens and coats the back of a spoon, about 3-4 minutes.
- Melt the cheese: Reduce heat to low. Add shredded cheddar and mozzarella one handful at a time, stirring until fully melted. Stir in Dijon mustard, salt, pepper, and garlic powder.
- Combine pasta and sauce: Add drained pasta to the cheese sauce and stir until coated. The sauce should be slightly loose.
- Fill the thermos: Empty the hot water from the thermos. Fill with mac and cheese, packing gently, leaving ½ inch space at the top. Close the lid tightly.
- Wrap for extra insulation (optional): Wrap the thermos in a clean kitchen towel or place in an insulated lunch bag.
Notes
Preheat the thermos with boiling water for 5 minutes to keep the mac and cheese hot. Shred your own cheese for a smooth sauce. Cook pasta 1 minute less than package directions to avoid mushiness.
Nutrition
- Serving Size: 1 cup
- Calories: 420
- Sugar: 5
- Sodium: 520
- Fat: 22
- Saturated Fat: 13
- Carbohydrates: 38
- Fiber: 2
- Protein: 18
Keywords: thermos mac and cheese, school lunch, easy mac and cheese, creamy mac and cheese, hot lunch



