Love this? Save it for later!
Share the inspiration with your friends
“You’re making that brown butter one again?” Sarah asked, leaning against my kitchen counter with a half-eaten piece of toast in hand. It wasn’t even noon, but the smell had already drifted out of the oven and into the hallway. I didn’t answer right away because I was too busy watching the milk solids turn from pale yellow to a deep, toasted amber. That specific shade of brown is the secret, you know? It’s the difference between a good loaf and one that makes people stop mid-conversation.
We’ve been friends since college, and she’s seen me burn toast, over-whisk eggs, and accidentally use salt instead of sugar. But this recipe? This one sticks. The combination of pumpkin and banana is classic, sure. But adding brown butter changes the entire game. It adds this nutty, toasty depth that regular melted butter just can’t touch. It’s richer, more complex, and honestly, it makes the house smell like a high-end bakery.
I first perfected this Moist Brown Butter Pumpkin Banana Bread during a particularly rainy October afternoon. I had a bunch of spotted bananas and a leftover can of pumpkin puree that I didn’t know what to do with. Instead of tossing them, I decided to brown the butter. The result was so good that my neighbor actually came over to ask for the recipe before I’d even let the loaf cool completely.
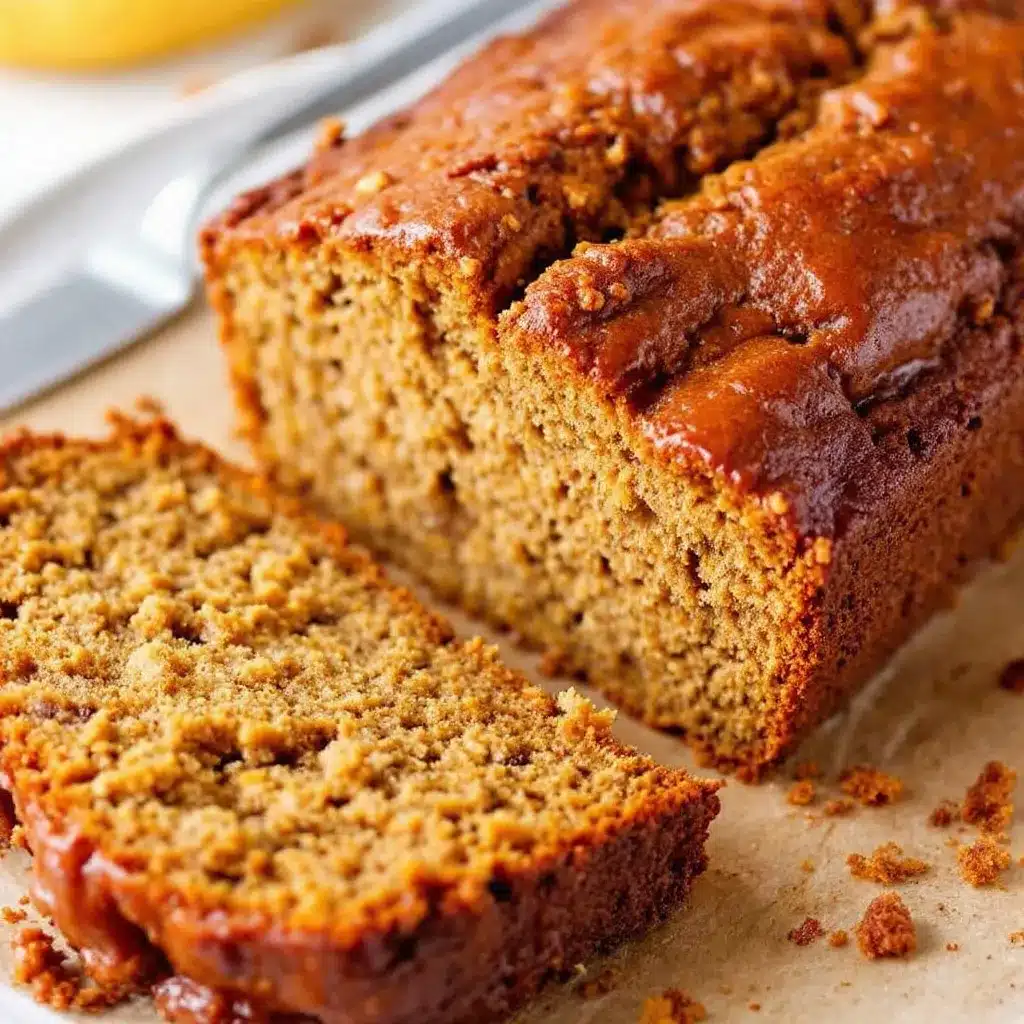
It’s not just about the flavor, though. It’s about that texture. The crumb is dense but tender, moist without being soggy. It holds together well for packing lunches or slicing thin for breakfast. I’ve made it for brunches, holiday potlucks, and quiet Sunday mornings. Every time, it disappears fast. There’s something comforting about the aroma of toasted nuts and warm spices filling the kitchen. It feels like a hug in food form.
What I love most is how simple it is. You don’t need fancy ingredients or complicated techniques. Just a few staples you probably already have. The brown butter takes a little attention, but it’s mostly hands-off. You let it bubble and watch, then you mix the rest together. It’s the kind of recipe that feels indulgent but is actually quite approachable. Once you taste it, you’ll understand why Sarah keeps asking for it. It’s become a staple in my rotation for a reason.
Why You’ll Love This Recipe
There is a reason this loaf sits at the top of my monthly baking list. It’s not just another pumpkin bread variation; it’s a carefully balanced combination of moisture, flavor, and ease. After testing this recipe dozens of times, I’ve found that the key is trusting the process of browning the butter. It sounds technical, but it really just means cooking butter until it smells like hazelnuts. That step adds a layer of sophistication that elevates the entire loaf.
- Quick & Easy: With just five core ingredients, this comes together in under 15 minutes of prep time. You can have it in the oven before you finish your morning coffee. It’s perfect for busy weeknights or when you need a last-minute treat for guests.
- Simple Ingredients: No fancy grocery trips needed. You likely already have bananas, pumpkin puree, flour, eggs, and butter in your kitchen. This recipe relies on wholesome, pantry staples rather than hard-to-find specialty items.
- Perfect for Fall Gatherings: Whether it’s a cozy dinner party or a casual brunch, this bread fits right in. It pairs beautifully with a cup of coffee or tea. It’s also great for gifting in a mason jar with a ribbon.
- Crowd-Pleaser: Kids and adults alike love it. The natural sweetness from the bananas and pumpkin means you often don’t even need extra icing. It’s a hit at potlucks because it’s familiar yet slightly different.
- Unbelievably Delicious: The texture is next-level comfort food. The brown butter creates a rich, nutty crust while keeping the inside incredibly soft. The flavor profile is warm, spicy, and deeply satisfying.
What makes this recipe different is the balance. Many pumpkin breads can be dry or overly spiced. This version uses the banana to add natural moisture and sweetness, while the pumpkin adds earthiness. The brown butter ties it all together with that toasty note. It’s not just good—it’s the kind of bread that makes you close your eyes after the first bite. It’s comfort food reimagined, healthier in feel but with the same soul-soothing satisfaction.
What Ingredients You Will Need
This recipe uses simple, wholesome ingredients to deliver bold flavor and satisfying texture without the fuss. The beauty of this Moist Brown Butter Pumpkin Banana Bread lies in how few components it needs. Each one plays a specific role in creating that perfect crumb and rich taste. You don’t need a ton of spices or exotic flours. Just high-quality basics that work together harmoniously.
Here is what you need to gather:
- Unsalted Butter (1 cup / 226g): This is the star of the show. You’ll be browning it to bring out nutty flavors. Use high-quality butter for the best taste. I prefer brands like Plugra or Kerrygold for their rich cream content.
- Ripe Bananas (2 large / approx. 1 cup mashed): The riper, the better. Look for bananas with lots of brown spots on the peel. They add natural sweetness and moisture. Overripe bananas mash easily and blend seamlessly into the batter.
- Pumpkin Puree (1 cup / 245g): Make sure you use 100% pure pumpkin puree, not pumpkin pie filling. Pie filling has added sugars and spices that will throw off the balance. Canned puree works best for consistency.
- All-Purpose Flour (1 ½ cups / 190g): Standard flour gives the bread its structure. Don’t use self-rising flour unless you adjust the leavening agents. Spoon and level the flour for accurate measurements to avoid a dense loaf.
- Eggs (2 large): Room temperature eggs incorporate better into the batter. They provide structure and help bind the wet and dry ingredients together. This adds richness and helps the bread rise properly.
- Baking Soda (1 tsp): This leavening agent reacts with the acidic pumpkin to help the bread rise. It’s essential for getting that tall, domed top. Make sure it’s fresh for maximum effectiveness.
- Baking Powder (½ tsp): This provides additional lift. Using both baking soda and baking powder ensures a light texture even with the heavy wet ingredients.
- Ground Cinnamon (1 tsp): Adds warmth and classic spice notes. You can adjust this to taste if you prefer more or less spice.
- Ground Ginger (½ tsp): Adds a subtle zing that complements the pumpkin. It’s a key flavor in fall baking and pairs well with the bananas.
- Nutmeg (¼ tsp): Just a pinch adds depth. Too much can be overpowering, so be sparing. It enhances the overall spice profile without dominating.
- Salt (½ tsp): Essential for balancing the sweetness. It makes the other flavors pop. Don’t skip this step, even if you like sweet bread.
You can swap the all-purpose flour for a gluten-free blend if needed, though the texture might be slightly different. For a dairy-free option, use a high-quality plant-based butter that browns well. These substitutions keep the recipe accessible for everyone.
How do I choose the best bananas?
Look for bananas that are heavily speckled with brown. The peels should be mostly brown. These bananas are at their peak sweetness and moisture content, which is crucial for this recipe.
Can I use frozen pumpkin puree?
Yes, you can use frozen puree. Just make sure to thaw it completely and drain any excess liquid. Canned puree is generally more convenient and has less water content, which helps keep the bread moist but not soggy.
Equipment Needed
You don’t need a lot of fancy gadgets to make this bread. Most of what you need is already in your kitchen. The most important tool is a heavy-bottomed saucepan for browning the butter. This prevents the butter from burning and gives you better control over the heat.
- Small Saucepan: A stainless steel or copper pan works best. You need to watch the butter closely as it foams and browns. A light-colored pan makes it easier to see the color change.
- Loaf Pan (9×5 inch): A standard metal loaf pan is ideal. Glass or ceramic pans may take longer to bake, so you might need to adjust the time. Grease the pan well or line it with parchment paper for easy removal.
- Mixing Bowls: One medium bowl for the dry ingredients and one large bowl for the wet ingredients. Having separate bowls keeps the process organized.
- Whisk and Spatula: A whisk is great for combining dry ingredients and breaking up the eggs. A rubber spatula is essential for folding the batter and scraping the bowl clean.
- Measuring Cups and Spoons: Accuracy matters in baking. Use standard measuring cups for volume and spoons for smaller amounts. For best results, consider using a kitchen scale for the flour.
- Cooling Rack: Let the bread cool on a rack to prevent the bottom from getting soggy. This allows air to circulate around the entire loaf.
If you don’t have a saucepan, you can brown the butter in a microwave-safe bowl in short intervals, but it’s harder to monitor. A heavy skillet works too, but be careful not to spill it. Keep a paper towel nearby in case of splatters.
Preparation Method
Making this bread is straightforward, but attention to detail ensures the best results. Follow these steps carefully for a perfectly moist loaf every time.
- Brown the Butter (5 minutes): Start by melting the unsalted butter in a small saucepan over medium heat. Swirl the pan occasionally. The butter will foam up and then subside. Watch closely for brown specks at the bottom and a nutty aroma. This usually takes 3-5 minutes. Remove from heat immediately once it browns to prevent burning. Pour it into a heat-safe bowl to cool slightly.
- Mash the Bananas (2 minutes): In a large mixing bowl, mash the ripe bananas with a fork until smooth. There can be a few small lumps, but try to get it mostly uniform. Add the cooled brown butter to the bananas and whisk until combined.
- Add Pumpkin and Eggs (2 minutes): Stir in the pumpkin puree and the eggs. Mix until the batter is smooth and fully incorporated. The mixture should look thick and slightly glossy.
- Mix Dry Ingredients (3 minutes): In a separate medium bowl, whisk together the flour, baking soda, baking powder, cinnamon, ginger, nutmeg, and salt. Ensure there are no clumps of flour or baking soda. This distributes the leavening agents evenly.
- Combine Wet and Dry (2 minutes): Pour the dry ingredients into the wet mixture. Use a spatula to gently fold them together. Stop mixing as soon as the flour disappears. Overmixing will make the bread tough. The batter will be thick and heavy.
- Prepare the Pan (1 minute): Preheat your oven to 350°F (175°C). Grease a 9×5 inch loaf pan with butter or non-stick spray. For easy removal, line the bottom with parchment paper, leaving an overhang on the sides.
- Bake (55-65 minutes): Pour the batter into the prepared pan. Smooth the top with a spatula. Bake for 55-65 minutes. The top should be golden brown and domed. Insert a toothpick into the center; it should come out clean or with a few moist crumbs. Do not overbake, or the bread will dry out.
- Cool (30 minutes): Let the bread cool in the pan for 10 minutes. Then, use the parchment paper overhang to lift it out onto a cooling rack. Let it cool completely before slicing. This allows the structure to set.
If the top starts browning too quickly, cover it loosely with aluminum foil after 30 minutes of baking. This is a common issue with dense breads.
Why is my bread soggy in the middle?
This usually happens if the oven temperature is too low or if the loaf is underbaked. Use an oven thermometer to check your temperature. Also, ensure your bananas aren’t too watery. If the batter looks too thin, you may have added too much liquid pumpkin.
Can I freeze the batter?
Yes, you can freeze the batter in the loaf pan. Wrap it tightly in plastic wrap and then foil. Thaw it in the refrigerator overnight before baking. The texture may be slightly denser, but it still works well.
Cooking Tips & Techniques
Having made this bread many times, I’ve learned a few tricks to avoid common pitfalls. The biggest mistake people make is overmixing the batter. Once you add the flour, mix gently. Just until no dry streaks remain. Overworking the gluten makes the bread tough and dense.
Another tip is to let the brown butter cool slightly before adding it to the eggs. If the butter is too hot, it can scramble the eggs. Aim for warm, not hot. This ensures a smooth, emulsified batter.
Don’t skip the resting time after baking. Slicing warm bread can make it gummy. The internal structure needs time to set. If you can’t wait, at least let it cool for 20 minutes. This also allows the flavors to meld together.
Use a light-colored loaf pan if possible. Dark pans absorb more heat and can cause the crust to burn before the inside is cooked. If you must use a dark pan, reduce the oven temperature by 25°F.
For a extra crunchy top, sprinkle a little coarse sugar over the batter before baking. It caramelizes slightly in the oven, adding a nice texture contrast. It’s optional but worth trying.
How do I know when the bread is done?
Use a toothpick or cake tester. Insert it into the center. If it comes out with wet batter, it needs more time. If it comes out clean, it’s done. The internal temperature should be around 200°F (93°C) if you have a thermometer.
Why did my loaf sink in the middle?
This can happen if the oven door was opened too early or if there was too much leavening agent. Ensure your baking soda and powder are fresh. Also, avoid opening the oven door for the first 40 minutes of baking.
Variations & Adaptations
This recipe is versatile and can be customized to suit different tastes and dietary needs. Here are a few ideas to try:
- Walnut or Pecan Add-in: Fold in ½ cup of chopped walnuts or pecans for added crunch. Toast the nuts first for extra flavor. This is my personal favorite variation.
- Chocolate Chip: Add ½ cup of semi-sweet chocolate chips. The chocolate pairs wonderfully with the pumpkin and banana flavors. It makes it feel like a dessert.
- Gluten-Free: Use a 1:1 gluten-free flour blend. Ensure it contains xanthan gum for better texture. The bread may be slightly more crumbly but still delicious.
- Dairy-Free: Use a plant-based butter that browns well. Coconut oil can be used, but it won’t have the nutty flavor. Almond milk can replace any dairy if needed.
- Lower Sugar: Reduce the sugar if using very ripe bananas. The natural sweetness is often enough. You can also use honey or maple syrup instead of sugar.
I once tried adding a swirl of cream cheese in the middle of the batter. It created a beautiful marbled effect and added a tangy contrast. It’s a bit more work but very rewarding.
Can I use pumpkin pie spice instead of individual spices?
Yes, you can substitute 2 teaspoons of pumpkin pie spice for the cinnamon, ginger, and nutmeg. It simplifies the ingredient list while keeping the flavor profile intact.
What if I don’t have a loaf pan?
You can bake this as muffins. Fill muffin tins ¾ full and bake for 20-25 minutes. Check with a toothpick. This is great for portion control and gifting.
Serving & Storage Suggestions
This bread is best served at room temperature. Slice it thick for a hearty breakfast or thin for a snack. It pairs well with a cup of coffee or tea. You can also serve it with a slice of sharp cheddar cheese for a savory contrast.
To store, wrap the cooled loaf tightly in plastic wrap. It can be kept at room temperature for up to 3 days. For longer storage, refrigerate for up to a week. The bread will stay moist in the fridge.
You can also freeze the bread. Wrap it in plastic wrap and then foil. It will last for up to 3 months in the freezer. Thaw it overnight in the refrigerator or at room temperature.
For reheating, warm slices in the microwave for 10-15 seconds. This restores the soft texture. You can also toast slices for a crispy exterior.
The flavors develop over time. The bread often tastes even better the next day as the spices meld together. It’s perfect for meal prepping or having ready for busy mornings.
Does the bread dry out in the fridge?
Properly wrapped, it stays moist. If it seems dry, wrap it in a damp paper towel and microwave briefly. The humidity helps restore softness.
Can I add more pumpkin?
You can add up to 1 ½ cups of pumpkin, but the bread may be denser. Adjust the flour slightly if needed to maintain the right consistency.
Nutritional Information & Benefits
This bread offers a balance of nutrients from its key ingredients. Bananas provide potassium and vitamin B6, which support heart health and energy levels. Pumpkin is rich in vitamin A and fiber, aiding digestion and eye health. Whole wheat flour can be used for added fiber, but all-purpose is standard for texture.
Each slice contains approximately 250 calories, with a good mix of carbohydrates and fats. The brown butter adds saturated fat, so enjoy in moderation. It’s not a diet food, but it’s made with real ingredients.
For those with dietary restrictions, this bread can be adapted to be gluten-free or dairy-free. It contains nuts if you add them, so be cautious for allergies. Always check labels for cross-contamination if necessary.
From a wellness perspective, this bread is a comforting treat that satisfies sweet cravings without excessive sugar. The natural fruits provide vitamins and minerals. It’s a better alternative to processed snacks.
Is this bread healthy?
It’s a moderate treat. While it contains butter and flour, the banana and pumpkin add nutritional value. It’s best enjoyed as part of a balanced diet.
Can I reduce the butter?
Reducing the butter may affect the moisture and flavor. It’s best to stick to the recipe for the intended texture. Applesauce can sometimes replace some butter, but it changes the taste.
Conclusion
This Moist Brown Butter Pumpkin Banana Bread is a testament to the power of simple ingredients done right. The brown butter adds a depth of flavor that transforms a standard loaf into something special. It’s moist, flavorful, and incredibly easy to make. I hope you try it and enjoy it as much as I do.
Feel free to customize it with nuts or chocolate. Make it your own. I’d love to hear how it turns out for you. Leave a comment below with your thoughts or any variations you tried.
Share this recipe with friends who love fall baking. It’s perfect for gifting or sharing at gatherings. Thanks for reading, and happy baking!
FAQs
Can I use fresh pumpkin instead of canned?
Yes, you can roast and puree fresh pumpkin. Just ensure it’s cooked until soft and blended smooth. Strain any excess liquid to avoid a watery batter.
Why is my bread too dense?
This is often due to overmixing the batter or using too much flour. Measure the flour correctly by spooning it into the cup. Mix gently until just combined.
Can I double the recipe?
Yes, you can double it. Bake in two loaves or in a larger pan. Adjust the baking time accordingly, checking for doneness earlier.
What is the best way to store leftovers?
Wrap tightly in plastic wrap and store at room temperature for 3 days. For longer storage, freeze in airtight containers.
Can I make this ahead of time?
Yes, bake it a day in advance. It often tastes better the next day. Store it properly to maintain freshness.
Pin This Recipe!
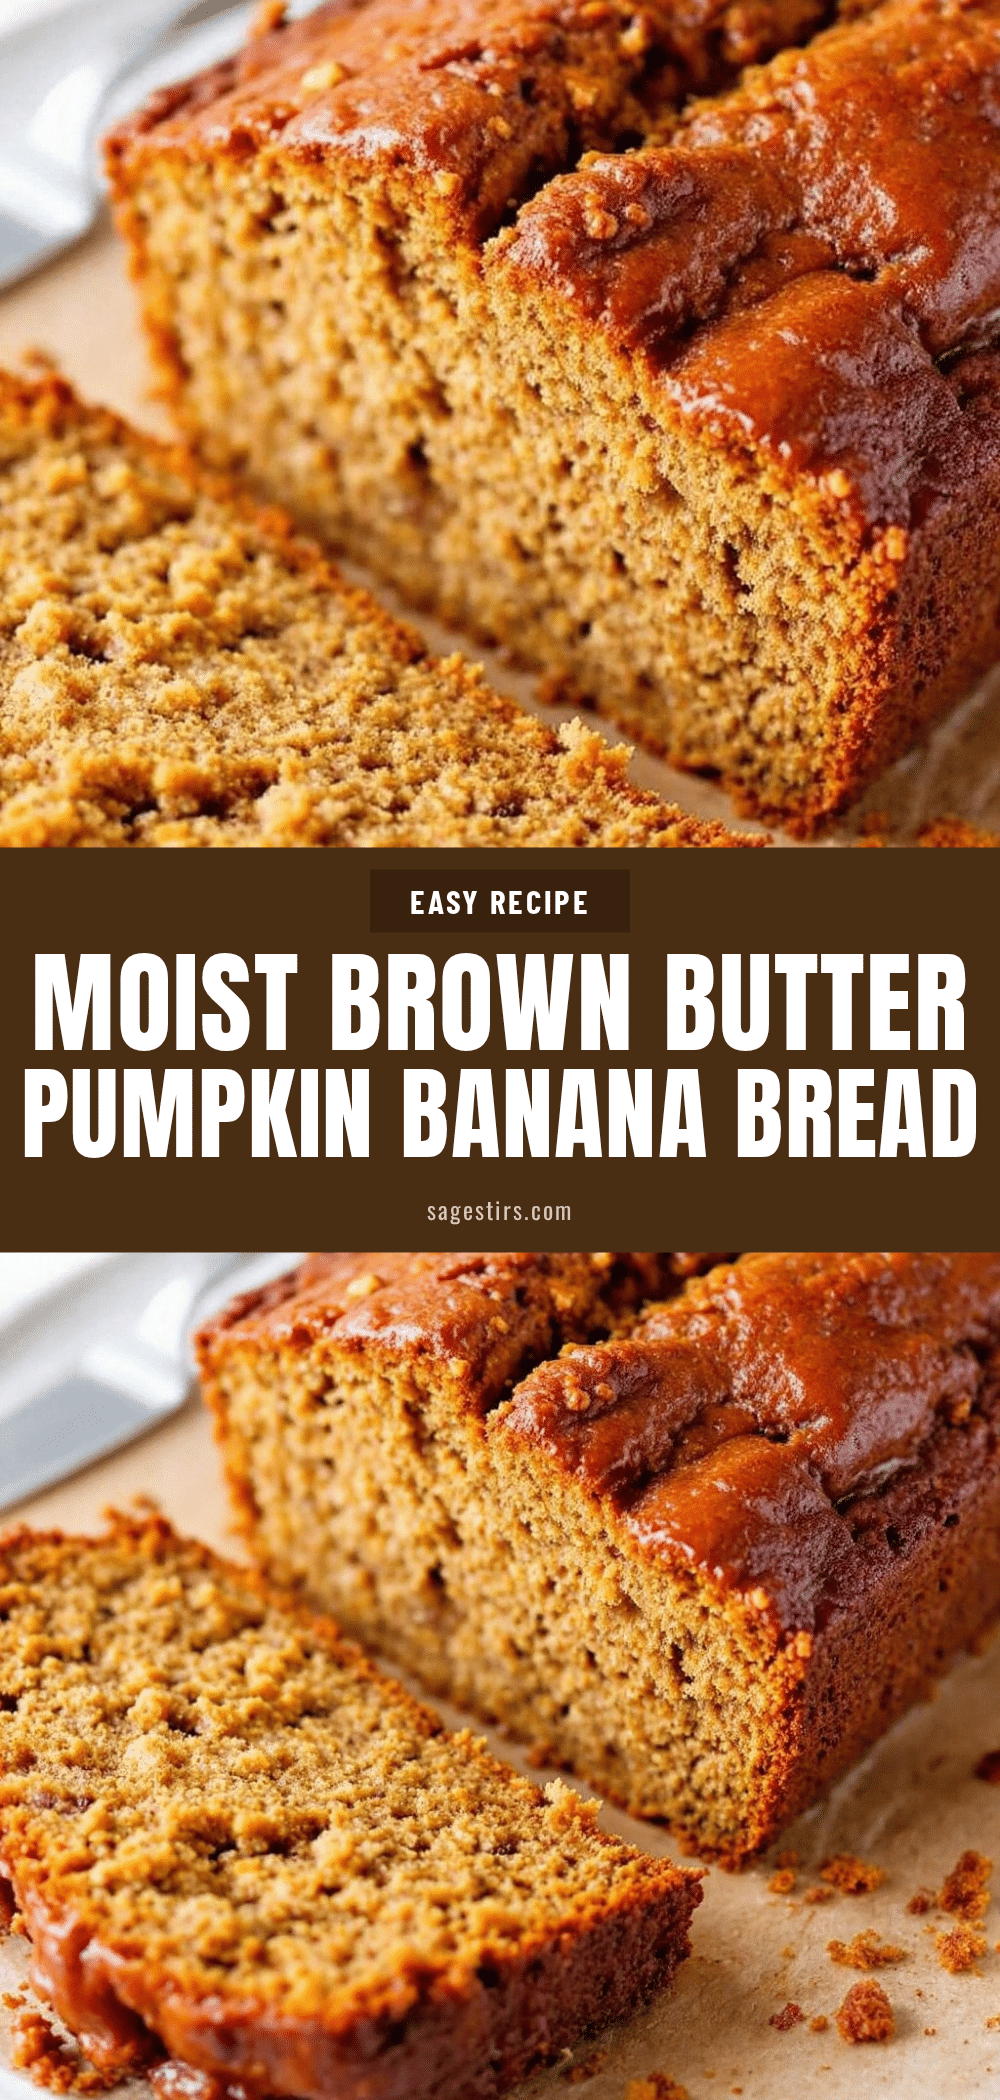
Moist Brown Butter Pumpkin Banana Bread
A rich, nutty, and incredibly moist banana bread made with brown butter, pumpkin puree, and ripe bananas. This easy 5-core-ingredient recipe delivers a dense, tender crumb perfect for breakfast or snacking.
- Prep Time: 15 minutes
- Cook Time: 55-65 minutes
- Total Time: 1 hour 15 minutes
- Yield: 8 servings 1x
- Category: Dessert
- Cuisine: American
Ingredients
- 1 cup (226g) unsalted butter
- 2 large ripe bananas (approx. 1 cup mashed)
- 1 cup (245g) 100% pure pumpkin puree
- 1 ½ cups (190g) all-purpose flour
- 2 large eggs
- 1 tsp baking soda
- ½ tsp baking powder
- 1 tsp ground cinnamon
- ½ tsp ground ginger
- ¼ tsp nutmeg
- ½ tsp salt
Instructions
- Preheat oven to 350°F (175°C). Grease a 9×5 inch loaf pan and line with parchment paper.
- Melt unsalted butter in a small saucepan over medium heat. Swirl occasionally until it foams, subsides, and turns amber with a nutty aroma (3-5 minutes). Remove from heat and pour into a heat-safe bowl to cool slightly.
- In a large mixing bowl, mash ripe bananas until smooth. Whisk in the cooled brown butter.
- Stir in the pumpkin puree and eggs until the mixture is smooth and glossy.
- In a separate medium bowl, whisk together flour, baking soda, baking powder, cinnamon, ginger, nutmeg, and salt.
- Pour dry ingredients into the wet mixture. Gently fold with a spatula until just combined; do not overmix.
- Pour batter into the prepared loaf pan and smooth the top.
- Bake for 55-65 minutes until a toothpick inserted in the center comes out clean or with moist crumbs. If the top browns too quickly, cover loosely with foil after 30 minutes.
- Cool in the pan for 10 minutes, then lift out using parchment paper and transfer to a cooling rack to cool completely before slicing.
Notes
Ensure bananas are very ripe for maximum sweetness and moisture. Do not overmix the batter to avoid a tough texture. Let the brown butter cool slightly before adding to eggs to prevent scrambling. For a gluten-free version, use a 1:1 gluten-free flour blend.
Nutrition
- Serving Size: 1 slice
- Calories: 250
- Sugar: 12
- Sodium: 280
- Fat: 14
- Saturated Fat: 9
- Carbohydrates: 30
- Fiber: 2
- Protein: 4
Keywords: pumpkin banana bread, brown butter, fall baking, easy bread recipe, moist banana bread, gluten-free option



