Love this? Save it for later!
Share the inspiration with your friends
There used to be a tiny bakery called The Midnight Oven tucked away on a side street in Portland that made these incredible black velvet cupcakes. I’m not kidding—they were the first thing I thought about when October hit. When they closed their doors three years ago, I actually stood outside the darkened window like some kind of ghost. Dramatic? Maybe. But those cupcakes were something else. After twelve tries—and I mean twelve, including one batch that looked like gray charcoal briquettes—I finally got it. These Perfect Black Velvet Halloween Cupcakes are my love letter to that bakery and the reason I stopped mourning their closure.
The trick, honestly, is getting that deep, dramatic black color without making the cake taste like a chemistry experiment. The Midnight Oven’s version had this tender, velvety crumb that practically melted, and the cream cheese frosting was tangy enough to balance the sweetness. I spent months testing ratios, trying different cocoa powders, and annoying my friends with constant taste tests. “Another cupcake?” my neighbor Sarah would sigh, but she never said no to the leftovers.
Maybe you’ve been there—chasing a food memory that feels impossible to recreate. That first bite of something so good you close your eyes without thinking. These cupcakes are that. They’re moist, rich, and that stunning black color makes them perfect for Halloween parties, spooky movie nights, or just because you want to eat something that looks like it belongs in a Tim Burton film. Let me tell you, when you pull these out of the oven and see that dark, velvety crumb, you’ll understand why I kept going back to the kitchen.
Why You’ll Love This Recipe
These aren’t just any Halloween cupcakes. They’re the ones that disappear first at every party, and I’ve tested enough batches to back that up with confidence. Here’s what makes them stand out:
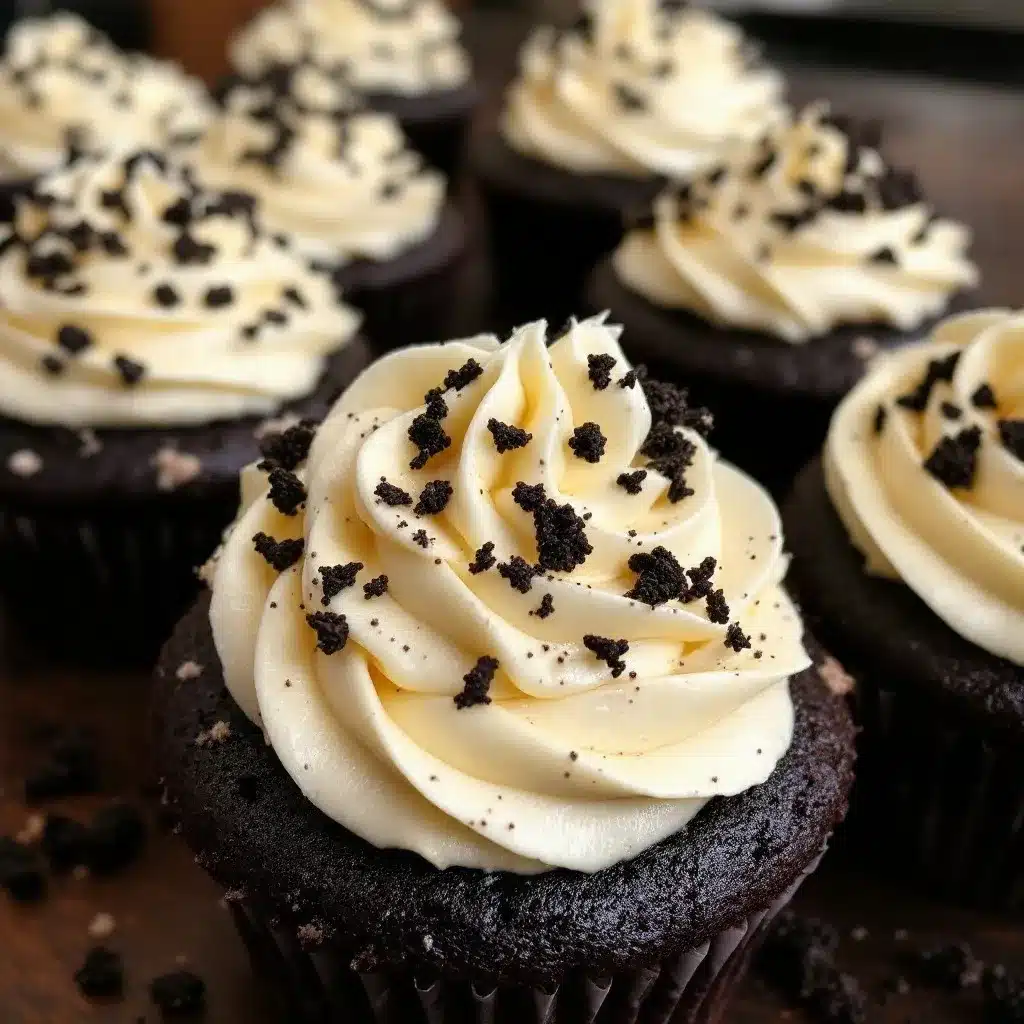
- Stunning Visual Impact: The deep black cake against the white cream cheese frosting creates a dramatic, spooky look that screams Halloween without needing fancy decorations.
- Simple Ingredients: No weird food coloring gels or hard-to-find specialty items. You probably have most of this in your pantry right now.
- Perfect Texture: That velvety, tender crumb isn’t just a name—it’s real. The cake stays moist for days, which is rare for dark-colored baked goods.
- Easy Enough for Beginners: If you can mix batter and frost a cupcake, you can nail this. No complicated techniques required.
- Crowd-Pleaser: Kids love the spooky color, adults love the rich flavor. Everyone wins.
What makes these different from every other black cupcake recipe out there? It’s the balance. Most recipes either taste dry or use so much coloring you can taste it. I worked out the exact ratio of cocoa powder to black cocoa to food coloring so the color is intense but the flavor stays pure chocolate with that subtle dark cocoa edge. Plus, the cream cheese frosting is my tested go-to—not too sweet, perfectly tangy, and sturdy enough to hold a swirl without sliding off.
This recipe is the kind that makes you close your eyes after the first bite. It’s Halloween comfort food reimagined—spooky-looking but soul-soothing. Perfect for impressing guests without stress, or turning a simple October evening into something memorable.
What Ingredients You Will Need
This recipe uses simple, wholesome ingredients to deliver that dramatic black color and velvety texture without the fuss. Most of these are pantry staples, which makes these cupcakes perfect for last-minute Halloween cravings.
For the Cupcakes
- All-purpose flour, 1 ½ cups (190g) — gives structure without making the cake tough
- Granulated sugar, 1 cup (200g) — adds sweetness and helps with browning
- Unsweetened cocoa powder, ¼ cup (25g) — I prefer Ghirardelli for consistent quality
- Black cocoa powder, ¼ cup (25g) — this is the secret to that deep color. Look for it at specialty baking stores or online
- Baking soda, 1 teaspoon — helps the cupcakes rise and stay tender
- Salt, ½ teaspoon — balances the sweetness
- Buttermilk, 1 cup (240ml), room temperature — adds moisture and activates the baking soda. No buttermilk? Add 1 tablespoon vinegar to regular milk and let it sit 5 minutes
- Vegetable oil, ½ cup (120ml) — keeps the crumb moist. Canola or avocado oil work too
- Large eggs, 2, room temperature — binds everything together
- Vanilla extract, 2 teaspoons — enhances the chocolate flavor
- Black gel food coloring, 2 tablespoons — use gel, not liquid, for the most intense color without thinning the batter
- White vinegar, 1 teaspoon — reacts with the baking soda for extra lift
For the Cream Cheese Frosting
- Cream cheese, 8 oz (226g), softened — full-fat works best for stable frosting
- Unsalted butter, ½ cup (113g), softened — adds richness and structure
- Powdered sugar, 3 cups (360g), sifted — ensures a smooth, lump-free frosting
- Vanilla extract, 1 teaspoon — adds warmth and depth
- Pinch of salt — cuts the sweetness and enhances tanginess
For Decoration (Optional)
- Halloween sprinkles, black and orange — for that festive finish
- Edible glitter — adds a spooky shimmer
When shopping for black cocoa powder, I recommend King Arthur Flour’s brand—it’s consistently dark and has that subtle Oreo-like flavor. For the food coloring, Americolor Super Black gel is my go-to. A little goes a long way, and it won’t mess with your batter’s consistency.
Equipment Needed
You don’t need a professional bakery setup for these Perfect Black Velvet Halloween Cupcakes. Here’s what you’ll need:
- Muffin tin — standard 12-cup works perfectly. I’ve used both non-stick and dark metal pans, and both work fine
- Cupcake liners — black or Halloween-themed liners make the presentation pop. If you use white liners, the dark batter will show through a bit
- Mixing bowls — one large, one medium
- Whisk and spatula — for combining dry and wet ingredients
- Electric mixer — hand mixer or stand mixer with paddle attachment for the frosting. You can whisk by hand, but your arm will thank you for the mixer
- Measuring cups and spoons — accuracy matters with baking
- Cooling rack — lets air circulate so cupcakes cool evenly
- Piping bag with star tip — for that bakery-style swirl. A 1M tip is my favorite. No piping bag? A zip-top bag with the corner snipped off works too
- Offset spatula — makes spreading frosting easier if you prefer a rustic look
I picked up my muffin tin from a thrift store for three dollars, and it’s been going strong for years. Don’t feel pressured to buy expensive equipment—borrow or buy used when you can.
Preparation Method
Let’s get baking. These steps are straightforward, but I’ve included all the little details I wish someone had told me when I was testing this recipe.
- Preheat your oven to 350°F (175°C). Line your muffin tin with cupcake liners. This is non-negotiable—the dark batter will stain a bare pan.
- Whisk the dry ingredients together. In a medium bowl, combine the all-purpose flour, granulated sugar, unsweetened cocoa powder, black cocoa powder, baking soda, and salt. Whisk until everything is evenly distributed. I like to sift the cocoa powders first because they tend to clump. Trust me, nobody wants a pocket of bitter cocoa in their cupcake.
- Mix the wet ingredients. In a large bowl, whisk together the buttermilk, vegetable oil, eggs, and vanilla extract until smooth. The mixture should look slightly thick and creamy. Add the black gel food coloring and whisk until the color is uniform. It will look almost black already—that’s a good sign.
- Combine wet and dry ingredients. Pour the dry ingredients into the wet mixture. Stir gently with a spatula until just combined. Do not overmix—stop as soon as you no longer see streaks of flour. Overmixing will make the cupcakes tough, and we want that velvety texture.
- Add the vinegar. Stir in the white vinegar quickly. You’ll see the batter bubble slightly—that’s the baking soda reacting. This extra boost of acidity helps the cupcakes rise tall and stay tender. Pour the batter immediately into the prepared liners, filling each about ⅔ full. I use a cookie scoop for even portions.
- Bake for 18-20 minutes. Rotate the pan halfway through for even baking. The cupcakes are done when a toothpick inserted into the center comes out clean or with a few moist crumbs. The tops should spring back when lightly touched. Don’t overbake—these dark cakes can go from perfect to dry quickly.
- Cool completely. Let the cupcakes sit in the pan for 5 minutes, then transfer them to a cooling rack. This is crucial—if you try to frost them while they’re warm, the cream cheese frosting will slide right off. I learned this the hard way after a particularly tragic frosting incident.
- Make the frosting. While the cupcakes cool, beat the softened cream cheese and butter together in a large bowl until smooth and creamy—about 2 minutes. Scrape down the sides. Gradually add the sifted powdered sugar, one cup at a time, beating on low speed to avoid a sugar cloud. Add the vanilla and salt, then increase speed to medium-high and beat for 2-3 minutes until light and fluffy. The frosting should hold a stiff peak when you lift the beater.
- Pipe the frosting. Transfer the frosting to a piping bag fitted with a star tip. Starting from the outside edge, pipe a spiral toward the center, then lift straight up for a classic swirl. Add Halloween sprinkles or edible glitter immediately before the frosting sets.
One thing I always do: after frosting, I pop the cupcakes in the fridge for 15 minutes. This sets the frosting and makes them easier to transport or serve. Plus, cold cream cheese frosting is absolutely divine.
Cooking Tips & Techniques
After twelve batches, I’ve made every mistake you can imagine. Here’s what I learned so you don’t have to repeat my errors.
Getting that intense black color: The combination of black cocoa powder and black gel food coloring is essential. Black cocoa powder alone won’t give you that dramatic shade—it’ll look more like dark chocolate. The gel coloring boosts it without adding extra liquid. If your batter looks more gray than black, add another teaspoon of gel coloring. Trust the process; it darkens as it bakes.
Room temperature ingredients matter: I know it’s tempting to use cold eggs and buttermilk straight from the fridge, but room temperature ingredients emulsify better. This creates a more tender crumb. Take everything out 30 minutes before you start. If you’re in a rush, warm the buttermilk in the microwave for 15 seconds and place the eggs in a bowl of warm water for 5 minutes.
Don’t overmix the batter: This is the number one mistake I made in my early batches. Mix until the flour disappears, then stop. Overmixing develops gluten, which makes cupcakes tough and rubbery. We want velvety, not chewy.
Check your oven temperature: Ovens run hot or cold. I ruined two batches before realizing my oven runs 25 degrees hot. An inexpensive oven thermometer saved my baking life. If your cupcakes are browning too fast around the edges but raw in the middle, your oven is too hot.
Frosting consistency: If your cream cheese frosting is too soft, pop it in the fridge for 10 minutes. If it’s too stiff, add a tablespoon of heavy cream or milk. The perfect consistency holds its shape when piped but still feels creamy and spreadable.
I once forgot the sugar in the frosting. Let me tell you, unsweetened cream cheese frosting is not a pleasant surprise. Always taste before you pipe!
Variations & Adaptations
One of the best things about this recipe is how adaptable it is. Here are some variations I’ve tried and loved.
Gluten-Free Version: Substitute the all-purpose flour with a 1:1 gluten-free baking flour blend. I’ve had great results with Bob’s Red Mill. Add ¼ teaspoon xanthan gum if your blend doesn’t include it. The texture will be slightly more delicate, but the flavor stays spot-on.
Dairy-Free Adaptation: Use full-fat canned coconut milk mixed with 1 tablespoon vinegar as a buttermilk substitute. For the frosting, use dairy-free cream cheese (Tofutti or Kite Hill work well) and vegan butter. The frosting will be slightly softer, so chill it before piping.
Spooky Spiderweb Design: Instead of a simple swirl, pipe a small circle of frosting on each cupcake. Use a toothpick to drag lines from the center outward, creating a web effect. Add a small plastic spider on top for maximum Halloween vibes.
Chocolate Lover’s Twist: Fold ½ cup mini chocolate chips into the batter before baking. The little pockets of melted chocolate add richness and texture. I did this for a party and they vanished in minutes.
Peppermint Mocha Version: Add 1 teaspoon instant espresso powder to the dry ingredients and ½ teaspoon peppermint extract to the wet ingredients. Top with crushed candy canes for a winter-holiday crossover. It sounds strange, but the mint and chocolate combination is surprisingly good.
My personal favorite variation? I once made these as a cake instead of cupcakes—baked the batter in two 8-inch round pans for 25-28 minutes. The frosting amount doubled perfectly, and it made a stunning two-layer Halloween cake. Just saying, if you’re feeling ambitious.
Serving & Storage Suggestions
These Perfect Black Velvet Halloween Cupcakes are best served at room temperature, which allows the cake to be tender and the frosting to be perfectly creamy. If you’ve refrigerated them, let them sit out for 20-30 minutes before serving.
Presentation ideas: Arrange the cupcakes on a black cake stand or a wooden board for contrast. Add some fake cobwebs, plastic spiders, or small pumpkin decorations around the base. For a party, I like to place each cupcake in a black paper liner and arrange them on a tray with orange and purple napkins. It looks like a Halloween dream.
What to serve with them: A glass of cold milk is the classic pairing, but these also go beautifully with hot apple cider, pumpkin spice lattes, or even a dark roast coffee. For adult gatherings, a bourbon-spiked hot chocolate is incredible alongside these cupcakes.
Storage instructions: Store unfrosted cupcakes in an airtight container at room temperature for up to 3 days. Frosted cupcakes should be refrigerated in a single layer in an airtight container for up to 5 days. The cream cheese frosting needs refrigeration, but the cake stays moist thanks to the oil and buttermilk.
Freezing tips: You can freeze unfrosted cupcakes for up to 3 months. Wrap each one tightly in plastic wrap, then place them in a freezer bag. Thaw at room temperature before frosting. Frosted cupcakes can also be frozen—place them on a baking sheet in the freezer for an hour until the frosting hardens, then wrap individually. Thaw in the refrigerator overnight.
How flavors develop: Honestly, these cupcakes taste even better the day after baking. The flavors meld together, and the cake becomes even more moist. If you can plan ahead, bake them a day before your event and frost them the morning of. Your taste buds will thank you.
Nutritional Information & Benefits
I’m not a nutritionist, but I’ve done my research on the key ingredients in these Perfect Black Velvet Halloween Cupcakes. Here’s what you should know:
Estimated per cupcake (with frosting): Approximately 350-400 calories, 18g fat, 48g carbohydrates, 4g protein, 30g sugar. These numbers vary based on exact ingredients and portion sizes.
Health benefits of key ingredients: Cocoa powder is rich in antioxidants called flavonoids, which support heart health and reduce inflammation. Black cocoa powder has a slightly different nutritional profile—it’s less processed than some alternatives, retaining more of those beneficial compounds. Cream cheese provides calcium and protein, though it’s best enjoyed in moderation.
Dietary considerations: This recipe contains gluten, dairy, and eggs. For gluten-free and dairy-free options, check the variations section above. The cupcakes are nut-free as written, but double-check your ingredient labels if allergies are a concern.
Potential allergens: Wheat (gluten), dairy (buttermilk, cream cheese, butter), eggs. If you’re serving a crowd, label the cupcakes clearly or offer a labeled alternative.
My personal perspective: These are a treat, not an everyday snack. I believe in enjoying food without guilt—one cupcake with good ingredients is part of a balanced life. The joy of sharing them with friends and family is worth every calorie.
Conclusion
These Perfect Black Velvet Halloween Cupcakes with Cream Cheese Frosting are more than just a Halloween dessert. They’re the result of chasing a memory, testing and retesting, and finally landing on something that makes me feel like The Midnight Oven never really left. The deep black crumb, the tangy-sweet frosting, the way they look so spooky but taste so comforting—it’s everything I wanted.
I hope you make these and put your own spin on them. Maybe you’ll add extra sprinkles, or skip the food coloring for a more natural look, or turn them into a full cake. That’s the beauty of baking—it’s yours to play with. Don’t be afraid to experiment. And if your first batch doesn’t turn out perfect? Keep going. I promise it’s worth it.
I’d love to hear how yours turn out. Drop a comment below and tell me about your Halloween baking adventures. Share a photo, tag a friend, or just tell me what you thought. And if you’re feeling brave, try the peppermint mocha version—it might just become your new favorite. Happy baking, and happy Halloween!
Frequently Asked Questions
Can I use liquid food coloring instead of gel?
You can, but you’ll need a lot more to achieve the same deep black color. Liquid coloring can thin out your batter and affect the texture. Gel food coloring is much more concentrated and gives better results without altering the consistency.
Why did my cupcakes turn out gray instead of black?
This usually happens when there isn’t enough black cocoa powder or gel coloring. Make sure you’re using both. Also, check that your cocoa powder is fresh—old cocoa loses its potency. If your batter looks gray before baking, add more gel coloring until it’s almost black.
Can I make these cupcakes ahead of time?
Absolutely. Bake the cupcakes up to 3 days in advance and store them unfrosted in an airtight container. Frost them the day you plan to serve them for the best presentation. You can also freeze unfrosted cupcakes for up to 3 months.
My cream cheese frosting is too runny. What did I do wrong?
This usually happens if the cream cheese or butter was too soft, or if you overmixed the frosting. Make sure both are softened but still cool to the touch. If your frosting is runny, pop it in the fridge for 15-20 minutes to firm up before piping.
Can I use this recipe to make a cake instead of cupcakes?
Yes! Pour the batter into two greased and floured 8-inch round cake pans. Bake at 350°F for 25-28 minutes, or until a toothpick comes out clean. Let the layers cool completely before frosting. You’ll need to double the frosting recipe for a two-layer cake.
Pin This Recipe!
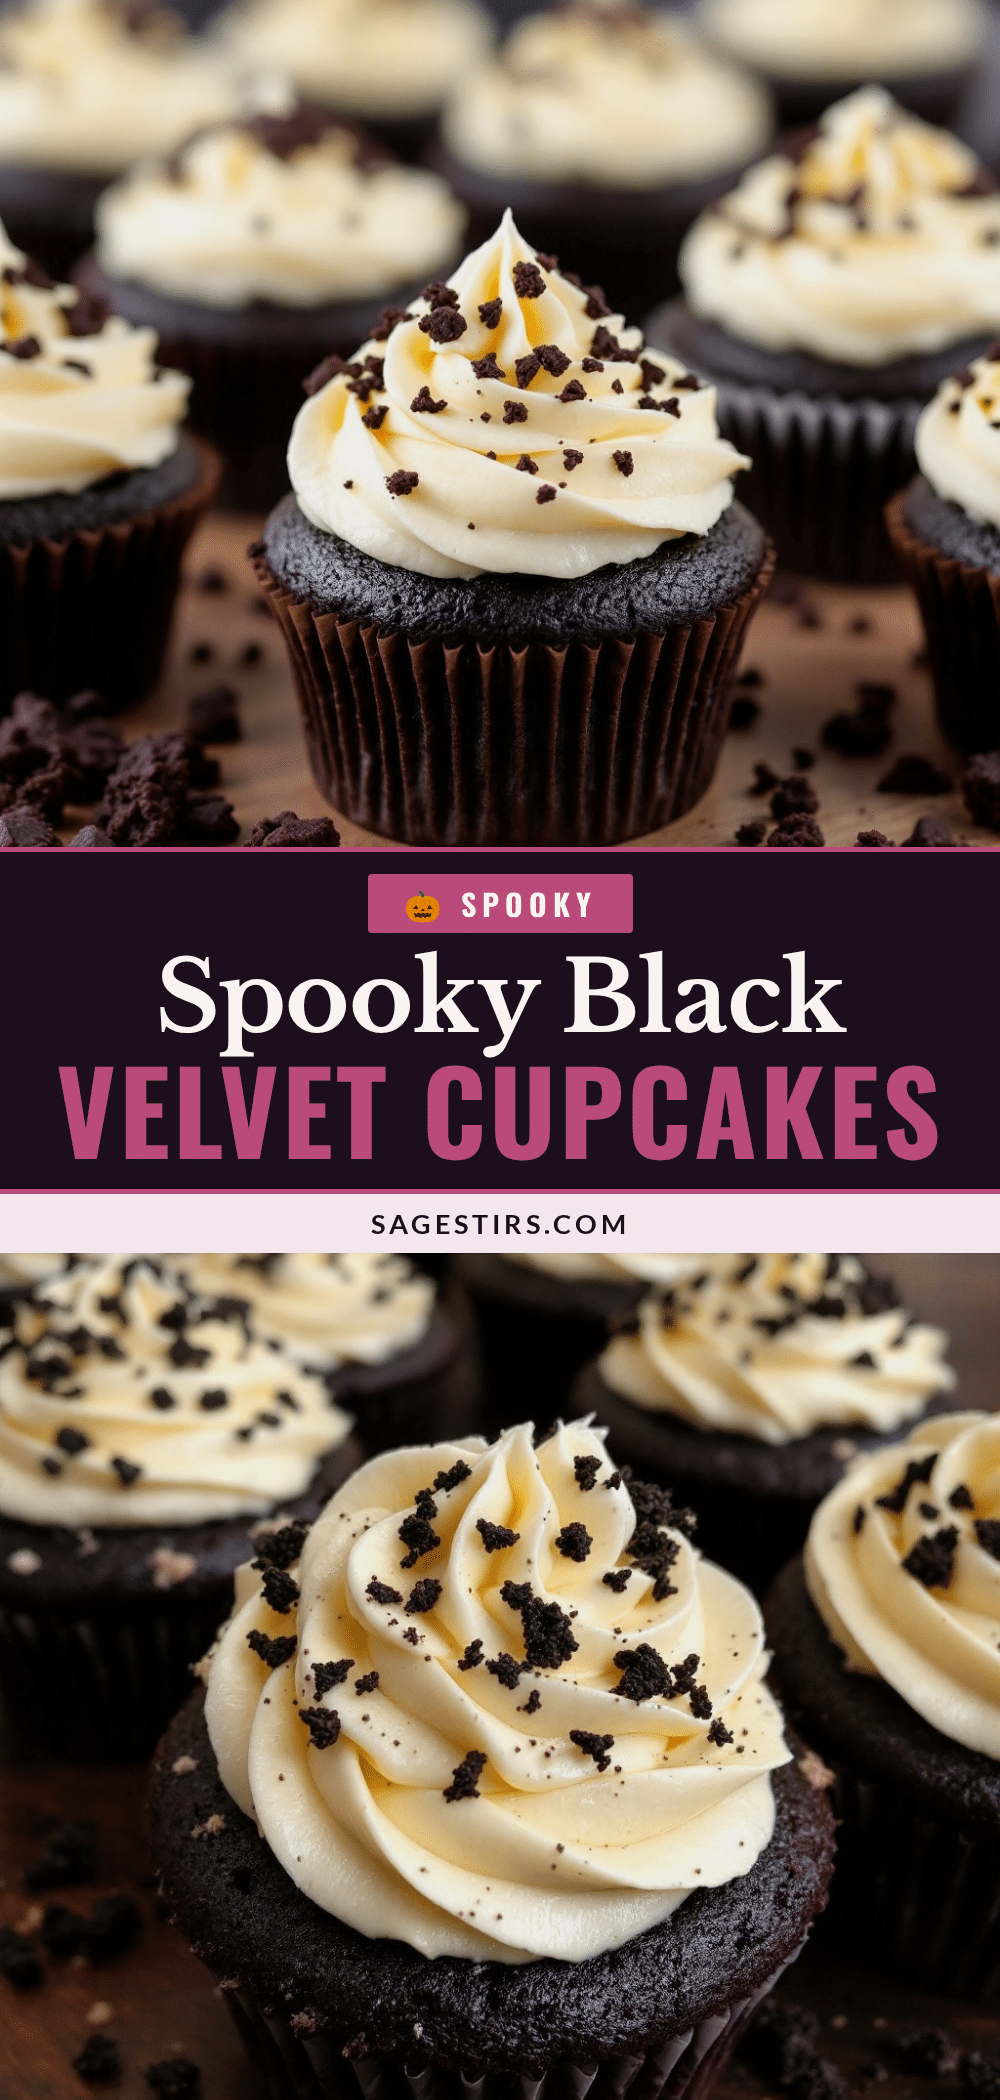
Perfect Black Velvet Cupcakes Easy Halloween Recipe
These Perfect Black Velvet Halloween Cupcakes are moist, rich, and feature a stunning black color with tangy cream cheese frosting. They’re the ultimate spooky treat for Halloween parties, movie nights, or any October celebration.
- Prep Time: 15 minutes
- Cook Time: 20 minutes
- Total Time: 35 minutes
- Yield: 12 servings 1x
- Category: Dessert
- Cuisine: American
Ingredients
- 1 ½ cups (190g) all-purpose flour
- 1 cup (200g) granulated sugar
- ¼ cup (25g) unsweetened cocoa powder
- ¼ cup (25g) black cocoa powder
- 1 teaspoon baking soda
- ½ teaspoon salt
- 1 cup (240ml) buttermilk, room temperature
- ½ cup (120ml) vegetable oil
- 2 large eggs, room temperature
- 2 teaspoons vanilla extract
- 2 tablespoons black gel food coloring
- 1 teaspoon white vinegar
- 8 oz (226g) cream cheese, softened
- ½ cup (113g) unsalted butter, softened
- 3 cups (360g) powdered sugar, sifted
- 1 teaspoon vanilla extract
- Pinch of salt
- Halloween sprinkles (optional)
- Edible glitter (optional)
Instructions
- Preheat your oven to 350°F (175°C). Line your muffin tin with cupcake liners.
- In a medium bowl, whisk together the all-purpose flour, granulated sugar, unsweetened cocoa powder, black cocoa powder, baking soda, and salt.
- In a large bowl, whisk together the buttermilk, vegetable oil, eggs, and vanilla extract until smooth. Add the black gel food coloring and whisk until the color is uniform.
- Pour the dry ingredients into the wet mixture. Stir gently with a spatula until just combined. Do not overmix.
- Stir in the white vinegar quickly. Pour the batter immediately into the prepared liners, filling each about ⅔ full.
- Bake for 18-20 minutes, rotating the pan halfway through. Cupcakes are done when a toothpick inserted into the center comes out clean or with a few moist crumbs.
- Let the cupcakes sit in the pan for 5 minutes, then transfer them to a cooling rack to cool completely.
- While the cupcakes cool, beat the softened cream cheese and butter together in a large bowl until smooth and creamy, about 2 minutes. Gradually add the sifted powdered sugar, one cup at a time, beating on low speed. Add the vanilla and salt, then increase speed to medium-high and beat for 2-3 minutes until light and fluffy.
- Transfer the frosting to a piping bag fitted with a star tip. Pipe a spiral onto each cupcake starting from the outside edge. Add Halloween sprinkles or edible glitter immediately before the frosting sets.
Notes
For the deepest black color, use both black cocoa powder and black gel food coloring. Room temperature ingredients emulsify better for a tender crumb. Do not overmix the batter. After frosting, refrigerate cupcakes for 15 minutes to set the frosting. Cupcakes taste even better the day after baking.
Nutrition
- Serving Size: 1 cupcake
- Calories: 375
- Sugar: 30
- Sodium: 220
- Fat: 18
- Saturated Fat: 8
- Carbohydrates: 48
- Fiber: 2
- Protein: 4
Keywords: black velvet cupcakes, Halloween cupcakes, cream cheese frosting, black cocoa, spooky dessert, easy Halloween recipe