Love this? Save it for later!
Share the inspiration with your friends
I need a Halloween treat that isn’t just another sugar cookie. That’s the thought that hit me at 10 PM last Tuesday, standing in my kitchen with a can of pumpkin puree staring back at me from the pantry. I wanted something that actually tastes like fall, something that makes people stop and say “wait, what is this?” when they pull it out of their treat bags. Not another piece of wrapped candy that gets tossed in a bowl and forgotten by November 1st. I wanted a tiny handheld pumpkin pie that fits in the palm of your hand, that you can actually taste the pumpkin and the spice and the buttery crust. Something that feels special but doesn’t require rolling out a full pie crust or standing over a hot oven for hours. These mini pumpkin pie cookies were born from that exact craving, and honestly? They might be the best thing I’ve made all season. They’re little, they’re adorable, and they pack all the cozy pumpkin pie flavor into a two-bite cookie that’s perfect for stuffing into Halloween treat bags or just hoarding on your own counter.
Why You’ll Love This Recipe
These mini pumpkin pie cookies are the kind of recipe that makes you look like a kitchen wizard without actually having to do much work. I tested this recipe four times to get the texture just right, and I can tell you with confidence that these little guys deliver every single time.
- Quick & Easy : From start to finish, you’re looking at about 30 minutes. No chilling the dough, no complicated folding techniques. Just mix, scoop, and bake.
- Simple Ingredients : You probably have most of this stuff in your pantry already. Canned pumpkin, butter, flour, sugar, and pumpkin pie spice. That’s it.
- Perfect for Halloween Treat Bags : These cookies are small enough to fit in treat bags alongside other goodies, but they stand out because they’re homemade and actually taste like fall.
- Crowd-Pleaser : Kids love them because they’re cute and sweet. Adults love them because they taste like actual pumpkin pie without the fuss.
- Unbelievably Delicious : The texture is soft and cake-like with a slightly crisp edge, and the pumpkin flavor is front and center without being overwhelming.
What makes these different from every other pumpkin cookie recipe you’ve seen? It’s the ratio. I played with the butter-to-pumpkin ratio until I got a cookie that holds its shape, doesn’t spread into a flat mess, and actually tastes like a mini pie instead of just a vaguely pumpkin-flavored sugar bomb. Plus, they’re small enough that you can eat three without feeling guilty. Not that I’ve done that. Okay, I’ve done that.
What Ingredients You Will Need
This recipe keeps things simple with ingredients you can find at any grocery store. No hunting down specialty items or weird extracts that you’ll never use again.
- 1 cup all-purpose flour (spooned and leveled, not scooped straight from the bag)
- 1/2 teaspoon baking powder (for a little lift)
- 1/2 teaspoon baking soda (helps the cookies spread just enough)
- 1 teaspoon pumpkin pie spice (I use McCormick, but store brand works fine)
- 1/4 teaspoon salt (don’t skip it, it balances the sweetness)
- 1/2 cup unsalted butter, softened to room temperature (if you use salted butter, skip the added salt)
- 1/2 cup granulated sugar (plus extra for rolling, about 2 tablespoons)
- 1/4 cup packed light brown sugar (adds moisture and depth)
- 1 large egg yolk (room temperature is best)
- 1/2 cup canned pumpkin puree (not pumpkin pie filling, just pure pumpkin)
- 1 teaspoon vanilla extract (pure, not imitation if you can swing it)
For the glaze (optional but highly recommended):
- 1/2 cup powdered sugar
- 1-2 tablespoons milk (start with one, add more if needed)
- 1/4 teaspoon vanilla extract
- Orange food coloring (optional, for Halloween vibes)
A quick note on the pumpkin puree: make sure you’re buying 100% pure pumpkin, not pumpkin pie filling. The filling has added sugar and spices that will throw off the whole recipe. Libby’s is my go-to brand because it’s consistently thick and not watery. If your pumpkin puree looks a little loose, pat it dry with a paper towel before adding it to the batter.
For the spice blend, you can use store-bought pumpkin pie spice or make your own with cinnamon, nutmeg, ginger, and a tiny pinch of cloves. I’ve done both, and honestly, the store-bought blend works perfectly here because the cookies bake so quickly that the spices don’t have time to get weird.
Equipment Needed
You don’t need a fancy kitchen to pull these off. Here’s what you’ll need:
- Mixing bowls (one large, one medium)
- Electric hand mixer or stand mixer (a whisk and some elbow grease works too, but your arm will get tired)
- Baking sheets (two if you have them, to speed things up)
- Parchment paper or silicone baking mats (parchment is cheaper, silicone is reusable)
- Cookie scoop (a 1-tablespoon scoop is perfect for these mini cookies)
- Cooling rack (wire rack works best)
- Small bowl for rolling sugar
If you don’t have a cookie scoop, just use a regular tablespoon measure and your hands to roll the dough into balls. The scoop just makes them more uniform, which helps them bake evenly. I’ve made these with both methods, and while the scoop is faster, hand-rolling works just fine.
Preparation Method
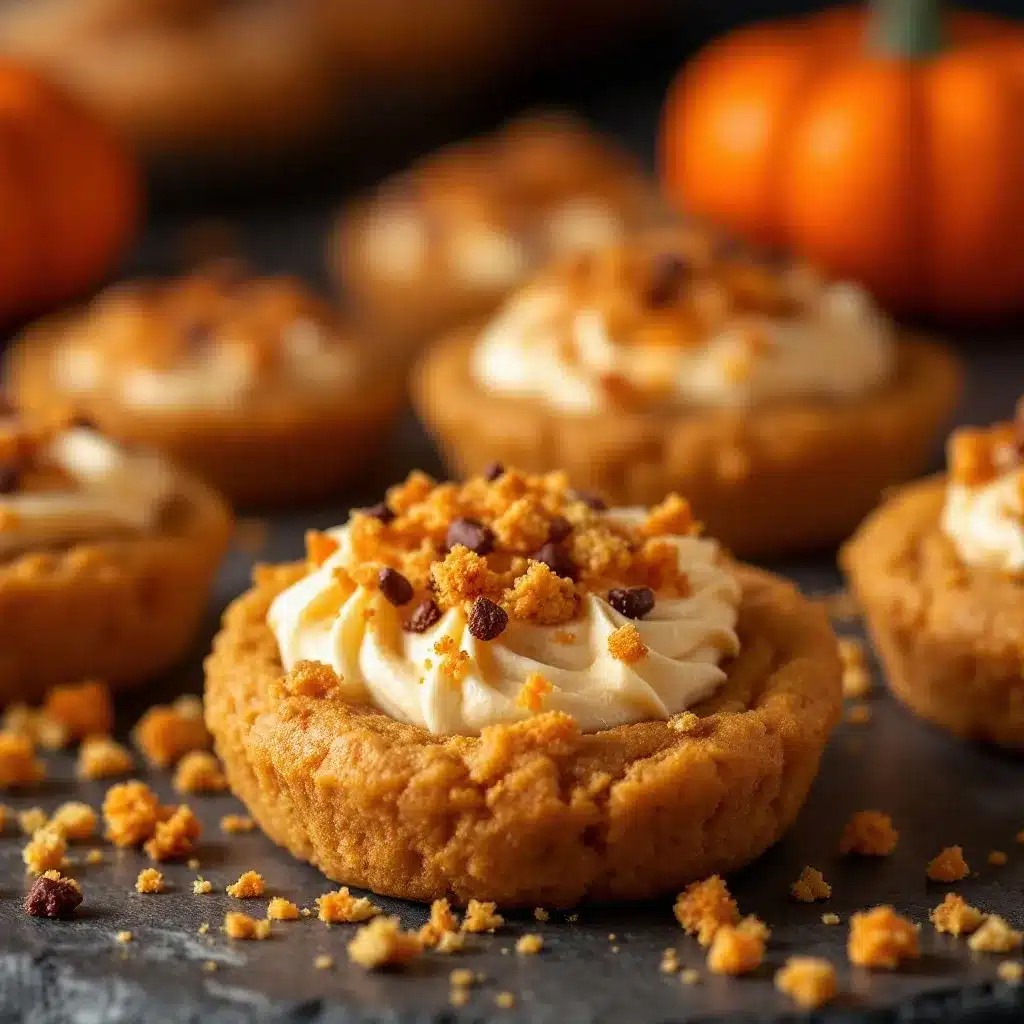
Let’s get to the good part. Here’s how to make these little pumpkin pie cookies step by step.
- Preheat your oven to 350°F (175°C) and line two baking sheets with parchment paper. If you only have one baking sheet, that’s fine, just bake in batches and let the sheet cool between rounds.
- Whisk the dry ingredients together. In a medium bowl, combine the flour, baking powder, baking soda, pumpkin pie spice, and salt. Whisk until everything is evenly distributed. This takes about 30 seconds. Set it aside.
- Cream the butter and sugars. In a large bowl, beat the softened butter, granulated sugar, and brown sugar together until light and fluffy. This should take about 2-3 minutes with an electric mixer on medium speed. You want it to look pale and airy, not dense. Scrape down the sides of the bowl halfway through.
- Add the wet ingredients. Beat in the egg yolk, pumpkin puree, and vanilla extract until everything is combined. The mixture will look a little lumpy at first, but keep mixing until it smooths out. Don’t overmix here, just until it comes together.
- Fold in the dry ingredients. Add the flour mixture to the wet mixture and stir with a spatula or wooden spoon until just combined. You should see a few streaks of flour remaining, then stop. Overmixing will make the cookies tough instead of tender.
- Chill the dough for 10 minutes. This isn’t strictly necessary, but it makes the dough easier to handle and prevents the cookies from spreading too much. Pop the bowl in the fridge while you prepare your rolling sugar.
- Roll the dough into balls. Scoop out about 1 tablespoon of dough and roll it into a smooth ball between your palms. The dough will be slightly sticky, so lightly wet your hands if needed. Roll each ball in the extra granulated sugar until coated on all sides.
- Place on baking sheets. Arrange the sugar-coated dough balls on the prepared baking sheets, leaving about 2 inches between each one. They don’t spread much, but you want a little breathing room. Press each ball down slightly with the bottom of a glass or your palm to flatten it into a disc about 1/2 inch thick.
- Bake for 10-12 minutes. The cookies are done when the edges are set and the tops look slightly cracked and puffed. The centers will still look a little soft, that’s okay. They’ll continue to set as they cool. If you’re baking two sheets at once, rotate them halfway through.
- Cool on the baking sheet for 5 minutes. Then transfer the cookies to a wire rack to cool completely. Don’t skip this step, they’re too fragile to move right out of the oven.
- Make the glaze (optional). While the cookies cool, whisk together the powdered sugar, milk, and vanilla extract until smooth. Add a drop of orange food coloring if you want that Halloween look. Drizzle over the cooled cookies and let the glaze set for about 15 minutes.
One thing I learned the hard way: don’t skip the sugar rolling step. The sugar coating gives these cookies that signature crackly top and a little crunch that contrasts beautifully with the soft, cakey interior. The first batch I made without rolling them in sugar looked sad and flat. The second batch? Perfection.
Cooking Tips & Techniques
I’ve made these mini pumpkin pie cookies more times than I care to admit, and I’ve picked up a few tricks along the way.
Don’t overmix the dough. This is the number one mistake people make with pumpkin cookies. Pumpkin adds a lot of moisture, and if you overmix, you activate too much gluten, which makes the cookies tough and rubbery instead of tender and cake-like. Mix until the flour just disappears, then stop.
Use room temperature ingredients. Cold butter doesn’t cream properly with the sugar, and cold pumpkin puree can make the batter seize up. Take everything out of the fridge about 30 minutes before you start. If you forget, microwave the butter for 5-10 seconds, just until it’s soft but not melted.
Watch your bake time. These cookies go from perfectly done to overbaked very quickly. Start checking at the 10-minute mark. The edges should be set and lightly golden, but the centers will still look a little soft and puffy. They’ll continue to cook on the hot baking sheet as they cool.
Let them cool completely before glazing. If you drizzle the glaze on warm cookies, it’ll melt into a puddle instead of setting into a nice drizzle. Trust me on this one. I was impatient with my third batch and ended up with sticky, glazed fingers instead of pretty cookies.
Use a cookie scoop for uniform sizes. This isn’t just about aesthetics, though that’s nice too. Uniform cookies bake evenly, which means no burnt edges on some cookies while others are still raw in the middle. A 1-tablespoon scoop is perfect for these mini cookies.
Variations & Adaptations
One of the best things about this recipe is how easy it is to customize. Here are some variations I’ve tried and loved.
Gluten-Free Version: Swap the all-purpose flour for a 1:1 gluten-free baking blend. I’ve used Bob’s Red Mill and King Arthur Measure for Measure with great results. The texture is slightly more crumbly, but the flavor is spot on.
Dairy-Free Version: Use vegan butter sticks instead of regular butter. I like Earth Balance or Miyoko’s. Just make sure it’s softened to room temperature, the same as regular butter.
Spice It Up: Add a pinch of cayenne pepper or chili powder to the dough for a spicy-sweet Halloween twist. It sounds weird, but the heat plays beautifully with the pumpkin and brown sugar. I did this for a Halloween party last year and people couldn’t stop talking about them.
Chocolate Lover’s Version: Fold in 1/4 cup of mini chocolate chips or chopped dark chocolate before baking. The chocolate melts into little pockets of richness that complement the pumpkin spice perfectly.
Pumpkin Cream Cheese Stuffed: Make a filling with 2 ounces of cream cheese, 1 tablespoon of powdered sugar, and a splash of vanilla. Freeze small dollops of the filling, then wrap the cookie dough around each frozen dollop before baking. It’s extra work, but the gooey center is worth it.
Air Fryer Adaptation: You can make these in an air fryer if you don’t want to heat up your whole kitchen. Preheat the air fryer to 325°F, line the basket with parchment, and bake for 6-8 minutes. Check at the 6-minute mark because air fryers run hot.
Serving & Storage Suggestions
These mini pumpkin pie cookies are best served at room temperature, straight off the cooling rack. The glaze should be fully set before you stack them or put them in treat bags, otherwise you’ll end up with a sticky mess.
For Halloween treat bags, I like to pack 3-4 cookies in a small cellophane bag tied with orange or black ribbon. They also look great on a cookie platter alongside other fall treats like pumpkin spice snickerdoodle cookies or brown butter pumpkin chocolate chip cookies for a full Halloween cookie spread.
Storage: Store the cookies in an airtight container at room temperature for up to 5 days. If you’ve glazed them, place a piece of wax paper between layers to prevent sticking. They actually get better on day two as the flavors meld together.
Freezer Instructions: These cookies freeze beautifully. Place unglazed cookies in a single layer on a baking sheet and freeze until solid, about 1 hour. Transfer to a freezer-safe bag or container and freeze for up to 3 months. Thaw at room temperature for about 30 minutes, then glaze if desired. You can also freeze the unbaked dough balls on a baking sheet, then transfer to a freezer bag. Bake from frozen, adding 2-3 minutes to the bake time.
Reheating: If you like your cookies warm, pop one in the microwave for 10-15 seconds. It’ll taste like a fresh mini pumpkin pie straight from the oven. For a bigger batch, reheat in a 300°F oven for 5 minutes.
These cookies also pair beautifully with a hot cup of coffee or a glass of cold milk. If you’re serving them at a Halloween party, arrange them on a platter with Halloween mac and cheese skulls for a sweet and savory spread that’ll impress everyone.
Nutritional Information & Benefits
Here’s the approximate nutritional breakdown for one mini pumpkin pie cookie (without glaze):
| Nutrient | Amount per Cookie |
|---|---|
| Calories | 85 |
| Total Fat | 4g |
| Saturated Fat | 2.5g |
| Cholesterol | 18mg |
| Sodium | 55mg |
| Total Carbohydrates | 12g |
| Dietary Fiber | 0.5g |
| Sugars | 7g |
| Protein | 1g |
| Vitamin A | 35% DV |
Pumpkin is packed with vitamin A, which is great for your eyes and immune system. It’s also a good source of fiber and antioxidants. These cookies aren’t health food by any means, but they’re a treat that actually offers a little nutritional value compared to a standard sugar cookie. The butter and sugar are real, no getting around that, but the pumpkin brings something good to the table.
These cookies are vegetarian and can be made gluten-free and dairy-free with the substitutions mentioned above. They contain wheat, dairy, and eggs, so keep that in mind if you’re serving a crowd with allergies.
Conclusion
These mini pumpkin pie cookies are exactly what Halloween treat bags have been missing. They’re cute, they’re delicious, and they actually taste like fall instead of just sugar and food coloring. I love that they come together in under an hour with ingredients I always have on hand, and I love even more that they make people smile when they pull them out of their treat bags.
Don’t be afraid to play around with the recipe. Add chocolate chips, stuff them with cream cheese, or leave them plain with just that crackly sugar top. However you make them, they’re going to be a hit. I’d love to hear how yours turn out, so drop a comment below and let me know what variations you tried. Did you make them for a Halloween party? Pack them in lunchboxes? Hoard them all for yourself? No judgment here.
Happy Halloween, and happy baking. These little cookies are about to become your new fall favorite.
Frequently Asked Questions
Can I use fresh pumpkin instead of canned?
Yes, you can use fresh pumpkin puree, but you’ll need to make sure it’s well-drained. Fresh pumpkin tends to be more watery than canned, which can make the cookies spread too much. Roast the pumpkin, puree it, then press it through a fine-mesh strainer or pat it dry with paper towels before using.
Why did my cookies turn out flat?
Flat cookies usually mean the butter was too soft or the dough wasn’t chilled. Make sure your butter is softened but not melted, and don’t skip the 10-minute chill in the fridge. Also, check that your baking powder and baking soda are fresh. Old leavening agents lose their power over time.
Can I make these cookies ahead of time?
Absolutely. You can make the dough up to 3 days in advance and keep it in the fridge. Let it sit at room temperature for 10 minutes before scooping and baking. You can also freeze the baked cookies for up to 3 months, just thaw and glaze before serving.
How do I get the cookies to look more Halloween-themed?
Add orange food coloring to the glaze for a bright pop of color. You can also sprinkle orange and black nonpareils on top of the wet glaze, or pipe a tiny spiderweb design with white icing. For a simpler approach, use Halloween-themed sprinkles instead of rolling the dough in plain sugar.
Can I double this recipe?
Yes, this recipe doubles beautifully. Just make sure you have enough baking sheets to bake in batches, or plan to bake one sheet at a time. The dough holds up well in the fridge while you wait for the oven to free up. If you’re making a big batch for a party, consider making spiderweb cookies alongside these for variety.
Pin This Recipe!
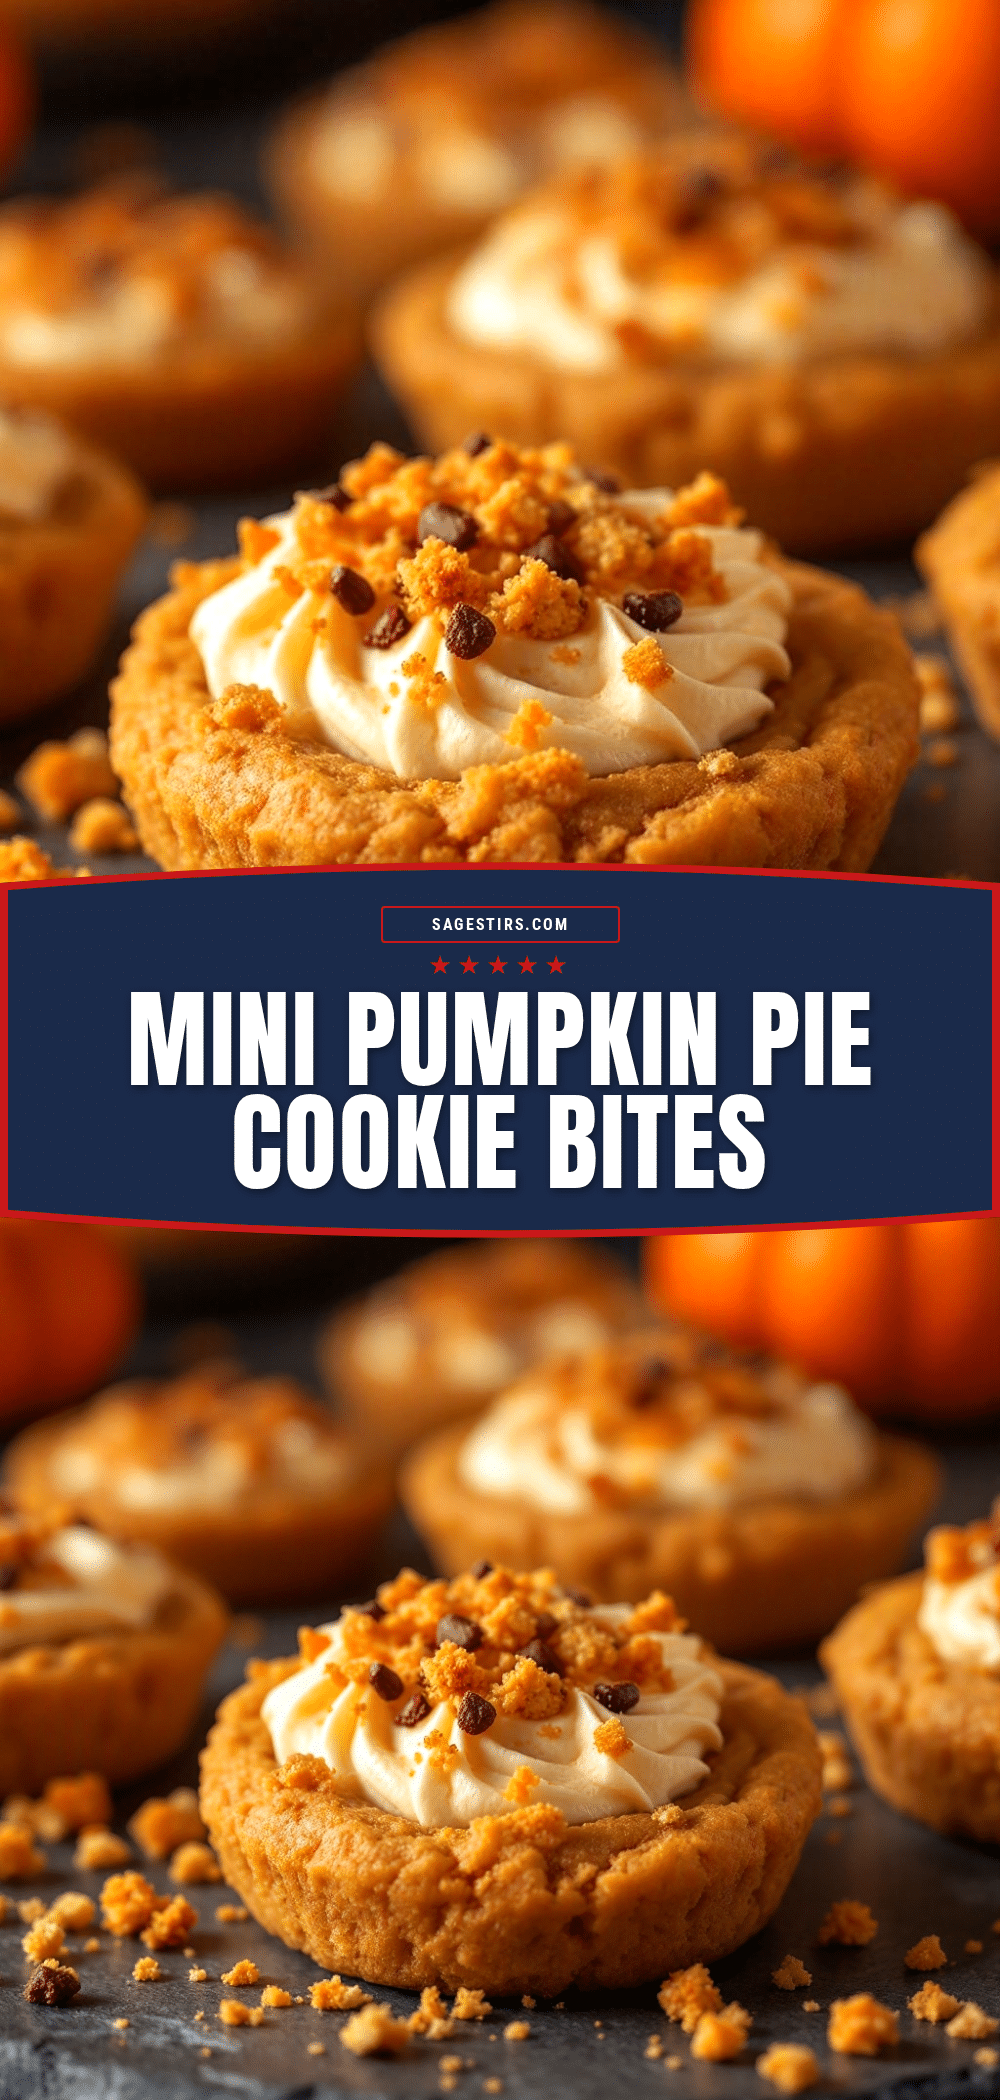
Easy Halloween Pumpkin Pie Cookies for Treat Bags
These mini pumpkin pie cookies are a perfect Halloween treat that tastes like fall. They’re soft, cake-like, and packed with pumpkin spice flavor, making them ideal for treat bags or holiday gatherings.
- Prep Time: 15 minutes
- Cook Time: 12 minutes
- Total Time: 30 minutes
- Yield: 24 servings 1x
- Category: Dessert
- Cuisine: American
Ingredients
- 1 cup all-purpose flour (spooned and leveled)
- 1/2 teaspoon baking powder
- 1/2 teaspoon baking soda
- 1 teaspoon pumpkin pie spice
- 1/4 teaspoon salt
- 1/2 cup unsalted butter, softened to room temperature
- 1/2 cup granulated sugar (plus 2 tablespoons for rolling)
- 1/4 cup packed light brown sugar
- 1 large egg yolk, room temperature
- 1/2 cup canned pumpkin puree (not pumpkin pie filling)
- 1 teaspoon vanilla extract
- For the glaze (optional):
- 1/2 cup powdered sugar
- 1–2 tablespoons milk
- 1/4 teaspoon vanilla extract
- Orange food coloring (optional)
Instructions
- Preheat your oven to 350°F (175°C) and line two baking sheets with parchment paper.
- In a medium bowl, whisk together the flour, baking powder, baking soda, pumpkin pie spice, and salt until evenly distributed.
- In a large bowl, beat the softened butter, granulated sugar, and brown sugar together until light and fluffy, about 2-3 minutes with an electric mixer on medium speed.
- Beat in the egg yolk, pumpkin puree, and vanilla extract until combined and smooth.
- Add the flour mixture to the wet mixture and stir with a spatula or wooden spoon until just combined. Do not overmix.
- Chill the dough in the refrigerator for 10 minutes.
- Scoop out about 1 tablespoon of dough and roll into a smooth ball. Roll each ball in the extra granulated sugar until coated.
- Place the sugar-coated dough balls on the prepared baking sheets, leaving about 2 inches between each. Press each ball down slightly to flatten into a disc about 1/2 inch thick.
- Bake for 10-12 minutes, until the edges are set and the tops look slightly cracked and puffed. If baking two sheets at once, rotate them halfway through.
- Cool on the baking sheet for 5 minutes, then transfer to a wire rack to cool completely.
- For the glaze (optional): Whisk together the powdered sugar, milk, and vanilla extract until smooth. Add a drop of orange food coloring if desired. Drizzle over the cooled cookies and let the glaze set for about 15 minutes.
Notes
Don’t skip the sugar rolling step for a crackly top. Use room temperature ingredients for best results. Start checking cookies at the 10-minute mark to avoid overbaking. Let cookies cool completely before glazing. Store in an airtight container at room temperature for up to 5 days. Freeze unglazed cookies for up to 3 months.
Nutrition
- Serving Size: 1 cookie
- Calories: 85
- Sugar: 7
- Sodium: 55
- Fat: 4
- Saturated Fat: 2.5
- Carbohydrates: 12
- Fiber: 0.5
- Protein: 1
Keywords: Halloween cookies, pumpkin pie cookies, mini pumpkin cookies, fall cookies, treat bag cookies, pumpkin spice cookies