Love this? Save it for later!
Share the inspiration with your friends
The bag of apples was starting to look sad. You know the ones — slightly soft, a little bruised, sitting in the fruit bowl for over a week because nobody wanted to grab a plain apple over, say, a handful of chips or a cookie. I was just about to toss them into a compost bowl when my daughter walked in and said, “Can’t you make something good with those?”
Honestly, I almost said no. But then I remembered a trick a friend told me about — making apple chips in the air fryer. She swore they turned out better than store-bought, and she has three kids who won’t eat anything green. So I grabbed a knife, a cinnamon shaker, and that bag of forgotten Honeycrisps. Twenty minutes later, the kitchen smelled like fall in the best way possible, and the entire batch was gone before I could even take a photo for Instagram.
That’s how these Easy Cinnamon Sugar Baked Apple Chips came to be a permanent rotation in our house. They’re not just a healthier snack — they’re the snack that actually disappears. I’ve made them for after-school munchies, for road trips, and even as a crunchy topping on yogurt bowls. And every single time, someone asks for the recipe. So here it is — the method I’ve tested more times than I care to admit, so you don’t have to guess.
Why You’ll Love This Recipe
Let’s be real for a second. Finding a snack that’s both healthy and actually satisfying is like finding a parking spot in a crowded lot — rare and oddly satisfying when it happens. These Cinnamon Sugar Baked Apple Chips check every box.
- Quick & Easy: From apple to chip in about 20 minutes. No complicated steps, no fancy equipment you don’t already own.
- Simple Ingredients: You need apples, cinnamon, and a touch of sugar. That’s it. No weird preservatives or ingredients you can’t pronounce.
- Perfect for Anytime: Great for after-school snacks, lunchbox add-ins, movie night munching, or even as a crunchy topping for oatmeal or yogurt.
- Crowd-Pleaser: I’ve served these at playdates and watched kids devour them before even touching the goldfish crackers. Adults too — they’re addictive.
- Unbelievably Delicious: The edges get slightly caramelized, the centers stay a little chewy, and the cinnamon-sugar coating hits that sweet spot without being overwhelming.
What makes these apple chips different from other recipes? It’s the method. Instead of drying them out completely (which can make them leathery), I bake them just long enough to get crispy edges while keeping a slight chew in the middle. Plus, the air fryer gives them that even, golden-brown finish that ovens sometimes miss.
These aren’t just another snack. They’re the kind that makes you close your eyes after the first bite. Honestly, they’ve saved me more times than I can count — from last-minute school party contributions to quiet evenings when I want something sweet but not heavy.
What Ingredients You Will Need
This recipe uses the simplest ingredients to deliver maximum flavor. Here’s what you need:
- Apples — 2 large apples (about 300g total). I prefer Honeycrisp or Fuji for their natural sweetness and firm texture. Gala and Braeburn work great too. Avoid Red Delicious — they’re too soft and won’t hold up well.
- Ground Cinnamon — 1 teaspoon. Use fresh cinnamon for the best flavor. I like McCormick or Simply Organic brands for consistent quality.
- Granulated Sugar — 1 tablespoon. Just enough to help the cinnamon stick and add a subtle sweetness. You can reduce this or use coconut sugar if you prefer.
- Optional: Pinch of Salt — A tiny pinch (about 1/8 teaspoon) enhances the sweetness and balances the flavors. Trust me on this one.
- Optional: Melted Coconut Oil — 1 teaspoon. Helps the cinnamon mixture adhere and adds a slight crispiness. Totally optional but recommended if you want extra crunch.
That’s the complete list. No hidden ingredients, no fancy extracts. Just apples and a simple coating that transforms them into something special.
For the apples, look for ones that are firm with no soft spots. Slightly underripe apples actually work better here because they hold their shape during cooking. If your apples are super ripe and sweet, you can even skip the sugar entirely and just use cinnamon.
A quick note on substitutions: If you’re watching your sugar intake, use monk fruit sweetener or erythritol — they caramelize similarly. For a sugar-free version, just use cinnamon alone. The apples are naturally sweet enough, especially if you choose a sweet variety like Fuji or Gala.
Equipment Needed
You don’t need much for this recipe, which is part of its charm.
- Air Fryer — Any model works. I use a 5.8-quart Cosori and it handles two apples worth of chips in one batch. Smaller air fryers may need to work in batches.
- Sharp Knife or Mandoline Slicer — A mandoline gives you perfectly even slices, which means even cooking. If using a knife, aim for slices that are about 1/8-inch thick. A sharp knife makes all the difference.
- Cutting Board — Preferably a large one so you have room to work.
- Small Bowl — For mixing the cinnamon and sugar.
- Parchment Paper or Air Fryer Liners — Optional but makes cleanup a breeze. Just make sure they’re perforated so air can circulate.
- Spice Grinder (Optional) — If you’re using whole cinnamon sticks, grind them fresh for the most intense flavor. I do this when I’m feeling fancy.
If you don’t have an air fryer, you can absolutely make these in a regular oven. Just spread the slices on a baking sheet lined with parchment paper and bake at 300°F for about 25-30 minutes, flipping halfway through. The texture will be slightly different — more uniformly crispy — but still delicious.
I’ve tried both methods and honestly, the air fryer wins for speed and that perfect edge crispiness. But the oven version is great if you’re making a double batch or don’t have an air fryer yet.
Preparation Method
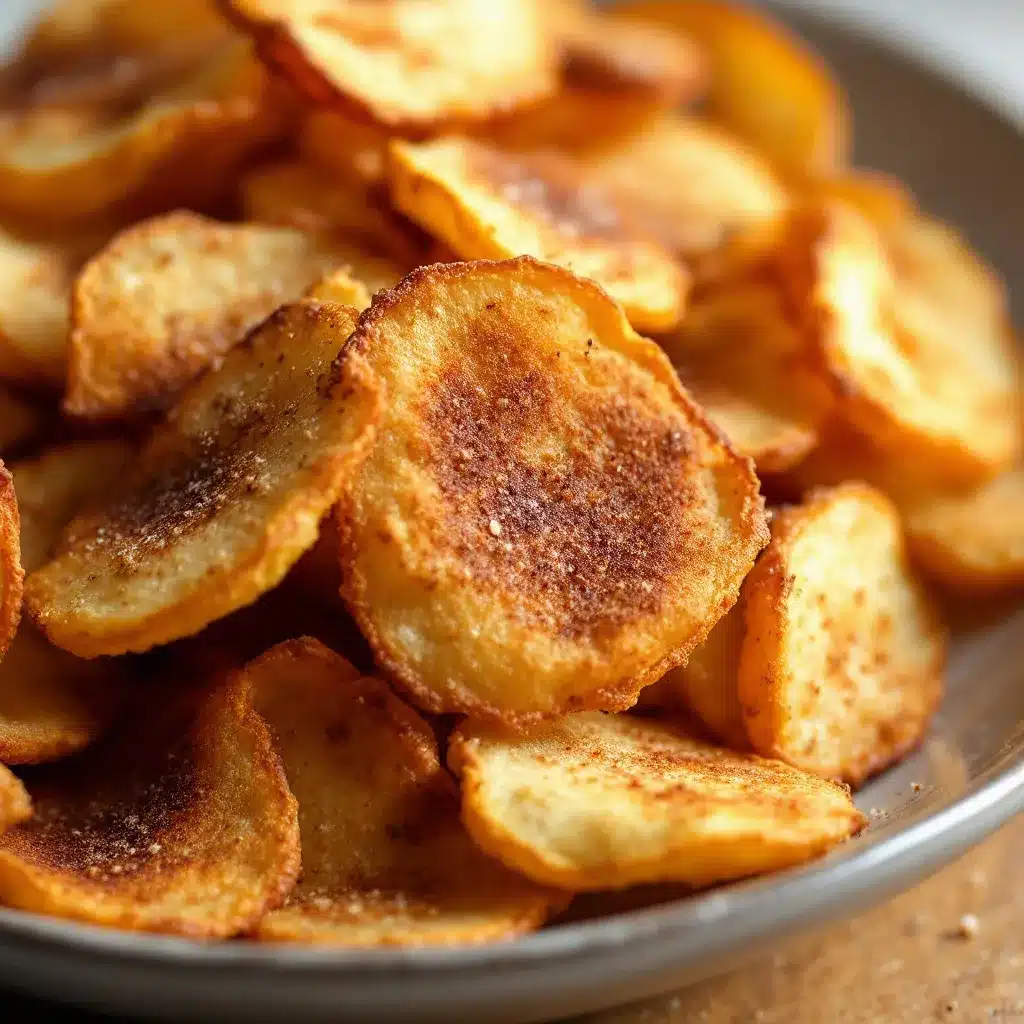
- Wash and core the apples. Give them a good rinse under cool water. You don’t need to peel them — the skin adds fiber and a beautiful color contrast. Use an apple corer or just cut around the core with a knife. If you don’t have a corer, slice the apple into rings and use a small cookie cutter or knife to remove the seeds.
- Slice the apples evenly. This is the most important step for consistent results. Using a mandoline slicer set to 1/8-inch thickness gives you perfect slices every time. If using a knife, take your time. Uneven slices will cook at different rates — thin ones burn, thick ones stay soft. Aim for slices that are about the thickness of a quarter. You should get about 12-14 slices per apple.
- Mix the cinnamon and sugar. In a small bowl, combine 1 teaspoon of ground cinnamon, 1 tablespoon of granulated sugar, and a tiny pinch of salt. Whisk with a fork until evenly combined. The salt might seem weird, but it really does make the sweetness pop.
- Season the apple slices. Place the apple slices in a large bowl. If using coconut oil, drizzle it over the slices and toss gently to coat. Then sprinkle the cinnamon-sugar mixture over the apples and toss again until every slice is evenly coated. Use your hands for this — it’s the best way to make sure the seasoning sticks to all the nooks and crannies.
- Preheat the air fryer. Set your air fryer to 300°F (150°C) and let it preheat for 3 minutes. This step is easy to skip, but it really helps the chips start cooking evenly from the moment they go in.
- Arrange the slices in a single layer. Place the apple slices in the air fryer basket in a single layer. Don’t overlap them — they need room for air to circulate. Depending on your air fryer size, you’ll probably need to work in batches. I can fit about 12 slices in my 5.8-quart basket.
- Air fry for 10-12 minutes. Cook at 300°F for 10 minutes. Check them — they should be golden around the edges and slightly soft in the center. If they’re not quite there, cook for another 2 minutes. Every air fryer runs slightly different, so keep an eye on them after the 8-minute mark. The difference between perfect and burnt is about 30 seconds.
- Let them cool completely. This is the hardest part. The chips will feel soft when they come out of the air fryer — don’t panic. As they cool, they’ll crisp up beautifully. Transfer them to a wire rack or a plate in a single layer. Let them rest for at least 10 minutes before eating. I know it’s tempting, but trust the process.
- Repeat with remaining slices. Continue cooking the rest of your apple slices in batches. If you’re making a large batch, the first batch will be perfectly cooled and crispy by the time you finish the last one.
A quick note on timing: If you prefer extra crispy chips, cook them for 12-14 minutes total. For chewier chips (my personal preference), stick to 10-11 minutes. The beauty of this recipe is that you can customize the texture to exactly what you like.
One thing I learned the hard way — don’t crowd the basket. I tried to rush things once by piling the slices on top of each other, and I ended up with steamy, soggy apples instead of crispy chips. Lesson learned. Give them space, and they’ll reward you with perfect crunch.
Cooking Tips & Techniques
After making these chips more times than I can count (seriously, I’ve lost track), I’ve picked up a few tricks that make a real difference.
The slice thickness matters more than you think. Too thin and they burn before they crisp. Too thick and they stay chewy in the middle. The sweet spot is 1/8-inch — about the thickness of a standard coin. If you don’t have a mandoline, try to match that thickness by eye. It takes practice, but you’ll get the hang of it.
Don’t skip the cooling step. This is probably the most common mistake I see people make. They pull the chips out of the air fryer, they’re still soft, and they think something went wrong. But the chips continue to crisp as they cool. If you eat them hot, they’ll taste good but won’t have that satisfying crunch. Give them at least 10 minutes on a wire rack.
Use a wire rack for cooling. If you let them cool on a plate, steam can get trapped underneath and make the bottom soggy. A wire rack allows air to circulate all around, keeping them crispy on both sides. It’s a small detail that makes a big difference.
Watch the last few minutes closely. Air fryers can vary by 25-50 degrees in either direction, so your cooking time might be different from mine. After the 8-minute mark, check every minute. You’re looking for golden edges and a slightly darker center. Burnt apple chips taste bitter and sad — nobody wants that.
Batch size matters. If you’re making a big batch for a party or road trip, resist the urge to cram everything in at once. Work in batches, and keep the finished chips in an airtight container while you finish the rest. They’ll stay crispy for days if stored properly.
I once tried to make these for a road trip with the kids and forgot to let them cool before packing them. By the time we hit the highway, they were soft and chewy — still tasty, but not the crunchy chips I was going for. Learn from my mistakes, friends.
Variations & Adaptations
This base recipe is fantastic on its own, but here are some variations I’ve tried and loved:
Pumpkin Spice Apple Chips: Swap the cinnamon for 1 teaspoon of pumpkin pie spice. It gives them that cozy fall flavor without any extra effort. I made a batch of these to go alongside my Cozy Pumpkin Sourdough Bread for a fall brunch, and they were a hit.
Savory Rosemary Apple Chips: Skip the sugar entirely. Toss the slices with olive oil, fresh rosemary, sea salt, and black pepper. They sound weird but they’re surprisingly addictive — especially paired with cheese or as a salad topping.
Maple Cinnamon Version: Replace the granulated sugar with 1 tablespoon of maple syrup. Toss the slices with the syrup and cinnamon before air frying. The maple flavor gets concentrated and caramelized — absolutely divine. These would be amazing crumbled over a bowl of Creamy Peanut Butter Banana Overnight Oats for breakfast.
Chocolate Drizzle: After the chips have cooled, drizzle them with melted dark chocolate and let it set. It’s a treat that feels indulgent but is still healthier than a candy bar. My kids go crazy for this version.
Dietary Adaptations: For a keto-friendly version, use a monk fruit sweetener or erythritol instead of sugar. The cinnamon provides plenty of flavor. For a completely sugar-free version, just use cinnamon alone — the natural sweetness of the apples shines through beautifully.
I personally love the classic cinnamon sugar version best, but the pumpkin spice variation has become a fall staple in our house. It’s such an easy way to change things up without any extra work.
Serving & Storage Suggestions
These chips are incredibly versatile when it comes to serving. Here’s how I like to enjoy them:
Serving Temperature: They’re best at room temperature, straight from the cooling rack. The crunch is at its peak about 15-20 minutes after cooking. They’re also delicious slightly warm if you can’t wait that long.
Presentation Ideas: Serve them in a big bowl for snacking, layer them in a mason jar for a cute gift, or use them as a crunchy topping for yogurt bowls, oatmeal, or ice cream. I’ve even crushed them up and used them as a topping for Easy One-Bowl Chocolate Chip Pumpkin Bread — the texture contrast is amazing.
Pairing Suggestions: These chips go beautifully with a warm cup of tea or coffee. They’re also great alongside cheese plates — the sweetness pairs perfectly with sharp cheddar or creamy brie. For a fun snack board, serve them with Easy Cowboy Caviar with Lime Cilantro Dressing for a sweet and savory combo.
Storage Instructions: Store completely cooled chips in an airtight container at room temperature. They’ll stay crispy for 3-5 days. If they lose their crunch, pop them back in the air fryer at 300°F for 2-3 minutes to re-crisp them.
Freezer Instructions: Yes, you can freeze them! Place cooled chips in a single layer on a baking sheet and freeze for 1 hour, then transfer to a freezer bag. They’ll keep for up to 3 months. Thaw at room temperature for about 10 minutes before serving. They might be slightly less crispy after freezing, but still delicious.
Flavor Development: Interestingly, these chips taste even better the next day. The cinnamon flavor seems to deepen and meld with the apple. If you can resist eating them all in one sitting, you’re in for a treat.
Nutritional Information & Benefits
Here’s the estimated nutritional breakdown for one serving (about 1/2 of the total recipe):
| Nutrient | Amount Per Serving |
|---|---|
| Calories | 95 |
| Total Fat | 0.5g |
| Sodium | 30mg |
| Total Carbohydrates | 24g |
| Dietary Fiber | 4g |
| Sugars | 18g |
| Protein | 1g |
These chips are naturally gluten-free, dairy-free, and vegan. They’re also low in fat and provide a good source of dietary fiber from the apple skins. Apples are packed with antioxidants, particularly quercetin, which supports immune health. Cinnamon offers anti-inflammatory properties and can help regulate blood sugar levels.
Compared to store-bought chips or processed snacks, these are a nutritional powerhouse. You’re getting real fruit with no added preservatives, artificial flavors, or mysterious ingredients. Plus, the fiber content helps keep you full and satisfied longer than a bag of potato chips would.
One thing I love about this snack is that it feels like a treat but actually nourishes your body. It’s the kind of recipe that makes you feel good about what you’re eating — and that’s a win in my book.
Conclusion
These Easy Cinnamon Sugar Baked Apple Chips have become my go-to snack for so many reasons. They’re quick, they’re simple, and they turn ordinary apples into something that feels special. Whether you’re packing lunchboxes, looking for a healthier movie night snack, or just want something sweet without the guilt, this recipe delivers every time.
The best part? You can customize them endlessly. Make them spicy, make them savory, drizzle them with chocolate — the possibilities are only limited by your imagination. I’ve made these for picky eaters, health-conscious friends, and kids who “don’t like fruit,” and they’ve won everyone over.
I’d love to hear how these turn out for you! Drop a comment below and let me know which variation you tried, or share your own twist on the recipe. Did you make them for a party? Did your kids devour them? I genuinely want to know. And if you have a friend who’s trying to eat healthier but can’t give up snacks, send them this recipe — it might just change their snack game forever.
Happy snacking, friends. Your apples are waiting.
Frequently Asked Questions
Can I make these without an air fryer?
Absolutely! Spread the seasoned apple slices on a parchment-lined baking sheet and bake at 300°F for 25-30 minutes, flipping halfway through. The texture will be a bit more uniformly crispy, but they’re just as delicious. Keep an eye on them toward the end to prevent burning.
Why are my apple chips still soft after cooking?
This usually happens for two reasons: either the slices were cut too thick, or they didn’t cool completely before you checked. Remember, they crisp up as they cool. If they’re still soft after 15 minutes of cooling, pop them back in the air fryer for 2-3 more minutes. Also, make sure your slices are no thicker than 1/8-inch.
Can I use different types of apples?
Yes, but results vary. Firm, sweet apples like Honeycrisp, Fuji, Gala, and Braeburn work best. Granny Smith apples will be tarter and might need a bit more sugar. Avoid soft varieties like Red Delicious or McIntosh — they’ll turn mushy instead of crispy.
How do I store these to keep them crispy?
Store completely cooled chips in an airtight container at room temperature. Adding a silica gel packet (the kind you find in packaged foods) can help absorb excess moisture. If they lose their crunch after a few days, re-crisp them in the air fryer at 300°F for 2-3 minutes.
Can I make a big batch ahead of time?
Definitely! These chips stay good for 3-5 days when stored properly. They’re perfect for meal prep or party planning. Just make sure they’re completely cool before storing, and don’t seal the container until they’re room temperature. Trapped steam is the enemy of crispy chips.
Pin This Recipe!
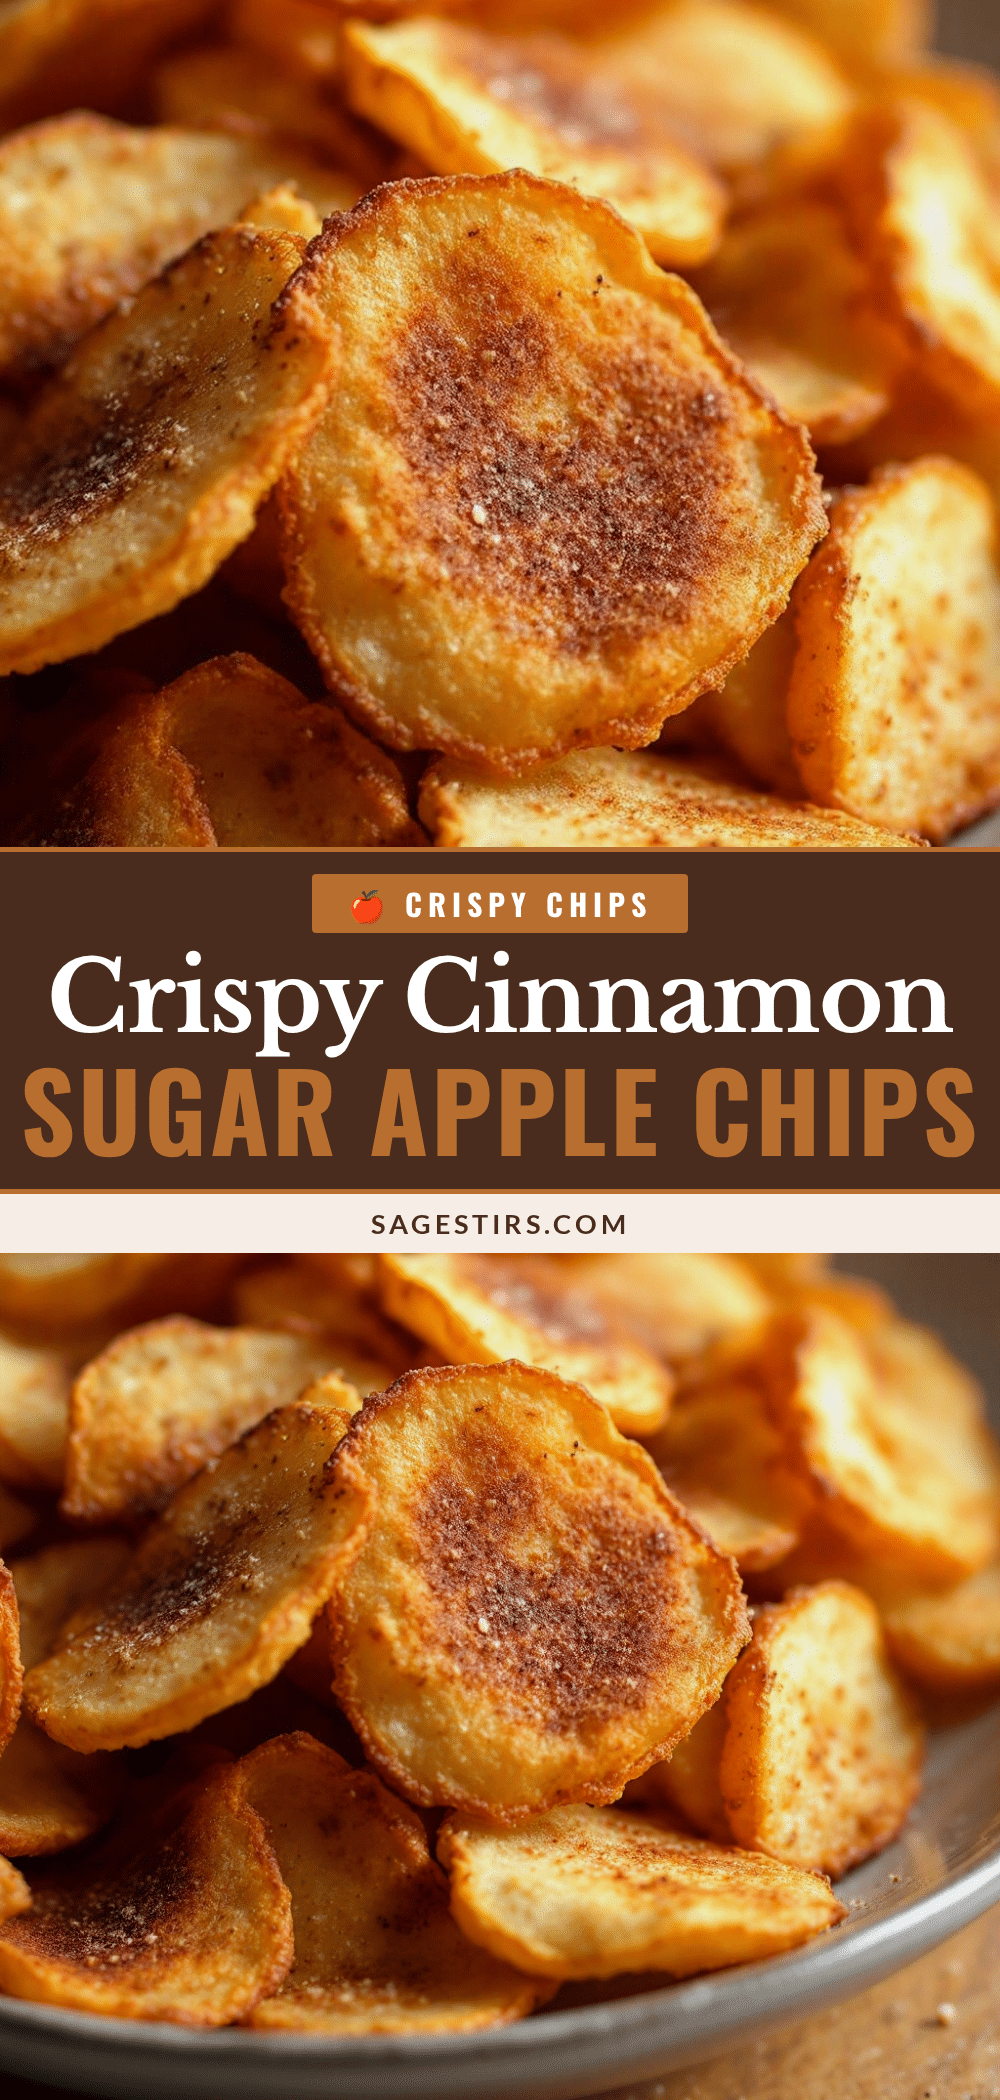
Easy Cinnamon Sugar Baked Apple Chips (Best Air Fryer Snack)
These Easy Cinnamon Sugar Baked Apple Chips are a quick, healthy snack made in the air fryer with just apples, cinnamon, and a touch of sugar. They turn ordinary apples into crispy, caramelized chips that are perfect for after-school munchies, road trips, or as a crunchy topping on yogurt bowls.
- Prep Time: 10 minutes
- Cook Time: 12 minutes
- Total Time: 22 minutes
- Yield: 4 servings 1x
- Category: Snack
- Cuisine: American
Ingredients
- 2 large apples (about 300g total), such as Honeycrisp or Fuji
- 1 teaspoon ground cinnamon
- 1 tablespoon granulated sugar
- Pinch of salt (about 1/8 teaspoon)
- 1 teaspoon melted coconut oil (optional)
Instructions
- Wash and core the apples. Do not peel them.
- Slice the apples evenly to about 1/8-inch thickness using a mandoline slicer or sharp knife.
- In a small bowl, mix together the ground cinnamon, granulated sugar, and a pinch of salt.
- Place the apple slices in a large bowl. If using coconut oil, drizzle it over the slices and toss gently. Sprinkle the cinnamon-sugar mixture over the apples and toss until every slice is evenly coated.
- Preheat the air fryer to 300°F (150°C) for 3 minutes.
- Arrange the apple slices in a single layer in the air fryer basket, without overlapping. Work in batches if needed.
- Air fry at 300°F for 10-12 minutes, checking after 8 minutes. Cook until golden around the edges and slightly soft in the center.
- Transfer the chips to a wire rack or plate in a single layer and let them cool completely for at least 10 minutes. They will crisp up as they cool.
- Repeat with remaining slices.
Notes
Slice thickness is crucial: aim for 1/8-inch. Don’t skip the cooling step—chips crisp as they cool. Watch the last few minutes closely to prevent burning. For extra crispy chips, cook 12-14 minutes; for chewier chips, cook 10-11 minutes. Store in an airtight container at room temperature for 3-5 days. Re-crisp in air fryer at 300°F for 2-3 minutes if needed.
Nutrition
- Serving Size: 1/2 of total recipe
- Calories: 95
- Sugar: 18
- Sodium: 30
- Fat: 0.5
- Carbohydrates: 24
- Fiber: 4
- Protein: 1
Keywords: apple chips, air fryer apple chips, cinnamon sugar apple chips, healthy snack, easy snack, baked apple chips



