Love this? Save it for later!
Share the inspiration with your friends
I burned pumpkin dump cake three times before I finally understood what I was doing wrong.
The first time, I pulled it out of the oven and the top was perfectly golden—beautiful, really—but the bottom was a soupy, undercooked mess. The second time, I left it in an extra fifteen minutes and ended up with a crust that could have doubled as roofing material. The third time, I got so frustrated I just ate the crunchy top layer straight from the pan with a spoon and called it dinner.
Honestly? That third attempt was pretty good. But I knew this recipe had more potential than my burnt offerings suggested.
Here’s the thing about this Easy Pumpkin Dump Cake with Yellow Cake Mix—it’s supposed to be simple. That’s the whole point. But simple doesn’t mean foolproof, and I learned that the hard way. The magic happens when the pumpkin layer stays creamy, the cake mix gets perfectly crisp, and the whole thing sets up into something that tastes like you spent hours on it when you really just dumped everything into a pan and hoped for the best.
This recipe uses only four ingredients. Four. And it produces a dessert that people will hover around at Thanksgiving, asking for the recipe under their breath like it’s a secret. It’s the kind of thing that makes you look like a hero in the kitchen without actually doing much work.
I figured out the trick, and now I want to share it with you so you don’t have to learn the hard way like I did.
Why You’ll Love This Recipe
This isn’t just another pumpkin dessert. This is the one that disappears first at every gathering, and there’s a reason for that. Let me break down why this recipe works so well.
- Only 4 Ingredients: Pumpkin puree, evaporated milk, yellow cake mix, and butter. That’s it. No eggs, no spices, no complicated shopping list. You probably have most of this in your pantry right now.
- Minimal Effort, Maximum Reward: The “dump” in dump cake is literal. You dump the pumpkin layer in, dump the cake mix on top, and dump the butter over everything. No mixing bowls to wash. No electric mixer needed. Your hands stay clean.
- Perfect for Fall Gatherings: Whether it’s Thanksgiving, a football party, or just a cozy Sunday dinner, this cake fits right in. I’ve brought it to potlucks where it sat next to my Cozy Slow Cooker Fall Harvest Beef Stew, and both got devoured equally.
- Naturally Crowd-Pleasing: The top gets this incredible buttery, crunchy crust while the bottom stays soft and pumpkin-pie-like. Kids love it. Adults love it. People who claim they don’t like pumpkin desserts love it.
- Make-Ahead Friendly: This cake actually gets better after sitting overnight. The flavors meld together, and the texture sets up perfectly. You can make it a day ahead and just reheat before serving.
What makes this recipe different from other pumpkin dump cakes you might have tried? It’s the ratio. Most recipes use too much cake mix or not enough butter, and you end up with dry patches or uneven texture. I’ve tested this version multiple times to get that perfect balance where every bite has some crunchy top and some creamy bottom.
This is the kind of dessert that makes you close your eyes after the first bite. It’s comfort food at its finest—simple, warm, and deeply satisfying.
What Ingredients You Will Need
This recipe uses four simple ingredients that work together to create something genuinely magical. No fancy substitutes, no exotic finds—just pantry staples that transform into a dessert that tastes far more complicated than it is.
- 1 can (15 oz) pumpkin puree: Make sure you’re buying pure pumpkin puree, not pumpkin pie filling. The difference matters—pie filling has added sugar and spices already mixed in, and it will throw off the texture. I prefer Libby’s brand for consistent results, but store brands work fine too. Look for cans that feel heavy for their size, which indicates good moisture content.
- 1 can (12 oz) evaporated milk: This is not the same as sweetened condensed milk. Evaporated milk is unsweetened and has a slightly caramelized flavor from the canning process. It adds richness without making the cake too sweet. If you’re in a pinch, you can substitute half-and-half, but the texture won’t be quite as creamy.
- 1 box (15.25 oz) yellow cake mix: Standard yellow cake mix works perfectly here. I’ve tested this with Duncan Hines and Betty Crocker, and both produce excellent results. The cake mix creates that signature crunchy topping as it bakes. Don’t use a mix that has pudding in the mix—it changes the texture and makes the top too dense. Just plain yellow cake mix is what you want.
- 1 cup (2 sticks) unsalted butter, melted: Butter is what makes the cake mix turn golden and crisp. Salted butter works too—just reduce any additional salt you might add. I melt mine in the microwave in 30-second bursts, stirring between each. Make sure it’s fully melted but not boiling hot when you pour it over the cake mix.
Optional additions that I sometimes include: a teaspoon of pumpkin pie spice sprinkled over the pumpkin layer, or a handful of chopped pecans scattered on top before baking. These aren’t necessary, but they add nice texture and flavor if you have them on hand.
One thing I’ve learned from testing this recipe multiple times: the quality of your pumpkin puree matters more than you’d think. Cheaper brands can be watery and produce a thinner filling. If you’re using a store brand and the puree looks loose when you open the can, let it drain in a fine-mesh strainer for about 10 minutes before using.
Equipment Needed
The beauty of this recipe is that you don’t need much. Here’s what you’ll need to have ready:
- 9×13-inch baking dish: Glass or ceramic works best. Metal pans can work, but they conduct heat differently and might brown the bottom too quickly. I use a Pyrex dish and it’s perfect every time.
- Mixing bowl: Just one, for combining the pumpkin and evaporated milk. Any medium-sized bowl will do.
- Whisk or spatula: For mixing the pumpkin layer until smooth. A whisk works faster, but a spatula does the job too.
- Measuring cups: For the butter. If you’re using sticks, each stick is half a cup, so two sticks equals one cup.
- Small microwave-safe bowl: For melting the butter. You can also melt it in a saucepan on the stovetop if you prefer.
- Cooling rack: Optional but helpful for letting the cake cool evenly after baking.
If you don’t have a 9×13 dish, you can use a slightly smaller dish—just expect the cake to be a bit thicker and可能需要 a few extra minutes of baking time. I’ve also made this in disposable aluminum pans for potlucks, and it works great. Just keep an eye on the baking time since aluminum conducts heat differently.
Preparation Method
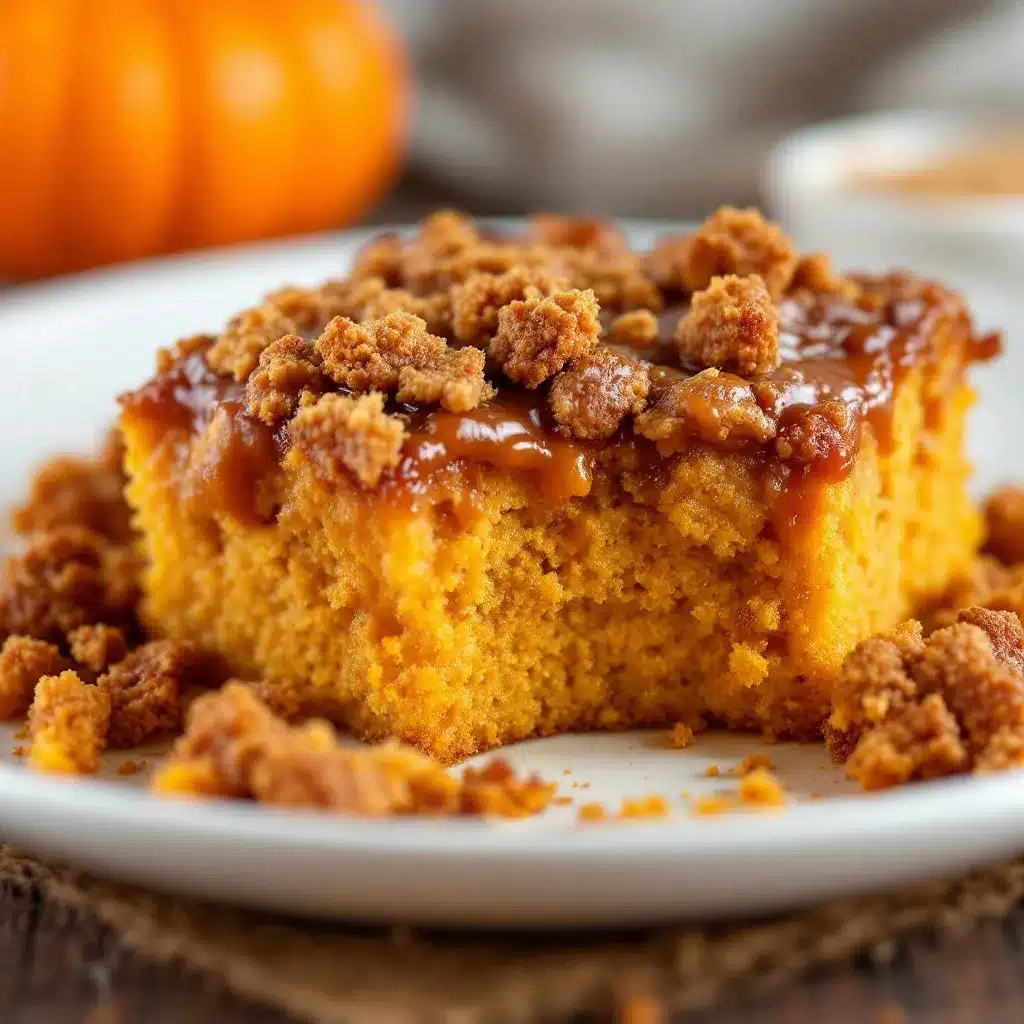
This recipe is almost embarrassingly simple, but there are a few tricks that make the difference between good and great. Follow these steps carefully, and you’ll get perfect results every time.
- Preheat your oven to 350°F (175°C). Position the rack in the center of the oven. While it’s heating, lightly grease your 9×13 baking dish with butter or non-stick spray. Don’t skip this step—the pumpkin layer can stick to ungreased pans.
- Mix the pumpkin base: In your mixing bowl, combine the entire can of pumpkin puree and the entire can of evaporated milk. Whisk them together until completely smooth. The mixture should be thick but pourable, like a thin pancake batter. If it looks lumpy, keep whisking—you want it silky smooth.
- Pour into the baking dish: Spread the pumpkin mixture evenly across the bottom of your prepared dish. Use your spatula to make sure it reaches all the corners. The layer should be about half an inch thick.
- Add the cake mix: Sprinkle the entire box of yellow cake mix evenly over the pumpkin layer. Here’s the important part—don’t stir it in. Just dump it on top and spread it out with your fingers or a spoon until it covers the surface completely. Some people like to shake the dish gently to level it out. Every inch of pumpkin should be covered with a thin layer of dry cake mix.
- Pour the melted butter: Drizzle the melted butter evenly over the top of the cake mix. Try to cover as much surface area as possible. The butter will soak into the cake mix as it bakes, creating that signature crunchy topping. If you see dry patches of cake mix, use a spoon to gently push some butter over them, but don’t stir.
- Bake for 45-50 minutes: Place the dish in the preheated oven and bake until the top is deep golden brown and the edges are bubbling. The center should be set but still slightly jiggly—it will continue to set as it cools. If the top is browning too quickly around the 35-minute mark, tent the dish loosely with foil for the remaining time.
- Cool before serving: Let the cake cool on a wire rack for at least 15-20 minutes before serving. This allows the pumpkin layer to set up properly. If you serve it too soon, it will be runny. I know it’s tempting, but patience pays off here.
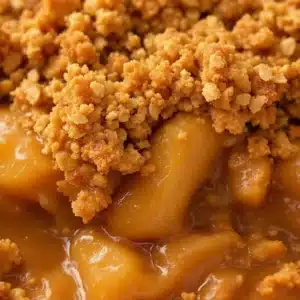
A few sensory cues to watch for: when it’s done, the top should look like a crumbly, golden crust with some darker spots where the butter concentrated. You should be able to see the pumpkin layer bubbling up around the edges. The kitchen will smell like autumn—warm, spiced, and buttery.
One tip I learned from my burnt-cake days: if you’re unsure whether it’s done, insert a knife into the center. It should come out with some moist crumbs but no liquid pumpkin mixture. If it’s still soupy, give it another 5-10 minutes.
Cooking Tips & Techniques
After burning this cake multiple times and then perfecting it, I’ve collected some tips that will save you from my mistakes.
Don’t overmix the pumpkin layer. Just whisk until smooth. Overmixing can incorporate too much air, which can cause the pumpkin layer to puff up and then collapse. You want it dense and creamy.
Use room temperature ingredients. Cold pumpkin puree and cold evaporated milk don’t blend as smoothly. Let them sit on the counter for 15 minutes before mixing. It makes a noticeable difference in the texture.
Spread the cake mix evenly. This is where most people go wrong. If you have thick patches of dry cake mix, they won’t cook through properly and you’ll end up with raw flour spots. Take the extra minute to spread it out evenly with your fingers.
Watch your oven temperature. Ovens run differently. My oven runs hot, so I start checking at 40 minutes. If your oven runs cool, you might need the full 50 minutes or even a few extra. Trust your eyes and the knife test over the timer.
Let it rest. This is the hardest tip to follow, but it’s crucial. The cake needs at least 15-20 minutes to set up after baking. If you cut into it too soon, the pumpkin layer will be loose and the topping will fall apart. I’ve done it, and it’s disappointing every time.
Make it ahead for better flavor. This cake actually tastes better the next day. The flavors meld together overnight, and the texture becomes more cohesive. If you can, make it a day ahead, let it cool completely, cover it, and refrigerate. Reheat individual portions in the microwave for 20-30 seconds before serving.
One more thing—don’t be afraid of the butter amount. One cup seems like a lot, but it’s what makes the cake mix transform into that gorgeous, crunchy topping. Skimping on butter is the number one reason people end up with dry, powdery tops.
Variations & Adaptations
This recipe is incredibly forgiving and adaptable. Here are some variations I’ve tried and loved.
Spiced Pumpkin Dump Cake: Add 1 teaspoon of pumpkin pie spice and 1/2 teaspoon of cinnamon to the pumpkin mixture before pouring it into the dish. You can also sprinkle a little cinnamon on top of the cake mix before adding the butter. This version pairs beautifully with a dollop of whipped cream.
Nutty Crunch Version: After pouring the melted butter, sprinkle 1/2 cup of chopped pecans or walnuts over the top. The nuts toast in the oven and add a wonderful crunch. I made this for a Friendsgiving and it was gone in minutes. It’s also great alongside my Perfect Brown Butter Pumpkin Cheesecake Bars for a full pumpkin dessert spread.
Gluten-Free Option: Use a gluten-free yellow cake mix. Most brands work well, though you might need to add a tablespoon or two of extra melted butter since gluten-free mixes tend to be drier. Check the texture at 40 minutes and add time if needed.
Dairy-Free Version: Substitute the butter with a good-quality dairy-free butter alternative (I like Miyoko’s) and use full-fat coconut milk instead of evaporated milk. The coconut flavor is subtle and actually complements the pumpkin nicely.
Chocolate Pumpkin Dump Cake: Use a chocolate cake mix instead of yellow. The chocolate-pumpkin combination sounds unusual but works surprisingly well. I tried this on a whim and now it’s my second favorite version. It’s a fun twist for chocolate lovers.
Individual Servings: Divide the mixture among 8-10 ramekins and reduce baking time to 25-30 minutes. These are perfect for dinner parties where everyone wants their own little dessert.
Serving & Storage Suggestions
This cake is versatile when it comes to serving. Here’s how to make the most of it.
Serving Temperature: Serve warm or at room temperature. Warm is traditional and brings out the buttery flavor of the topping. Room temperature is easier for gatherings and the texture holds up better. Both are delicious.
Toppings: A scoop of vanilla ice cream is the classic pairing. The cold creaminess against the warm, crunchy cake is heavenly. Whipped cream works too, and a drizzle of caramel sauce takes it over the top. For a less sweet option, a dollop of Greek yogurt works surprisingly well.
Complementary Dishes: This cake is rich enough to stand alone, but it pairs beautifully with a cup of coffee or hot cider. If you’re serving it as part of a fall meal, it follows my Cozy Fall Chicken and Wild Rice Soup perfectly—the savory soup balances the sweet dessert.
Storage: Cover the baking dish tightly with plastic wrap or aluminum foil and store in the refrigerator for up to 5 days. The topping will soften slightly over time, but it’s still delicious. To restore some crunch, reheat individual portions in the oven at 350°F for 5-7 minutes.
Freezing: This cake freezes well. Let it cool completely, then cut it into portions. Wrap each portion tightly in plastic wrap, then place them in a freezer bag. They’ll keep for up to 3 months. Thaw in the refrigerator overnight and reheat in the microwave or oven.
How Flavors Develop: The pumpkin flavor becomes more pronounced after a day in the fridge. The cake also becomes more cohesive—the layers meld together in a way that makes each bite perfect. I actually prefer this cake on day two or three.
Nutritional Information & Benefits
Let’s be honest—this is a dessert, not a health food. But it does have some redeeming qualities worth mentioning.
Estimated Nutritional Values (per serving, based on 12 servings):
- Calories: 380
- Fat: 18g
- Carbohydrates: 52g
- Protein: 5g
- Fiber: 2g
- Sugar: 32g
Health Benefits: Pumpkin is packed with vitamin A (one serving provides over 100% of your daily needs), fiber, and antioxidants. It’s also low in calories on its own—most of the calories here come from the butter and cake mix. The evaporated milk adds calcium and protein.
Dietary Considerations: This recipe contains gluten and dairy. For gluten-free and dairy-free options, see the variations section above. It’s naturally egg-free and nut-free (unless you add nuts).
Portion Control: This cake is rich, so a small serving goes a long way. I cut mine into 12-16 pieces depending on the occasion. A 2×2-inch square is plenty satisfying.
My personal take: I don’t make this every week, but when fall rolls around, I make it guilt-free. It’s a treat, and treats are meant to be enjoyed. The pumpkin adds some nutritional value, and the rest is pure comfort. Balance, right?
Conclusion
This Easy Pumpkin Dump Cake with Yellow Cake Mix is the kind of recipe that makes you look like a hero with almost no effort. Four ingredients, one dish, and about an hour later, you have a dessert that tastes like it came from a fancy bakery.
I’ve made this for Thanksgiving dinners, football parties, and random Tuesday nights when I needed something sweet. Every single time, people ask for the recipe. And every single time, I smile and tell them it’s just four ingredients dumped in a pan.
The best part? You can make it your own. Add spices, throw in some nuts, swap the cake mix flavor—it’s forgiving and adaptable. Don’t be afraid to experiment. Some of my best variations came from happy accidents.
I’d love to hear how yours turns out. Did you add anything special? Serve it with something unexpected? Drop a comment below and let me know. And if you make it for a gathering, take a picture—I want to see your golden, crunchy masterpiece.
Happy baking, friend. May your pumpkin dump cake be perfectly crispy on top and creamy on the bottom, every single time.
Frequently Asked Questions
Can I use pumpkin pie filling instead of pumpkin puree?
I wouldn’t recommend it. Pumpkin pie filling already has sugar and spices added, which will make your cake overly sweet and change the texture. Stick with plain pumpkin puree for the best results. If you only have pie filling, reduce the amount by about a third and skip any additional sugar.
Why is my dump cake soupy in the middle?
This usually happens for two reasons: either the cake wasn’t baked long enough, or it was cut too soon after baking. Make sure you bake it for the full 45-50 minutes until the edges are bubbling and the center is set. Then let it cool for at least 15-20 minutes before cutting. The pumpkin layer needs time to firm up.
Can I make this in a slow cooker?
Yes, you can! Grease your slow cooker well, then layer the ingredients the same way. Cook on low for 3-4 hours or on high for 1.5-2 hours. The top won’t get as crispy as oven-baked, but it will still be delicious. If you want a crunchier top, transfer it to a baking dish and broil for 2-3 minutes at the end.
Do I need to refrigerate leftovers?
Yes, because of the dairy in the evaporated milk and butter, this cake should be refrigerated. Cover it tightly and it will keep for up to 5 days. Let it come to room temperature or reheat before serving for the best texture.
Can I use a different cake mix flavor?
Absolutely! While yellow cake mix is classic, I’ve had great results with spice cake mix, butter pecan, and even chocolate. Spice cake mix adds extra warm flavors that complement the pumpkin beautifully. Just keep in mind that different flavors will change the sweetness level slightly.
Pin This Recipe!
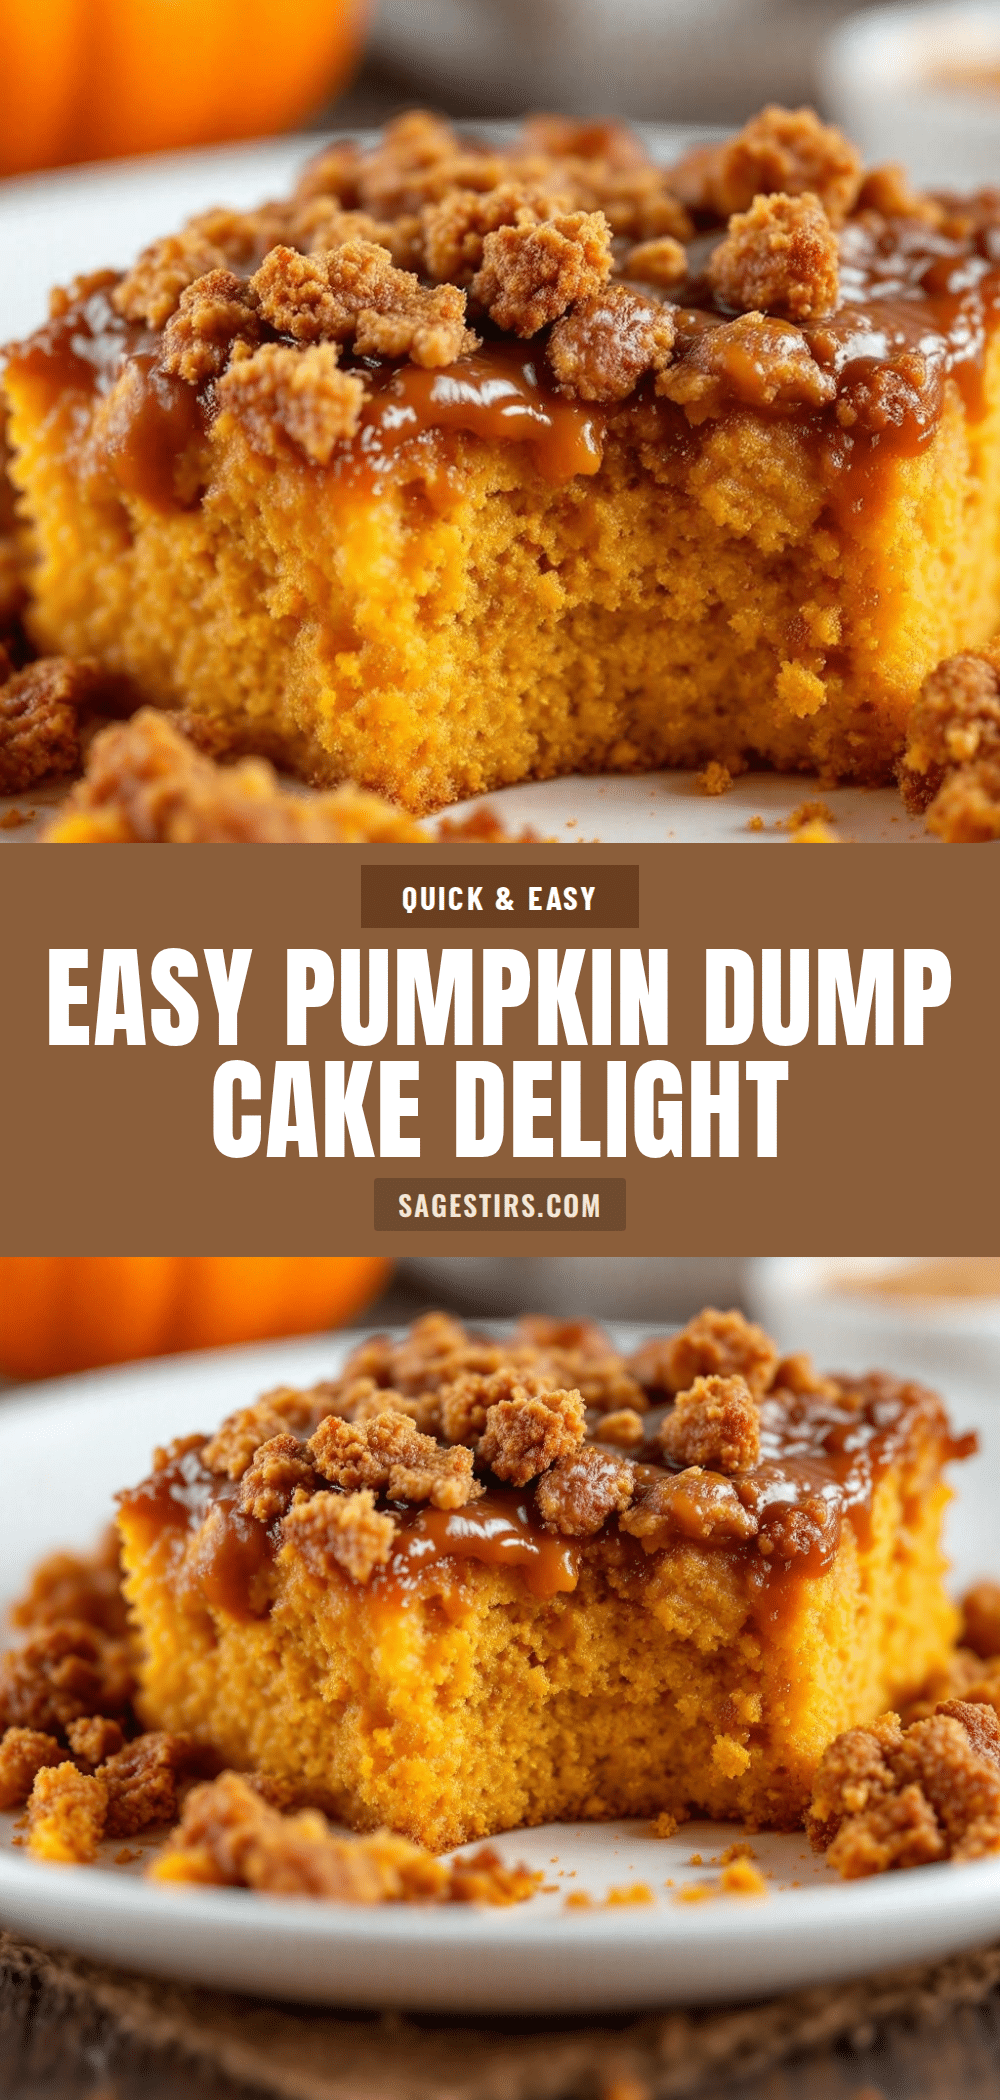
Easy Pumpkin Dump Cake with Yellow Cake Mix (4 Ingredients)
This Easy Pumpkin Dump Cake with Yellow Cake Mix uses only four ingredients and minimal effort to create a dessert with a buttery, crunchy top and a creamy pumpkin bottom. Perfect for fall gatherings, it’s a crowd-pleaser that tastes like you spent hours on it.
- Prep Time: 10 minutes
- Cook Time: 45 minutes
- Total Time: 55 minutes
- Yield: 12 servings 1x
- Category: Dessert
- Cuisine: American
Ingredients
- 1 can (15 oz) pumpkin puree
- 1 can (12 oz) evaporated milk
- 1 box (15.25 oz) yellow cake mix
- 1 cup (2 sticks) unsalted butter, melted
Instructions
- Preheat your oven to 350°F (175°C). Position the rack in the center of the oven. Lightly grease a 9×13-inch baking dish with butter or non-stick spray.
- In a mixing bowl, combine the entire can of pumpkin puree and the entire can of evaporated milk. Whisk together until completely smooth.
- Pour the pumpkin mixture into the prepared baking dish and spread evenly to all corners.
- Sprinkle the entire box of yellow cake mix evenly over the pumpkin layer. Do not stir. Spread it out with your fingers or a spoon until it covers the surface completely.
- Drizzle the melted butter evenly over the top of the cake mix, covering as much surface area as possible. Do not stir.
- Bake for 45-50 minutes, until the top is deep golden brown and the edges are bubbling. The center should be set but still slightly jiggly. If the top browns too quickly, tent loosely with foil after 35 minutes.
- Let the cake cool on a wire rack for at least 15-20 minutes before serving to allow the pumpkin layer to set.
Notes
Don’t overmix the pumpkin layer. Use room temperature ingredients for smoother blending. Spread the cake mix evenly to avoid raw flour spots. Let the cake rest for at least 15-20 minutes before cutting. The cake tastes even better the next day. For a spiced version, add 1 teaspoon pumpkin pie spice and 1/2 teaspoon cinnamon to the pumpkin mixture. For a nutty crunch, sprinkle 1/2 cup chopped pecans or walnuts on top before baking.
Nutrition
- Serving Size: 1 piece (1/12 of cak
- Calories: 380
- Sugar: 32
- Sodium: 380
- Fat: 18
- Saturated Fat: 10
- Carbohydrates: 52
- Fiber: 2
- Protein: 5
Keywords: pumpkin dump cake, easy pumpkin dessert, 4 ingredient dessert, fall dessert, yellow cake mix recipe