Love this? Save it for later!
Share the inspiration with your friends
The first batch disappeared before I even packed the lunchboxes for the next day. I had set the pan on the counter to cool, and by the time I turned around from rinsing the mixing bowl, half of it was gone. My youngest had her hand in the pan, pulling off chunks and shoving them into her mouth with this look of pure, unapologetic triumph. “Mom,” she said, mouth half-full, “these are way better than the ones from the store.”
That was the moment I knew I had finally cracked the code. For months, I had been on a mission. I wanted something that tasted like a real treat but didn’t come with a list of ingredients I could barely pronounce. Something that could survive the chaotic tumble of a school backpack and still be appealing at 3:30 PM when the hangry monster arrived. These healthy no-bake granola bars were the answer, and honestly, they were so simple I felt a little silly for not figuring it out sooner.
It’s not just about the convenience, though that’s a huge part of it. It is about knowing exactly what my kids are eating. No high-fructose corn syrup, no weird preservatives, just real food that happens to taste like a cookie. They’re chewy, a little bit sweet, and packed with enough oats and nut butter to actually hold them over until dinner. For me, that quiet moment of watching them choose a homemade snack over a packaged one? That’s the real win.
Why You’ll Love These Healthy No-Bake Granola Bars
I’ve tested a lot of granola bar recipes. Some were too crumbly, some were rock hard, and others just didn’t taste like much at all. These are different. They hit that perfect sweet spot between chewy and firm, and they hold together beautifully without any weird binding agents. Here is why they have become a staple in our house:
- No Oven Required: It’s summer here half the year, so turning on the oven is a last resort. These come together on the stovetop or even in the microwave.
- Totally Customizable: You can swap the mix-ins based on what you have in the pantry. It’s the ultimate clean-out-the-pantry recipe.
- Kid-Approved and Dietitian-Friendly: They are sweetened mostly with honey or maple syrup, and you control the quality of the ingredients. They are naturally gluten-free if you use certified oats.
- Perfect for Busy Schedules: A batch takes about 10 minutes of active time. Then you chill them, cut them, and you have snacks for the entire week.
- Backpack Tough: Unlike a banana that gets bruised or a yogurt that needs to stay cold, these bars can handle the rough and tumble of a school day without falling apart.
What really sets this recipe apart is the texture. The combination of creamy peanut butter and a touch of coconut oil creates a binder that is sturdy but not hard. When you bite into it, it gives way with a satisfying chew, not a crunch that shatters everywhere. If you love recipes that are forgiving and flexible, you will probably also enjoy these high-protein no-bake peanut butter balls for a quick, energy-packed bite.
What Ingredients You Will Need
This recipe uses simple, wholesome ingredients to deliver bold flavor and satisfying texture without the fuss. Most of these items are probably already in your pantry, which makes these bars dangerously easy to whip up at a moment’s notice.
- Rolled Oats: Use old-fashioned rolled oats, not quick oats. Quick oats will turn the bars into mush. Rolled oats give the bars their signature chewy texture and hearty structure.
- Creamy Peanut Butter: This is the glue that holds everything together. I recommend using a natural, no-stir peanut butter for the best flavor. Avoid the super oily, separated kind that needs stirring, as it can make the bars greasy. (If you are nut-free, sunflower seed butter works perfectly here.)
- Honey or Maple Syrup: This adds sweetness and helps bind the bars. Honey gives a classic flavor, while maple syrup adds a warmer, slightly caramel-like note. Both work great.
- Coconut Oil: Just a tablespoon of this helps the bars set up firmly in the fridge without becoming rock hard. It also adds a subtle richness that balances the peanut butter.
- Vanilla Extract: A splash of vanilla rounds out the flavors and makes the bars taste more like a bakery treat.
- Salt: A pinch of salt is non-negotiable. It cuts the sweetness and makes the peanut butter flavor pop.
- Mini Chocolate Chips: These are the “treat” part of the snack. Use dark chocolate chips for a less sweet option, or milk chocolate if you are feeding a crowd of kids. (I’ve used these small batch chocolate chip cookies as inspiration for the chocolate-to-oat ratio.)
- Mix-Ins (Optional but Recommended): This is where you can get creative. I love adding a handful of chopped dried cranberries for tartness or some unsweetened shredded coconut for texture. Chopped almonds or walnuts add a nice crunch.
Ingredient Selection Tip: When buying peanut butter, look for one that has just peanuts and salt on the label. The added sugar and hydrogenated oils in processed peanut butters can change the texture of the bars, making them greasier.
Equipment Needed
You don’t need a lot of fancy tools for these healthy no-bake granola bars, which is exactly why I make them so often. Here is what you will need:
- 8×8-inch Baking Pan: This is the perfect size for getting bars that are thick and satisfying. If you only have a 9×9, your bars will be a little thinner, and you may need to reduce the chill time slightly.
- Parchment Paper: This is your best friend. It makes lifting the entire block of bars out of the pan so easy. Leave a little overhang on two sides to create “handles.”
- Medium Saucepan: For melting the wet ingredients together. You can also do this in a microwave-safe bowl in 30-second increments if you are in a hurry.
- Large Mixing Bowl: To combine the dry ingredients with the wet mixture.
- Rubber Spatula: For mixing everything together and pressing the mixture into the pan.
- Sharp Knife: A good chef’s knife makes cutting clean bars much easier than a serrated one.
Budget-Friendly Tip: If you don’t have an 8×8 pan, you can use a loaf pan. The bars will be much thicker, so you will need to chill them a bit longer, and you will get fewer bars, but they will be extra chunky and satisfying.
Preparation Method
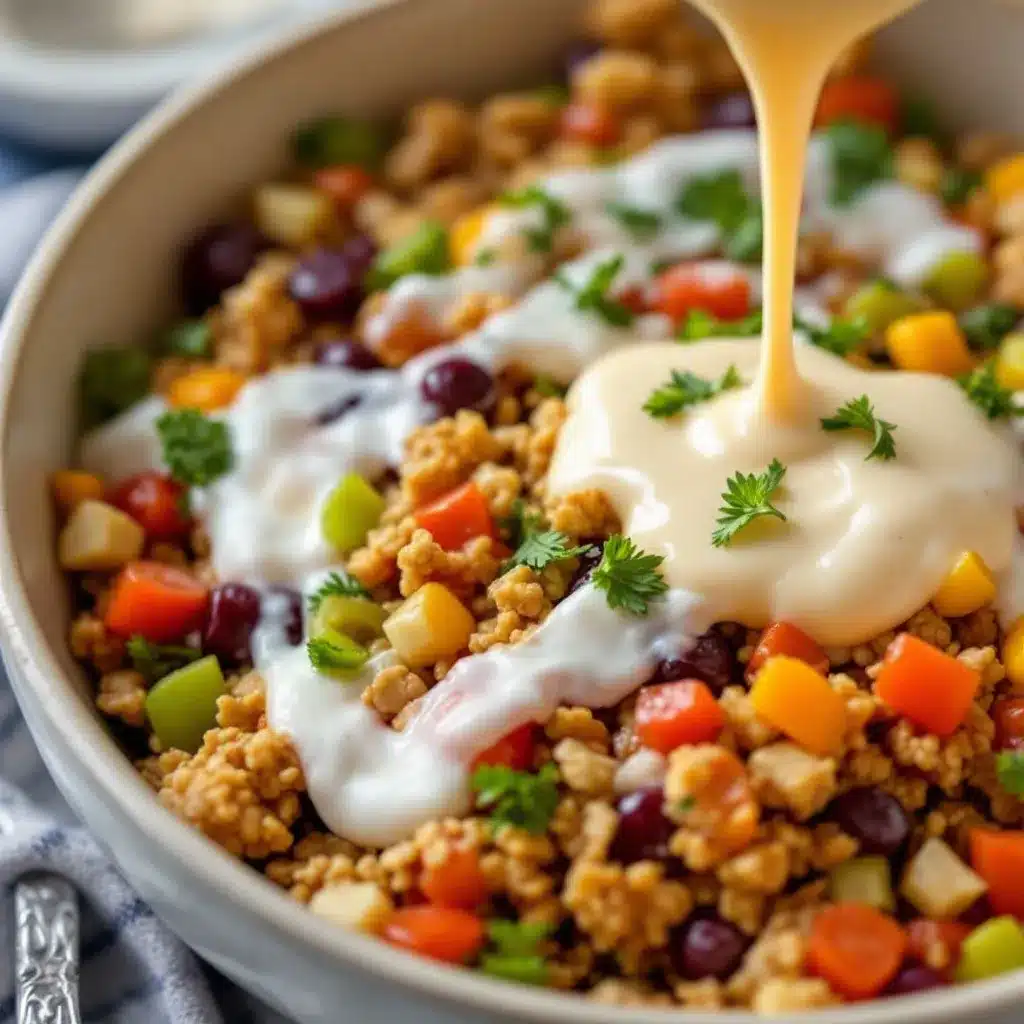
Making these bars is almost too easy. The hardest part is waiting for them to chill. Here is how to do it:
- Prepare Your Pan. Line an 8×8-inch baking pan with parchment paper, leaving a 2-inch overhang on two opposite sides. This will be your “sling” to lift the bars out later. Set the pan aside.
- Mix the Dry Ingredients. In a large mixing bowl, combine 2 cups (180g) of rolled oats and ¼ teaspoon of salt. If you are using any mix-ins like dried fruit, coconut, or chopped nuts, add them now. Toss everything together to distribute evenly.
- Melt the Wet Ingredients. In a medium saucepan over low heat, combine 1 cup (240g) of creamy peanut butter, ½ cup (170g) of honey (or maple syrup), and 1 tablespoon of coconut oil. Stir constantly with a rubber spatula until the mixture is smooth, warm, and fully combined. This takes about 2-3 minutes. Do not let it boil.
- Combine Wet and Dry. Remove the saucepan from the heat and stir in 1 teaspoon of vanilla extract. Pour the warm peanut butter mixture over the dry oats. Stir vigorously with your spatula until all the oats are completely coated. The mixture will look thick and sticky.
- Fold in the Chocolate Chips. Let the mixture cool for just 2 minutes. You don’t want the residual heat to melt all the chocolate chips. Fold in ½ cup (90g) of mini chocolate chips. The mixture will be quite stiff at this point.
- Press into the Pan. Transfer the mixture to your prepared pan. This is the most important step. Use the back of a spatula (lightly greased with a little coconut oil to prevent sticking) to press the mixture down very firmly and evenly into the pan. Press hard—if you don’t pack it tight enough, the bars will be crumbly. You want it to be compact and level.
- Chill. Place the pan in the refrigerator for at least 2 hours. For the best, cleanest cuts, chill for 4 hours or even overnight. The bars need this time to fully set up.
- Cut and Serve. Once fully chilled, use the parchment paper sling to lift the entire block out of the pan. Place it on a cutting board. Use a sharp knife to cut it into 12 even bars (3 cuts by 4 cuts). Wipe the knife clean between cuts for the neatest edges.
Sensory Cue: When you press the mixture into the pan, it should feel dense and slightly tacky. If it feels dry and crumbly, you may need to add a tablespoon more of warm peanut butter or honey. If it feels greasy, you may have used too much coconut oil or an overly processed peanut butter.
Cooking Tips & Techniques
I have made this recipe probably two dozen times, and I have definitely learned a few things the hard way. Here are my best tips for perfect bars every time:
- The Press is Everything. I cannot stress this enough. If you just dump the mixture in the pan and gently smooth it out, you will have a crumbly mess. You have to really pack it down. Use the bottom of a flat measuring cup or a glass to get it perfectly even and tight.
- Don’t Skip the Chill Time. I know it is tempting to rush this, especially when the house smells like peanut butter and honey. But cutting them too early is the number one reason for crumbly bars. Give them the full 2 hours minimum.
- Room Temperature Matters. If your kitchen is very warm, the bars may take longer to set. If it is cold, they might set in an hour. Use your judgment—they should feel firm to the touch, not soft or sticky.
- Use a Sharp Knife. A dull knife will drag through the bars and create jagged, messy edges. A sharp chef’s knife gives you clean, professional-looking bars. Run the knife under hot water and dry it off before cutting for even smoother slices.
- Store Them Right. These bars are best kept in the refrigerator. They will hold their shape perfectly for up to two weeks. If you leave them on the counter, they will soften and become sticky.
Variations & Adaptations
One of the best things about this base recipe is how adaptable it is. You can change the flavor profile completely with just a few swaps. Here are some of my favorite variations:
- Trail Mix Bars: Swap the chocolate chips for a mix of dried cherries, chopped almonds, and pepitas. Add a pinch of cinnamon for warmth.
- Chocolate Coconut Dream: Use maple syrup instead of honey. Add ½ cup of unsweetened shredded coconut and ¼ cup of cocoa powder to the dry oats. Fold in dark chocolate chunks instead of chips.
- Sunflower Seed Butter Version (Nut-Free): Replace the peanut butter with sunflower seed butter. Be aware that sunflower seed butter can react with baking soda (which we aren’t using here) and turn green, so this recipe is safe. It is also a bit thinner, so you may need to add an extra ¼ cup of oats to get the right consistency.
- Crunchy Granola Bars: If you prefer a crunchier bar, you can toast the oats in a dry skillet over medium heat for 3-4 minutes until they are lightly golden and fragrant before mixing. This adds a wonderful nutty flavor.
I once made a batch with leftover honey garlic chicken for dinner, and I had a jar of honey that was almost empty. I used the last of it in these bars, and the subtle floral notes from that specific honey made the bars taste completely different—in the best way possible.
Serving & Storage Suggestions
These bars are incredibly versatile when it comes to serving. They are perfect straight from the fridge, but they also soften up nicely after sitting out for 5-10 minutes at room temperature, which makes them a little chewier.
Serving Suggestions: I love packing one of these bars with a small apple or a handful of baby carrots for a balanced after-school snack. They are also fantastic crumbled over a bowl of Greek yogurt with a drizzle of extra honey for a quick breakfast parfait. For a fun treat, dip the end of a bar in melted dark chocolate and sprinkle with sea salt—it takes them from snack to dessert in seconds.
Storage: Store the bars in an airtight container in the refrigerator for up to 2 weeks. They will stay firm and fresh. For longer storage, you can freeze them. Wrap each bar individually in plastic wrap, then place them in a freezer-safe bag. They will keep for up to 3 months. You can eat them straight from the freezer (they are like a chewy, frozen candy bar) or let them thaw in the fridge overnight.
How Flavors Develop: These bars actually get better after a day or two in the fridge. The flavors meld together, and the texture becomes more uniform. If you can resist eating them immediately, you will be rewarded with an even better snack on day two.
Nutritional Information & Benefits
While I am not a registered dietitian, I do pay close attention to what goes into my family’s snacks. These bars are a fantastic source of sustained energy, thanks to the combination of complex carbohydrates from the oats and healthy fats and protein from the peanut butter.
Estimated Nutritional Values (per bar, based on 12 servings):
- Calories: ~220
- Fat: 12g
- Carbohydrates: 24g
- Fiber: 3g
- Sugar: 12g (naturally occurring from honey)
- Protein: 7g
Health Benefits: Rolled oats are a whole grain rich in beta-glucan, which is great for heart health. Peanut butter provides protein and healthy monounsaturated fats that help keep kids (and adults) feeling full and satisfied. The honey offers a quick source of natural energy, making these bars a perfect pre- or post-activity snack.
Dietary Considerations: This recipe is naturally dairy-free (as long as you use dairy-free chocolate chips) and can easily be made gluten-free by using certified gluten-free rolled oats. It is also vegetarian. The main allergen to be aware of is peanuts, but as mentioned, sunflower seed butter is a safe and delicious substitute.
Conclusion
These healthy no-bake granola bars have genuinely made our after-school routine so much smoother. There is no more negotiating over a packaged snack or feeling guilty about what they are eating. They grab a bar, I feel good about it, and the pre-dinner meltdowns have decreased significantly. That is a win in my book.
I really hope you give these a try. Don’t be afraid to make them your own—swap the mix-ins, change the nut butter, add a pinch of cinnamon. The recipe is a starting point, and the best version is the one that works for your family. If you make them, I would love to hear how they turned out. Drop a comment below and let me know what mix-ins you used! It is always so fun to see the creative combinations you all come up with.
Happy snacking, friends. You have got this.
Frequently Asked Questions (FAQs)
Can I use quick oats instead of rolled oats?
I do not recommend it. Quick oats are much finer and will absorb the moisture differently, resulting in a dense, mushy bar that doesn’t hold its shape well. Rolled oats provide the essential chewy texture that makes these bars so good.
My bars turned out crumbly. What did I do wrong?
This is usually due to one of two things: you didn’t press the mixture firmly enough into the pan, or you didn’t let them chill long enough. Make sure you pack the mixture down very tightly, and give them at least 2 hours (or overnight) in the fridge to fully set.
Can I make these bars vegan?
Absolutely. Simply swap the honey for maple syrup or agave nectar. Make sure you use dairy-free chocolate chips (most dark chocolate chips are naturally vegan). The rest of the ingredients are already plant-based.
How long do these bars last at room temperature?
They will last for about 2-3 days at room temperature, but they will become noticeably softer and stickier. For the best texture and longest shelf life, I always recommend storing them in the refrigerator. They will stay perfect for up to two weeks there.
Can I double this recipe?
Yes! It doubles beautifully. Use a 9×13-inch pan and increase the chill time by about an hour to ensure the thicker block sets up all the way through. You will get about 24 bars from a double batch.
Pin This Recipe!
Healthy No-Bake Granola Bars: Easy After-School Snack
These healthy no-bake granola bars are chewy, a little bit sweet, and packed with oats and nut butter. They’re the perfect after-school snack that kids love and parents feel good about.
- Prep Time: 10 minutes
- Cook Time: 5 minutes
- Total Time: 2 hours 15 minutes (includes chilling)
- Yield: 12 bars 1x
- Category: Snack
- Cuisine: American
Ingredients
- 2 cups (180g) rolled oats
- 1/4 teaspoon salt
- 1 cup (240g) creamy peanut butter
- 1/2 cup (170g) honey or maple syrup
- 1 tablespoon coconut oil
- 1 teaspoon vanilla extract
- 1/2 cup (90g) mini chocolate chips
- Optional mix-ins: dried cranberries, unsweetened shredded coconut, chopped almonds or walnuts
Instructions
- Line an 8×8-inch baking pan with parchment paper, leaving a 2-inch overhang on two opposite sides. Set aside.
- In a large mixing bowl, combine rolled oats and salt. Add any optional mix-ins and toss to distribute evenly.
- In a medium saucepan over low heat, combine peanut butter, honey (or maple syrup), and coconut oil. Stir constantly until smooth, warm, and fully combined (about 2-3 minutes). Do not let it boil.
- Remove saucepan from heat and stir in vanilla extract. Pour the warm peanut butter mixture over the dry oats and stir vigorously until all oats are completely coated.
- Let the mixture cool for 2 minutes, then fold in mini chocolate chips.
- Transfer the mixture to the prepared pan. Use the back of a spatula (lightly greased with coconut oil) to press the mixture down very firmly and evenly into the pan.
- Refrigerate for at least 2 hours, preferably 4 hours or overnight, until fully set.
- Use the parchment paper sling to lift the block out of the pan. Place on a cutting board and cut into 12 even bars using a sharp knife.
Notes
Press the mixture firmly into the pan to prevent crumbly bars. Chill for at least 2 hours for best results. Store in the refrigerator for up to 2 weeks or freeze for up to 3 months. For vegan option, use maple syrup instead of honey and dairy-free chocolate chips.
Nutrition
- Serving Size: 1 bar
- Calories: 220
- Sugar: 12
- Sodium: 120
- Fat: 12
- Saturated Fat: 3
- Carbohydrates: 24
- Fiber: 3
- Protein: 7
Keywords: no-bake granola bars, healthy granola bars, after-school snack, peanut butter granola bars, easy snack recipe



