Love this? Save it for later!
Share the inspiration with your friends
Late October, and the only thing I want is this pie. Not the fussy, oven-bound kind that cracks if you look at it wrong, but this one—the one that sets up in the fridge while you do literally anything else. My kitchen counter is cluttered with a half-empty can of pumpkin puree, a box of graham crackers I bought on a whim, and a block of cream cheese that’s been sitting out long enough to soften. There’s a particular kind of quiet that settles over the house when the oven stays off. (Honestly, sometimes I think that quiet is half the flavor.)
I wasn’t trying to invent anything new. I just wanted pumpkin pie without the wait, without the blind-baking anxiety, without turning my small apartment into a sauna. The first time I made this, I used a cheap pie plate from the grocery store and hoped for the best. It worked. It worked so well, in fact, that I made it again the next weekend, and the weekend after that. Some recipes earn their place in your rotation not because they’re fancy, but because they’re reliable. This one just happens to also be ridiculously good.
The texture is what gets you. It’s creamy but firm enough to slice cleanly, with that buttery graham cracker crust that crumbles just a little when you press your fork in. And the best part? You don’t need a single special skill to pull it off. No tempering eggs, no water bath, no worrying about whether the filling set properly. The fridge does all the heavy lifting. So if you’ve ever wanted a slice of fall without the work, this is your pie.
Why You’ll Love This Recipe
Let me be straight with you—I’ve tested this recipe more times than I care to count. I’ve made it with full-fat cream cheese, low-fat cream cheese, and even a vegan version that surprised me. I’ve swapped the crust, tweaked the spices, and once accidentally left it in the fridge for three days before serving. (It was better on day three, by the way.) So when I say this is the best version, I mean it.
- No oven required. Not even for the crust. This is a true no-bake situation from start to finish.
- Just 4 main ingredients. Pumpkin puree, cream cheese, pumpkin pie spice, and a store-bought graham cracker crust. That’s it. (Okay, plus a little sugar and vanilla, but those are pantry staples.)
- Ready in under 15 minutes. Active prep time, that is. Then the fridge does the rest.
- Perfect for holidays. Thanksgiving, Friendsgiving, or just a random Tuesday in October when you need a little comfort.
- Always gets rave reviews. I’ve brought this to potlucks and family dinners, and people always ask for the recipe. They’re shocked when I tell them how easy it is.
This isn’t just another pumpkin pie recipe. The secret is in the texture—blending the cream cheese until it’s completely smooth before adding the pumpkin, so the filling stays silky instead of dense. And the flavor? It’s perfectly spiced without being overwhelming. You can taste the pumpkin, not just the cinnamon.
This is the kind of dessert that makes you close your eyes after the first bite. It’s comfort food reimagined—faster, easier, but with the same soul-soothing satisfaction. Perfect for impressing guests without stress, or turning a simple evening into something memorable.
What Ingredients You Will Need
This recipe uses simple, wholesome ingredients to deliver bold flavor and satisfying texture without the fuss. Most of these are pantry staples, and the ones that aren’t are easy to find at any grocery store.
- 1 (15-ounce) can pumpkin puree (not pumpkin pie filling—make sure you grab the puree. I prefer Libby’s for consistent texture.)
- 8 ounces cream cheese, softened (full-fat works best for that creamy texture, but reduced-fat will also work. Let it sit out for at least 30 minutes before starting.)
- 1/2 cup granulated sugar (adds just enough sweetness without making it cloying)
- 1 teaspoon vanilla extract (pure vanilla extract makes a difference here)
- 2 teaspoons pumpkin pie spice (store-bought is fine, or make your own with cinnamon, nutmeg, ginger, and cloves)
- 1 (9-inch) graham cracker crust, store-bought or homemade (I’ve used both, and honestly, the store-bought version works perfectly. Keebler makes a good one.)
- Optional: 1/2 cup heavy cream, whipped to soft peaks (for serving—this takes it over the top)
- Optional: 1/4 cup chopped pecans or walnuts (for garnish, adds a nice crunch)
Ingredient tips: Make sure your cream cheese is truly softened. Cold cream cheese will leave lumps in your filling, and nobody wants that. If you forget to take it out of the fridge, microwave it for about 10-15 seconds on low power. For the pumpkin puree, don’t accidentally grab pumpkin pie filling—it’s already sweetened and spiced, and it will throw off the whole recipe. And if you want to make your own pumpkin pie spice, just mix 1 teaspoon cinnamon, 1/2 teaspoon ginger, 1/4 teaspoon nutmeg, and 1/4 teaspoon cloves. You probably have all of those in your cabinet already.
Equipment Needed
You don’t need a lot of fancy tools for this recipe, which is part of its charm. Here’s what you’ll need:
- Large mixing bowl (any size will do, but bigger is better for easy mixing)
- Electric hand mixer or stand mixer (you can do this by hand with a whisk, but it’ll take some elbow grease. A hand mixer makes it effortless.)
- Rubber spatula (for scraping down the bowl and smoothing the filling into the crust)
- Measuring cups and spoons (standard set will do)
- 9-inch pie plate (if using a homemade crust; otherwise, the store-bought aluminum pan works great)
- Plastic wrap or aluminum foil (for covering the pie while it chills)
If you don’t have a hand mixer, you can absolutely whisk the filling by hand—just make sure the cream cheese is very soft, and be prepared to put in a little effort. I’ve done it both ways, and the hand-mixed version tastes just as good. It just takes a few extra minutes. And if you’re using a store-bought crust, you don’t even need a pie plate—it comes in its own disposable pan, which is perfect for bringing to gatherings.
Preparation Method
- Soften the cream cheese. Take your cream cheese out of the fridge at least 30 minutes before you start. If you’re in a hurry, unwrap it and microwave it on low power for 10-15 seconds. You want it soft enough that your finger leaves an indentation when you press it.
- Beat the cream cheese. In a large mixing bowl, beat the softened cream cheese with an electric hand mixer on medium speed until it’s completely smooth and fluffy—about 2 minutes. Scrape down the sides of the bowl with your spatula. This step is crucial. Lumpy cream cheese means lumpy filling.
- Add the sugar and vanilla. Add the granulated sugar and vanilla extract to the cream cheese. Beat on medium speed until combined, about 1 minute. The mixture should look light and creamy.
- Mix in the pumpkin and spices. Add the pumpkin puree and pumpkin pie spice. Beat on low speed at first (so the pumpkin doesn’t splash everywhere), then increase to medium and beat until everything is smooth and uniform. Scrape down the bowl again. Take a taste—it should be creamy, sweet, and perfectly spiced. (I always taste it at this point. Quality control, you know.)
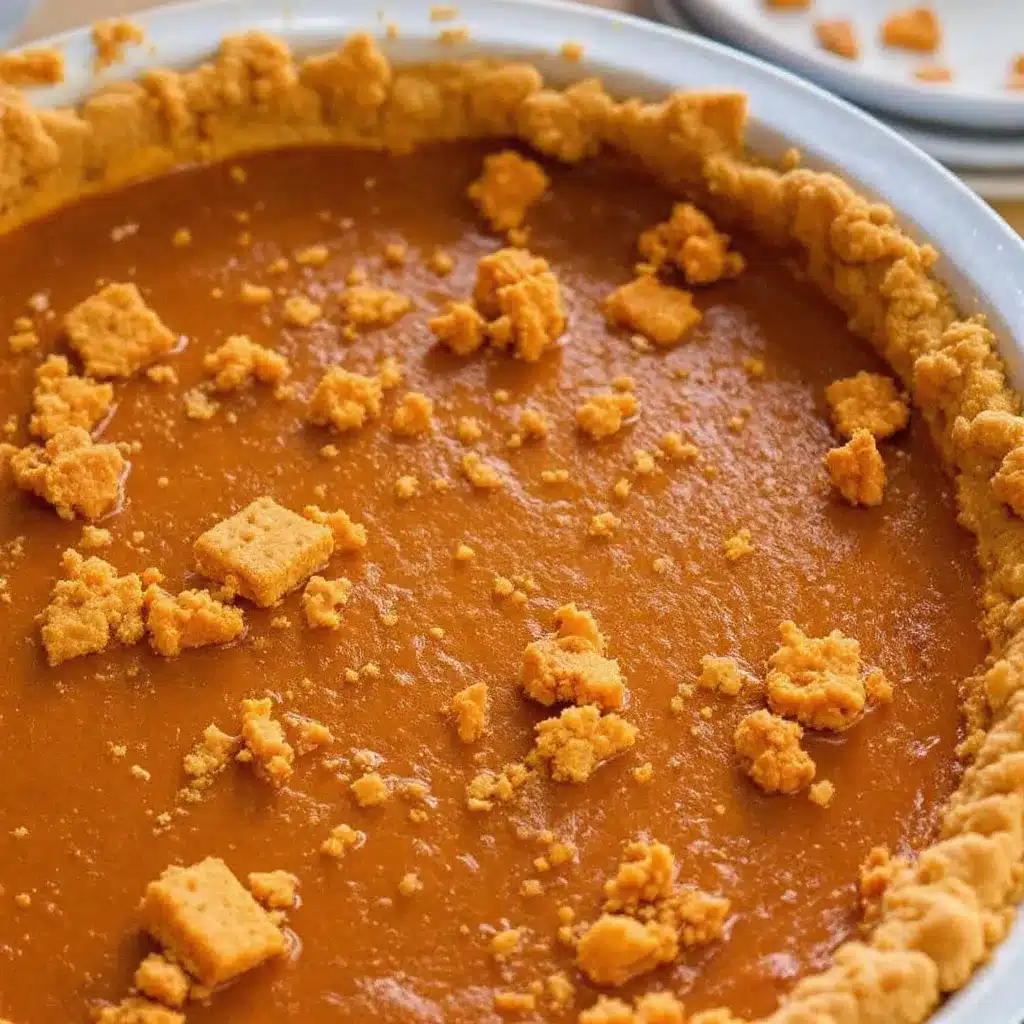
- Fill the crust. Pour the filling into your graham cracker crust. Use your rubber spatula to spread it evenly, smoothing the top. Don’t worry if it looks a little soft—it will firm up in the fridge.
- Chill for at least 4 hours. Cover the pie loosely with plastic wrap or foil and place it in the refrigerator. The filling needs at least 4 hours to set properly, but overnight is even better. I’ve made this the day before Thanksgiving more times than I can count, and it’s always perfect.
- Serve cold. When you’re ready to serve, slice the pie with a sharp knife. Wipe the knife clean between cuts for the cleanest slices. Top with whipped cream and a sprinkle of cinnamon or chopped nuts if you like.
Troubleshooting tip: If your filling seems too soft after 4 hours, give it more time. Every fridge is different, and a warmer fridge might need an extra hour or two. If it’s still soft after 6 hours, you might have used a different brand of cream cheese or pumpkin puree that has a higher moisture content. Next time, try draining the pumpkin puree through a paper towel-lined sieve for 15 minutes before using it.
Cooking Tips & Techniques
I’ve made this pie at least a dozen times, and I’ve learned a few things along the way. Here are my best tips:
Room temperature ingredients matter. I know, I know—every recipe says this. But with no-bake desserts, it really does make a difference. Cold cream cheese creates lumps that never fully smooth out, even with extended beating. Set everything out on the counter 30 minutes before you start, and your filling will be silky every time.
Don’t over-beat the filling. Once you add the pumpkin, mix just until combined. Over-beating can incorporate too much air, which can make the filling slightly grainy as it sets. You want it smooth, not frothy.
Taste and adjust. Before you pour the filling into the crust, taste it. Does it need more spice? A pinch of salt? A little more sugar? This is your chance to customize. I sometimes add an extra 1/4 teaspoon of cinnamon because I love the warmth it brings.
The crust matters. A good graham cracker crust is buttery and slightly salty, which balances the sweet filling. If you’re using a store-bought crust, look for one that’s made with real butter. If you’re making your own, add a pinch of salt to the crumb mixture. I’ve made this with a homemade gingersnap crust once, and it was incredible—if you want to try that, check out my creamy no-bake pumpkin pie with gingersnap crust for the full details.
Patience is key. I know it’s tempting to dig in after an hour, but trust me—wait the full 4 hours. The filling needs time to set properly, and the flavor actually deepens as it chills. This is one of those recipes that tastes better the next day.
Variations & Adaptations
One of the best things about this recipe is how easy it is to adapt. Here are some of my favorite variations:
Dairy-free version: Use dairy-free cream cheese (I like Kite Hill or Miyoko’s) and a vegan graham cracker crust. The texture will be slightly different—a little less firm—but the flavor is still fantastic. Just make sure the dairy-free cream cheese is softened well.
Gingersnap crust: Swap the graham cracker crust for a gingersnap crust for a spicier, more complex flavor. The ginger and molasses in the cookies pair beautifully with the pumpkin. I’ve done this and it’s honestly my preferred version for holiday dinners.
Extra spice: If you like your pumpkin pie with a real kick, add an extra 1/2 teaspoon of cinnamon and a pinch of cayenne pepper. The heat is subtle but adds a lovely warmth.
Chocolate twist: Drizzle melted dark chocolate over the top of the set pie, then sprinkle with sea salt. The combination of pumpkin, chocolate, and salt is surprisingly good. I discovered this by accident when I had leftover chocolate from another project, and now I do it on purpose.
Individual servings: Instead of one large pie, make mini pies in small graham cracker crusts or even in mason jars. Layer the crust, filling, and whipped cream for a parfait-style dessert. These are perfect for parties or portion control.
Pumpkin spice latte version: Add 1 tablespoon of instant espresso powder dissolved in 1 tablespoon of hot water to the filling. The coffee flavor deepens the pumpkin spice and makes it taste like your favorite fall drink. I tried this on a whim and now I can’t go back.
If you’re looking for more fall dessert ideas, my pumpkin cream cheese muffins are another favorite, and these pumpkin spice snickerdoodle cookies are always a hit at parties.
Serving & Storage Suggestions
This pie is best served cold, straight from the fridge. The filling firms up beautifully, and the cold temperature keeps the flavors bright and fresh. If you want to dress it up, add a generous dollop of lightly sweetened whipped cream and a sprinkle of cinnamon or nutmeg. A few candied pecans on top add a lovely crunch.
For a truly decadent presentation, drizzle caramel sauce over the top before serving. The combination of pumpkin, caramel, and graham cracker is irresistible. I’ve also served it with a side of vanilla ice cream for an extra-indulgent treat.
Storage: Cover the pie tightly with plastic wrap or foil and store it in the refrigerator for up to 5 days. The flavor actually improves after a day or two as the spices meld together. I’ve never had leftovers last longer than 3 days in my house, but they’ll keep just fine.
Freezing: This pie freezes beautifully. Wrap it tightly in plastic wrap, then in a layer of aluminum foil, and freeze for up to 3 months. Thaw overnight in the refrigerator before serving. The texture remains creamy and smooth—no ice crystals or graininess. I often make two pies at once and freeze one for later.
Reheating: This is a no-bake pie, so there’s no need to reheat it. Serve it cold. If you prefer a slightly softer texture, let it sit at room temperature for 10-15 minutes before slicing.
Flavor development: The spices in this pie become more pronounced after a day in the fridge. If you’re making it for a holiday, I recommend making it the day before. The filling sets perfectly, and the flavor is even better.
Nutritional Information & Benefits
Here’s the estimated nutritional breakdown for one slice (based on 8 servings):
- Calories: 310
- Fat: 18g
- Carbohydrates: 35g
- Protein: 5g
- Fiber: 2g
- Sugar: 22g
Health benefits: Pumpkin is packed with vitamin A (over 200% of your daily needs in one serving), which supports eye health and immune function. It’s also a good source of fiber and antioxidants. The cream cheese adds calcium and protein, while the graham cracker crust provides a satisfying crunch. This isn’t a health food, but it’s a dessert that offers more nutritional value than most.
Dietary considerations: This recipe is vegetarian and can be made gluten-free by using a gluten-free graham cracker crust. It’s not dairy-free in its standard form, but the dairy-free variation above works well. It contains wheat (from the crust) and dairy (from the cream cheese).
I personally love that this dessert feels indulgent but doesn’t leave me feeling heavy or overly full. The pumpkin adds a lightness that balances the richness of the cream cheese. It’s the kind of dessert you can enjoy without guilt.
Conclusion
This easy no-bake pumpkin pie is proof that you don’t need to spend hours in the kitchen to create something truly special. With just a handful of ingredients and a little patience, you can have a creamy, perfectly spiced pumpkin pie that rivals any oven-baked version. It’s the kind of recipe that becomes a tradition—the one you make for every fall gathering, the one your friends ask for by name.
What I love most about this recipe is how forgiving it is. You can tweak the spices, swap the crust, or add your own toppings, and it still turns out delicious. It’s a recipe that invites creativity, not perfection. So go ahead—make it your own. Add a drizzle of caramel, a sprinkle of sea salt, or a mountain of whipped cream. However you serve it, it’s going to be amazing.
I’d love to hear how yours turns out! Leave a comment below and let me know what variations you tried, or tag me in your photos if you share them on social media. And if you’re looking for more easy fall desserts, don’t miss my brown butter pumpkin cheesecake bars and these brown butter pumpkin chocolate chip cookies—they’re both no-fuss recipes that deliver big flavor.
Happy baking—or rather, happy no-baking! Your oven-free fall starts here.
Frequently Asked Questions
Can I use pumpkin pie filling instead of pumpkin puree?
No, I wouldn’t recommend it. Pumpkin pie filling is already sweetened and spiced, so using it would throw off the balance of the recipe. Stick with plain pumpkin puree for the best results. If you accidentally grab the wrong can, you can still use it—just reduce the sugar and spice in the recipe by half.
How long does this pie need to set in the fridge?
At least 4 hours, but overnight is ideal. The filling needs time to firm up and the flavors need time to meld. If you’re in a rush, you can try the freezer method: place the pie in the freezer for 2 hours, then transfer it to the fridge. But honestly, the texture is best when it sets slowly in the refrigerator.
Can I make this pie gluten-free?
Absolutely! Just use a gluten-free graham cracker crust. Many stores carry them, or you can make your own with gluten-free graham crackers. The filling itself doesn’t contain any gluten, so the crust is the only thing you need to swap.
Can I use a homemade crust instead of store-bought?
Of course! A homemade graham cracker crust is easy to make and often tastes even better. Just combine 1 1/2 cups graham cracker crumbs, 1/4 cup melted butter, and 2 tablespoons sugar. Press the mixture into a 9-inch pie plate and chill for 30 minutes before adding the filling. No baking required.
Why is my filling still soft after 4 hours?
This can happen for a few reasons. Your cream cheese might have been too soft or your pumpkin puree might have had a higher moisture content. Next time, try draining the pumpkin puree through a paper towel-lined sieve for 15 minutes before using it. Also, make sure your fridge is cold enough—ideally 38-40°F. If all else fails, give it more time. Some pies need 6-8 hours to set properly.
Pin This Recipe!
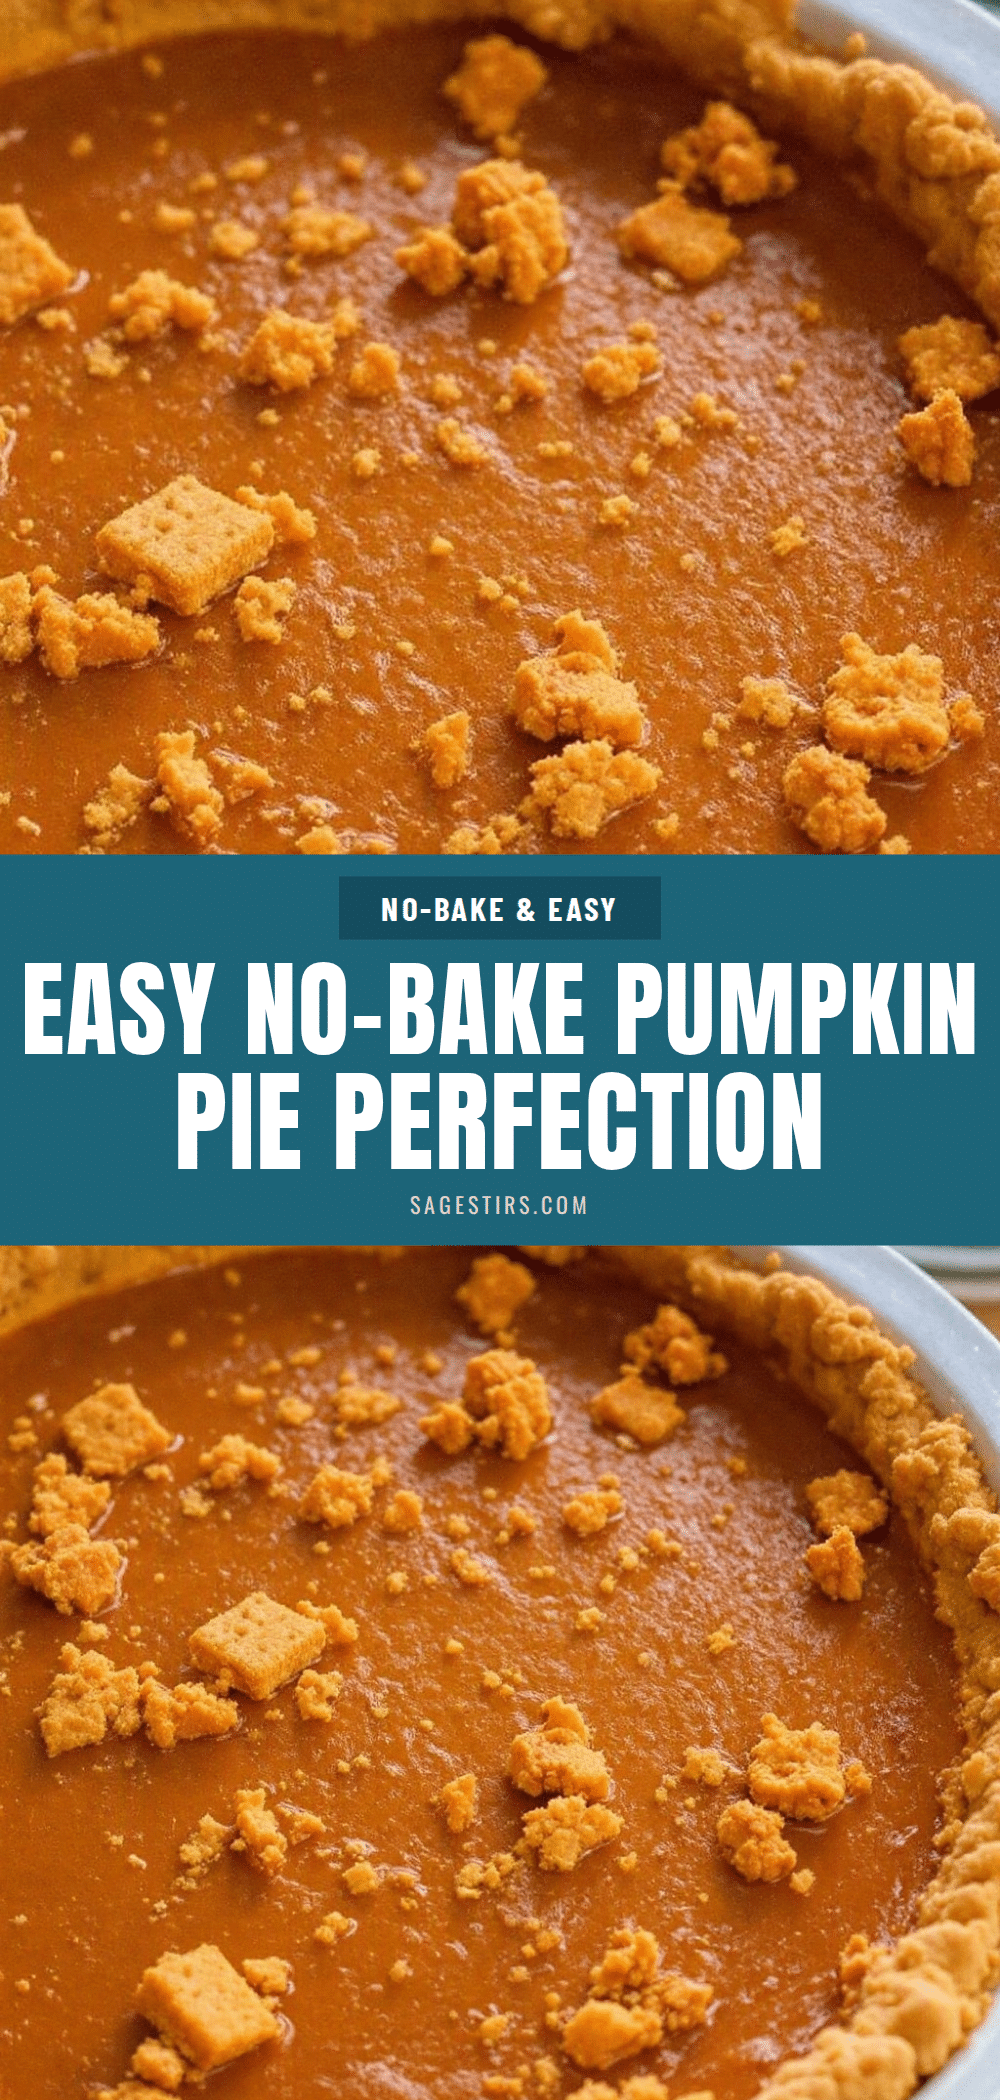
Easy No-Bake Pumpkin Pie with Graham Cracker Crust (Perfect 4-Ingredient Dessert)

A creamy, perfectly spiced no-bake pumpkin pie that sets up in the fridge with just 4 main ingredients. No oven required, ready in under 15 minutes of prep, and always gets rave reviews.
- Prep Time: 15 minutes
- Cook Time: 0 minutes
- Total Time: 4 hours 15 minutes (includes chilling time)
- Yield: 8 servings 1x
- Category: Dessert
- Cuisine: American
Ingredients
- 1 (15-ounce) can pumpkin puree (not pumpkin pie filling)
- 8 ounces cream cheese, softened
- 1/2 cup granulated sugar
- 1 teaspoon vanilla extract
- 2 teaspoons pumpkin pie spice
- 1 (9-inch) graham cracker crust, store-bought or homemade
- Optional: 1/2 cup heavy cream, whipped to soft peaks (for serving)
- Optional: 1/4 cup chopped pecans or walnuts (for garnish)
Instructions
- Soften the cream cheese: Take cream cheese out of fridge at least 30 minutes before starting. If in a hurry, microwave on low power for 10-15 seconds until soft.
- Beat the cream cheese: In a large mixing bowl, beat softened cream cheese with an electric hand mixer on medium speed until completely smooth and fluffy, about 2 minutes. Scrape down sides of bowl.
- Add the sugar and vanilla: Add granulated sugar and vanilla extract to cream cheese. Beat on medium speed until combined, about 1 minute, until light and creamy.
- Mix in the pumpkin and spices: Add pumpkin puree and pumpkin pie spice. Beat on low speed first to avoid splashing, then increase to medium and beat until smooth and uniform. Scrape down bowl again.
- Fill the crust: Pour filling into graham cracker crust. Use rubber spatula to spread evenly and smooth the top.
- Chill for at least 4 hours: Cover pie loosely with plastic wrap or foil and refrigerate. Overnight is even better for best texture and flavor.
- Serve cold: Slice with a sharp knife, wiping clean between cuts. Top with whipped cream and a sprinkle of cinnamon or chopped nuts if desired.
Notes
Make sure cream cheese is truly softened to avoid lumps. For best texture, chill overnight. If filling is too soft after 4 hours, drain pumpkin puree through a paper towel-lined sieve for 15 minutes before using. This pie freezes well for up to 3 months.
Nutrition
- Serving Size: 1 slice (1/8 of pie)
- Calories: 310
- Sugar: 22
- Sodium: 280
- Fat: 18
- Saturated Fat: 10
- Carbohydrates: 35
- Fiber: 2
- Protein: 5
Keywords: no-bake pumpkin pie, easy pumpkin pie, 4-ingredient dessert, no-bake dessert, pumpkin dessert, fall dessert, Thanksgiving dessert, graham cracker crust



